• Skip to primary navigation
  • Skip to main content
  • Skip to primary sidebar
  • Skip to footer

Kim Power Style

  • Home
  • Contact
  • About
  • Tutorials

kim

Red Velvet Cheesecake

5:00 am by kim 31 Comments

Hello and welcome to a Valentine’s Day blog hop. I’m joining together with some great friends to share everything Valentine’s day! I’ve paired up two of my favourite cakes, red velvet and cheesecake and will be offering up this recipe for a delicious and creamy, red velvet cheesecake Valentine’s Day dessert. There will be links to follow the other participants and to see what they’re sharing at the end of the post, so be sure to check them out!

Red Velvet Cheesecake

Valentine’s Day happens to be my wedding anniversary so if the hubby and I are not away on a trip, we’ll be going out for dinner. Having some lovely desserts waiting at home to share makes the occasion a little more festive…and it’s a great excuse to indulge in some sweets!

Red Velvet Cheesecake makes a great Valentine's Day dessert.

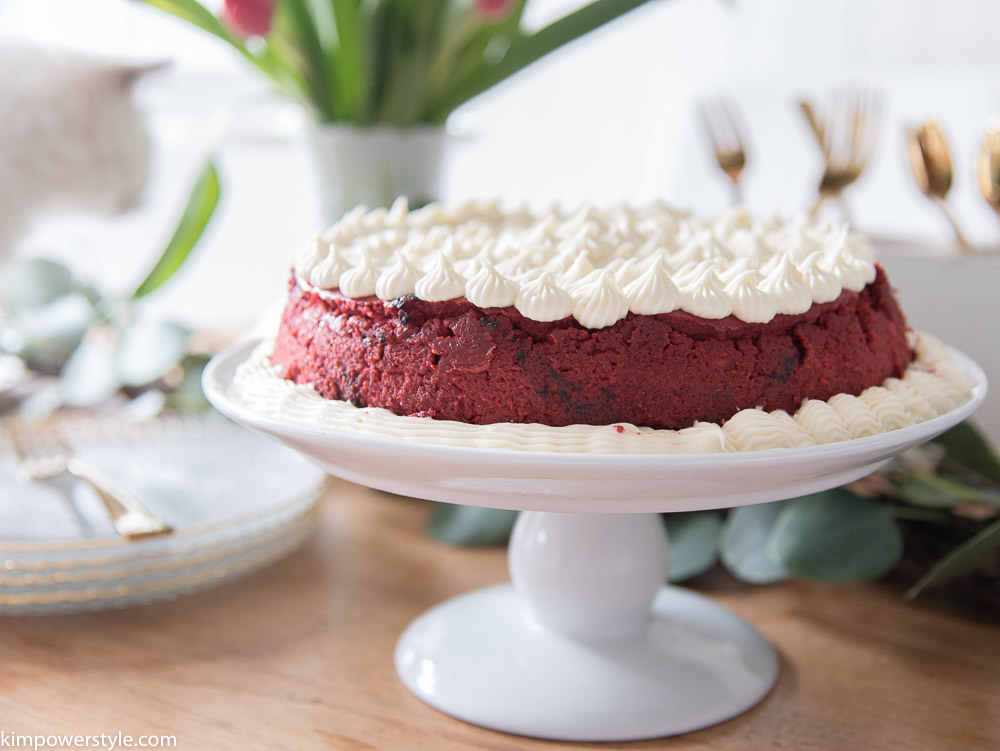
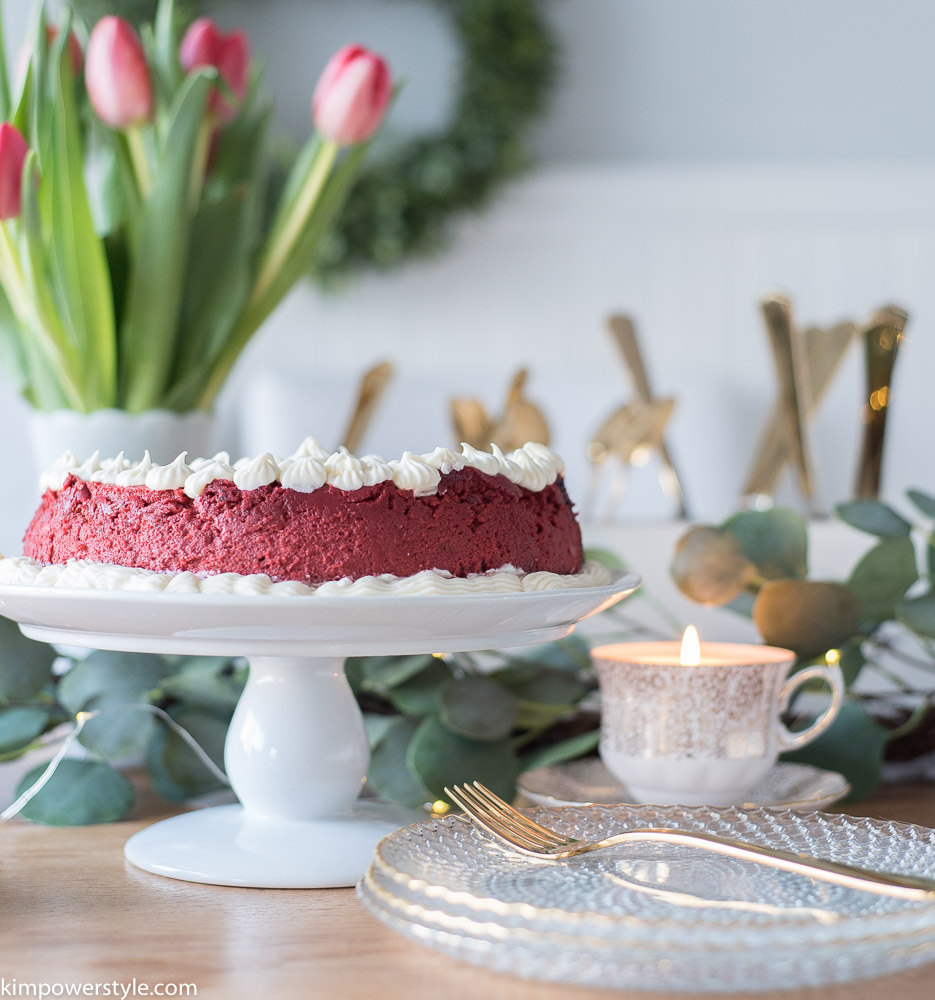
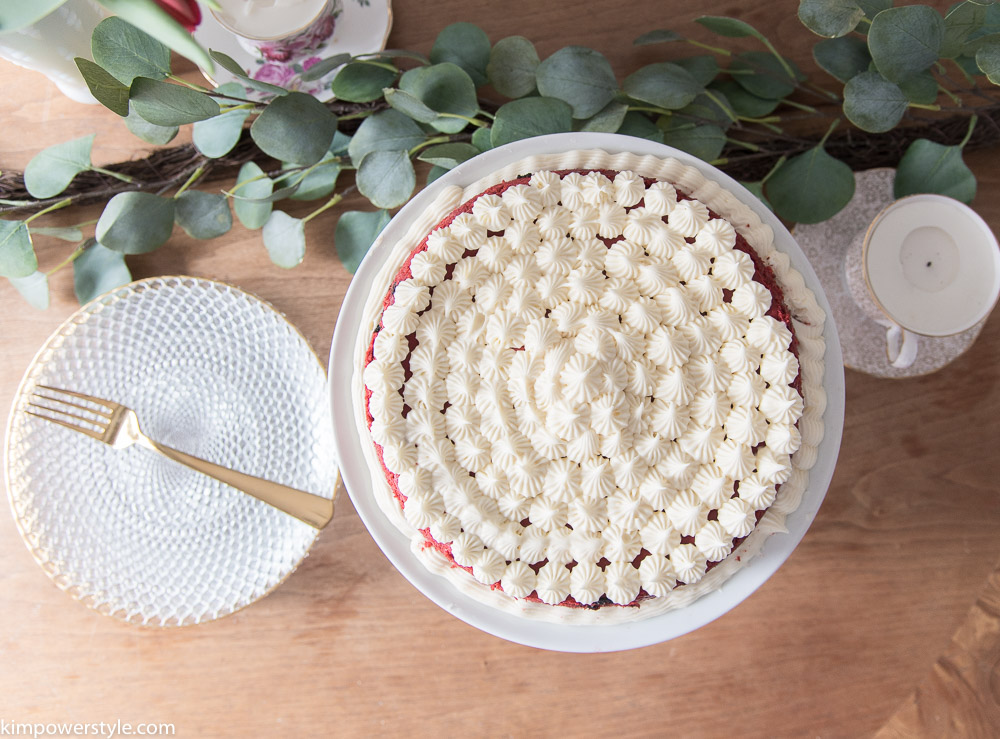
This is a newer recipe for me as I usually make my red velvet cheesecake with actual red velvet cake mixed into the cheesecake and as the bottom layer. This red velvet cheesecake has less steps involved so I thought I would share an easier version. It has a chocolate crust with a delicious topping of cream cheese frosting piped on. It makes a perfect Valentine’s Day dessert and should be made the day before it will be enjoyed.

Red Velvet Cheesecake a great Valentine's Day dessert!

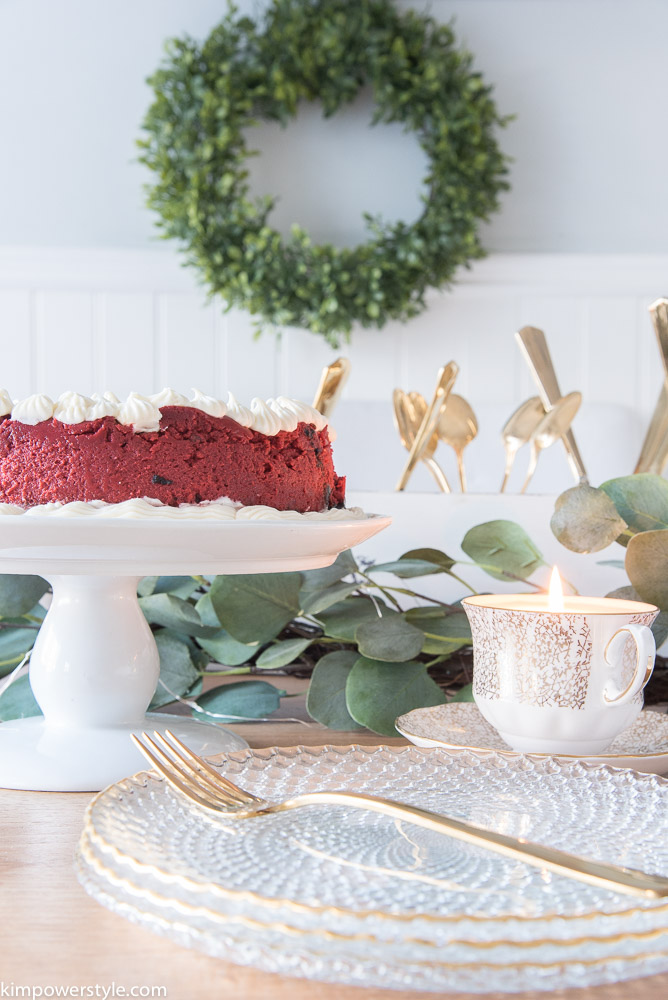
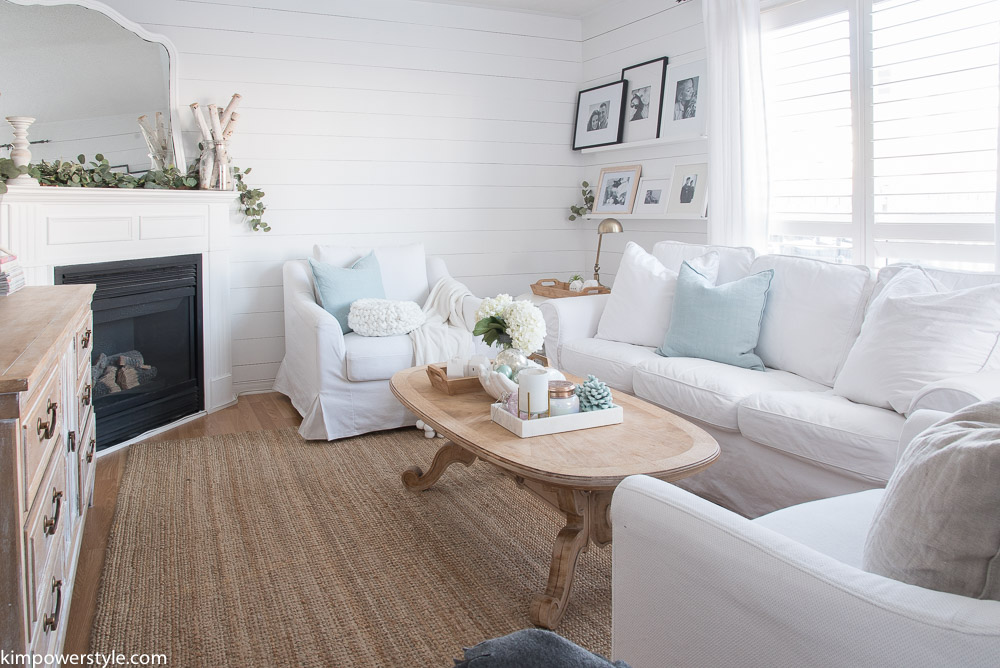
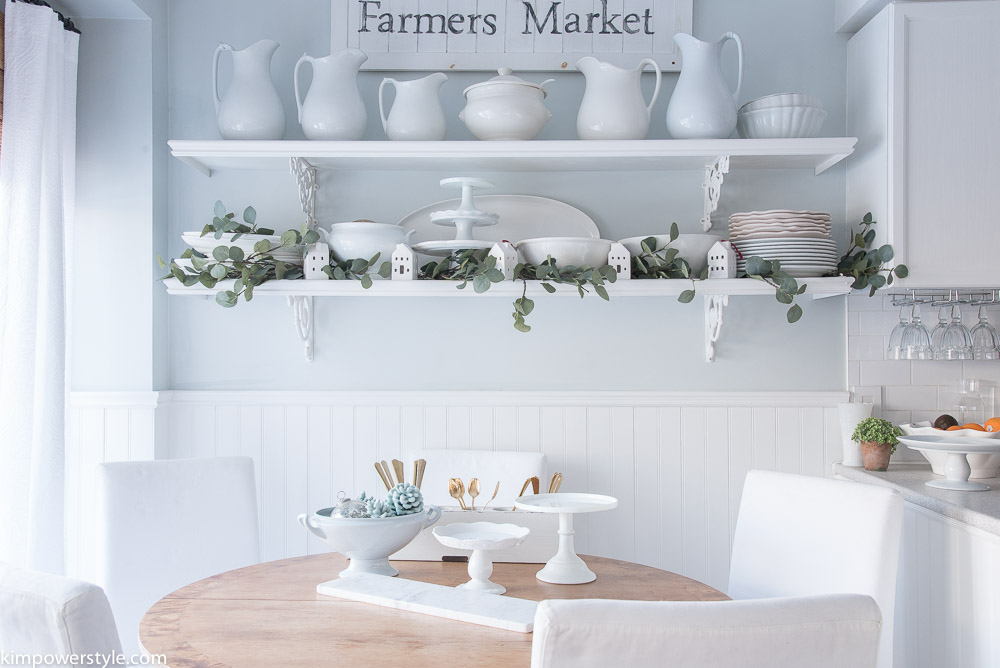
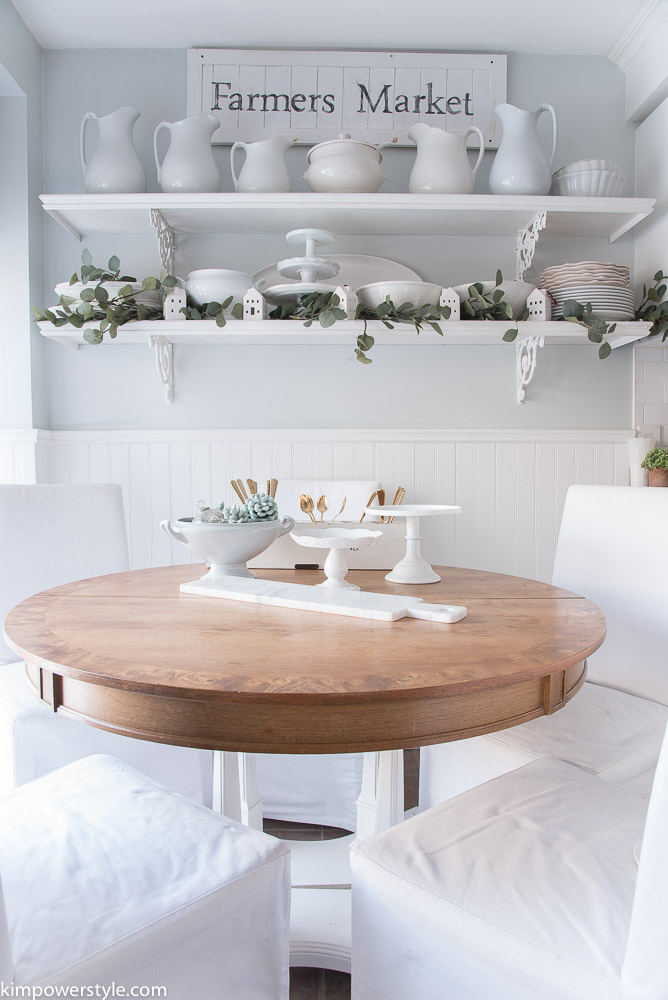
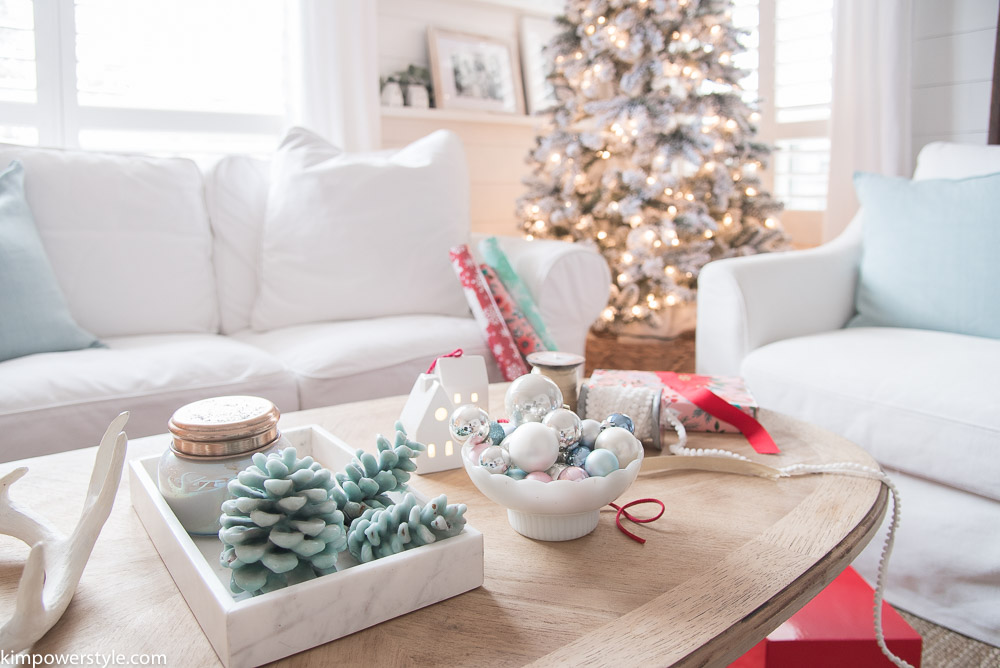
For the table setting I used my faux eucalyptus garland, some pretty gold flatware with gold rimmed dessert plates along with these pretty Tea Cup Candles. You can find a tutorial for the the Tea Cup Candles here.

Red velvet cheesecake

Red Velvet Cheesecake

Ingredients

  • 1-1/2 cups of chocolate graham cracker crumbs
  • 1/4 cup melted butter
  • 1 tbsp. sugar
  • 3 8 0z. packages of cream cheese
  • 1-1/2 cups sugar
  • 3 tbsp. unsweetened cocoa
  • 4 large eggs, lightly beaten
  • 1/2 cup whole buttermilk
  • 1 cup sour cream
  • 2 tsp. vanilla
  • red food colouring
  • 1 8 oz. package of cream cheese
  • 1/4 cup butter
  • 2 cups icing sugar
  • 1 tsp. vanilla

Directions

  1. In a small bowl, mix together the chocolate graham cracker crumbs with 1/4 cup melted butter and 1 tbsp. sugar. Press into the bottom of a 9 inch springform pan.
  2. Using a mixer, beat together 3 8 oz. packages of cream cheese with 1-1/2 cups of sugar until smooth. Add eggs, buttermilk, sour cream, cocoa and vanilla. Depending upon the kind of food colouring you’re using, add enough to get the colour you’re looking for. Mix together until combined. Don’t over mix. Pour into prepared pan on top of chocolate graham cracker crumb crust.
  3. Bake in a pre-heated oven at 325° for 1o minutes then reduce heat to 300° and bake for 1 hour 15 minutes or until centre is set and top appears dull.
  4. Remove cake when done and turn off oven. Run a knife around the edge of the pan and place back in the oven for 30 minutes. Remove and let cool for an hour. Cover and refrigerate over night.
  5. Remove the sides of the pan. Mix together the 8 oz package of cream cheese together with 1/4 cup of butter until fluffy. Add the icing sugar and vanilla and mix until smooth. You can pipe your icing on or just smooth it over the top. Enjoy!

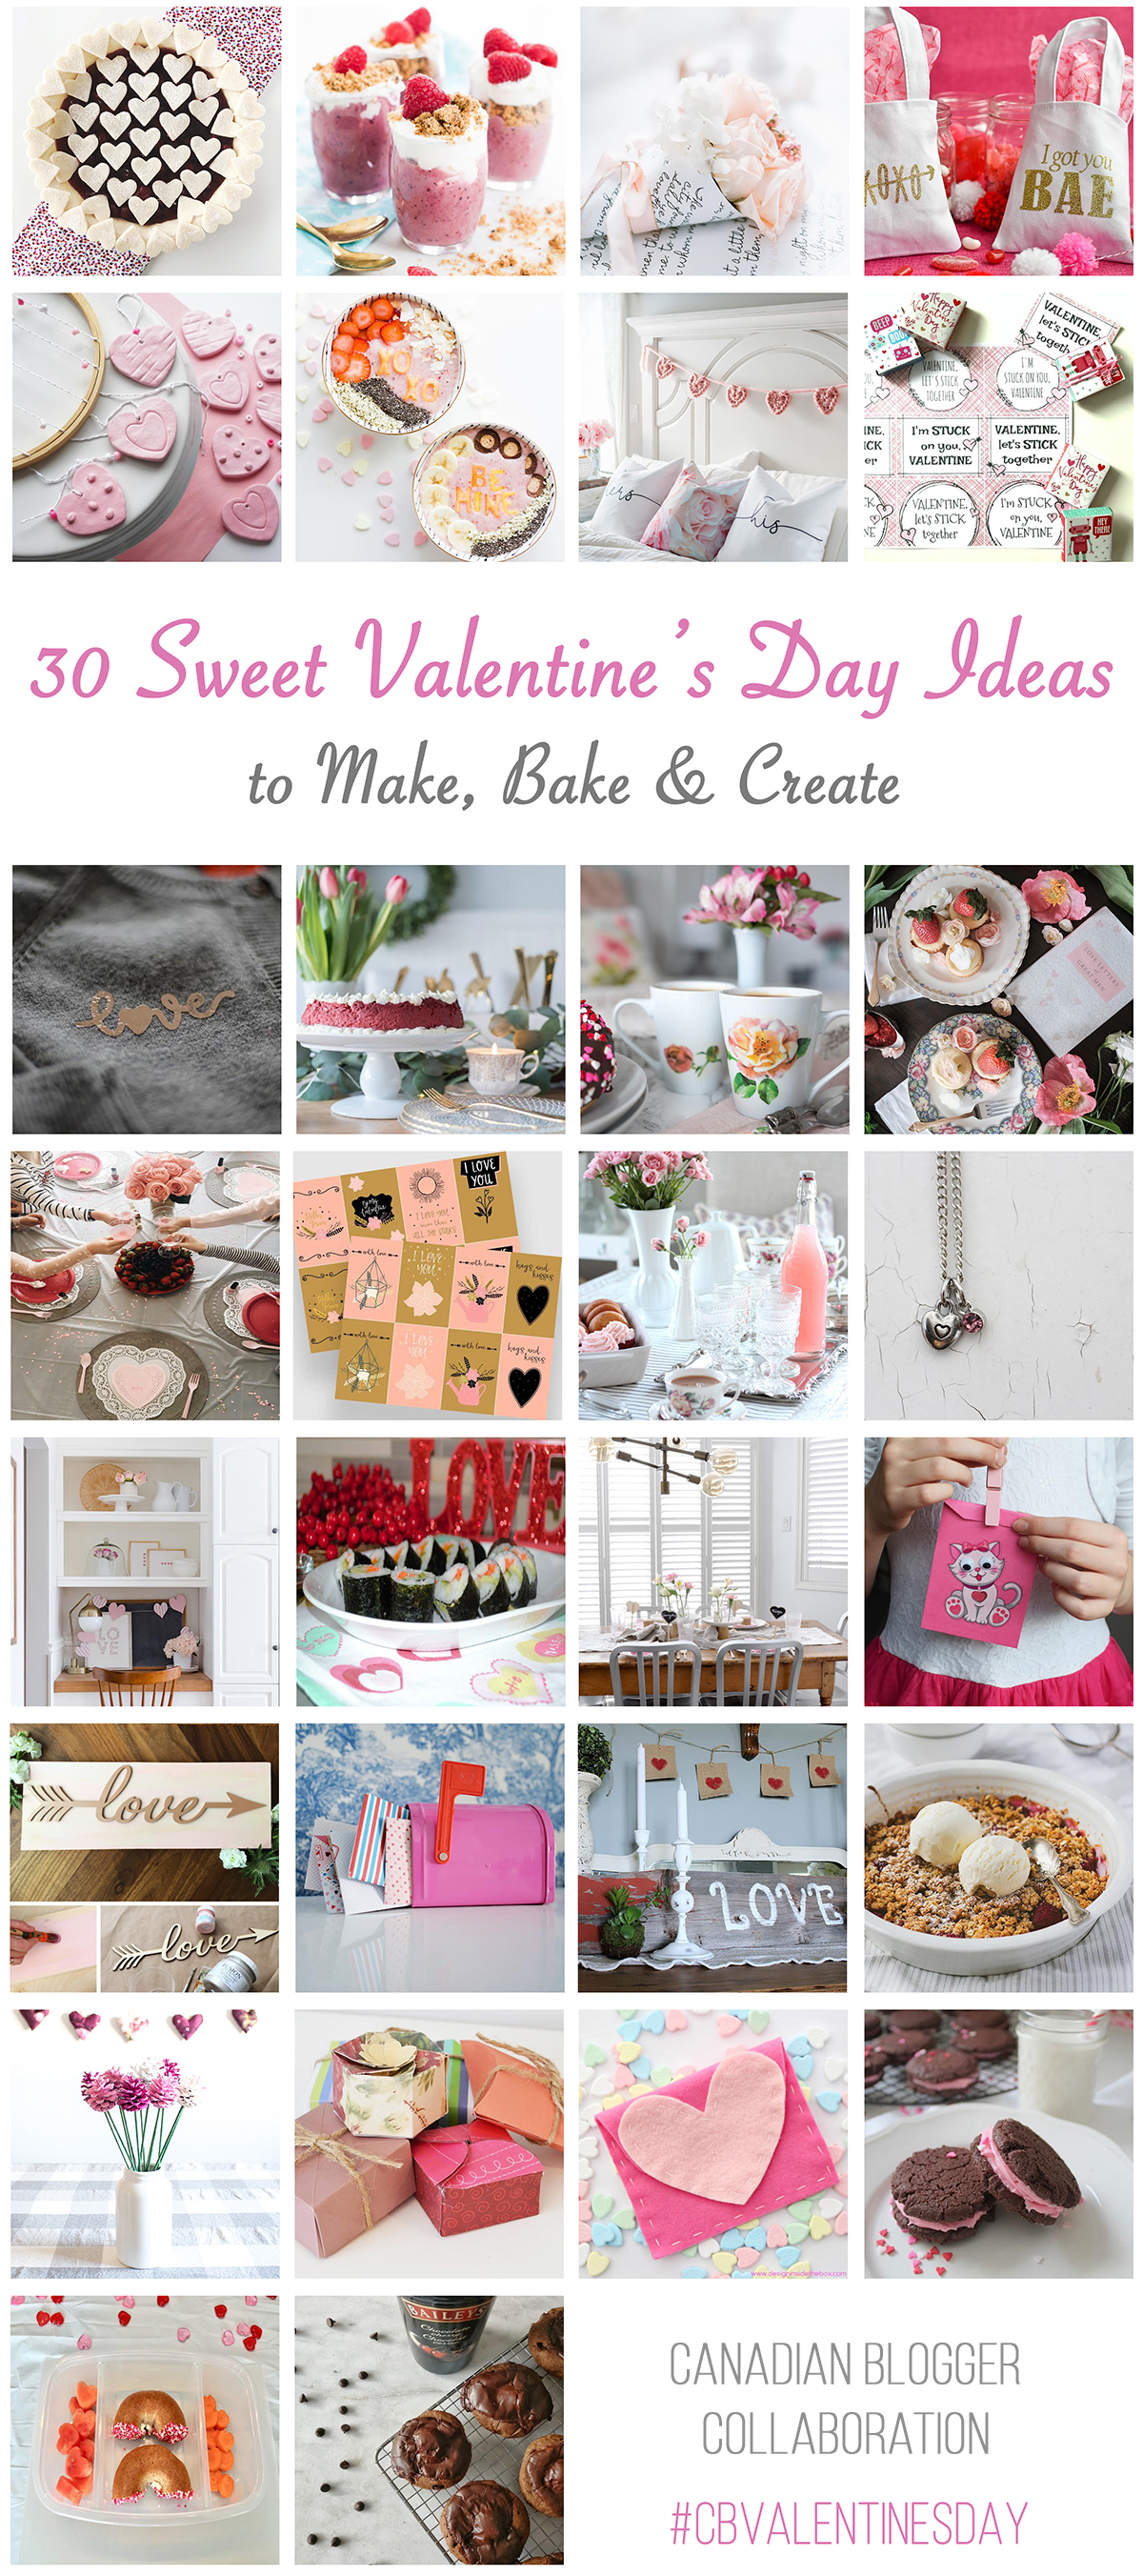
For more amazing Valentine’s Day inspiration, follow the links below. There are over 30 different Valentine’s Day ideas to make, bake and create!

Blessings,

Kim

30 Valentine's Day Ideas to Make, Bake and Create -1


Valentine’s Day Cherry Pie by Jo-Anna of A Pretty Life

Valentine’s Triple Berry Breakfast Parfait by Joanna at Lazy Moms Blog

Valentine’s Day Mini Bouquet with Printable Wrap by Lucy of Craftberry Bush

DIY Iron-On Mini Tote Bags for Galentine’s Day by Joann of Woman in Real Life

DIY Clay Valentine Heart Wall Hanging by Jen of Kitchen Counter Chronicles

Valentine’s Day Smoothie Bowl by Kristeena of Motherhood in Stilettos

Chunky Crochet Heart Banner by Christina of The DIY Mommy

‘I’m Stuck On You Valentine’ Free Printable by Chandra of HashtagBlessed Blog

DIY Love Tees by Colleen of Lemon Thistle

Red Velvet Cheesecake by Kim of Kim Power Style

Custom Floral Dishware DIY with Temporary Tattoos by Christine of Amidst the Chaos

Valentine’s Day Keto Cheesecake by Thalita of The Learner Observer

How to Host a Mother/Daughter Galentine’s by Kelsey of Kelsey Diane Blog

Free Printable Farmhouse Style Valentine’s Day Cards by Shannon of AKA Design

GALentine’s Day Tea Party by Shauna of Satori Design for Living

Valentine Heart Necklace by Christine of The DIY Dreamer

Simple Valentine’s Day Decor by Alicia of A Burst of Beautiful

Valentine’s Sushi Recipe by Stefania of From the Playpen

Valentine’s Day Decor by Dannyelle of Life is a Party

Valentine Countdown for Kids by Heather of Raising Memories

Love Sign by Meagan of Row House Nest

Valentine’s Day Kindness Countdown Calendar by Jen of Rambling Renovators

Rustic Valentine’s Day Decor by Sarah of The Project Pile

Peach Raspberry Crisp by Brittany of My Daily Randomness

How to Make Pine Cone Roses by Jane & Sonja of Sustain My Craft Habit

Handmade Paper Gift Boxes by Jessica of The Vanderveen House

DIY Valentine’s Day Pouch by Lidia of Design Inside the Box

Valentine Oreo Cookies by Kendra of Joy In Our Home

Valentine’s Day Lunch Idea by Adriana of Chaos and Caffeine

Chocolate Cherries Baileys Cookies by Emily of daydreaming of elsewhere

—

Filed Under: recipes, Valentine's Day

New Year Update..Life and Decor

7:00 am by kim 20 Comments

Happy New Year everyone. As I write this the first blogpost of the New Year I’m wondering where the last couple of months have gone? It’s been a crazy time for our family and I’m only coming up for air now. Life took us down a path I didn’t see coming and we’re still trying to get our bearings. Here are some updates.

Winter Decor

In the middle of November as the hubby and I were finishing up our bathroom for the One Room Challenge, he started feeling unwell. We were to later find out that he had suffered a bleed in his brain that was causing stroke like symptoms. After weeks of hospital stays, constant monitoring, a brain drain and risky brain surgery, he’s now in a rehabilitation hospital focusing on getting well. It’s been such a traumatic and exhausting time for our family and we’re looking forward to better times ahead.

Cozy winter decor

There were so many friends and family praying for us and if you’re one of those people, thank you, from the bottom of our hearts. We could feel God’s grace along with the love and prayers, it held us up and helped us through many tough times.

New Year Update..Life and Decor


After spending long hours at the hospital, we wanted nothing better than to come home, shower and rest. My daughters, son in law and I would cozy up in this room with blankets and the fire going and a  cheesy Christmas movie playing in the background. It was simple and it refreshed and refuelled us providing us with some shelter from the proverbial storm. My home really was a place for us to find some peace, rest and to recharge, I’m so grateful for it.

New Year Update..Life and Decor

My children are gone back to their own homes now, the Christmas trees are down and I’ve made a few little changes to transition from Christmas to winter decor. I added some twinkle lights to the ladder to help add some warmth and there are lots of blankets and pillows to cozy up with. It’s been my little haven while my husband’s been in the hospital.

New Year Update..Life and Decor

New Year Update..Life and Decor

New Year Update..Life and Decor

Before my husband got sick I had decided to get another ragdoll. I had sworn I would never get another cat after Jack died, but I was missing the pitter patter of kitty feet in our home. In the midst of his sickness I had second thoughts about getting the cat as the future seemed so uncertain. My husband told me I had to get him as it was going to be his Christmas present to me. I couldn’t refuse that!

Here is the newest member of our family as he makes his first blog debut. His name is Baloo and he’s a fourteen week old, blue bicolour ragdoll and we’re smitten. He’s added a lot of life to our home!

Our new little guy

I’m sure you’ll be seeing a lot more of him on the blog.

New Year Update..Life and Decor

New Year Update..Life and Decor

Winter Decor

New Year Update..Life and Decor

If all goes well, my husband should be home at the end of the month where he’ll continue with his therapies on an out-patient basis. We know that the journey of healing has it’s up and downs, but we’re remaining hopeful and praying for a complete and speedy recovery for him.

Thanks so much  for bearing with us during our absence. Your support has meant so much to us and we’re looking forward to sharing some great content with you this year.

Blessings,

Kim


Filed Under: Home decor

White Christmas Tour

6:00 am by kim 27 Comments

Hello Everyone and Merry Christmas! I’m joining some great ladies today for our 2nd annual Joyful Holiday Home tour. If you’ve been following along in order you’ll be coming from Marci from Lemons to Lovelies Marci has a beautiful home and is the host of our tour. I hope you’ve enjoyed all the gorgeous homes and found plenty of inspiration for the season! I’m the last stop on the tour so  grab a beverage and join me as I share my White Christmas tour!

Joyful Holiday Home Tour 2017 vertical feature image

White Christmas Tour

White Christmas Tour 2017

Today I’m sharing my White Christmas living room. I wanted to make decorating a little more simple this year and decided to go with my basic white. We usually have a real tree in the living room but I wanted a flocked tree and they were so pretty I got two, one on either side of the sofa. To make it even more simpler this year, I didn’t add any decor to the trees. They’re so pretty on their own!

White Christmas Tour 2017

I found these great wicker baskets at Homesense and the stands fit inside them perfectly. They hide all the unattractive bits and finishes off the trees nicely.

White Christmas Tour 2017

I added a little bit of colour in a couple of the throw pillows.

White Christmas Tour 2017

White Christmas Tour 2017

The coffee table holds some vintage bowls with my Christmas balls along with some candles and waxed pinecones that I’ve had for years. They’re scented and still smell delicious!

White Christmas Tour 2017

For the mantel I used a faux eucalyptus garland along with some birch logs in a vase. I found these little led porcelain houses that light up and I’m smitten with them and I’ve set them all around the house. I’ve had these wooden candle holders for years and love the way they mimic the look of the birch logs.

White Christmas Tour 2017

The flocked wreath is gorgeous and mirrors the look of the trees and pulls the room together creating my little version of a white Christmas!

White Christmas Tour 2017

White Christmas Tour 2017

White Christmas Tour 2017

White Christmas Tour 2017

The minute you pull out a comfy throw or fluff a pillow, Butters is right there ready to nestle in and take a nap!

White Christmas Tour 2017

It’s so cozy in here with all the Christmas lights on and the candles lit in the evening. It may look a little bland to some but I’m enjoying the White Christmas look. In case you think there’s a lack of colour, don’t worry, I’ve added plenty in my wrapping paper!

White Christmas Tour 2017

I love red at Christmas time and I’ve used it in my wrapping paper and ribbon.

White Christmas Tour 2017

White Christmas Tour 2017

White Christmas Tour 2017

White Christmas Tour 2017

[show_shopthepost_widget id=”2925755″]

White Christmas Tour 2017

White Christmas Tour 2017

I hope you’ve enjoyed this peek into our homes. I love doing this tour as it’s a chance for me to peek into some of my favourite bloggers homes sharing their Christmas decor too! In case you’ve just popped in and haven’t seen the other bloggers, there are links to all of them below!

Blessings,

Kim

Joyful Holiday Home Tour 2017

Haley – The Mountain View Cottage

Jordan- JorDecor

Rachel- The Porch Light Cottage

Natalie- My Vintage Porch

Laura- Meaningful Spaces

Stephanie- Belle Amour Blog

Kate- White Lane Decor

Lisa- Farmhouse On Boone

Marci- Lemons to Lovelys

Kim- Kim Power Style

Filed Under: Christmas, Home decor, Seasonal tours

One Room Challenge | Modern Farmhouse Bathroom | The Reveal

7:46 pm by kim 40 Comments

Hello friends and welcome to Week 7 of the One Room Challenge and the final reveal of my Modern Farmhouse bathroom! Today is the day that designers and bloggers have been working on and documenting for the last six weeks. Transforming spaces, designing, demoing, styling. For some of us It’s been 6 weeks of excitement, breakdowns, sore backs and questions as to why the heck we agreed to do it! Lol. Well today is the day we share the culmination of everything we’ve been working towards. You can follow along with my previous weeks to see the process here:

Week 1 | Week 2| Week 3 | Week 4 | Week 5| Week 6

One Room Challenge Fall 2017

One Room Challenge Modern Farmhouse Bathroom The Reveal

I decided to do the main bathroom on the second floor. It’s small and is basically used as a guest bathroom for my daughter and son in law when they come to visit. I had recently painted it white in the hopes of making it a little brighter but nothing could brighten the black tiles that covered the tub and shower enclosure. I thought it would be the perfect candidate for a reno/makeover.

So let’s see what we started with!

The Before:

Bathroom before photo

Bathroom Before Pic

One Room Challenge bathroom before photos.

You can see that black tile I was talking about!

The Final Reveal!

The After:

Modern Farmhouse Bathroom #Makeover

Modern Farmhouse Bathroom #Makeover

I basically threw everything that I love into one small room! Shiplap, white subway tiles, cement tiles, wood, linen, what’s not to love?

Modern Farmhouse Bathroom #Makeover

Modern Farmhouse Bathroom #Makeover

This black and white floor tile is the star of the show and I absolutely love it! The tile was definitely worth the splurge and using it in a smaller space made it more affordable. It may be on trend now but I didn’t mind making a trendy statement in a little space. I also used white subway tile, It’s simple, classic and you can never go wrong with that!

Modern Farmhouse Bathroom #Makeover

The Metrie Shiplap was one of the easiest projects we did in this bathroom and next to the floor tile, is my favourite thing! It’s Metrie’s Complete shiplap and comes pre-primed and pre-painted in  “Polar White”  a gorgeous clean, crisp white. I can’t tell you how beautiful this shiplap looks in person. It’s has a beautiful and uniform finish and looks like it was professionally installed. I want this all over my home now! You can see how we installed it here.

This mosaic tile is the star of the show and I absolutely love it! The tile was definitely worth the splurge and using it in a smaller space made it more affordable. It maybe on trend now but I didn't mind making a trendy statement in a little space.

I changed up the original lighting I had chosen in my vision board. I realized that we didn’t have the room to have the sconces I had planned on. The lighting I installed is part of  the Home Decorators Collection lighting from the Home Depot and is perfect for the space.

Modern Farmhouse Bathroom #Makeover

Isn’t this little wooden stool so cute?  It’s the perfect size for my small bathroom and a great place to set a book, cup and candle on when you’re taking a bath. All these great accessories in our bathroom are from Homesense.

Modern Farmhouse Bathroom #Makeover

We chose to use the over the door rack to hang all the towels on. I loved this shiplap so much I didn’t want to ruin it by placing hooks into it! I wanted to keep the bathroom as clean and clutter free as possible. The rack is also great for holding some bathrobes for your guests when they come to visit. I found these lovely turkish towels and bathrobes  along with the rack at Homesense!

Modern Farmhouse Bathroom #Makeover

Modern Farmhouse Bathroom #Makeover

Modern Farmhouse Bathroom #Makeover

Source List 

Shiplap: Metrie Complete® Pre-painted Shiplap

Vanity Light: Glenhurst 3 light vanity fixture, Home Decorator’s Collection, Home Depot

Mirror: Homesense

Floor Tile: M2 Tile

Vanity: Ikea

Faucet: Ikea

Stool: Homesense

Turkish towels, Cotton terry Bathrobes, Shower Curtains, Soap dish, Dispenser, Candle, Towel rack, Toilet paper stand: Homesense

Thanks so much for following along on this makeover journey with us! This was our first real reno and there were a lot of ups and downs, problems that we weren’t sure how to deal with and lots of youtube video watching! We were the designers, contractors and tradesmen for this project. Next time I think I just want to design and leave the rest of the work to the real tradesmen 😉 Thanks to Linda from Calling it Home for hosting another great Challenge. Be sure to follow along with all the other designers and participants to see their finished projects.

Thanks to all our Sponsors who helped to make this makeover possible!

Sponsors for ORC Fall 2017

Filed Under: diy, Makeovers, One Room Challenge™

Easy Chewy Sugar Cookie Recipe

6:44 pm by kim 3 Comments

It’s that time of the year again and the baking season is upon us! One of the first recipes I’m making are these easy and chewy sugar cookies. They don’t require any chilling and can be easily spooned out onto a cookie sheet. Once you assemble all your ingredients together you can have a batch of cookies ready in about 15 minutes.

Easy and Chewy Sugar Cookies

You’ll Need:

  • 1 cup of softened butter
  • 1 1/2 cup of granulated sugar
  • 1 large egg
  • 2 1/4 cups all purpose flour
  • 1/2 teaspoon salt
  • 1/2 teaspoon baking powder
  • 1 1/2 teaspoon vanilla
  • Extra sugar to roll your cookies in
  1. Preheat the oven to 350° F.
  2. Line baking sheet with parchment paper or use a baking mat.
  3. Cream together the butter and sugar for a couple of minutes till light and fluffy. Add the egg and vanilla and mix.
  4. In a separate bowl, lightly mix the flour, salt and baking powder together.
  5. Mix together the dry ingredients into wet ingredients.
  6. Use a cookie scoop or a tablespoon and scoop out cookie dough and form into a ball.
  7. Roll cookie ball into the extra sugar and coat. Lay out cookie balls on your baking sheet and lightly press.  (Leave a 1  1/2 to 2 inch space between cookies)
  8. Bake in the oven for 8-10 minutes.

To make sure these cookies are really chewy, I took mine out of the oven at 8 minutes. They were still pale but continued to cook on the cookie sheet for a couple of minutes. I then used a spatula and put them on a cooling rack. Once they cool  you have a delicious cookie that’s a little crunchy on the outside and chewy on the inside!


Easy and Chewy Sugar Cookies

Easy and Chewy Sugar Cookies

Easy Chewy Sugar Cookie Recipe

I hope you try this easy recipe and enjoy the cookies! It’s so quick and simple and includes ingredients that most of us already have on hand. Stay tuned for some holiday baking coming up over the next few weeks. Subscribe and you’ll receive blogposts delivered straight into your mailbox!

You can follow along with me here too:

Instagram | Facebook | Pinterest

Blessings,

Kim

Filed Under: recipes

Bathroom Makeover | One Room Challenge | Week 6

11:38 pm by kim 12 Comments

Hi everyone and welcome  to Week 6 of the One Room Challenge! If you’re new here, I’m a guest participant in Linda’s from Calling it Home One Room Challenge. A biannual event where a group of designers and bloggers  chronicle a makeover of one room in their home in 6 weeks. We’re on week 6 right now but this year the challenge has been extended for another week. So next week will be the final reveal and I’m so excited to share our makeover with you all!

You can follow along with the previous weeks here:

Week 1 | Week 2 | Week 3 | Week 4 | Week 5 |

One Room Challenge Fall 2017

Bathroom Makeover One Room Challenge Week 6

This week’s progress:

This week we finally got the grout done on the floor tile. We used a charcoal coloured grout that fits right in with the charcoal of the tiles. We used a slow drying grout and had to stay off the floor for 72 hours. It was wonderful! We basically had the weekend off which was great because the hubby and I needed the break. Don’t those tiles look amazing?

Once the grout was dried and cured we were able to get back in there and put the baseboards on.

One Room Challenge Fall 2017 Week 6

We also got the vanity in after the hubby did some (a lot) of maneuvering with the pipes. Yahoo!

One Room Challenge Bathroom Makeover

Remember those nasty pipes that came up out of the floor that couldn’t be moved? Well the hubby used the Metrie baseboards to make a box around them. It’s hardly noticeable, unless you’re down on the floor where I was when I took this photo. Once I caulk the corners and fill in the nail holes it will look great.

One Room Challenge Fall 2017 Week 6

One Room Challenge Fall 2017 Week 6

I’m so glad the vanity fit! It looks great with the gorgeous shiplap and tiles. These pictures don’t do the room justice.

One Room Challenge Fall 2017 Week 6

Task list before the final reveal:

  • Add the mirror
  • Install the toilet
  • Caulk the baseboards, sink and tub
  • Install the tub/shower hardware.
  • Accessorize

Well that’s it for this week.  It’s such a small room that there’s only so much to show without revealing it all..and that’s for next week! You can subscribe to the blog to make sure you don’t miss out on any posts. They’ll come straight to your inbox.

Blessings,

Kim

Filed Under: diy, Fall, Makeovers, One Room Challenge™, Uncategorised

One Room Challenge Fall 2017 | Week 5 | Shiplap time!

10:38 pm by kim 18 Comments

Welcome back to the One Room Challenge Fall 2017 week 5, it’s time to get our shiplap on!

If you’re new here, hello! You can follow along with the previous One Room Challenge weeks here:

Week 1 | Week 2 | Week 3 | Week 4 |

You can also follow along with all the other bloggers and designers and see what there up to this week here.

One Room Challenge Fall 2017

One Room Challenge Fall 2017 Week 5 Shiplap Time!

(This post has been sponsored by Metrie, all thoughts and opinions are my own)

This week we had some help from Metrie who offered their gorgeous Metrie Complete®  Shiplap for our Modern Farmhouse Bathroom Makeover. The shiplap comes already primed and painted in “Polar White”  which is a beautiful crisp white and you know I love me some white 😉

One Room Challenge Week 5 Shiplap Time!

I have to say this was one of the easier projects for this challenge! We’ve applied shiplap before using thin plywood boards and made our own spaces using coins. With the tongue and groove feature on these shiplap boards there was no more watching our quarters and loonies rolling away on the floor! It was simpler to lay the boards and it looked so much more uniform. The fact that the boards are all pre-painted a beautiful satin finish also saved a lot of time. Instead of filling nail holes with wood filler,  sanding then priming and painting, you fill in the holes with a wax and then buff. Metrie offers a Metrie Complete finishing kit with everything you need to finish your project:

Metrie Complete finishing kit

How We Did it and What You’ll Need:

One Room Challenge Week 5 Applying Shiplap

  1. Find the studs in your wall with a stud finder.

One Room Challenge Week 5 Applying Shiplap

2. Mark the studs  and then use a chalk line or a level to mark them down the wall.

One Room Challenge Week 5 Applying Shiplap

3. Some people start from the bottom, but I like to have full boards around the ceiling line. Place your first       board with tongue side down and use a level to make sure your first board is level.

One Room Challenge Week 5 Applying Shiplap

4. Add your boards and nail them using your nail gun. Where you nail into the tongue, you’ll need to fill in your nail hole before you place your next board. It’s much easier filling those holes before you add the next  board. (Don’t ask me how I know!)

One Room Challenge Week 5 Applying Shiplap

5. To fill in your holes,  use your wax stick or putty jar. I mostly used the wax stick.

One Room Challenge Week 5 Applying Shiplap

6. You can use your scraper card or a putty knife  to remove any excess wax.

One Room Challenge Week 5 Applying Shiplap

7. Use the abrasion pad to buff out and smooth the area.

One Room Challenge Week 5 Applying Shiplap

8. We applied cove molding to the ceiling and in the corners to make the seams uniform. we also caulked with Metrie’s caulking. All the products in the Builder finishing kit comes in the same “polar white” colour as the shiplap so that everything matches.

One Room Challenge Week 5 Applying Shiplap

Yes that’s my famous camouflage plant! I’m using it to hide those unsightly pipes sticking out of the floor.

One Room Challenge Week 5 Applying Shiplap

One Room Challenge Week 5 Applying Shiplap

One Room Challenge Week 5 Applying Shiplap

There is still a lot to do. I’m so grateful for the added week!

  • We still need to grout the floor tile.
  • Once the floor tile is grouted we’ll be able to put on the last two pieces of subway tile near the floor.
  • Add the baseboards.
  • Finish the caulking
  • Clean up the ceiling
  • Put the ceiling fan back on. (Still not sure why that is off lol!)
  • Put the vanity together and pray it fits!
  • Bring the toilet back in.
  • Hang the mirror.
  • Install the taps and hardware.

Thanks so much for joining along on our makeover/reno challenge! Just a reminder that a week has been added onto our schedule, so the final reveal will be on November 16th. To see some more makeover/renos you can follow along with all the other bloggers and designers here.

Blessings,

Kim

Thanks to our sponsors.

Sponsors for ORC Fall 2017

Filed Under: diy, One Room Challenge™, shiplap, Tutorials

Bathroom Makeover | One Room Challenge Week 4

4:17 pm by kim 14 Comments

Hello everyone and welcome to the Bathroom Makeover One Room challenge week 4! I’ve heard that week 4 is one of the most difficult weeks of the challenge. I think I’ll hold judgment on that until week 5 is over! If you’re just tuning in now,  the One Room Challenge is hosted by Linda from Calling it Home. A challenge where designers and bloggers make over one room in their home in 6 weeks. You can follow along on with everyone’s progress here and my (somewhat) bathroom makeover progress here:

Week 1

Week 2

Week 3

One Room Challenge Fall 2017

Bathroom Makeover One Room Challenge Week 4

Before:

Lets take a look at what we started with:

Bathroom Before Pic

(After everything we’ve been through the last few weeks, this before doesn’t really look so bad anymore!)

Progress:

Week 2 ORC, demo week

It took nearly a week to demo this whole bathroom.

Week 2 ORC, demo week

Week 2 ORC, demo week

We changed out that insulation behind the tub after this photo was taken.

Fall ORC Week 3 the challenge

I explained all about our drywall issues in last week’s post.

Fall ORC Week 3 the challenge

We finally got to tiling the surround and it took a lot of time due to uneven wall issues.

Fall ORC Week 4 Bathroom Makeover

Before we could apply the floor tiles, we had to apply the cement board which required some thin set to adhere it.
Fall ORC Week 4 Bathroom Makeover

The cement board is down and now we’re ready to tile the floor and then grout everything.

Where we’re at now:

Bathroom Makeover | One Room Challenge Week 4

untitled-7352

Hooray! All the tiles have finally been applied but still need to be grouted. We’ll have to wait  48-72 hours before we can do that because we used the longer drying thin set mortar. The hubby and I will not want to see, measure, cut, saw, chip and glue another darn tile for a loooong time!

Inspiration:

This is my mood board and inspiration. At times it’s hard to believe it’s going to resemble any of this!

Modern Farmhouse Bathroom

Shea from Studio McGee has the most gorgeous bathrooms on her site. You can see some of them here. They’ve been such an inspiration to me. When you’re in the thick of a messy reno, you need to keep the pretty pictures in front of you to remind you why you’r e doing this!

Studio Mcgee

(source)

Still To-do List:

  • Grout floor and wall tile
  • Paint ceiling
  • Apply trim to door
  • Apply Metrie shiplap to remaining walls
  • Assemble and Install vanity (Pray it fits!)
  • Add shower/bath/sink hardware
  • Install toilet
  • Install/add accessories!

Thank you everyone for joining me as I share our long and hard fought for progress! Just a little note to let you know that the ORC will be extended for one more week. Due to all the natural disasters happening, many participants have had difficultly in getting their products in time etc. So for the first time in ORC history this challenge has been extended by a week and the final reveal will be on Nov. 16th. That gives us all one more week to get this done!

blessings,

Kim

Thanks to my sponsors for helping to make this makeover possible!

Sponsors for ORC Fall 2017

Filed Under: Home decor, One Room Challenge™

One Room Challenge Fall 2017 | Week 3 | Reno Challenges

12:32 am by kim 12 Comments

Hey everyone! It’s week 3 of the One Room Challenge and it’s been a doozy. There may have been the odd swear word, some wringing of hands along with some tears (all me)! I’ve watched enough home renovation shows to know that a renovation rarely goes smoothly. Well we were no exception…

One Room Challenge Fall 2017

One Room Challenge Fall 2017 Week 3 Reno Challenges

Let’s do a brief recap of Week 2 the demo week..

Fall ORC Week 3 the challenge

We spent an entire week and removed everything except the drywall on the bathroom walls. (Not sure why the plunger and toilet are in the tub! haha)

Fall ORC Week 3 the challenge

We found this large drainage pipe coming up out of the floor!

My meltdown and what we did this week..

Fall ORC Week 3 the challenge

My husband removed the old insulation and replaced it. He and his friend then put up the drywall in the tub/shower surround. This is where it kinda went downhill. After the drywall was attached I went to inspect it and noticed that one of the drywall walls was sitting outside the tub lip.  I’m not sure how the previous wall/tiles were placed but there was no way I was going to be able to apply tiles with a crooked wall!

Fall ORC Week 3 the challenge

You can see the problem here.

We were at a loss as to what to do. We could take that piece down and put it over the lip, but then it wouldn’t match up with the other main wall. We would be fixing one problem but causing another. We were then told by  2 plumbers that the giant black pipe couldn’t be moved because of the joists and would have to stay. Yep, by this time I was having a bit of a meltdown. I put on my best Scarlett O’Hara impersonation and said “tomorrow is another day”. Our daughters came over for a visit and we took the weekend off and ignored the whole situation!

By Sunday I knew we had to address the problem and stop pretending that I hadn’t just demolished my whole bathroom! I was thinking that we could just call the whole thing off. Tell our sponsors how sorry we were. Maybe find a contractor that wasn’t booked up till next year and let him/her sort it out.

But then I pulled up my big girl pants and found an old friend to come over and take a look at the situation. He advised us to drywall over that wall again and continue along the length of the whole wall. So that’s what we did. We made our 145th trip to the Home Depot and picked up our supplies. We had the drywall hung and mudded by that evening. All the walls were flush!

One Room challenge week 3 The reno challenges

Fall ORC Week 3 the challenge

I finally got my tiles and started tiling!

Fall ORC Week 3 the challenge

My bathtub is a little lower on one side so It took a bit of time to get everything level, but we’re on our way!

Fall ORC Week 3 the challenge

What we still have to do:

  • Finish installing the tile on the tub/shower surround.
  • Apply the Metrie Shiplap and finishing.
  • Tile the floors.
  • Install the vanity…and pray it fits!
  • Install the taps, shower head etc.
  • Add all the accessories.


In the middle of all the mess, it’s good to have  your mood board in front of you. It let’s you know that there’s an end to the craziness and it’ll be beautiful!Modern Farmhouse Bathroom

Having anything by Shea and her team for inspiration doesn’t hurt either. 😉 It also adds a little bit of pretty in these  unpretty reno posts too!

Studio Mcgee

(source)

Special thanks to my sponsors who are helping to make this bathroom possible!

Sponsors for ORC Fall 2017

Thanks for checking in on the progress and hearing about my woes. You can follow along with me on Instagram as I share the day in and day out progress.

blessings,

Kim

Filed Under: One Room Challenge™

Giving Back: Volunteering with Wayfair at Habitat for Humanity

6:53 pm by kim 1 Comment

Hi everyone! Last week I had the privilege of volunteering alongside the team from Wayfair.ca at Habitat For Humanity.  Emily Moran from Wayfair had me at hello when she invited me to join them to spend the day volunteering at Habitat’s GTA site. It was such a great opportunity to participate in something that I have always wanted to do!

Giving Back: Volunteering with Wayfair at Habitat for Humanity

Wayfair Workday at Habitat for Humanity


Wayfair workday with Habitat for Humanity

I met this young man named Kenneth and we worked together for a few hours cutting drywall. There are so many volunteers that donate their time, energy and expertise. If you’re thinking about volunteering, don’t worry about not being skilled. Habitat for Humanity has so many different areas you can work in from putting up drywall to scraping paint off the floors to cleaning windows. There is something for everyone to do and everything is provided for you, tools, footwear, hats and gloves. You just need to show up!

Wayfair workday with Habitat for Humanity

Wayfair workday with Habitat for Humanity

Joining with Wayfair at Habitat for Humanity

Wayfair workday with Habitat for Humanity

A work in progress.

Wayfair workday with Habitat for Humanity

You can see how this building is almost finished and in fact, some people had already begun moving in! We were able to hear from a single Mom and her two children as they shared about their experiences and how Habitat for Humanity is changing their lives in providing decent and affordable housing.

Habitat group shot

Here is the whole Wayfair team in our purple shirts!

 I had no idea that Wayfair has been partnering with Habitat for Humanity for over five years now and have contributed $1 million! They continue to provide fundraising, product donations and volunteer mobilization.

I was so excited to be a part of this workday with Wayfair. It’s an amazing feeling to give of your time and/or resources and know you’re making a difference in an individual or family’s life. If you feel you’d like to contribute but maybe volunteering is not something you’re able to do, Wayfair.ca has a donation button at checkout! With this check-out feature, you can easily support Habitat’s vision that everyone deserves a decent place to live!

Blessings,

Kim


Filed Under: Lifestyle Tagged With: Lifestyle

  • « Go to Previous Page
  • Go to page 1
  • Go to page 2
  • Go to page 3
  • Go to page 4
  • Interim pages omitted …
  • Go to page 16
  • Go to Next Page »

Primary Sidebar

Hi, I'm Kim Read More…

Instagram

Follow along on Instagram

Sign up and don't miss a post!

Recent Posts

  • Festive Bacon Wrapped Chestnut Holiday Appetizer
  • DIY Mantel Decorated for Christmas
  • Simple and Cozy Fall Home Tour
  • Simple Fall Tablescape

Archives

Footer

Copyright © 2025 · Foodie Pro Theme by Shay Bocks · Built on the Genesis Framework · Powered by WordPress