• Skip to primary navigation
  • Skip to main content
  • Skip to primary sidebar
  • Skip to footer

Kim Power Style

  • Home
  • Contact
  • About
  • Tutorials

Archives for July 2017

Coastal Farmhouse Finds From Amazon

3:10 pm by kim 3 Comments

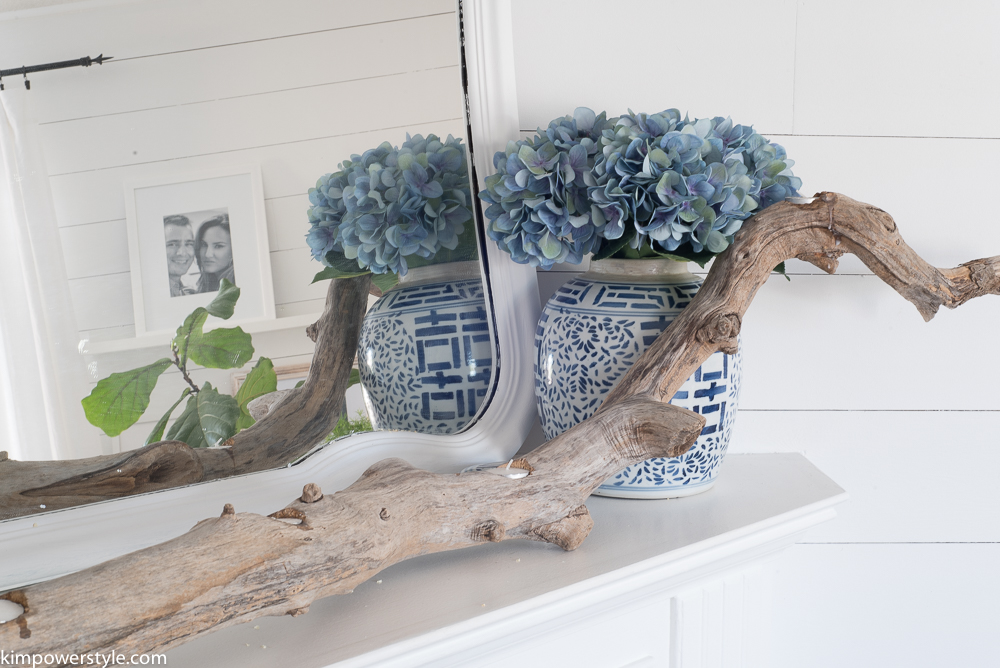
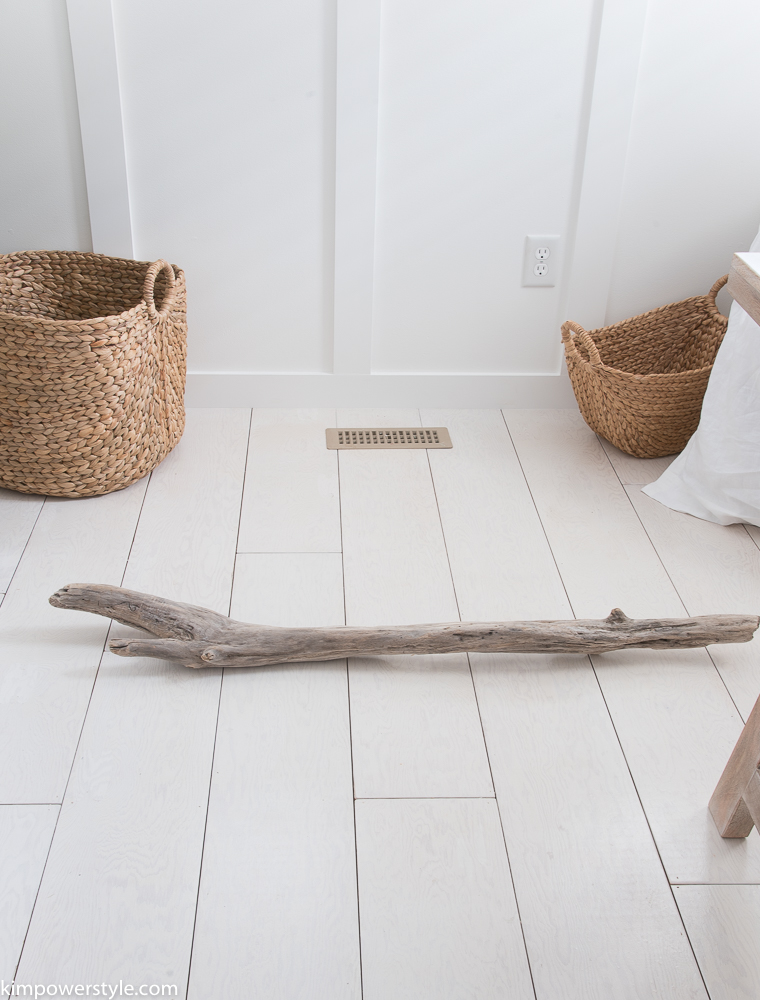
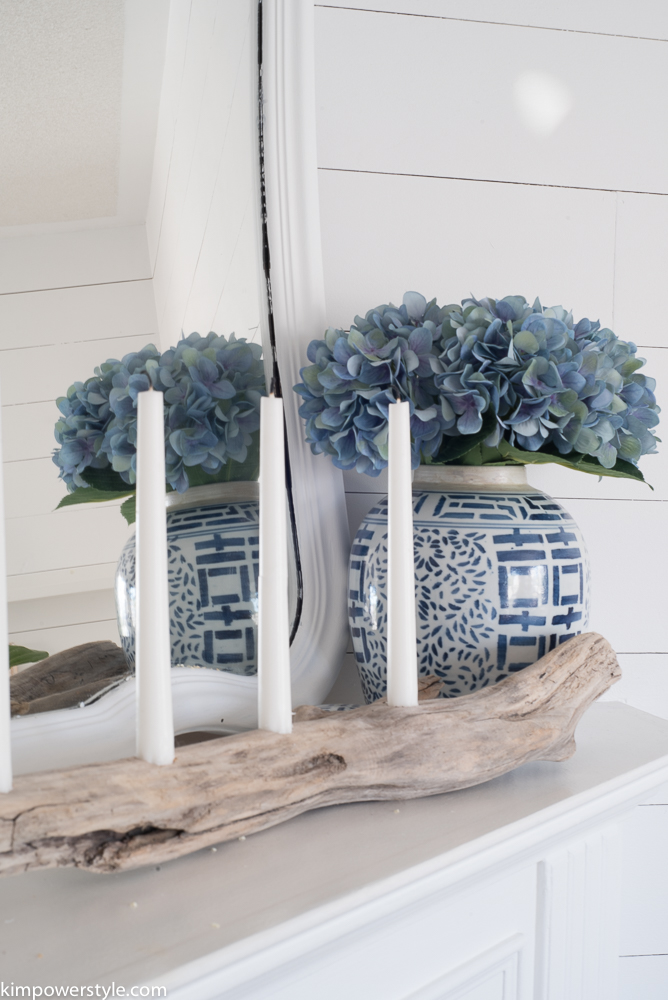
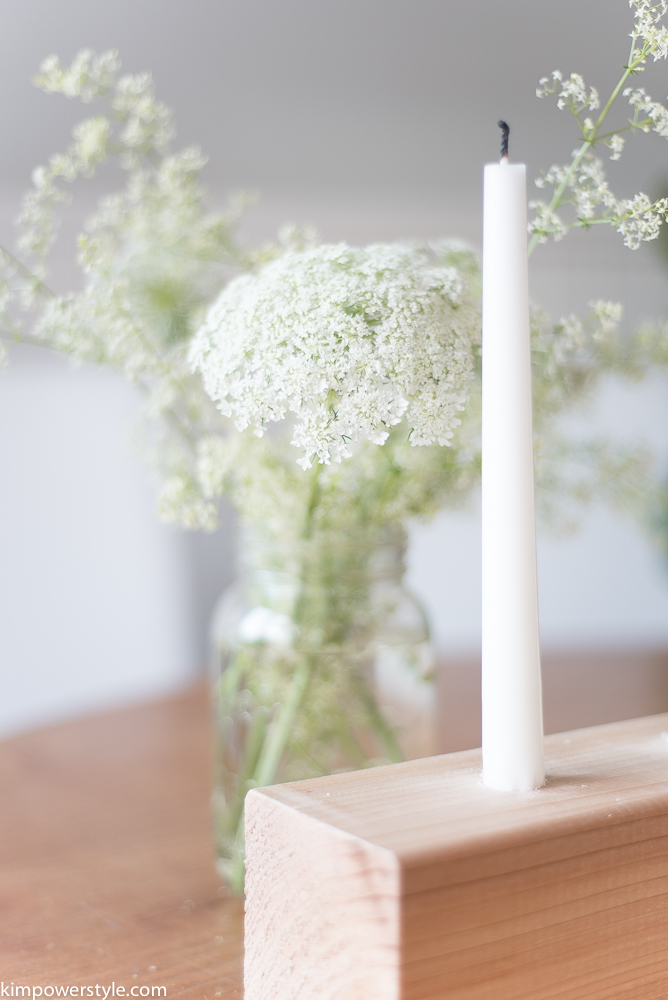
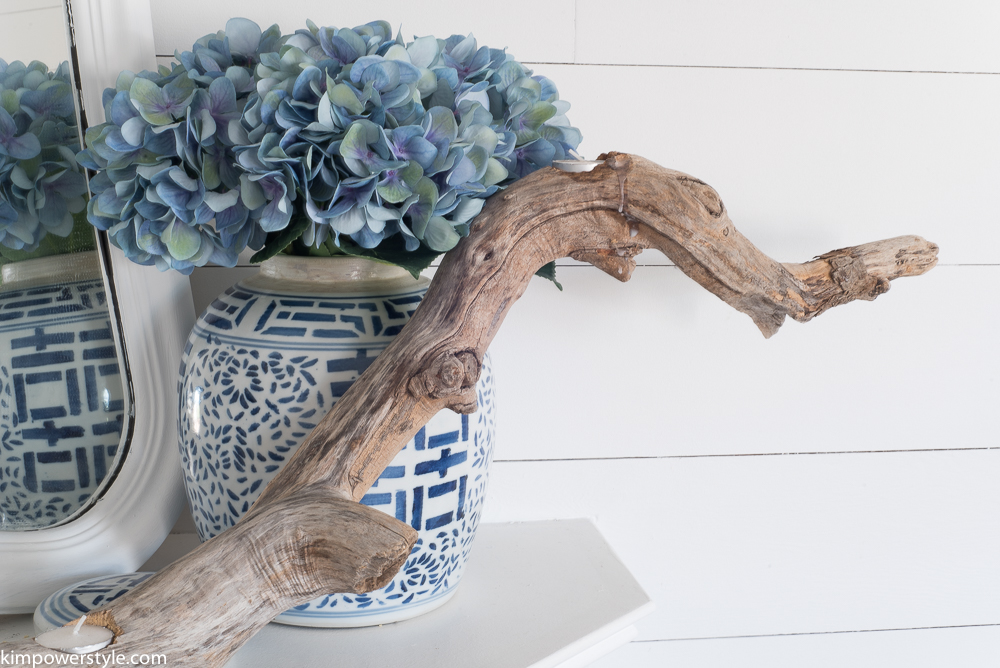
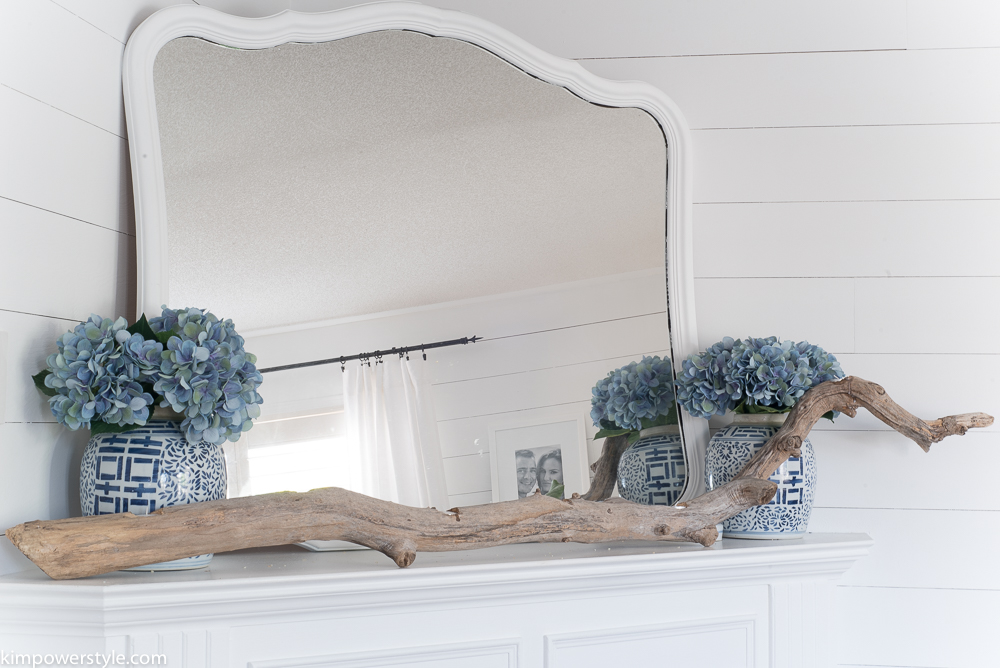
If you’ve followed along with me for a while you’ll know that I’m an avid fan of the Coastal Farmhouse look. There’s just something about the light, bright airy and sea washed look that calls to me. Whats not to love about coastal shades of  blues, sandy whites and  taupes interspersed with gorgeous faded driftwood and dreamy hydrangeas. For whatever reason, Coastal  with the right touch of Farmhouse is my first love when it comes to decorating.

For those of you who have wondered how to go about achieving this look, I’ve created a roundup of some of my favourite Coastal Farmhouse go-to’s. All of these items can be found on Amazon and I’ve provided you with affiliate links below so you can shop the look!

(Below are affiliate links.)

Coastal Farmhouse Finds from Amazon

Coastal Farmhouse Collage


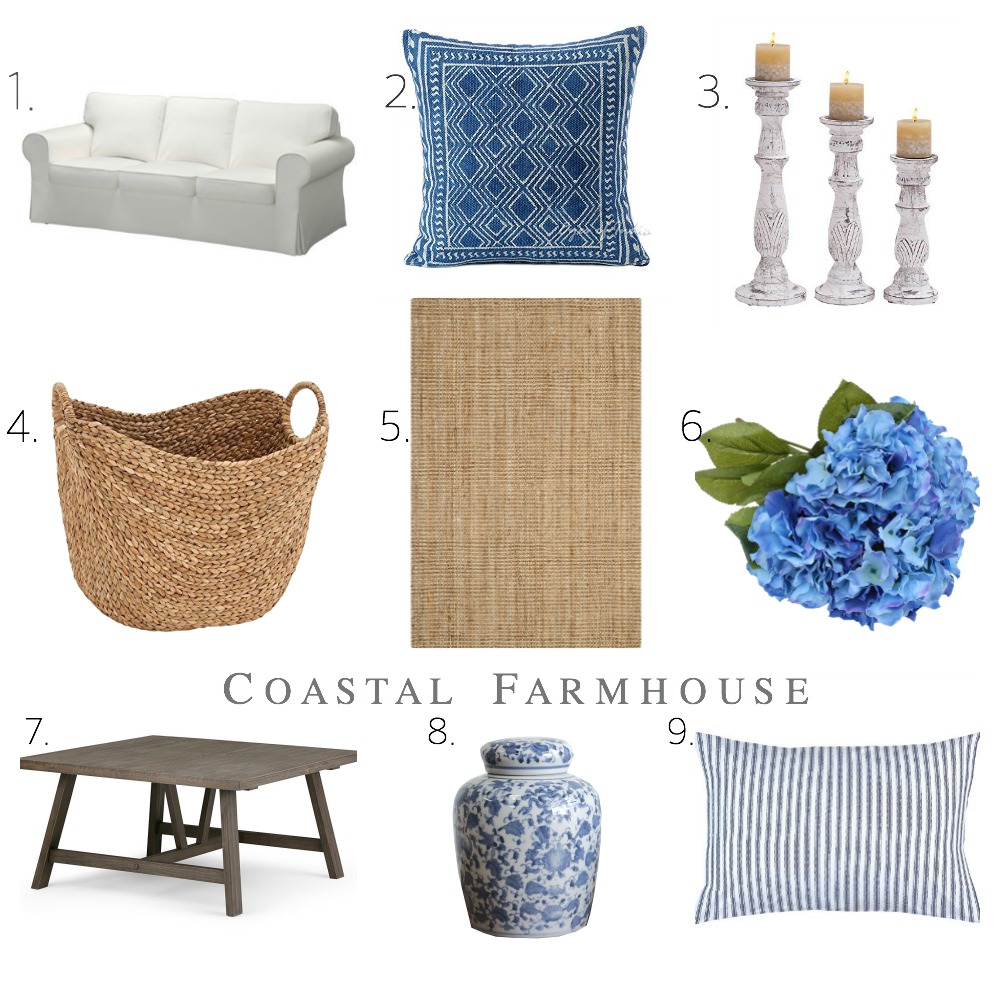
1.Ektorp 3 seater replacement slipcover in white | 2. Indigo blue throw pillow | 3. Wooden candle sticks | 4. Large seagrass basket | 5. Jute Rug  | 6. Artificial silk hydrangeas | 7. Wood coffee table | 8. Blue floral ginger jar | 9. Blue ticking throw pillow

I have all these items (or very similar) and they have been the basics that help me create this look in my own home.

  • Neutral furniture makes it easy to throw on any colour and style of pillow, while slipcovers give a relaxed feel and they’re easy to clean.
  • Pillows to pile on and add colour, coziness and comfort.
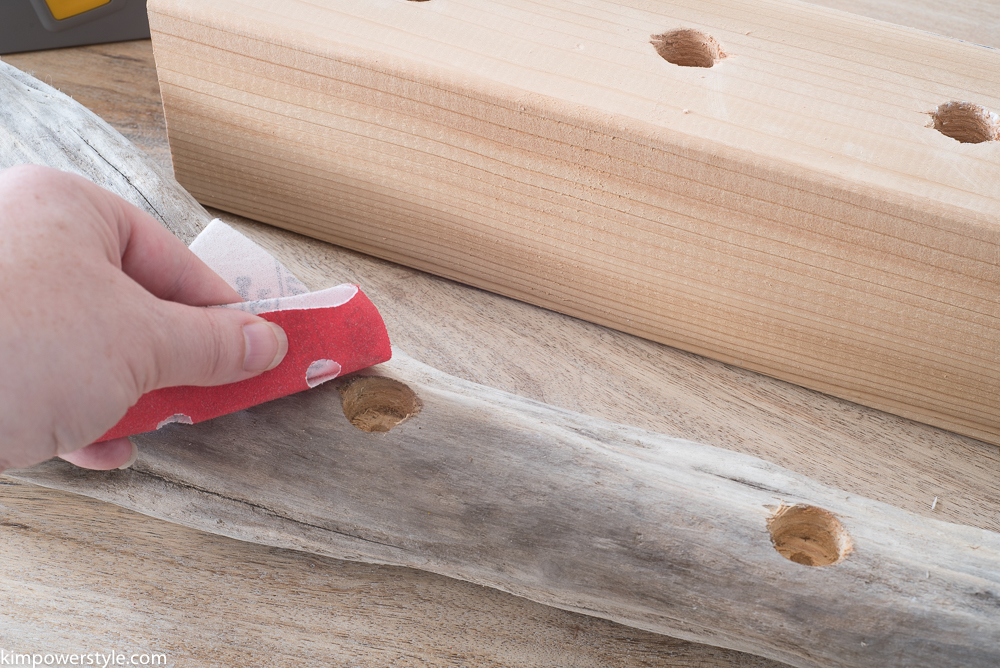
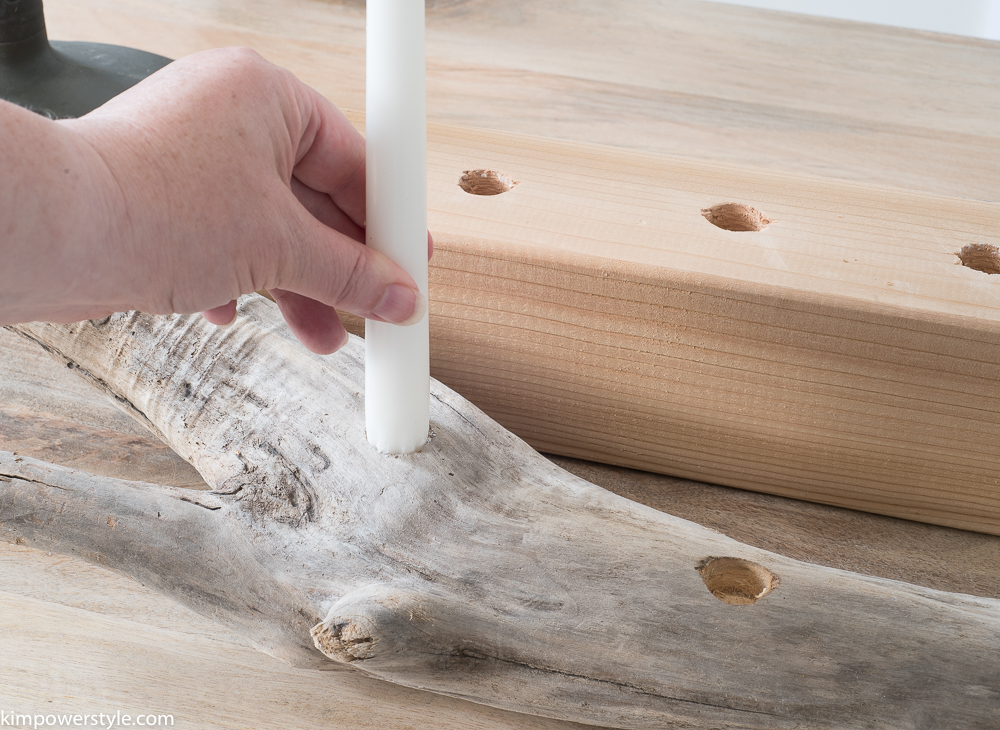
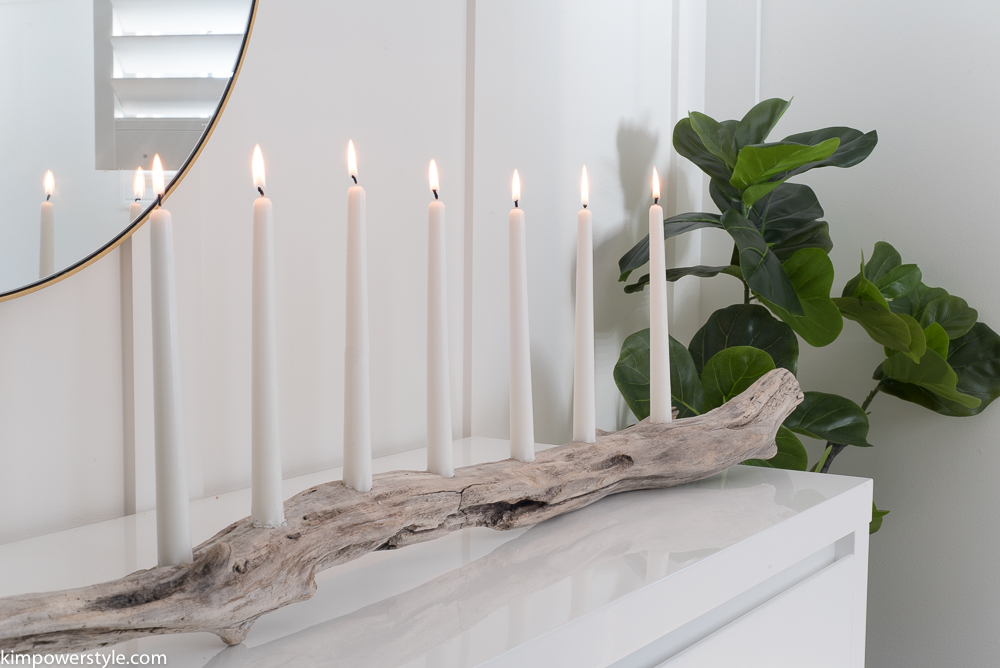
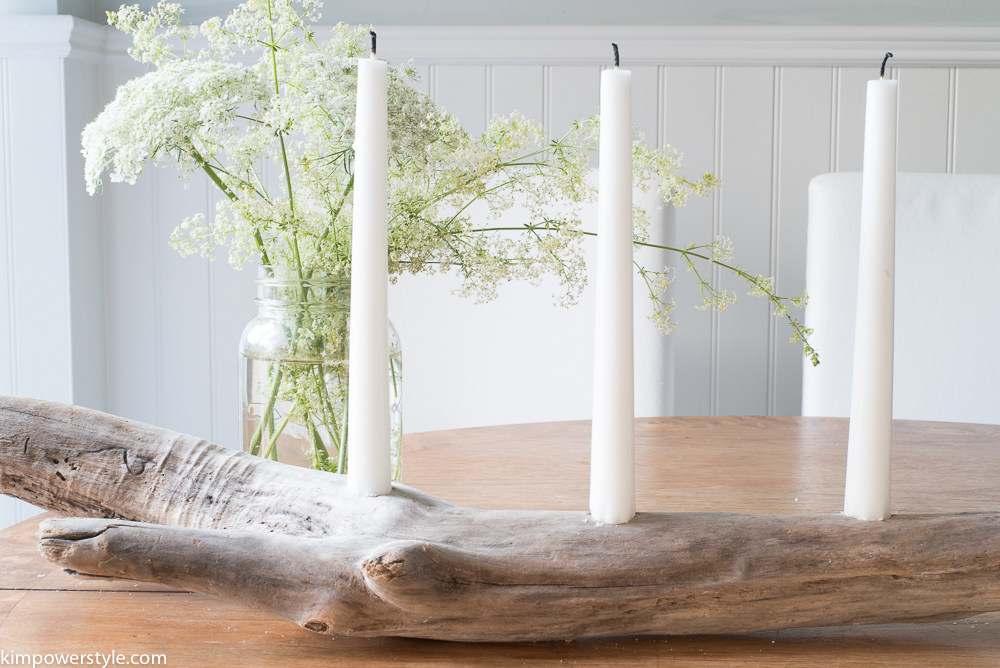
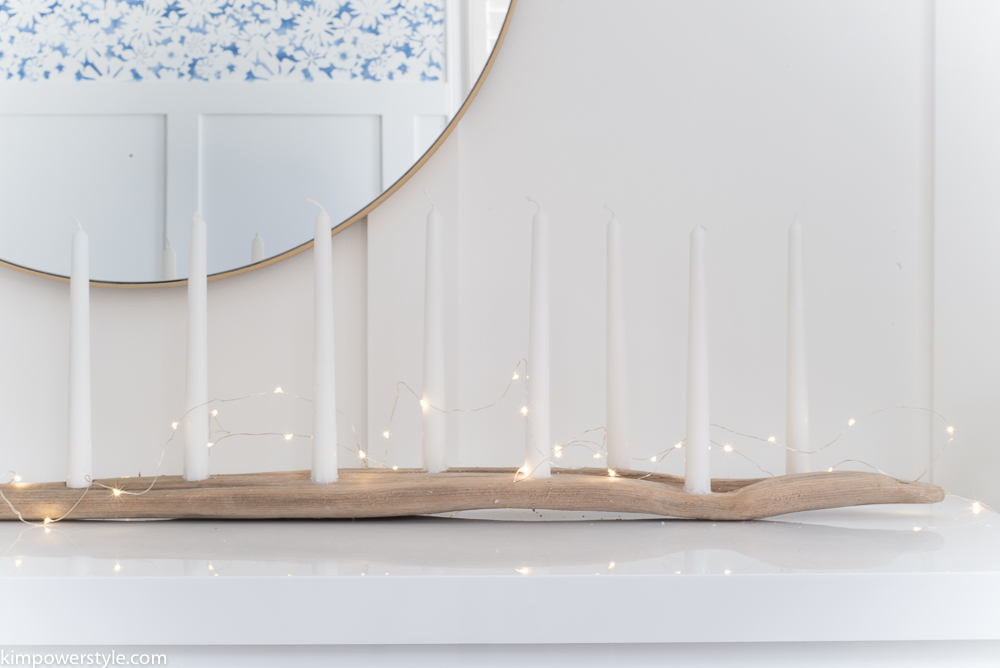
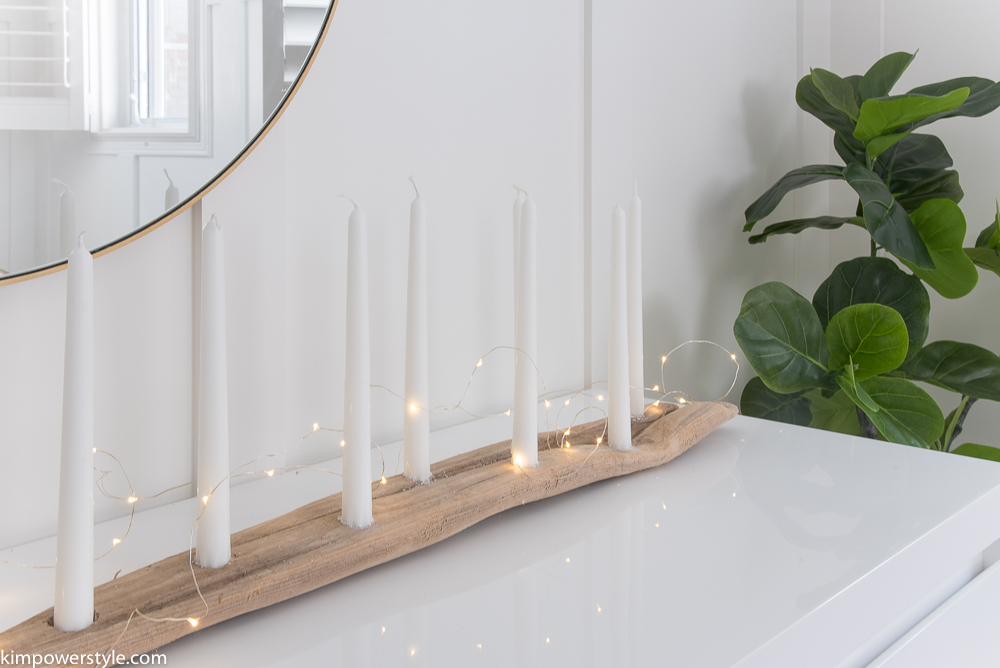
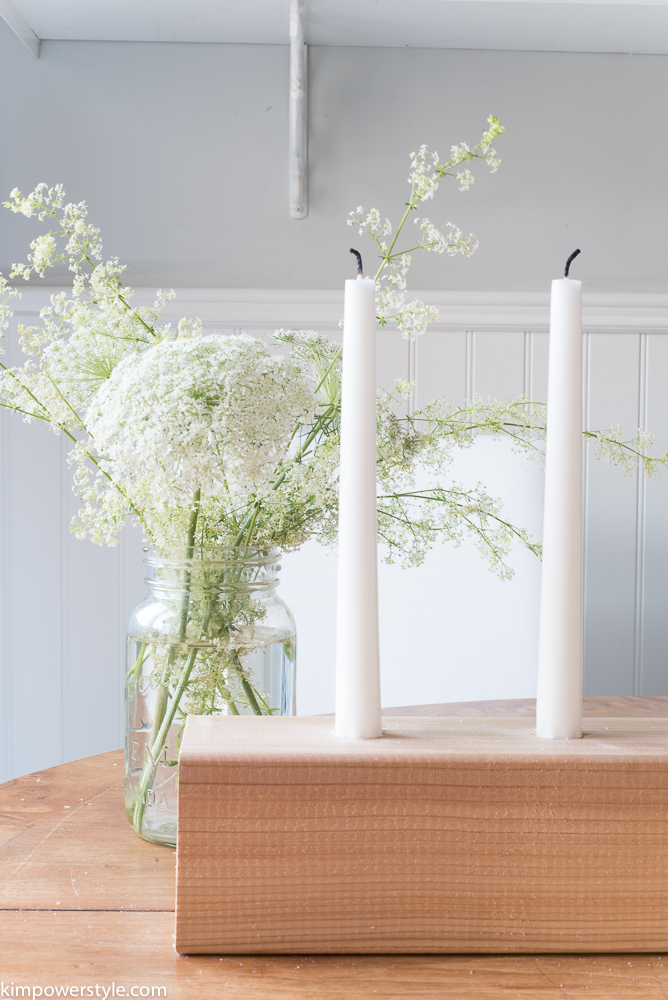
  • Candlesticks with pale wood that reminds you of driftwood you’d find along the beach.
  • Wicker baskets and jute rugs that bring in a relaxed feel and texture.
  • Hydrangeas whether real or faux especially in blue reminds me of gorgeous houses in the Hamptons.
  • Coffee tables with more pale driftwood like wood.
  • Blue and white anything, especially these gorgeous ginger jars.

I hope this has made it a little easier for those of you who are trying to achieve this look. If you have any questions, leave them in the comments and I’ll get back to you.

To receive these posts straight into your inbox simply subscribe! You can also join me on Instagram and Pinterest for more Coastal Farmhouse inspiration.

Blessings,

Kim


Filed Under: Home decor

Easy Mexican Pico de Gallo

2:41 pm by kim 4 Comments

I’m sharing one of my favourite’s with you today folks. It’s a basic, Easy Mexican Pico de Gallo recipe. If you’ve never made this before, prepare yourself because you’re in for a real treat! This Pico de Gallo can be used for everything from topping on your chips to toppings on  fish, chicken and eggs.  Whenever I’ve gone to Mexico, It’s on my plate with every meal. I’m using it on my turkey breast and ciabatta sandwich right now!

You can make this anytime but it’s especially good when tomatoes are fresh from the garden! I love all the fresh colours that make up this wonderfully versatile dish.

Easy Mexican Pico de Gallo

Easy Mexican Pico de Gallo

Let me start off by saying that this is the basic Mexican recipe. You can add whatever else catches your fancy! Also, these measurements are reflective of how I like my Pico de Gallo to taste. If you like more heat, add more jalapeño peppers. If you don’t like cilantro, omit it. If you like lots of tartness, add more lime juice etc. This dish is customarily chopped by hand but you can use a food processor if you like. Plum tomatoes are more meaty and firm but you can try other types as well. For this recipe I used vine ripe tomatoes that were on sale. This dish can be made a few hours ahead of time and can be eaten within 24 hours. However, I’ve kept it for longer and once you drain off the liquid  that can accumulate (I actually drink that stuff much to the chagrin of my daughters) It still looks and tastes great!

Easy Mexican Pico de Gallo

You’ll need:

  • 4-6 Plum tomatoes, diced
  • 1 small red onion or 1/2 a large one, minced
  • 1/2 a bunch of cilantro, finely choppped
  • 1/2 a jalapeno pepper, seeded and finely chopped
  • 3 cloves of garlic, minced
  • juice of 1 lime
  • salt and pepper to taste

Easy Mexican Pico de Gallo

Place all your ingredients into a bowl and mix together adding salt and pepper to taste. You can use it right away or wait an hour or two for all the delicious flavours to meld together.

Easy Mexican Pico de Gallo

Easy Mexican Pico de Gallo

You can use it with tortilla chips or top it on your favourite foods.

Easy Mexican Pico de Gallo

 I hope you get the chance to make this dish. I think you’ll really enjoy it!

Thanks so much for stopping by! To see more and to receive these posts straight to your inbox, Just click the box on the right and subscribe. You can always find me on Instagram, and pinning away on Pinterest.

Blessings,

Kim

Filed Under: recipes

Driftwood Candle Holder Tutorial Redo

2:22 am by kim 6 Comments

 Driftwood Candle Holder Tutorial Redo

One of the first projects/tutorials I did when I first started my original blog “Restoration House”  was this Driftwood Candle Holder tutorial. That was seven years ago and I still have my original piece! This is such a simple and easy project to do and literally only takes minutes and makes a bit impact! I’ve also included a wooden post I had cut into 3 foot lengths to show you that you can use practically anything made out of wood and turn it into a candle holder. You can find the original tutorial here.

Simple & Easy Candle Holder Tutorial

Here is my original piece and my favourite, I love the organic shape of it. This one was made with a 1.5″ spade bit which is the perfect size for tea lights.

Driftwood-Candle-Holder-Tutorial

Driftwood-Candle-Holder-Tutorial

You’ll need:

  • A piece of driftwood or wood that is at least 1.5″ thick.
  • Drill
  • Spade bits. They come in many different sizes and are used according to the size of the candle you want to use.
  • Sandpaper to sand off any bits from around the holes.
  • The candle of your choice.

Driftwood-Candle-Holder-Tutorial

For my tapered candles I used a 3/4″ spade bit which was a little small but I was able to whittle the candle bottom to fit snuggly. The 7/8″ was a little too big and I want the candles to be snug so they don’t fall over.

Driftwood Candle Holder Tutorial

Because driftwood is an organic shape, you have to lay it down on the floor so it levels itself out. Every piece will lie differently.

Driftwood Candle Holder

Once it’s level, decide how many candles you’d like and how far apart  you’d like them to be. If you need to, you can get a measuring tape and mark your places. I just eye balled it.  You will drill straight down so that your candles will stand level. You can drill down to an inch depth or more if you’re using tapered candles. Tea lights should only go as deep as the candle itself to avoid fire hazards. (I would suggest using faux tea lights, they make such pretty ones now and it’s much safer!)

Driftwood Candle Holder

Driftwood Candle Holder

I drilled down about an inch. If you need to you can place some tape on your spade bit to mark how far your bit needs to go.

Driftwood Candle Holder Tutorial

You may need to sand around the edges for any jagged pieces. I found the harder the wood the more sanding was needed. You can see that the new wood piece needs more sanding.

driftwood candle holder tutorial

My holes were slightly smaller than my candles so I had to whittle down the ends so that candle ends fitted in really snuggly. You don’t want your candles wobbling around!

Driftwood Candle Holder Tutorial

Driftwood Candle Holder Tutorial

Driftwood Candle Holder Tutorial

Driftwood Candle Holder Tutorial

Driftwood Candle Holder Tutorial

I found a wooden post at my local HD and had it cut into 3 pieces. You can stain or paint your wood to suit your needs. I left mine natural. You can also use larger spade bits and make a pen/pencil holder. There’s no end to what you can create.

Driftwood Candle Holder Tutorial

Driftwood Candle Holder Tutorial

Driftwood Candle Holder Tutorial

Driftwood Candle Holder Tutorial

untitled-5646

Safety Precautions:

  • I have real tea lights in the candle holder above but I would suggest using the little faux ones. It really is much safer. Driftwood by nature is extremely dry and can ignite so quickly! I’ve heard from others how this has happened.
  • Make sure your tapered candles are in snuggly if you’re using real ones.
  • Never, ever leave candles burning unattended!

A Driftwood Candle Holder Tutorial

I’m hoping that you will give this a try, it really is quite easy and can be done in minutes!

Thanks so much for dropping by! If you haven’t already done so, subscribe so you don’t miss a post, they’ll go straight to your inbox!

Blessings,

Kim

Filed Under: diy, summer, Tutorials, Uncategorised

Primary Sidebar

Hi, I'm Kim Read More…

Instagram

Follow along on Instagram

Sign up and don't miss a post!

Recent Posts

  • Festive Bacon Wrapped Chestnut Holiday Appetizer
  • DIY Mantel Decorated for Christmas
  • Simple and Cozy Fall Home Tour
  • Simple Fall Tablescape

Archives

Footer

Copyright © 2025 · Foodie Pro Theme by Shay Bocks · Built on the Genesis Framework · Powered by WordPress