Driftwood Candle Holder Tutorial Redo
One of the first projects/tutorials I did when I first started my original blog “Restoration House” was this Driftwood Candle Holder tutorial. That was seven years ago and I still have my original piece! This is such a simple and easy project to do and literally only takes minutes and makes a bit impact! I’ve also included a wooden post I had cut into 3 foot lengths to show you that you can use practically anything made out of wood and turn it into a candle holder. You can find the original tutorial here.

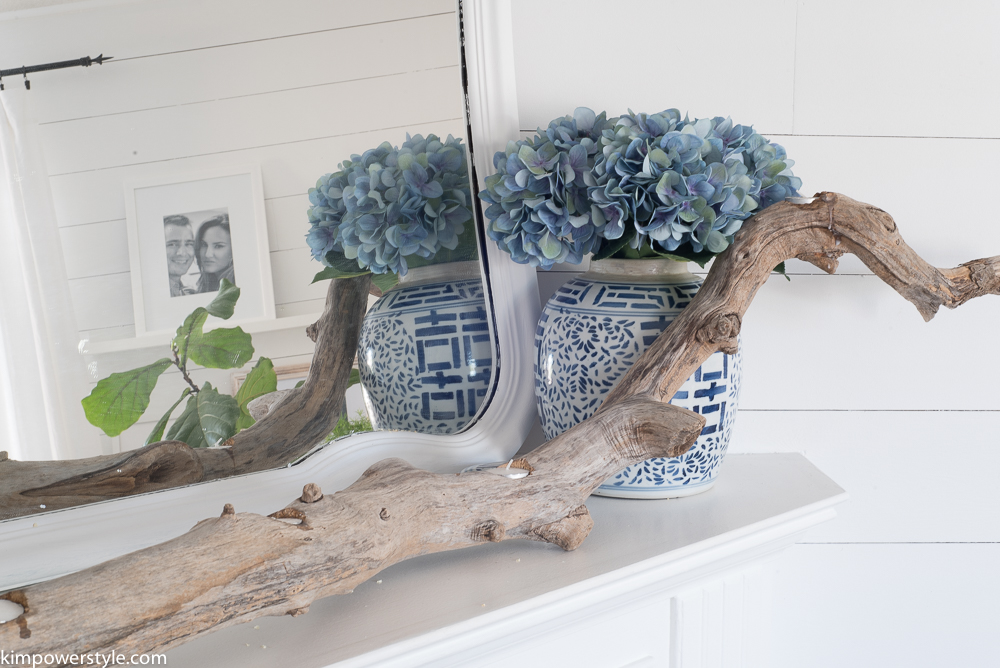
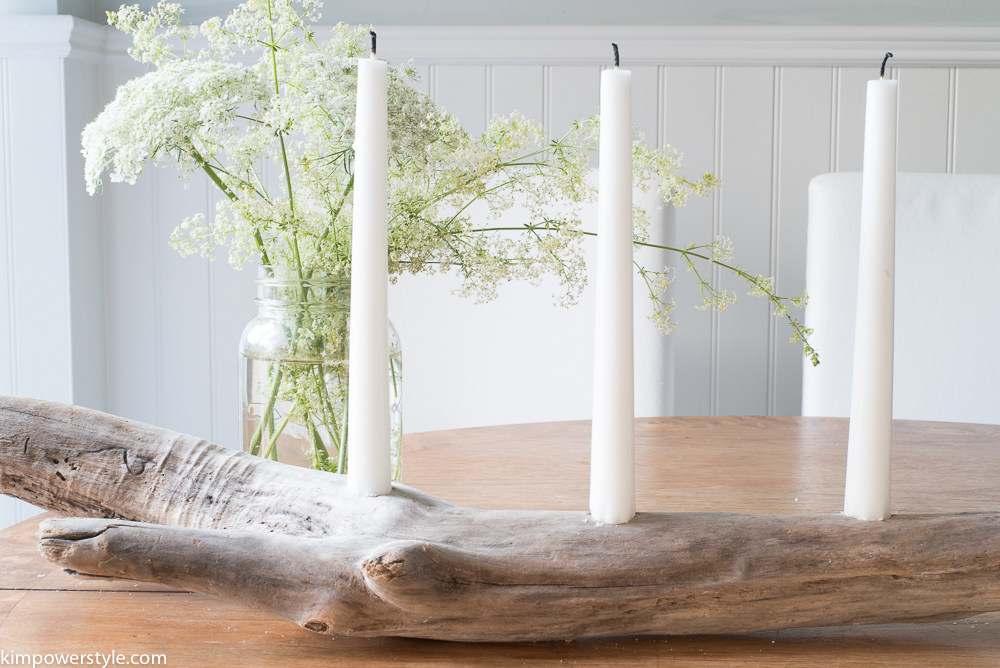
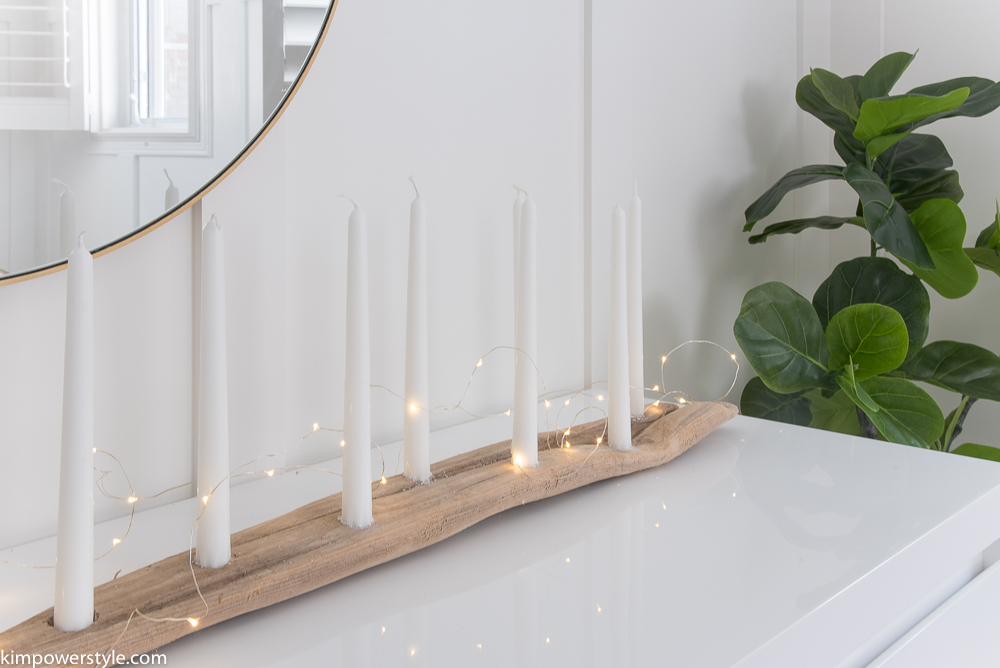
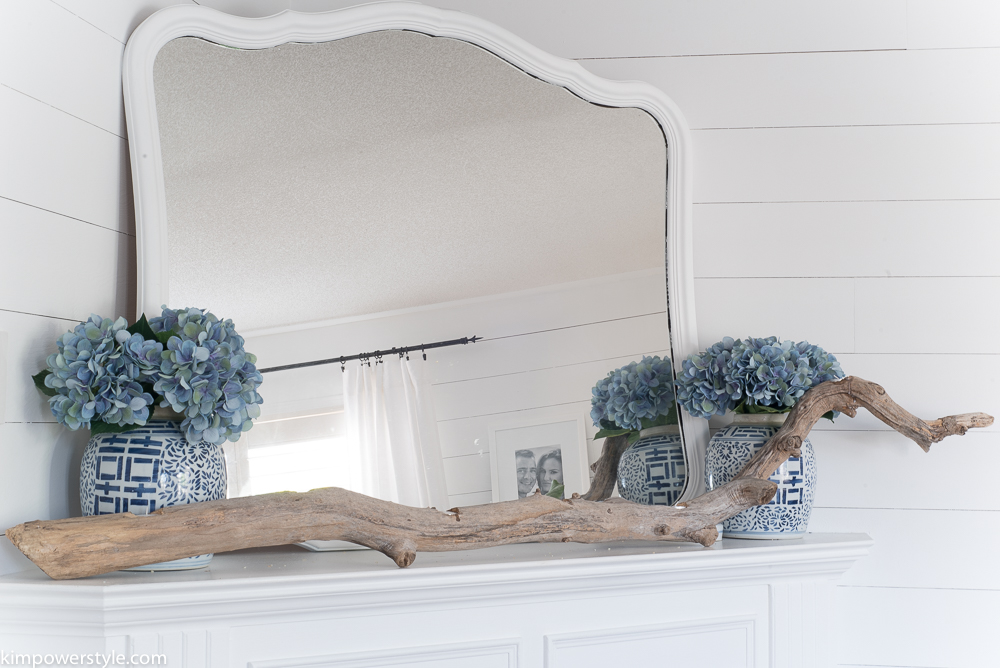
Here is my original piece and my favourite, I love the organic shape of it. This one was made with a 1.5″ spade bit which is the perfect size for tea lights.
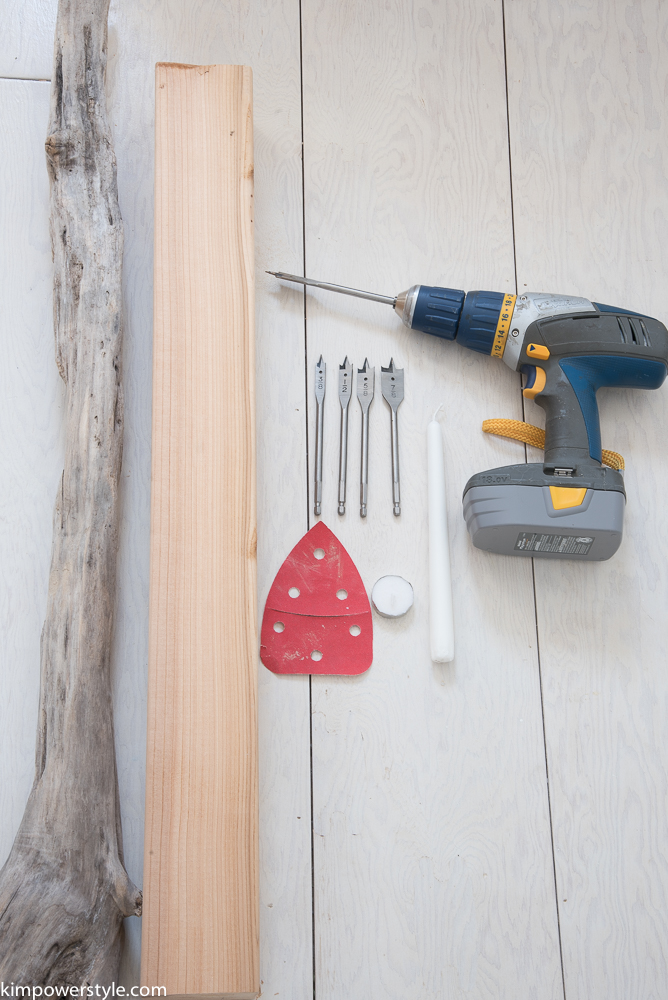
You’ll need:
- A piece of driftwood or wood that is at least 1.5″ thick.
- Drill
- Spade bits. They come in many different sizes and are used according to the size of the candle you want to use.
- Sandpaper to sand off any bits from around the holes.
- The candle of your choice.
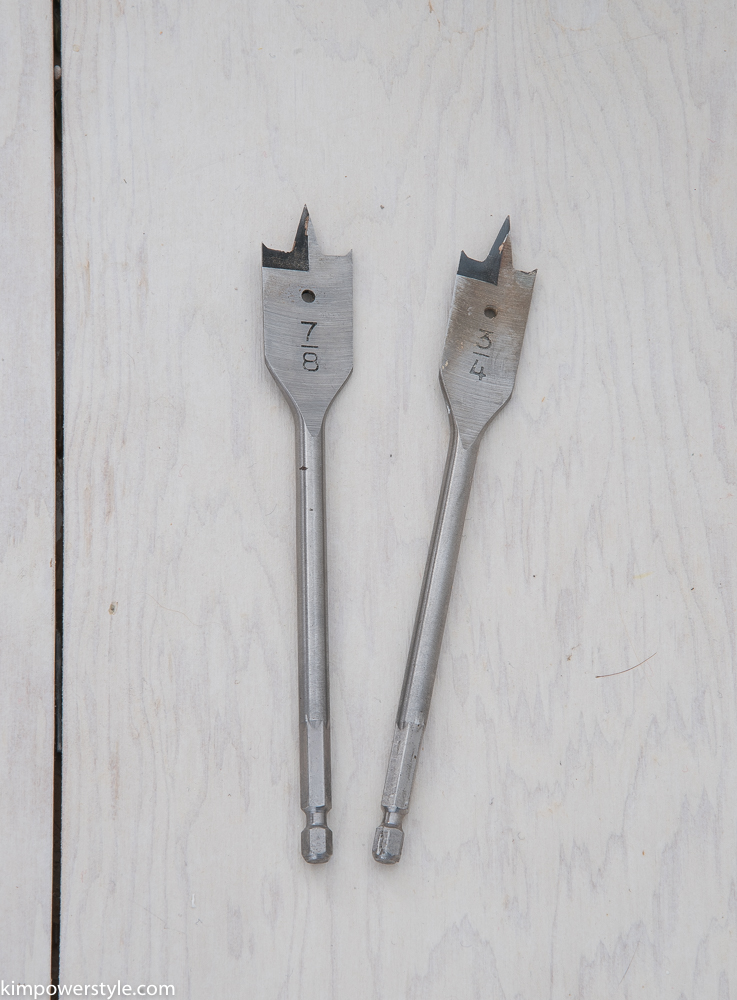
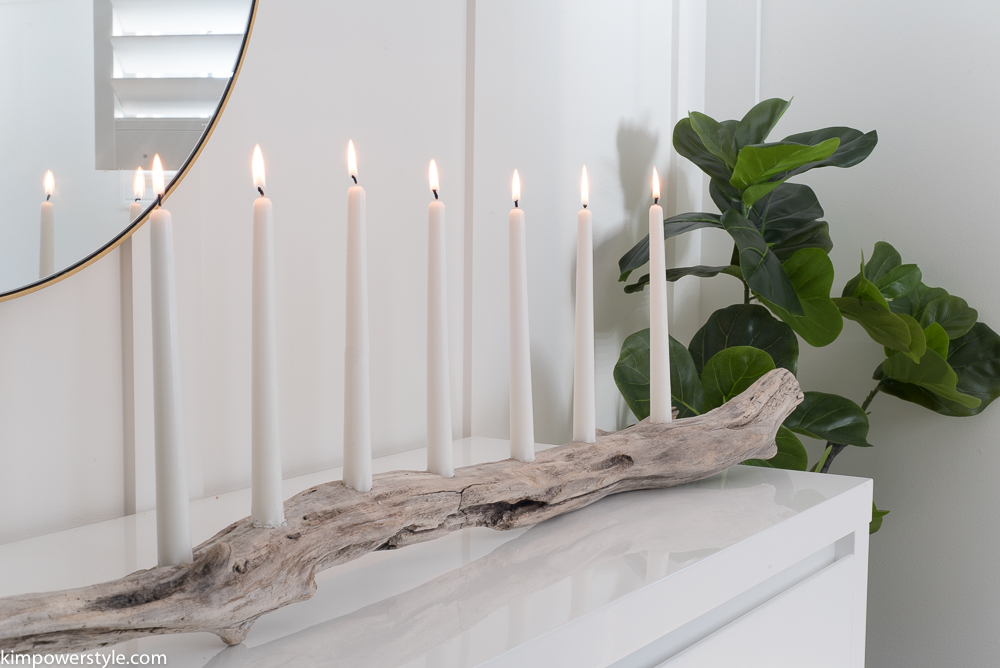
For my tapered candles I used a 3/4″ spade bit which was a little small but I was able to whittle the candle bottom to fit snuggly. The 7/8″ was a little too big and I want the candles to be snug so they don’t fall over.
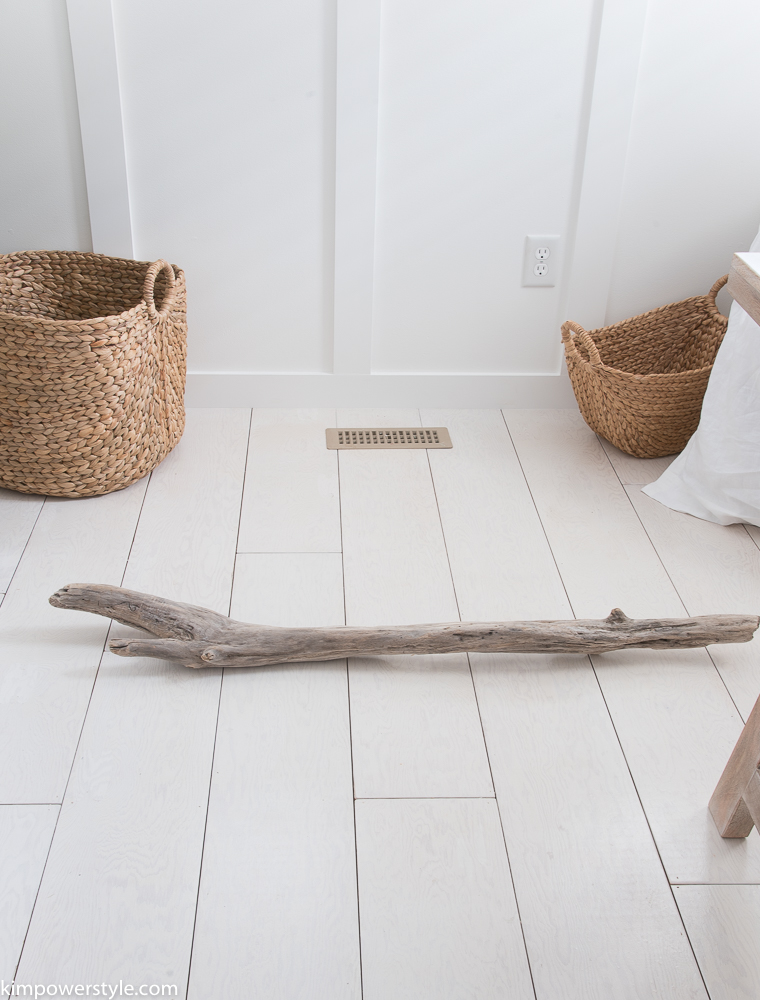
Because driftwood is an organic shape, you have to lay it down on the floor so it levels itself out. Every piece will lie differently.
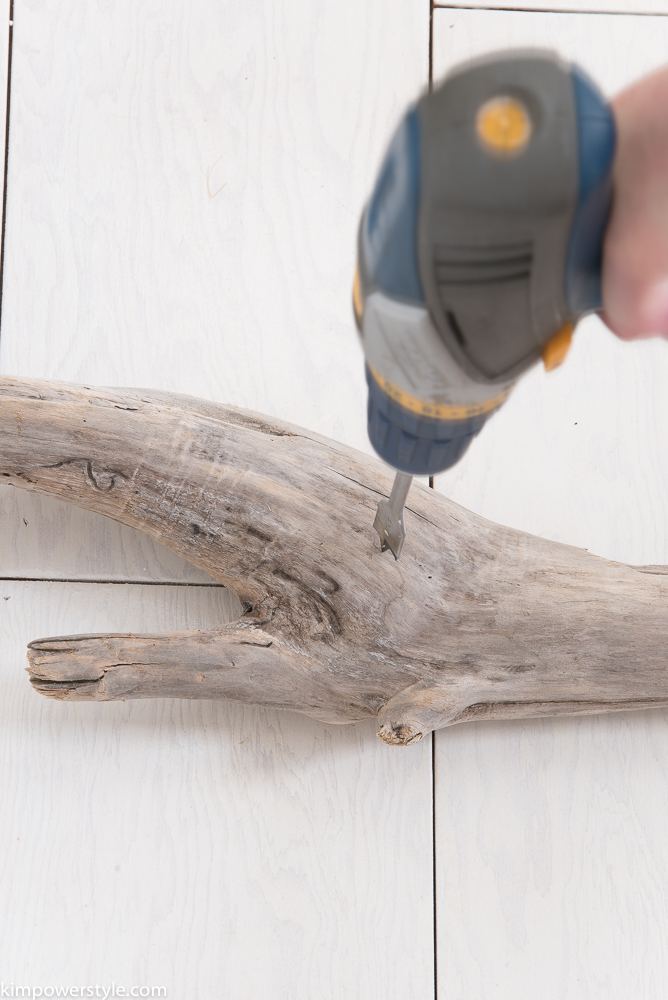
Once it’s level, decide how many candles you’d like and how far apart you’d like them to be. If you need to, you can get a measuring tape and mark your places. I just eye balled it. You will drill straight down so that your candles will stand level. You can drill down to an inch depth or more if you’re using tapered candles. Tea lights should only go as deep as the candle itself to avoid fire hazards. (I would suggest using faux tea lights, they make such pretty ones now and it’s much safer!)
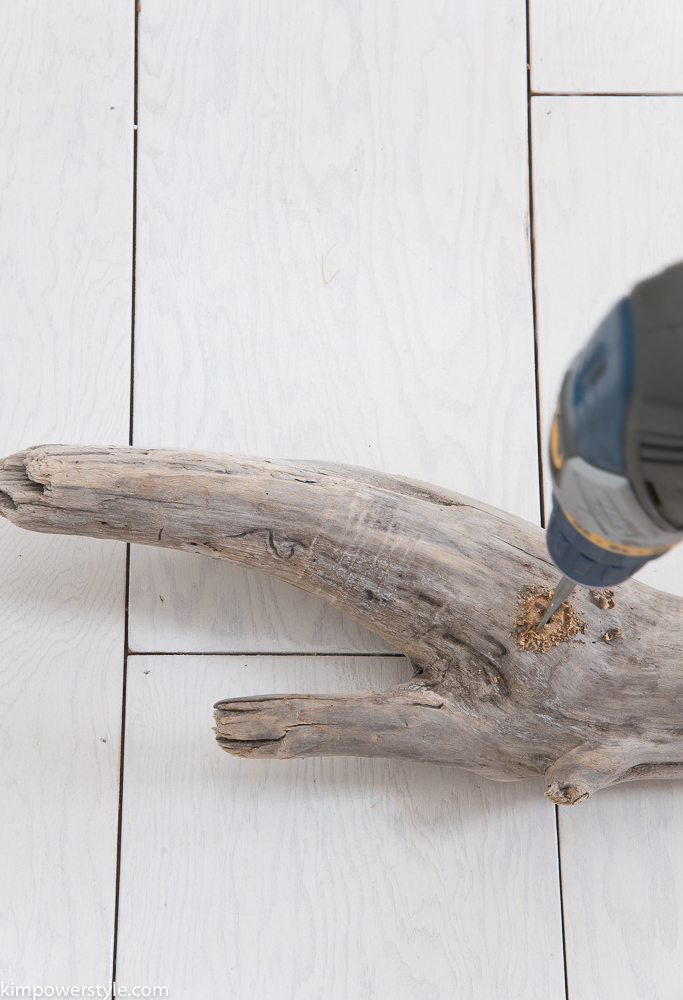

I drilled down about an inch. If you need to you can place some tape on your spade bit to mark how far your bit needs to go.
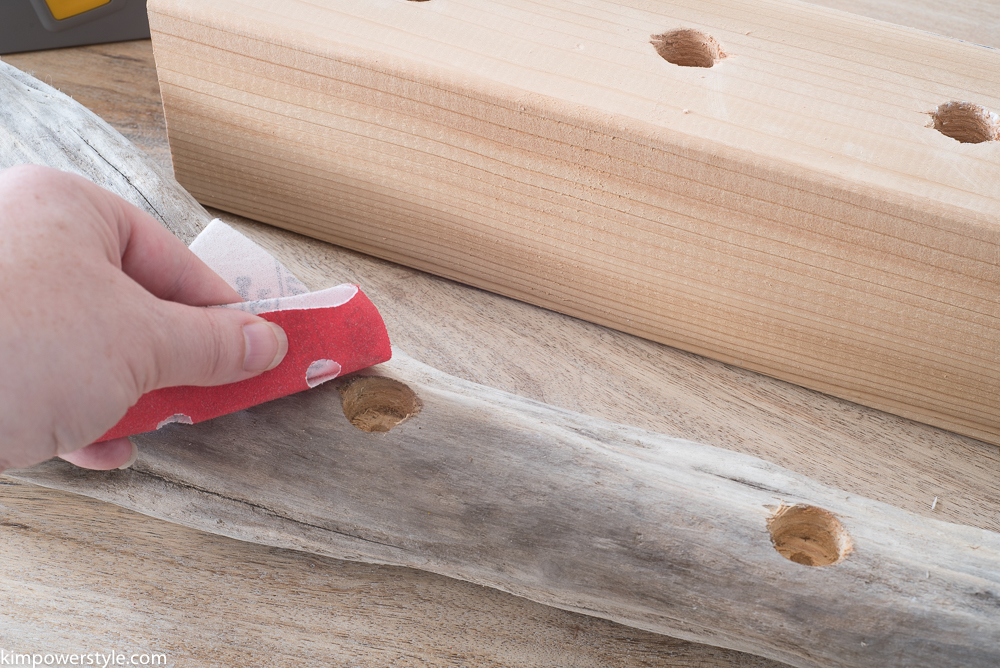
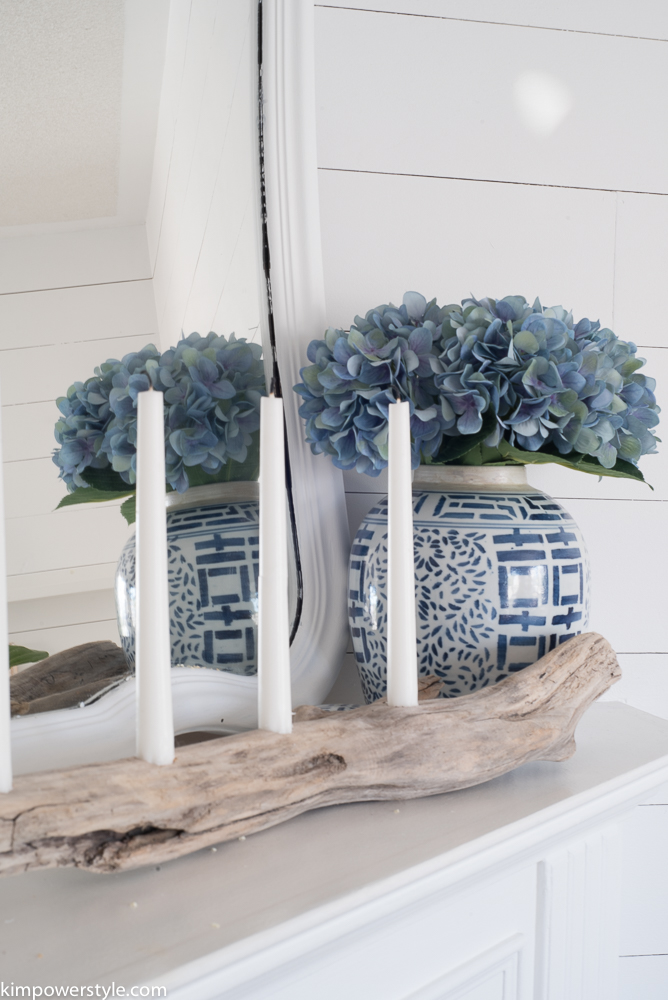
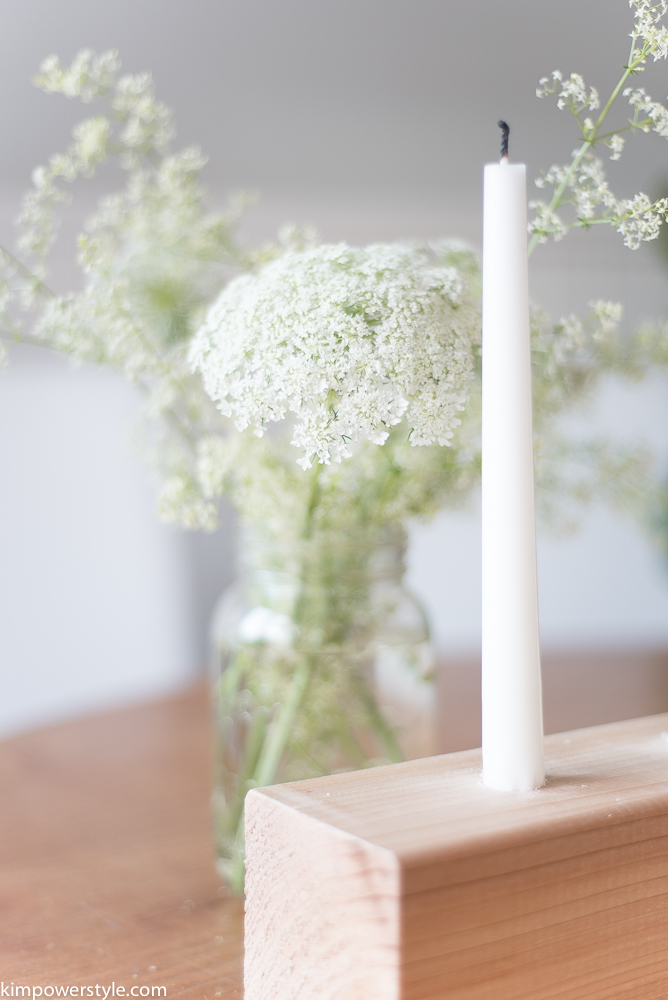
You may need to sand around the edges for any jagged pieces. I found the harder the wood the more sanding was needed. You can see that the new wood piece needs more sanding.
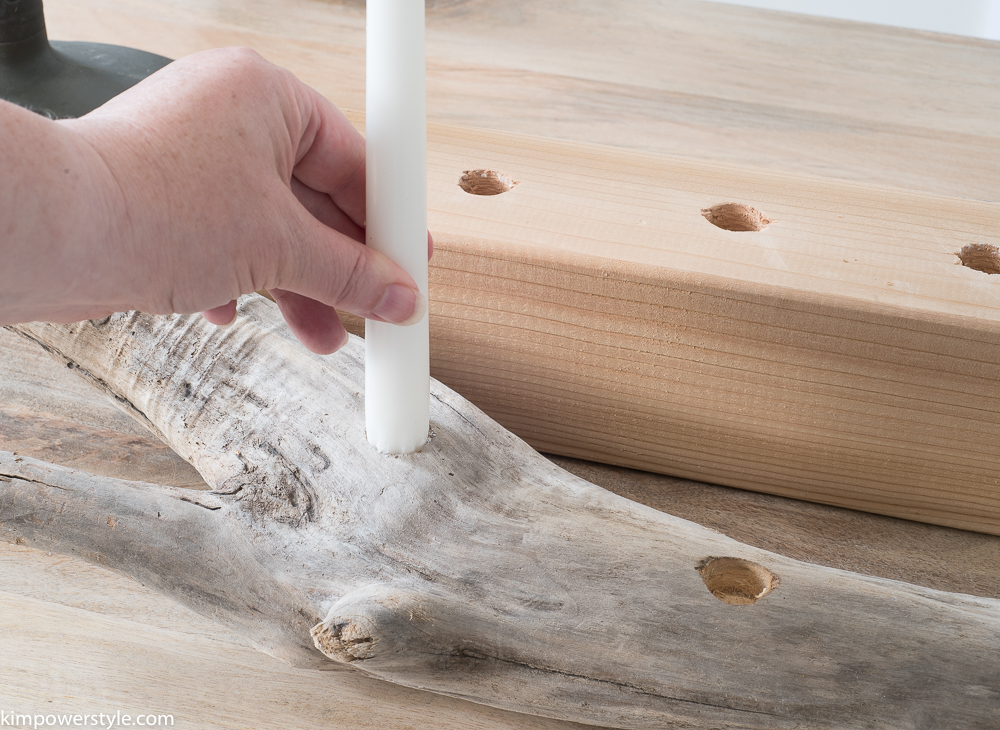
My holes were slightly smaller than my candles so I had to whittle down the ends so that candle ends fitted in really snuggly. You don’t want your candles wobbling around!
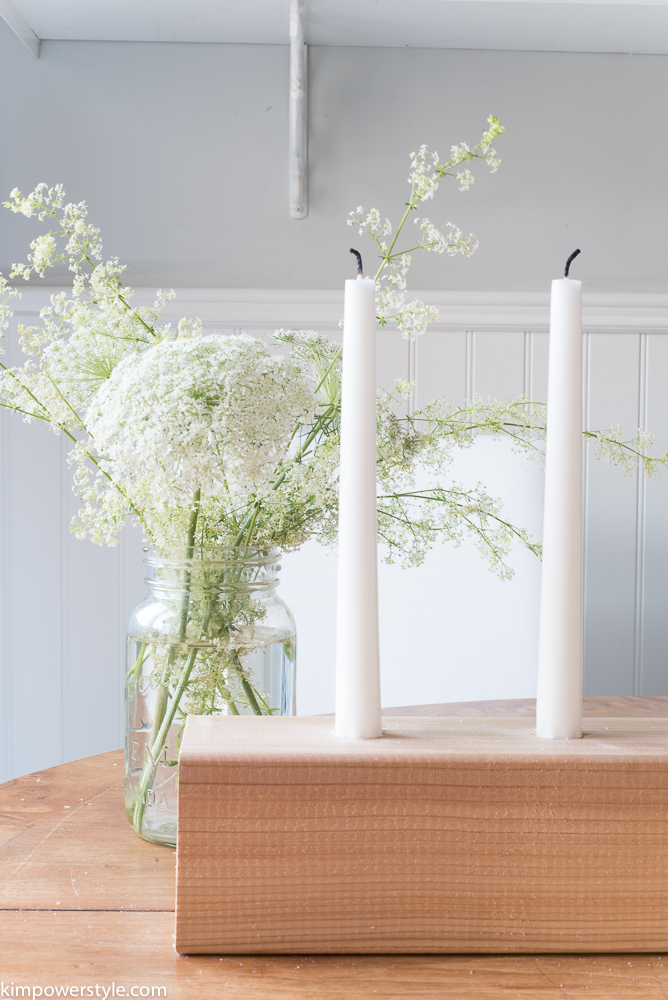
I found a wooden post at my local HD and had it cut into 3 pieces. You can stain or paint your wood to suit your needs. I left mine natural. You can also use larger spade bits and make a pen/pencil holder. There’s no end to what you can create.
Safety Precautions:
- I have real tea lights in the candle holder above but I would suggest using the little faux ones. It really is much safer. Driftwood by nature is extremely dry and can ignite so quickly! I’ve heard from others how this has happened.
- Make sure your tapered candles are in snuggly if you’re using real ones.
- Never, ever leave candles burning unattended!
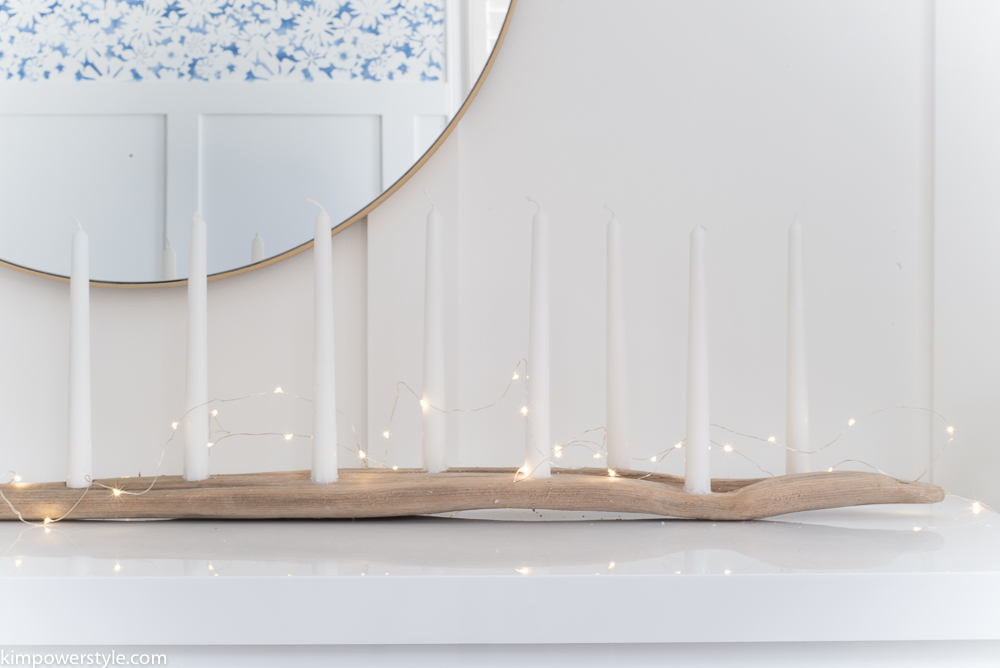
I’m hoping that you will give this a try, it really is quite easy and can be done in minutes!
Thanks so much for dropping by! If you haven’t already done so, subscribe so you don’t miss a post, they’ll go straight to your inbox!
Blessings,
Kim
That driftwood candle holder looks really cute, and easy to make.
http://sugarcoatedbears.blogspot.com/
Thank you Courtney, it really is! 🙂
I love all your candle holders! They turned out so nice, makes me want to go to the beach and find some driftwood!
Thanks Dannyelle, thats what I was hoping for!
Nice!
Thank you sweety!