


You will need a drill, a 1.5 inch spade bit or a 1.5 inch orbital bit? (Not exactly sure what that one is called and the knower of all names aka my husband is not around) Using the spade bit is much easier and far quicker as it reduces 1 step. when I first tried this project I didn’t have a spade bit so I had to do it the hard way. You should have a tape measure, pen, flat head screwdriver if using that orbital bit and Tealight candles.

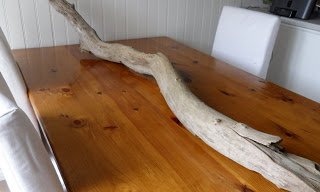
First, lay down your piece of driftwood and see which side you prefer as well as where your piece sits level.
Take out your tape measure and mark where to place your holes. Or you can eyeball it like I did.

This is the 1.5 ( or1 1/2) size spade bit

Center your bit over your mark and apply pressure. It may be easier to do on the floor. The table works for my back! Start drinlling.

I have a level on the end of my drill. You want to keep it level so that your candle will sit level.

If you decide to use this bit, remember to place a mark on your bit at the depth you want your bit to go in the wood. I wanted my candles just at or above the wood line to decrease risk of setting the piece on fire.

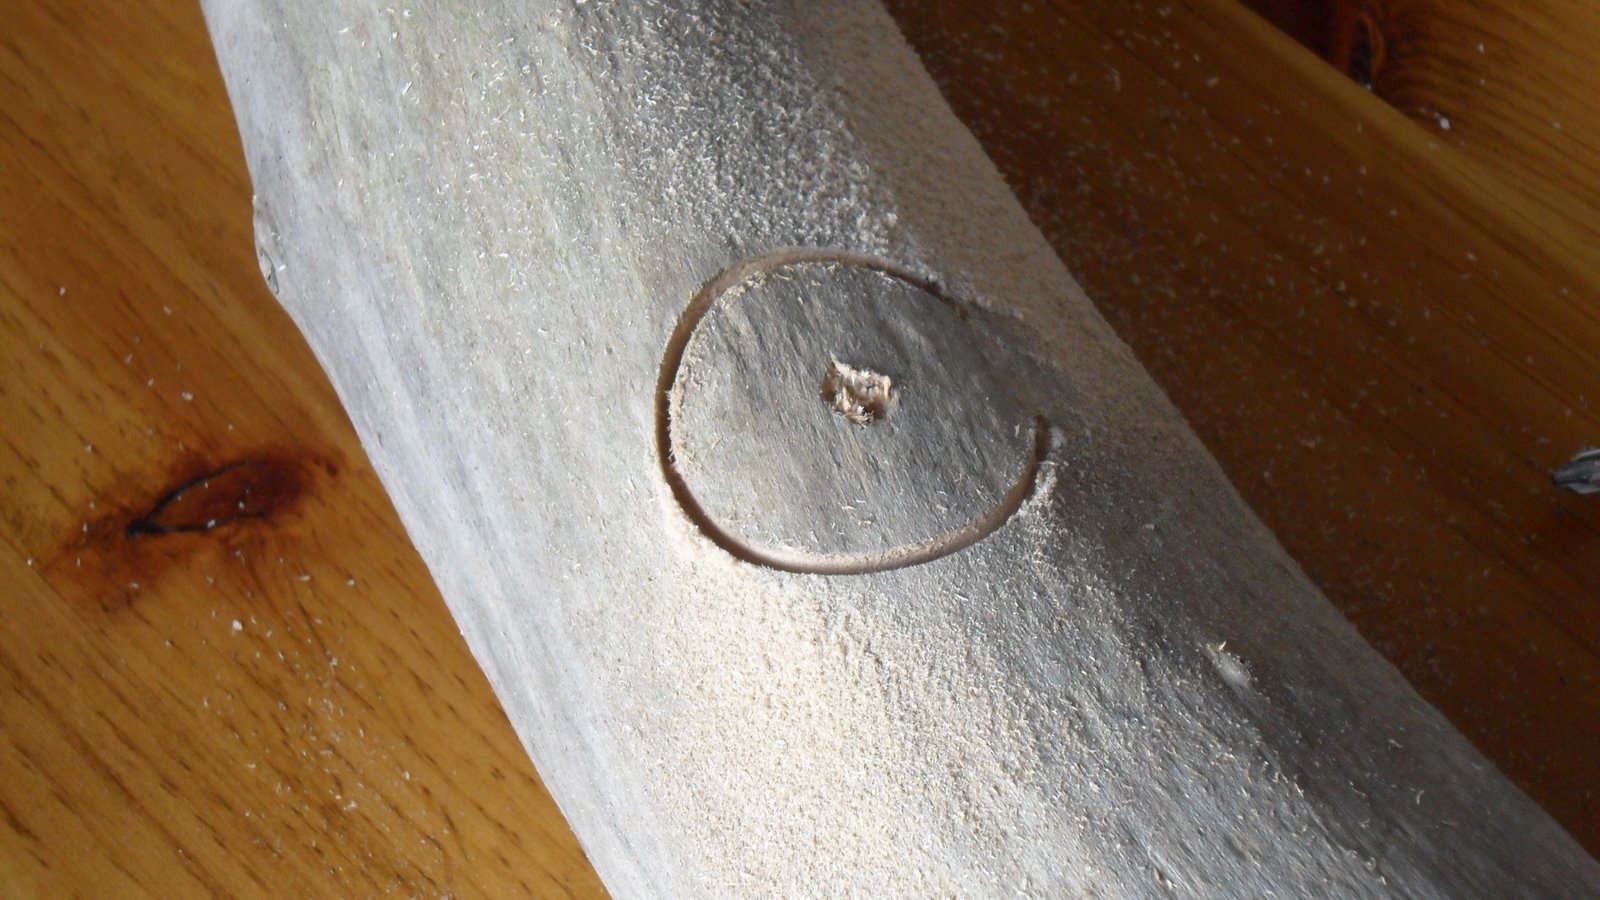
This is what it will look like when you use the above bit.

You will have to tap out the wood that is still left with this bit which wasn`t difficult but time consuming, however, both bits were 1.5 inch but this orbital bit left a bigger hole and was easier to place the tealight candles into than the spade bit.


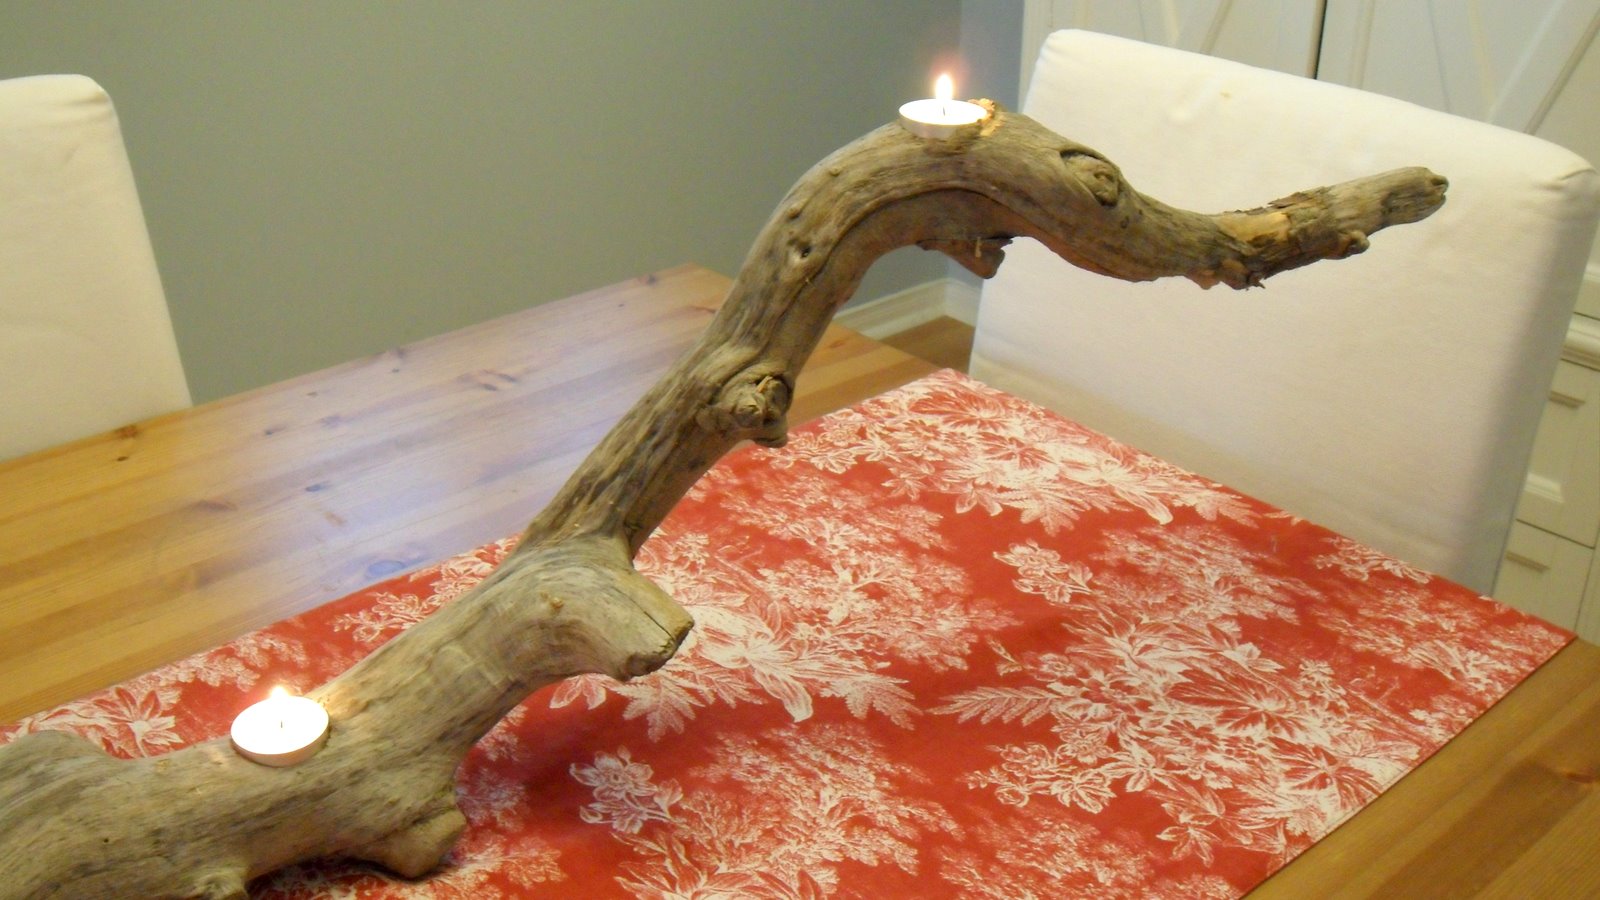
This is the piece with all the holes done. You are ready to put your candles in!

Please make sure that you use the tealight candles with the metal around them (most come this way from ikea and Walmart etc.) as this will decrease the chance of your piece catching fire! Also, make sure that your holes are flat and even so the candle doesn`t sit sideways, you will get wax everywhere.

You can place it anywhere!
Like all candles, DO NOT LEAVE UNATTENDED!
You can use all different shapes of driftwood to make it interesting.
I use them on my mantel as well.

Soo pretty!
Hope you enjoyed todays tutorial. Please once again, NEVER LEAVE UNATTENDED! This is old DRY WOOD and burns very easily
.


I have an almost identical piece in my garden. It looks fabulous in the evening!
s
xo
That is sooo pretty. I haven't found a piece of driftwood that size before. They are either tiny or so big you can't drag them off the beach.
I signed up to follow you.
Come by for a visit and I would love to have you follow along both blogs.
Cheri from ItsSoVeryCheri and TheDIYClub.com
Going to share on my fb fan page! Love this! Your newest follower!
Love this! I have a big fat log that someone did this to for me. But I love the long slenderness of the driftwood. I hope I can come across a piece that would work for this. Really pretty!
This is one of the best projects I've seen…ever! Natural and elegant!! Thanks for linking it up at WhisperWood Cottage. With your great tutorial, you should definitely link up to the DIY Living Weekly Showcase over a thediyclub.com. I know they will love it over there!
Amy
Amazing!! I LOVE driftwood, so this might be happening over here pretty soon. 🙂 Thanks for linking up!! -shaunna 🙂
Your driftwood candle holder is really cool! I love it. I just discovered your blog and I think your home is lovely! I am following you now. 🙂
Fabulous!
Beautiful idea!!!Congratulations!
hugs
Cidinha
LOVE this… it's gorgeous!
That's very creative.
This is gorgeous! Now all I need to do is keep my eye out for driftwood in the midwest, lol. I'm so happy to be your newest follower!
INGENIOUS! I sent my husband out to get one of those bits for his drill and I am heading out to gather driftwood right away… OK not right away but as soon as I sign up to be your follower… and it gets light outside. Thanks for sharing!
This is really lovely! Such an elegant touch of nature highlighted with the tiny flames… I'd bet it looks wonderful with the lights turned down low.
Donna
What a lovely idea! Although I live on the coast, I don't see nearly as much driftwood as I'd like. I'll absolutely be keeping my eyes open for some to make this though.
Very pretty idea. I love it =) I'm a new follower!
beautiful idea!
That is gorgeous. Thanks for linking it up!
I love this idea! We'll definitely be looking for driftwood at the lake.
Oh…I love how this turned out!
What a great idea ~ for my husband! I will look for some driftwood at the lake, the candle holder would be great on our patio at the lake!
Happy New Year
Sue
I really like your drift wood candleholder, I am guessing you could use other types of wood and drill a spot for a tea candle? I love the look of natural elements brought into a home plus it is reusing repurposing something which is very chic .
What a wonderful idea!! I love this and it looks so pretty on your table.
Be a sweetie,
Shelia 😉
Awesome!!! I have a log (not driftwood, still sheds bark from time to time) that I had hung on a wall at an apartment during Christmas to hang ornaments from. In our new house we haven't found a place for it yet but this may just be the inspiration I was looking for!
Thanks,
Katrina
Really pretty. We find drift wood like that all the time in Mammoth Lakes…that we use for walking sticks…now I just need to look for a slightly wider one. Thanks.
Mary Ann
This is really a great idea. I love it!!!
very pretty marriage between the glow of the candle and the smooth roughness of the driftwood. Nice!
LOVE this look…it's just been added to my 2011 list…love your blog!!!
Blessings,
Linda
I love this idea! Thanks so much for sharing 🙂
Love it! I was in need of some mantle inspiration. Now that the holidays are over, I have to redo it!
How romantic! You are so talented.
Fabulous tutorial!!!
We've added this post to our Coastal Crafts page at http://www.sallyleebythesea.com/p/coastal-crafts.html
I LOVE this project and just featured it on my "Inspiring Finds of the Week" post at 3 Meadow Lake Cottage. Feel free to come check it out…
http://www.3meadowlakecottage.com/2011/06/inspiring-finds-of-week-3.html
~Erin
This is so pretty! I want to put one above my bed, but I live in Florida in the mangroves and driftwood is not available to me. You should think about selling them on Etsy or something!
Been making these for craft shows for years-you need a forstner bit and a drill or drill press. Also I have found tea lights are very dangerous and have burnt many of mine when attended…use the led candles and also if you insist on votives or tea lights use glass votive holders in the holes…can buy a forstner bit for any size.
I love your idea and live on the lake so driftwood is easy to find. Buy little led tealights that have timers on them. Great ideas!!
Aloha!
Thanks for the inspiration! I know I'm a little late to the party here, but I have a question for you. I collected a box full of drift wood, some smaller, some larger pieces and wanted to make something like this with some of my larger pieces and am finding it difficult to get the holes even.
I can't just hold the wood because it jerks around and when I clamp it I'm no longer level, so when I unclamp it, it twists a bit to the side. Or on ones with more than one candle, for the same reason, they aren't necessarily facing the same direction.
Did you sand the bottom to ensure it was flat?
Thanks for your time!
i am itching to make this! 🙂 i think i will use those battery operated tea lights i see around here tho so i dont have to worry about fire…thanks!
Thank you for this! We brought home some driftwood pieces from the coast about the same size and shape as yours above. I was just going to put them on the mantle, but saw your tutorial! I just did this – it was so easy and they (I made 2) look so nice! Thank you! 🙂
This is so beautiful! I love it!
I'm stopping over via Pinterest!
Helen
Blue Eyed Beauty Blog
I love this. I have a piece of driftwood on a bathroom shelf . It’s about two feet long. The plastic battery operated tealights would be great for this.
It would look great with the tea lights, Go for it!