• Skip to primary navigation
  • Skip to main content
  • Skip to primary sidebar
  • Skip to footer

Kim Power Style

  • Home
  • Contact
  • About
  • Tutorials

recipes

Festive Bacon Wrapped Chestnut Holiday Appetizer

5:00 am by kim 8 Comments

Merry Christmas everyone!

Today I wanted to share this oh so easy festive bacon wrapped water chestnut holiday appetizer with you. Did I say it was oh so easy? It’s actually my first time making them and I ran into a major issue…I’ll explain.  Also, there will be links down below for you to click on for more festive Holiday appetizer ideas. No need to go anywhere else friends!
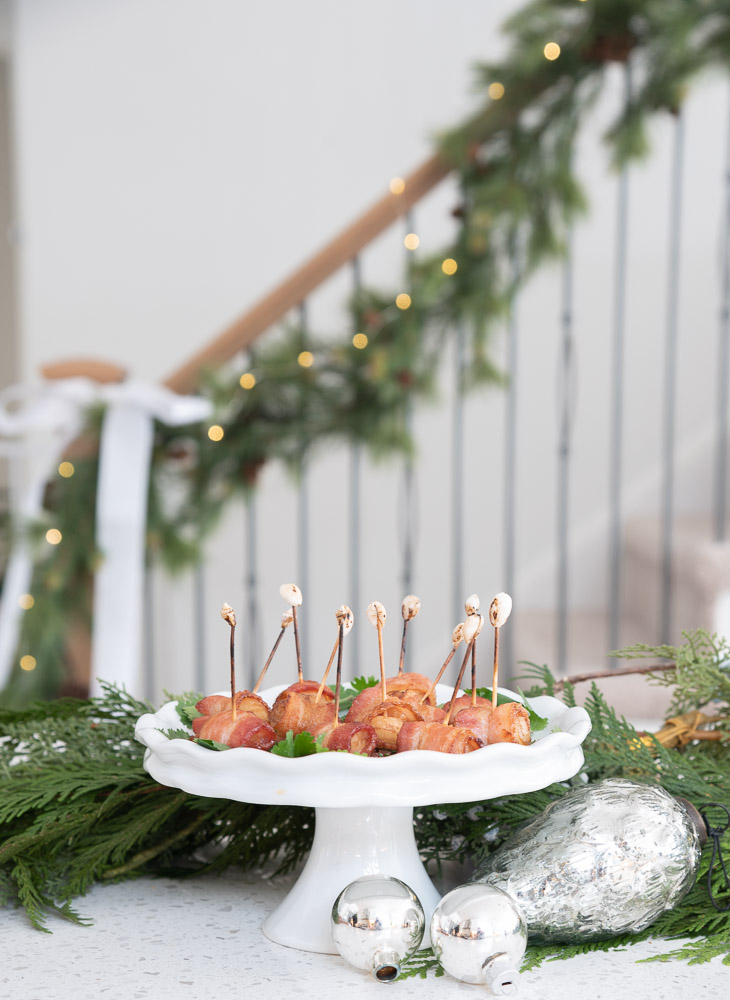
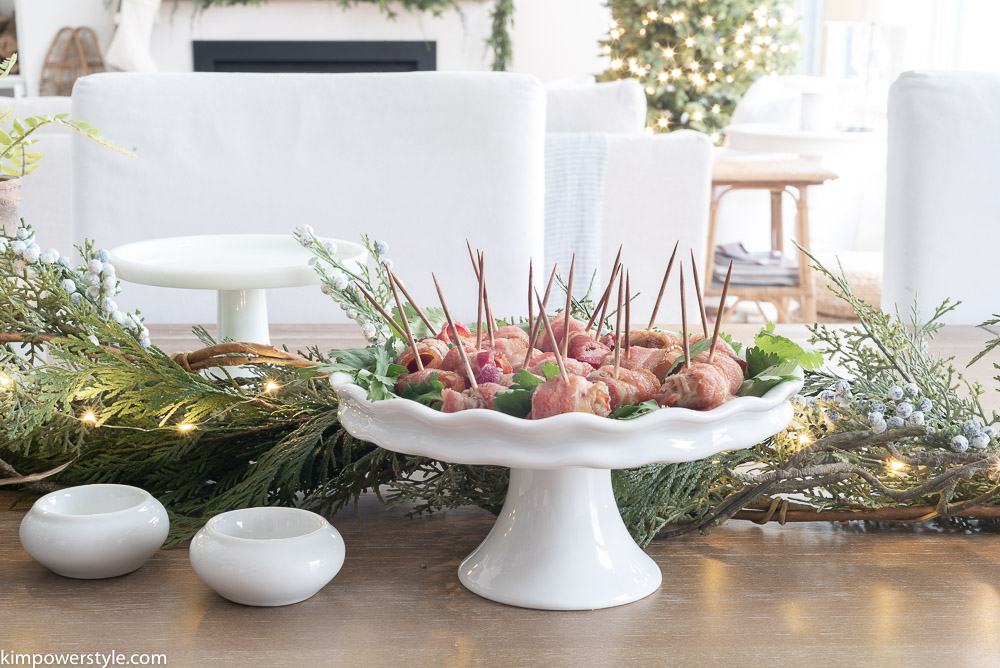
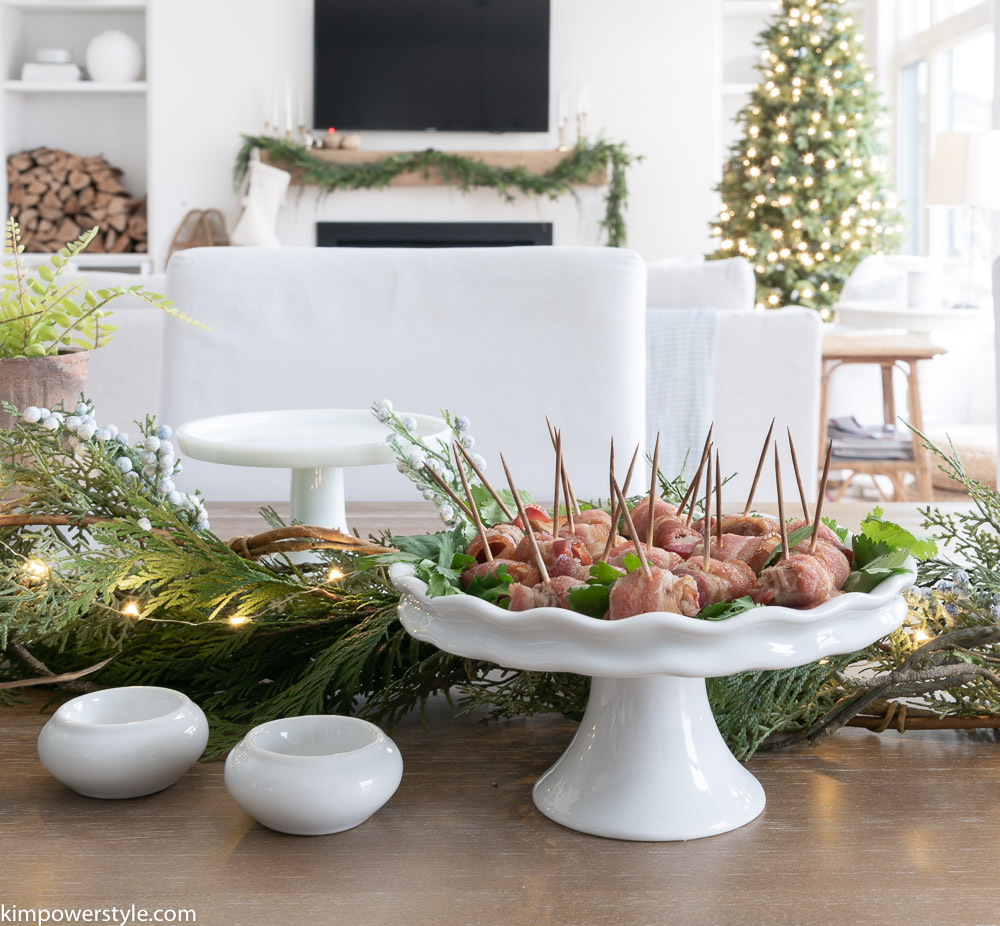
Festive Bacon Wrapped Water Chestnut Holiday Appetizer

I had heard about these delicious appetizers from friends and family and was finally able to try one for myself at a holiday get together. They were delish! Well you had me at bacon because anything wrapped in bacon has to be good right? (Vegans/Vegetarians need not answer this!) So I thought I would try making these when it came time to join my friends from the Seasonal Simplicity Christmas series featuring appetizers.

As usual, I was making these last minute and ran to the grocery store to get my chestnuts. All the other ingredients I had on hand. I asked for canned chestnuts but there were none so I bought a sealed bag of chestnuts thinking it would be the same. After preparing and baking them we couldn’t wait to bite into one of these and try them out.

My daughter tried one first and when she made a face and tried not to spit it out…I knew something was wrong! I tried one myself only I couldn’t even swallow it!

Needless to say friends, I learned that chestnuts are not the same as water chestnuts! Even when they’re wrapped in bacon!

One is from a tree and one forms on the roots of grass like plants. Water chestnuts are crunchy even when cooked and I’ve eaten them plenty of times in Chinese food. How I got this so wrong is beyond me!

Anyways, I went out and found the canned water chestnuts, prepared and baked them the same way and they were delish!!

So here ya go:
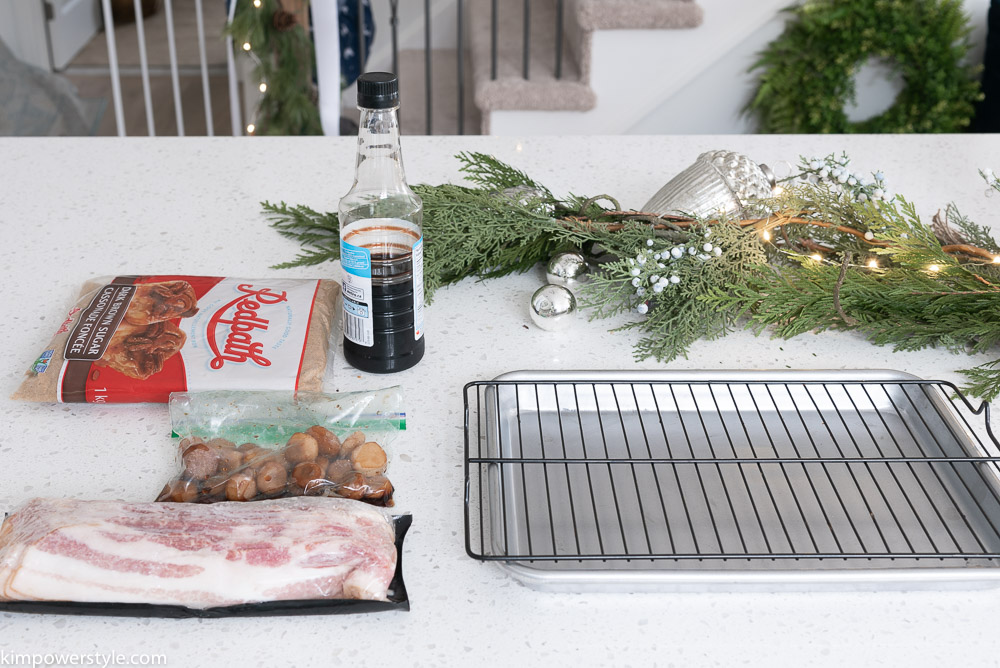
Festive Bacon Wrapped Water Chestnut Holiday Appetizer

Bacon Wrapped Water Chestnuts:

  • 1 lb. of bacon
  • 1 can of whole water chestnuts
  • 1/3 cup of soya sauce
  • 1/3 cup brown sugar
  • toothpicks
  • optional plum sauce or dipping sauce of your choice
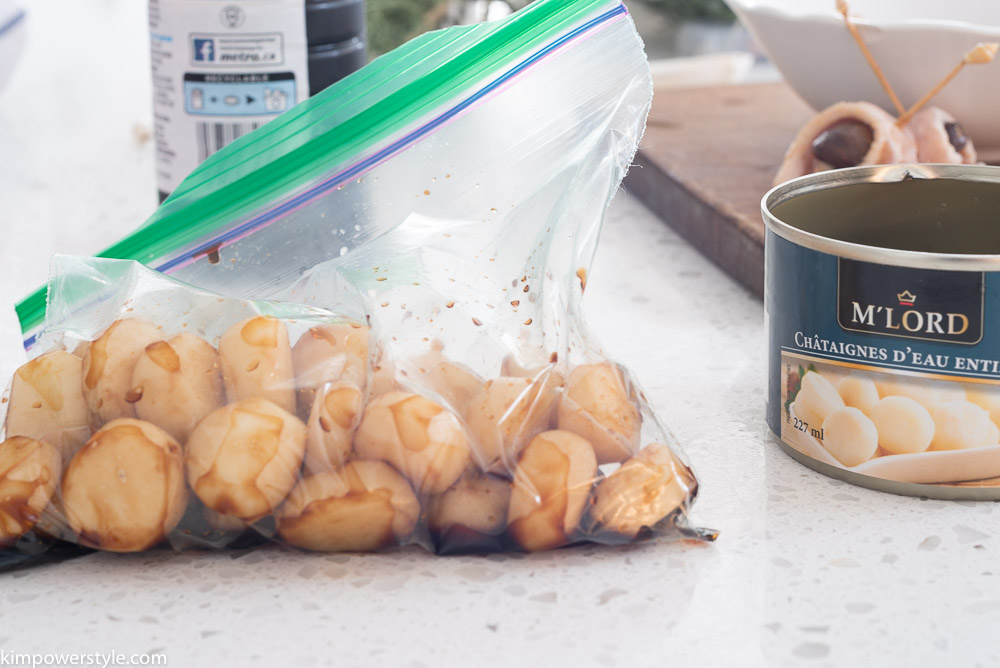
Festive Bacon Wrapped Water Chestnut Holiday Appetizer

  1. Start by marinating your water chestnuts in the soya sauce for at least an hour up to 24 hours.
  2. Preheat oven to to 375°

Festive Bacon Wrapped Water Chestnut Holiday Appetizer

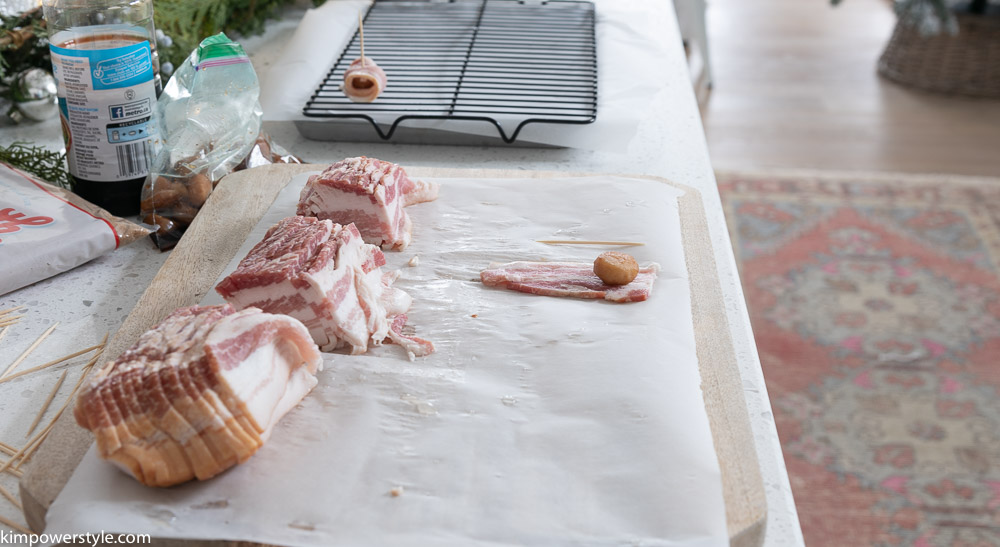
3. Cut your bacon slices into 3

4. Dredge each water chestnut into the brown sugar.

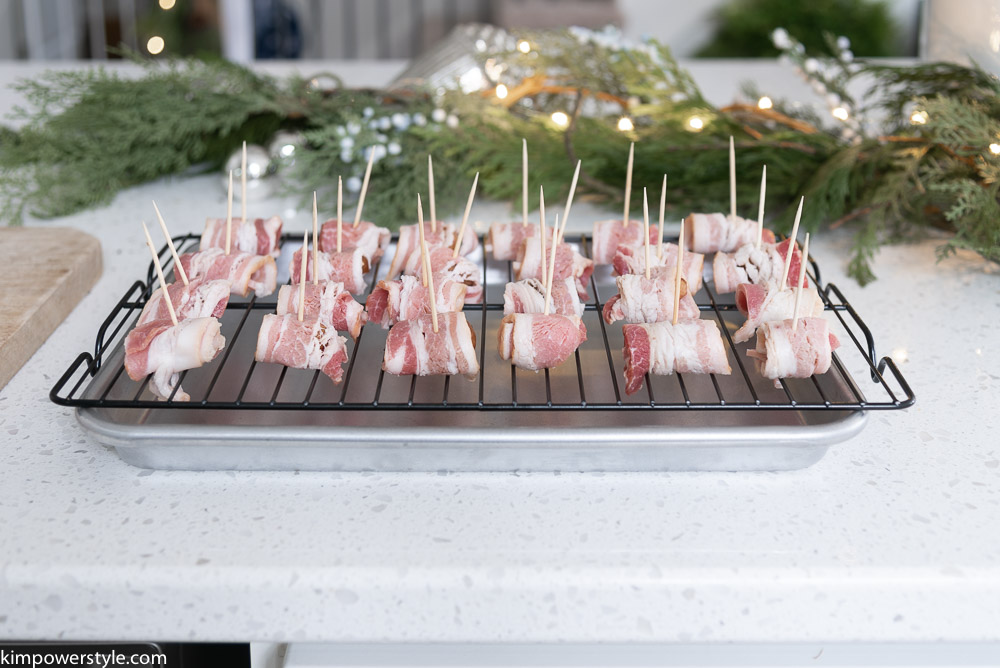
5. Wrap each water chestnut in the bacon and secure with a toothpick.

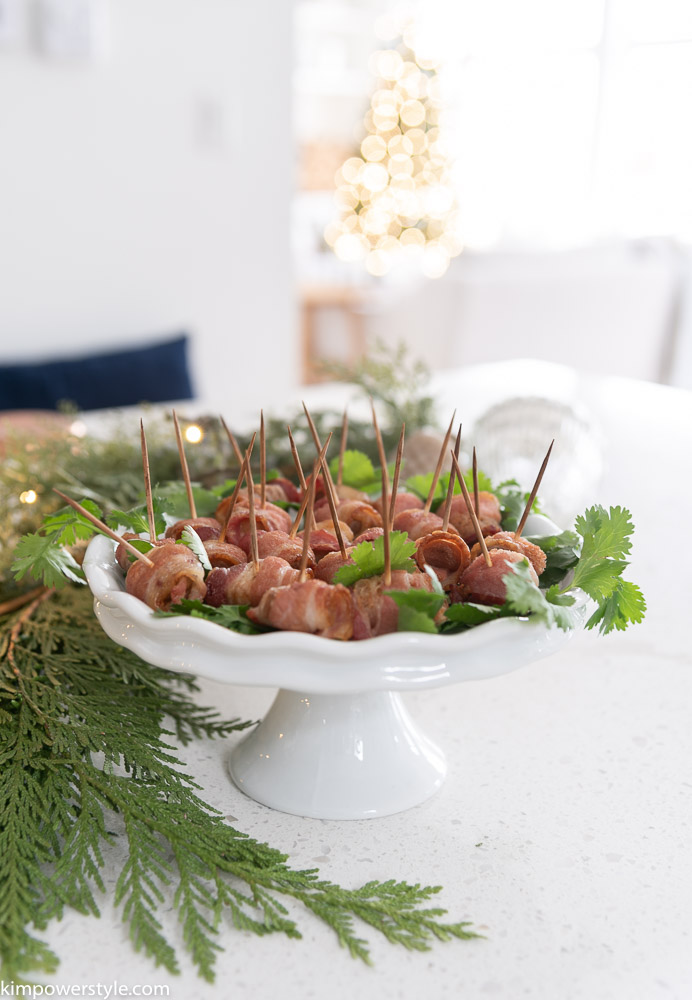
6.Arrange on a shallow baking dish. Bake in a 375° oven for 20 minutes or until bacon is crispy.

7. Eat them straight from the oven or you can choose a dipping sauce of your choice.
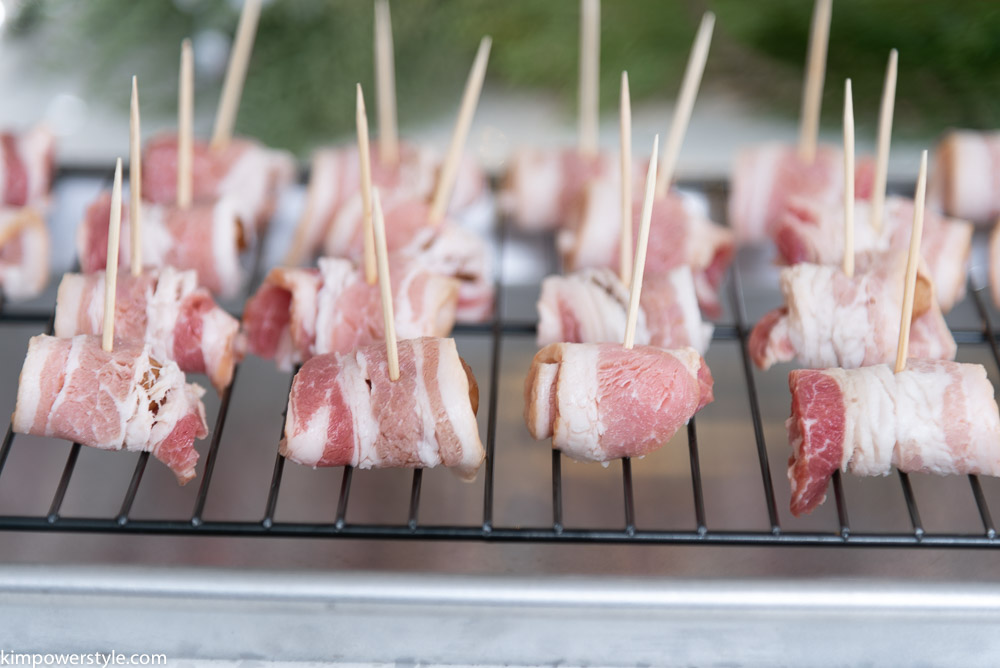
Festive Bacon Wrapped Water Chestnut Appetizers

Festive Bacon Wrapped Water Chestnut Appetizers

Festive Bacon Wrapped Water Chestnut Appetizers

Festive Bacon Wrapped Water Chestnut Appetizers

Festive Bacon Wrapped Water Chestnut Appetizers

Festive Bacon Wrapped Water Chestnut Appetizers

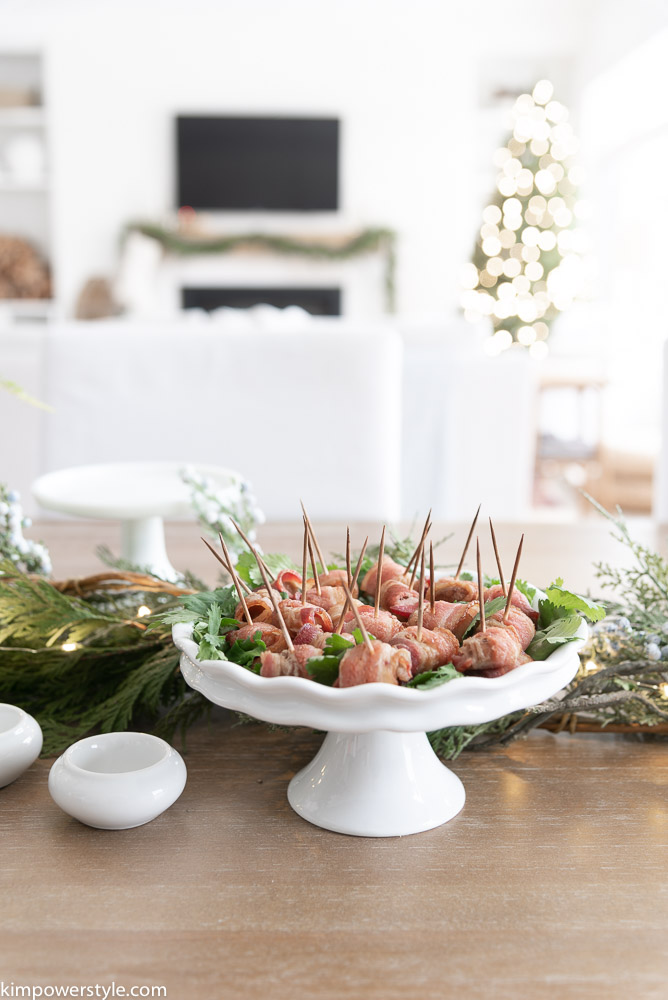
These simple and tasty appetizers are sure to become a favourite and a real crowd pleaser!


And today I’m joining some of my blogging friends who are also sharing their Holiday Appetizer recipes with you! Just click on the links below the pictures to be taken to their full recipe.

Baked Brie, Fig, and Walnut Phyllo Cups at The Happy Housie
Classic Cheese Ball Recipe at A Pretty Life
Cheesy Butternut Squash Bites at Jenna Kate at Home
Fresh Cranberry Salsa at We’re the Joneses

Easy Holiday Party Appetizer at a Rooms FOR Rent
Baked Goat Cheese Bites at Modern Glam
Smoked Turkey with Cranberry Orange Muffins at My 100 Year Old Home
Caprese Salad Skewers at Cherished Bliss

Easy Cranberry Brie Tarts at The DIY Mommy
Christmas Tree Charcuterie Board at Cassie Bustamante
Carmelized Onion and Goat Cheese Tarts at Life is a Party
Swiss Cheese Bacon and Beer Dip at Clean & Scentsible

Snowman White Cheese Ball at Tatertots and Jello
3 Ingredient Stuffed Mushrooms at My Sweet Savannah
Easy Christmas Pinwheels Festive Holiday Appetizer at This is Our Bliss
Festive Bacon Wrapped Chestnut Holiday Appetizer at Kim Power Style
Red Pepper Jelly and Cream Cheese Appetizer at She Gave it a Go
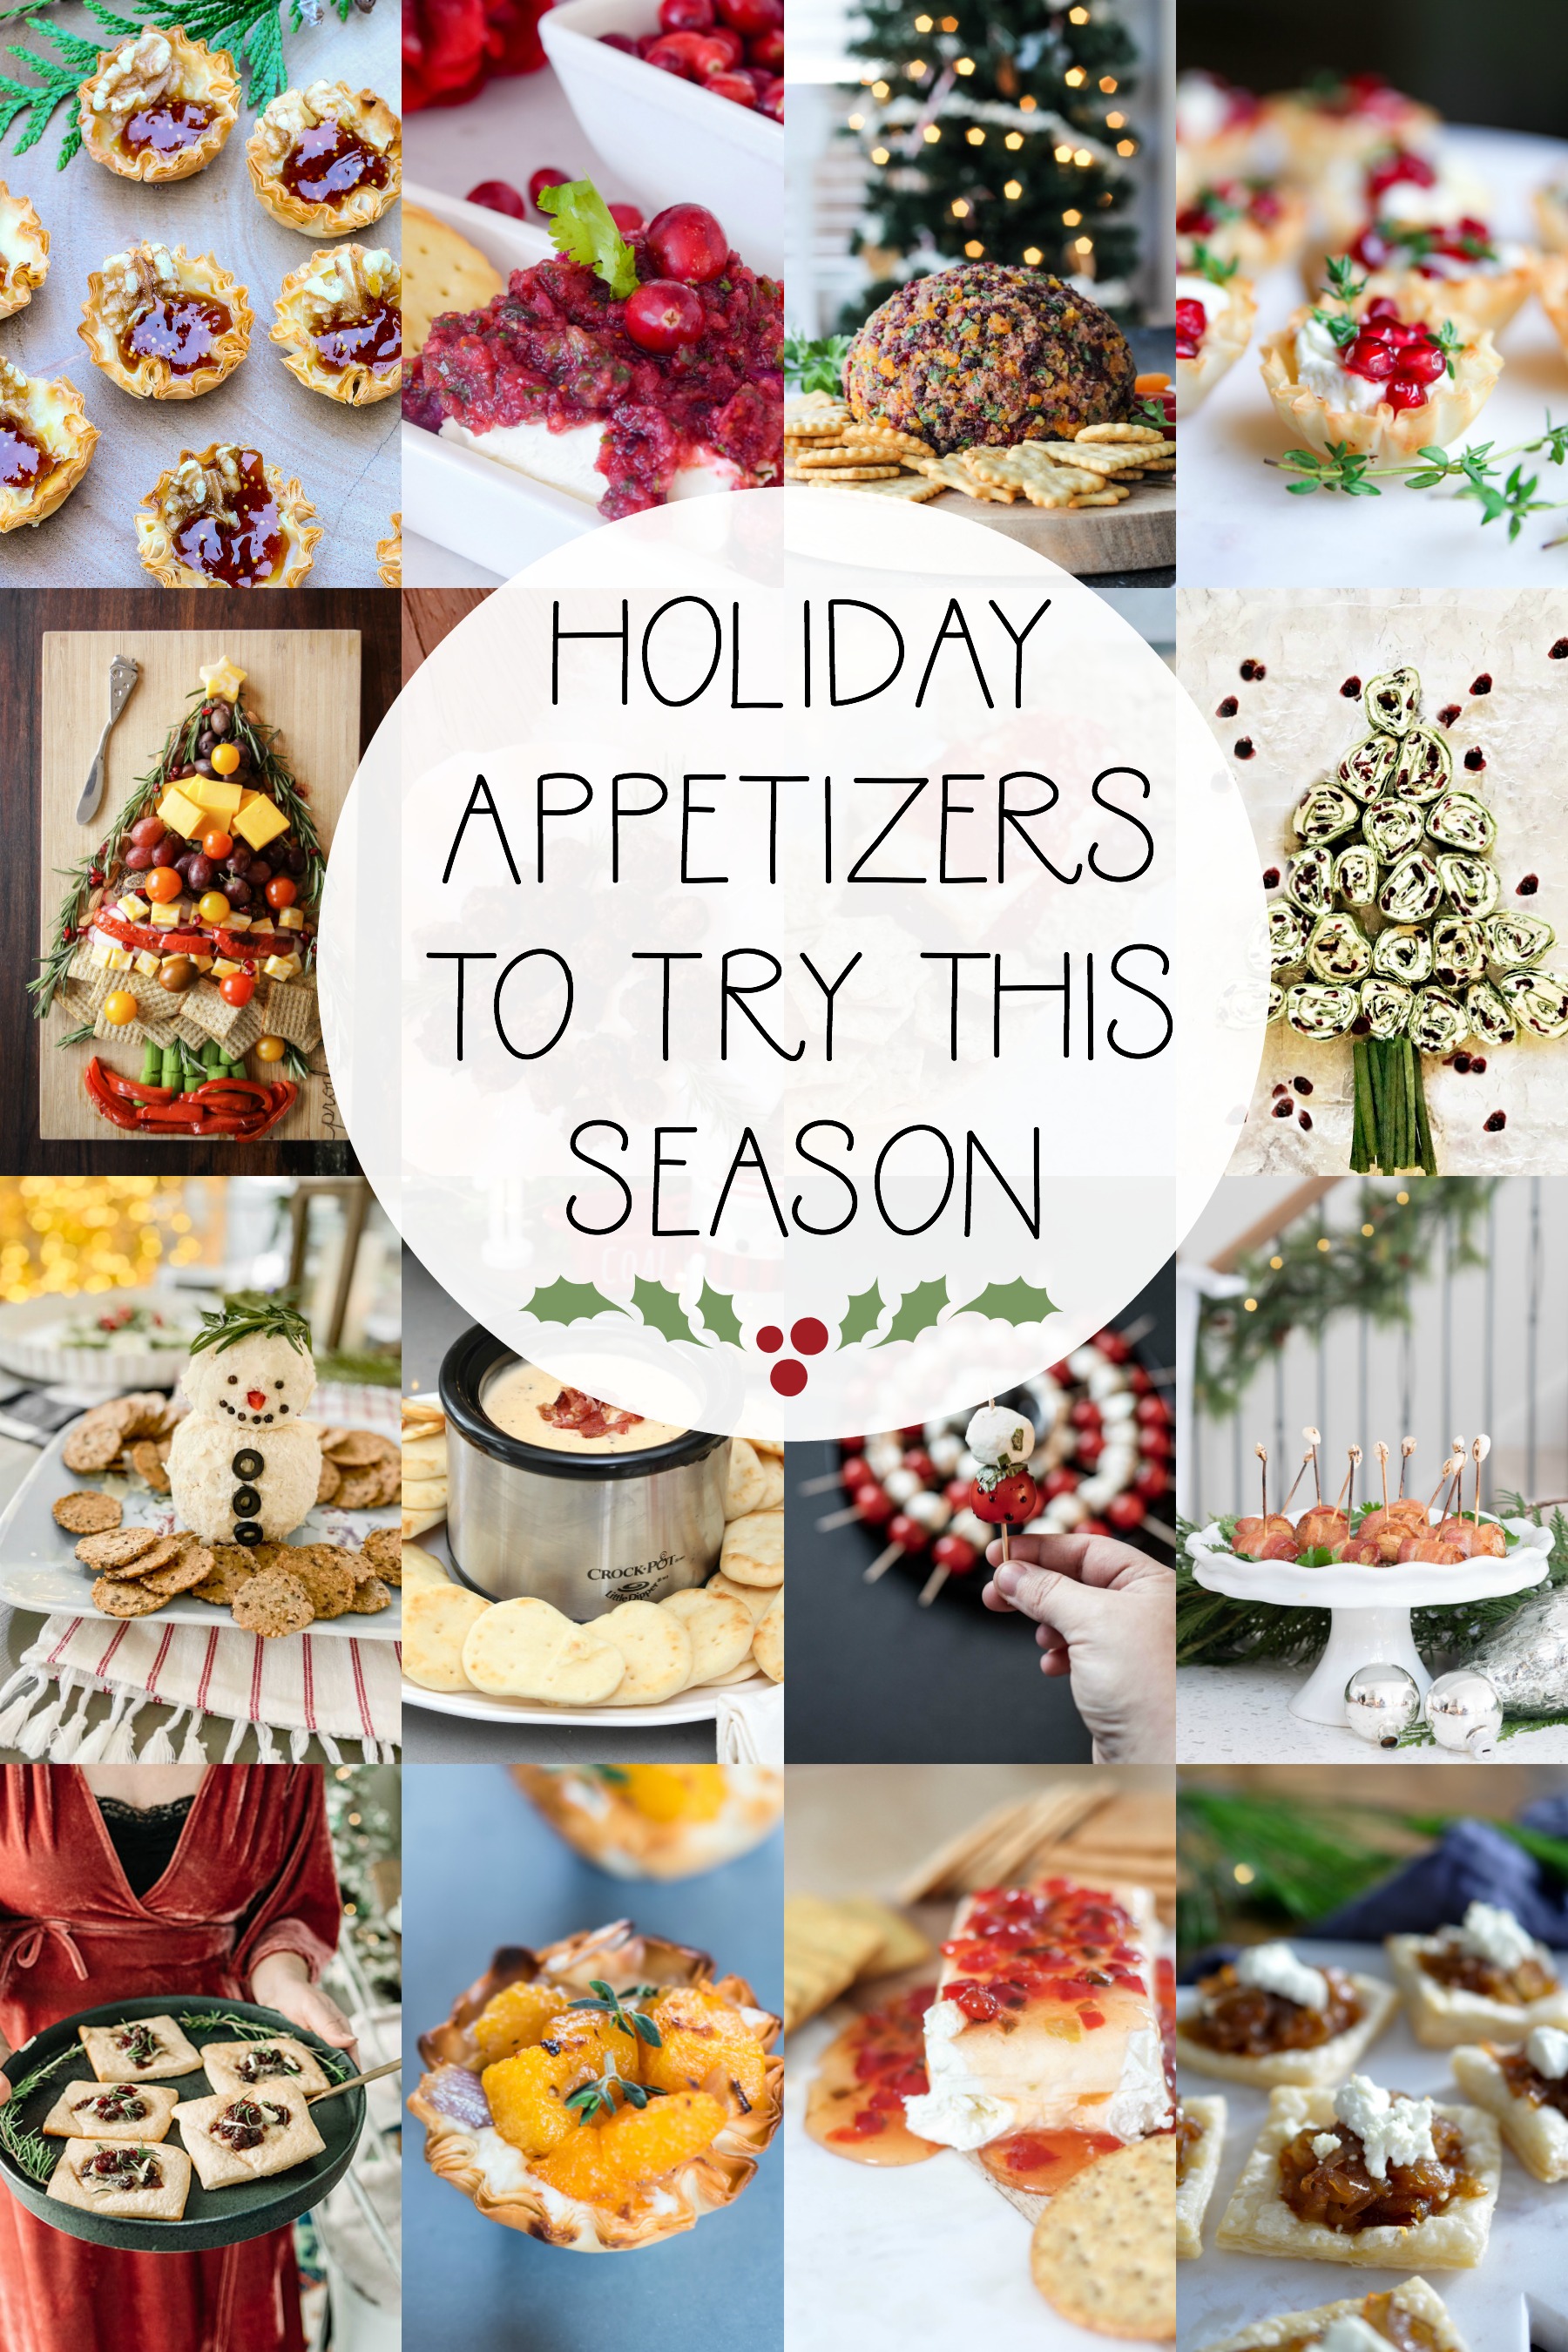
Holiday Appetizers to try this Season
Filed Under: Christmas, recipes

Swiss Mountain Shortbread Christmas Cookies

5:00 am by kim 25 Comments

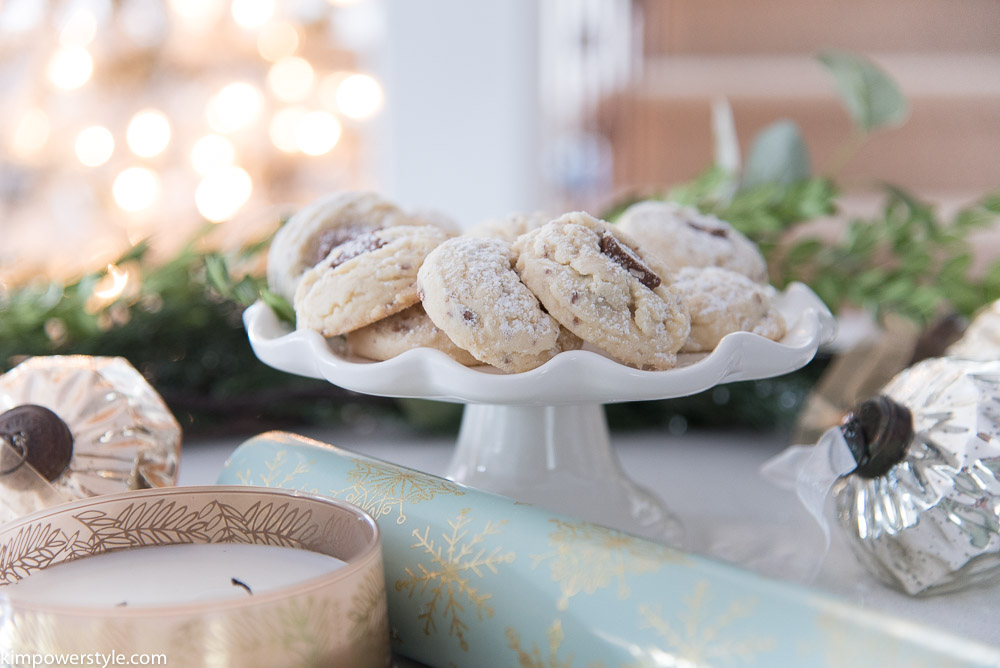
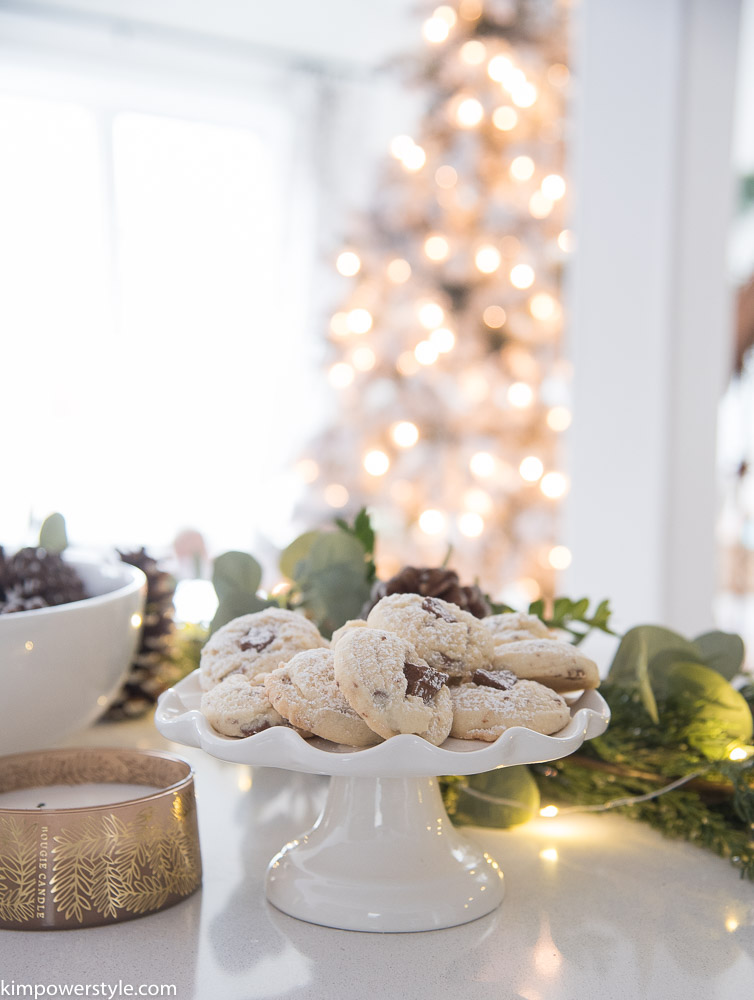
 Are you looking for the best Christmas cookie to bake for the holidays? Well look no further! I’m happy to be sharing one of my all-time favourites, the Swiss Mountain Shortbread Christmas Cookie. This is an easy recipe to make and I’m sure it will become one of your favourites to make too!

I’m joining together with friends for a cookie hop hosted by Jo-Anna from A Pretty Life In The Suburbs. So  for an easy 1-stop holiday cookie recipe list, check out the links at the bottom of this post.

Christmas Shortbread Cookies

I’ve hosted a cookie exchange for the past few years and my friend Kate always brought her Swiss Mountain shortbread Christmas cookies. Needless to say they were always a hit and everyone’s favourite including mine! They would be the first cookie gone from our immense tray of exchanged cookies and people would always ask for them when they came for a visit.

Since we’ve moved away to another city (more on that later) I won’t be hosting my annual cookie exchange this year but Kate was sweet enough to give me her family recipe so now I can share it with you. Thank you Kate!

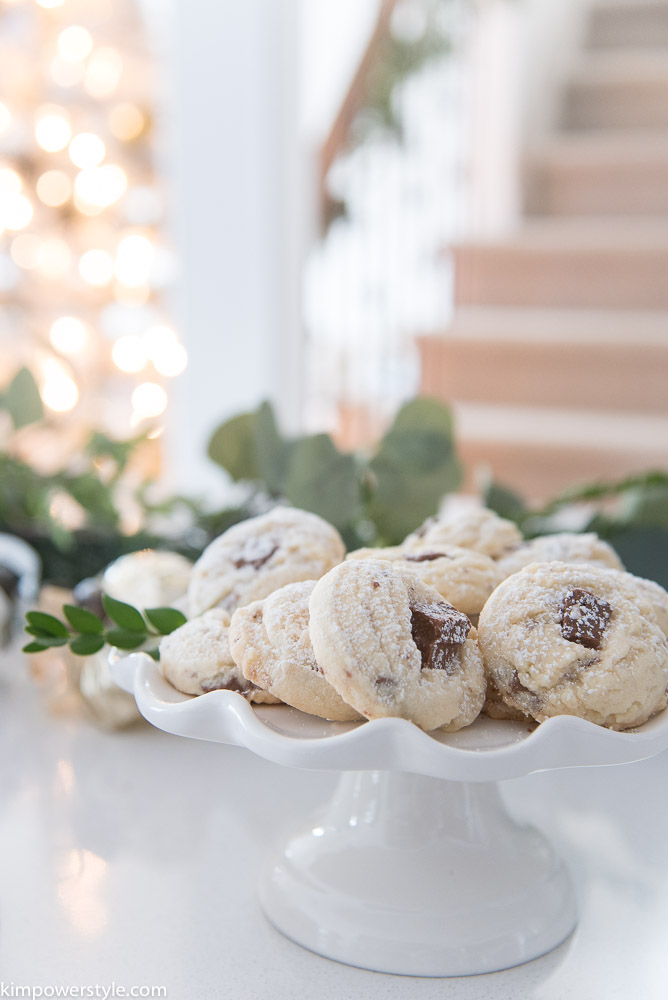
Christmas Shortbread and Toblerone Christmas Cookies

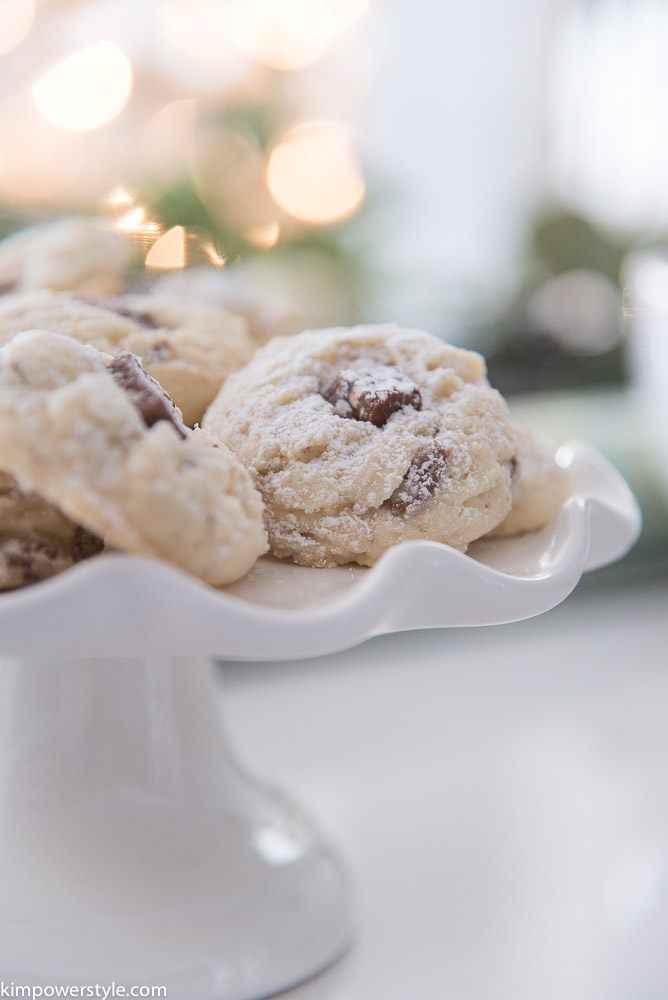
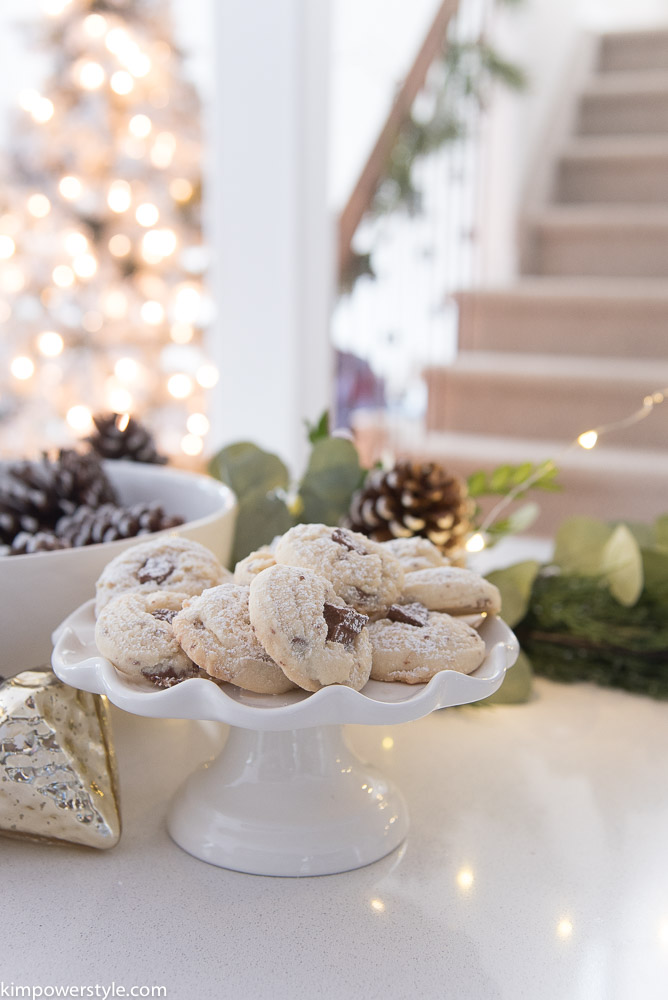
Not only is it a delicious melt-in-your-mouth shortbread cookie, it’s also made with amazing milk chocolate Toblerone bars. You won’t be able to stop at just one!

Christmas Shortbread Cookies

Recipe:

  • 2 cups (500 ml) unsalted butter
  • 1 cup (250 ml) fruit sugar
  • 3 1/4 cups (800 ml) all purpose flour
  • 1/2 cup (125 ml) rice flour
  • 12 oz. (375 g) milk chocolate Toblerone bars
  • 1/4 cup (75 ml) icing sugar
  • 1/2 tsp salt or to taste
  1. Preheat oven to 325°F (160°c)
  2. Beat butter until very light. Gradually beat in sugar and continue beating until sugar is dissolved, about 5 minutes.
  3. Sift flours and salt together. Stir into butter mixture and combine well.
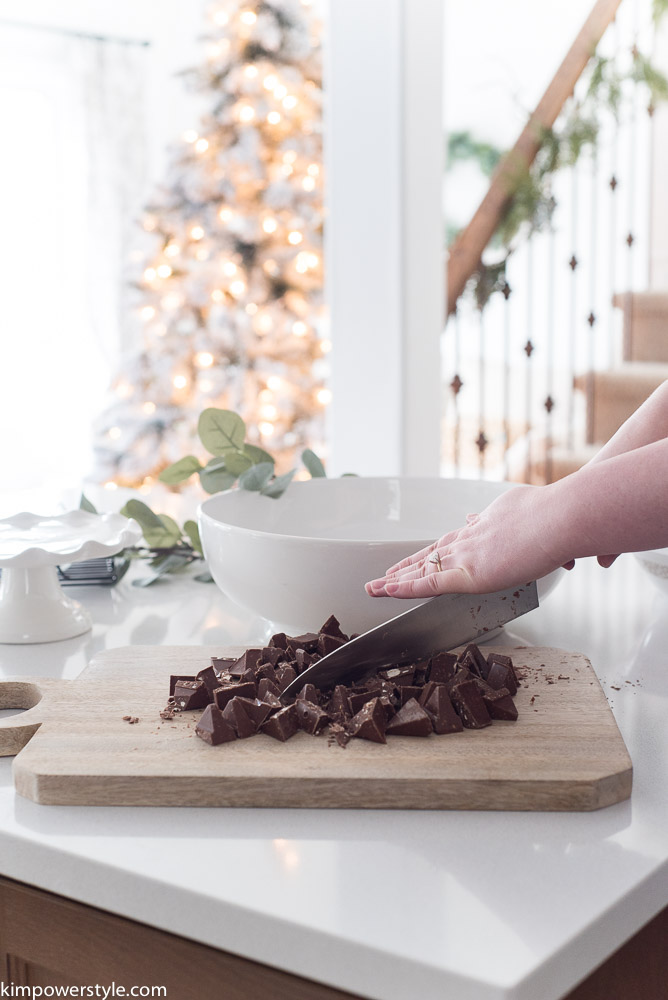
  4. Chop chocolate into 1/2 in. (1 cm) chunks. Save about 50 of the largest chunks and mix the rest into the batter just until combined.
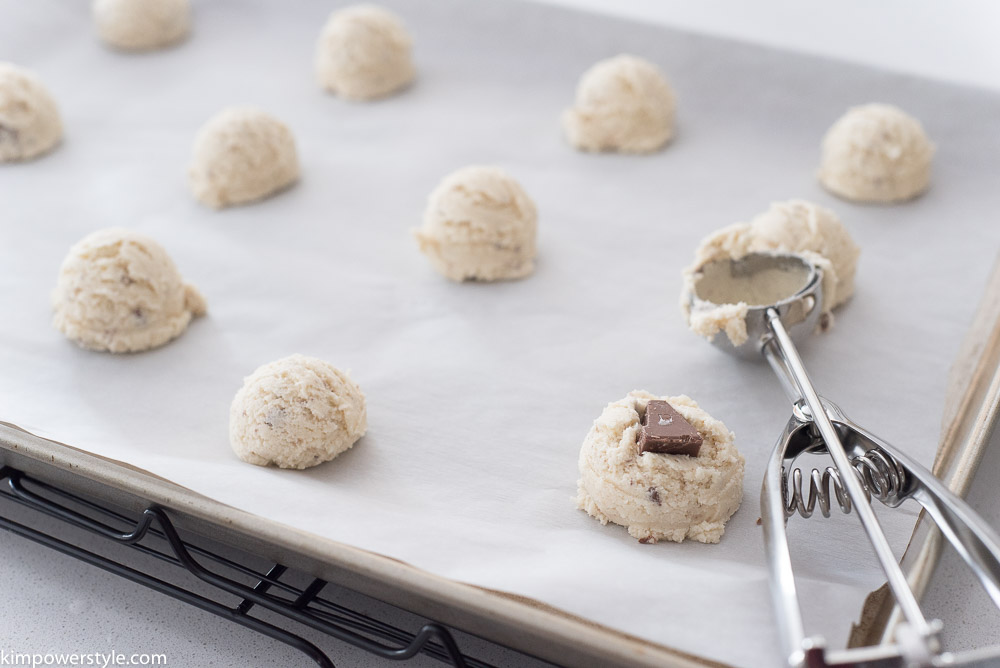
  5. Arrange mounds of batter on baking sheets lined with parchment paper. Press a chunk of chocolate into each cookie.
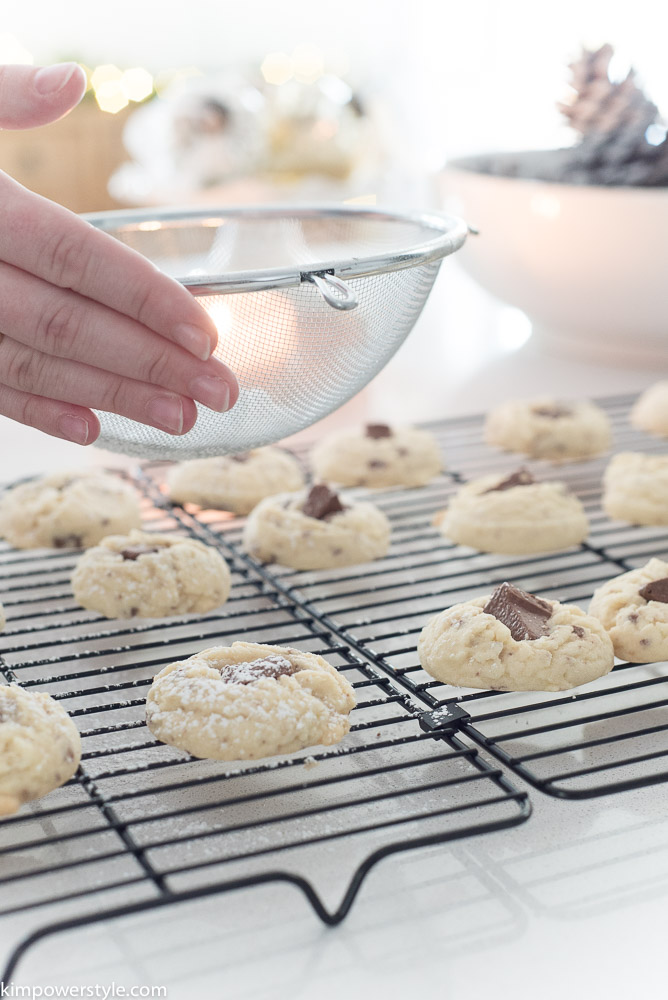
  6. Bake 20 to 25 minutes in a preheated 325°F (160°c) oven until very lightly browned. Cool in a single layer on racks. Sift icing sugar over cookies.

Fruit sugar is finer than regular, buy it or make it by whizzing regular sugar in a food processor for about 1 minute. Rice flour makes the cookies very tender.

Makes about 50 cookies. Kate says her secret is that once everything is mixed together, she kneads the dough a few times. I used a small 1.5 in. ice-cream  scoop to place the dough on the cookie sheets. It’s so easy and makes the cookies have a more uniform appearance.

Christmas Shortbread Cookies

Christmas Shortbread Cookies

Christmas Shortbread Cookies

Christmas Shortbread Cookies

Christmas Shortbread Cookies

 Swiss Mountain  Shortbread Christmas Cookies

Christmas Shortbread Cookies

Unless you’re not partial to butter or chocolate, I’m sure you’ll love these cookies!

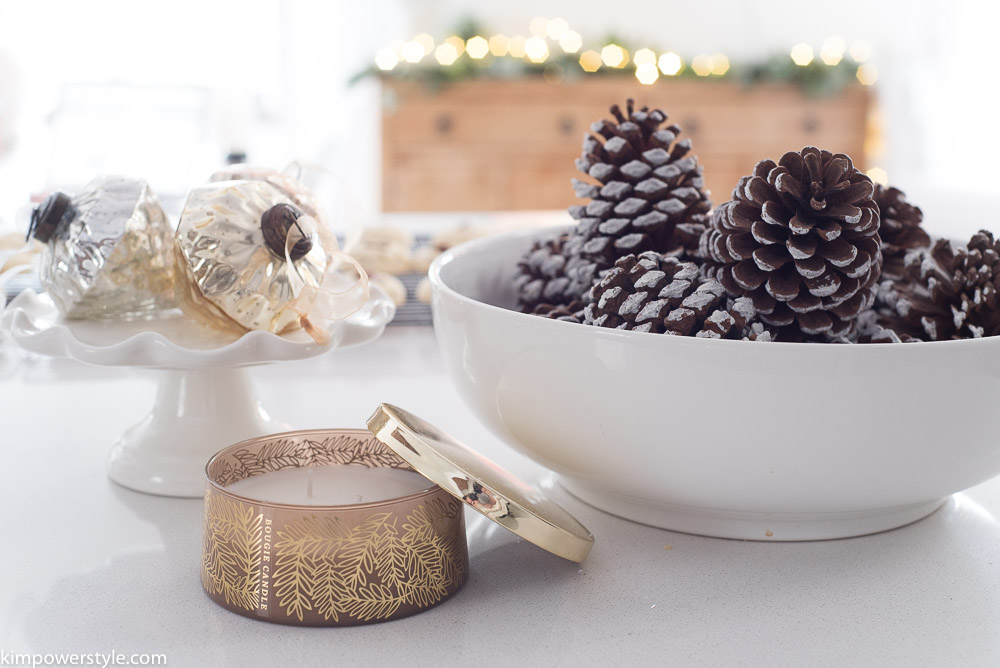
Now light some Christmas scented candles,  put on some festive Christmas music or your favourite Hallmark Christmas movie, (we have them on non-stop over here) and start baking!

Don’t forget to check out the links below for more great cookie recipes.

Blessings,

Kim

12 Christmas Cookie Recipes

More Delicious Christmas Cookie Recipes:

For more Christmas cookie recipes, make sure you check out the delicious recipes below!

Swiss Mountain Shortbread by Kim of Kim Power Style

German Iced Spice Christmas Cookies by Christina of The DIY Mommy

Slice and Bake Shortbread Cookies by Jo-Anna of A Pretty Life in the Suburbs

Cathedral Window Cookies by Rita of Harbour Breeze Home

Chocolate Peppermint Biscotti by Kendra of Joy In Our Home

Cranberry Orange Shortbread by Jen of Kitchen Counter Chronicles

Holiday Crinkle Cookies by Lisa of Fabulous Habits

Maple Shortbread Snowflakes by Laura of one house 2 barns

Ritz Cracker Bark (aka Crookies) by Courtenay of Creek Line House

Peppermint Hot Cocoa Cookies by Jennifer of Happily Organized Chaos

Earl Grey Snowball Cookies by Tan of Squirrelly Minds

Gingerbread Cookies by Dannyelle of Life is a Party

Filed Under: Christmas, recipes

Red Velvet Cheesecake

5:00 am by kim 31 Comments

Hello and welcome to a Valentine’s Day blog hop. I’m joining together with some great friends to share everything Valentine’s day! I’ve paired up two of my favourite cakes, red velvet and cheesecake and will be offering up this recipe for a delicious and creamy, red velvet cheesecake Valentine’s Day dessert. There will be links to follow the other participants and to see what they’re sharing at the end of the post, so be sure to check them out!

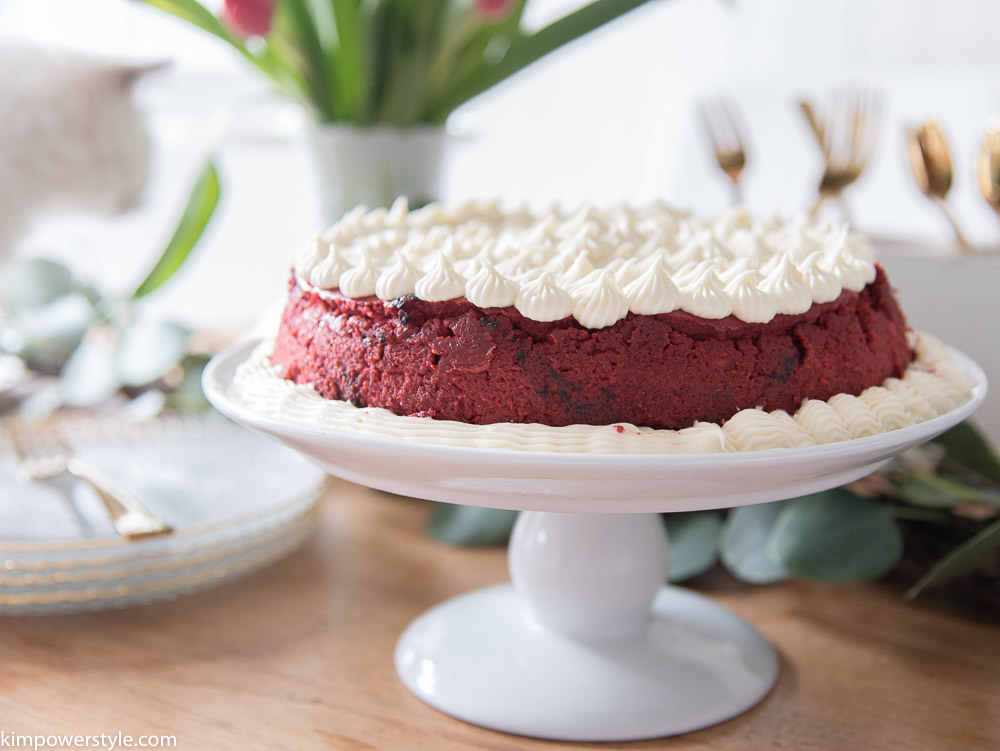
Red Velvet Cheesecake

Valentine’s Day happens to be my wedding anniversary so if the hubby and I are not away on a trip, we’ll be going out for dinner. Having some lovely desserts waiting at home to share makes the occasion a little more festive…and it’s a great excuse to indulge in some sweets!

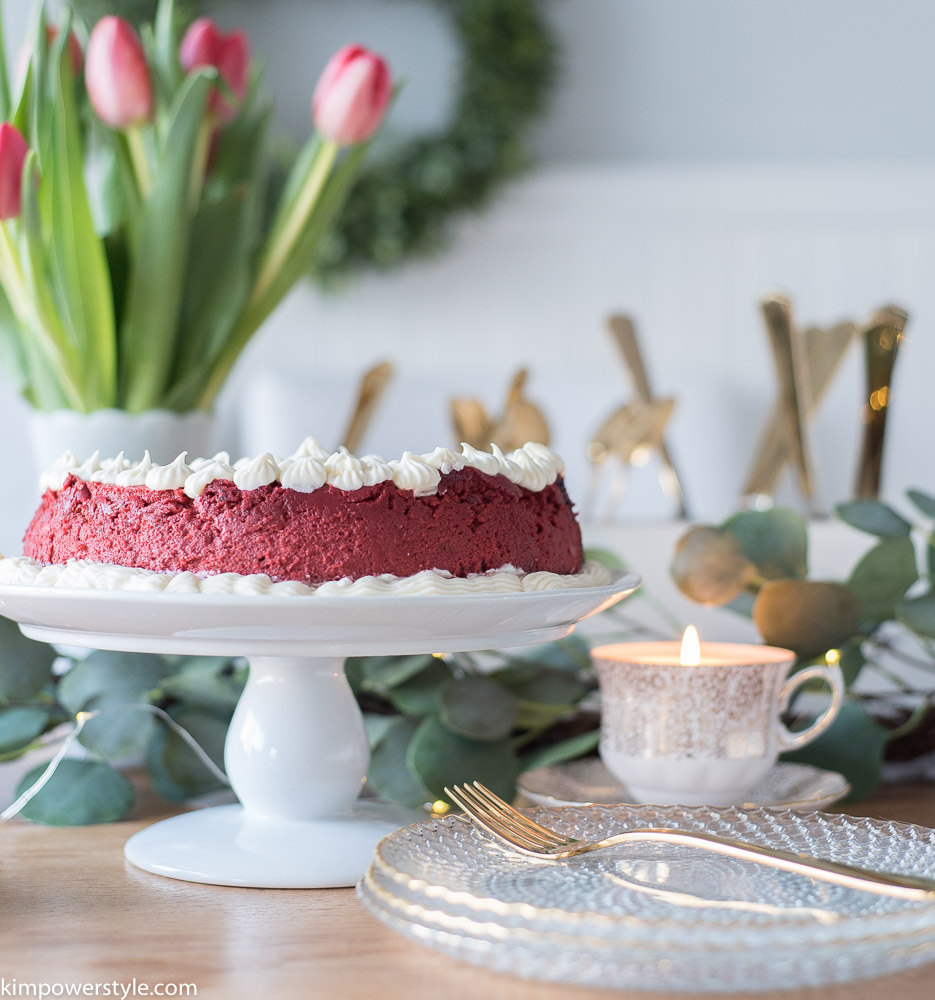
Red Velvet Cheesecake makes a great Valentine's Day dessert.

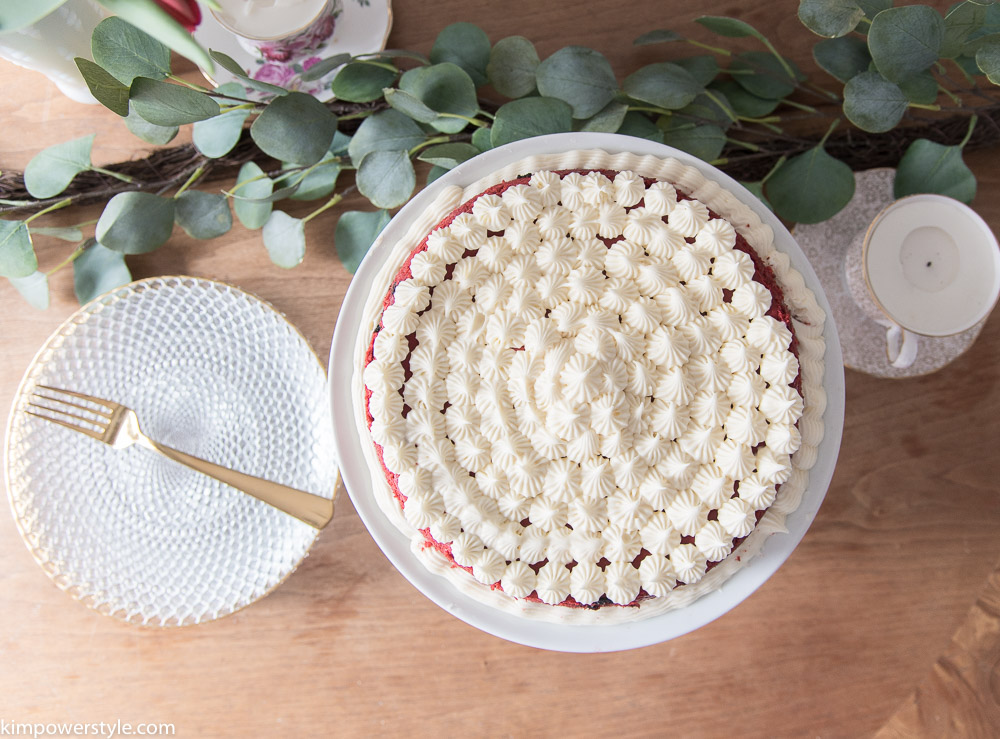
This is a newer recipe for me as I usually make my red velvet cheesecake with actual red velvet cake mixed into the cheesecake and as the bottom layer. This red velvet cheesecake has less steps involved so I thought I would share an easier version. It has a chocolate crust with a delicious topping of cream cheese frosting piped on. It makes a perfect Valentine’s Day dessert and should be made the day before it will be enjoyed.

Red Velvet Cheesecake a great Valentine's Day dessert!

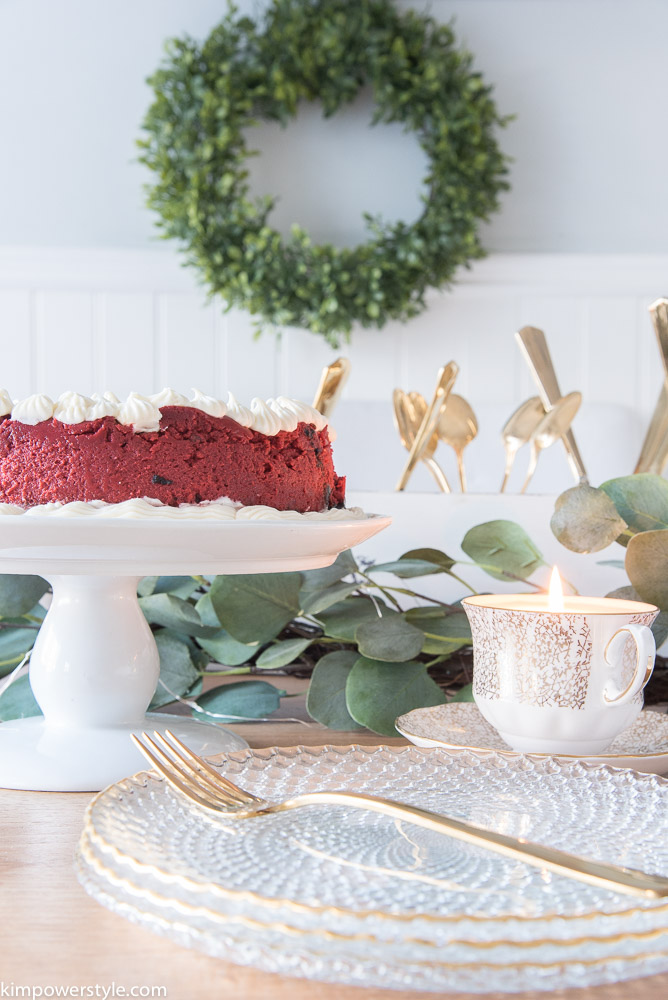
For the table setting I used my faux eucalyptus garland, some pretty gold flatware with gold rimmed dessert plates along with these pretty Tea Cup Candles. You can find a tutorial for the the Tea Cup Candles here.

Red velvet cheesecake

Red Velvet Cheesecake

Ingredients

  • 1-1/2 cups of chocolate graham cracker crumbs
  • 1/4 cup melted butter
  • 1 tbsp. sugar
  • 3 8 0z. packages of cream cheese
  • 1-1/2 cups sugar
  • 3 tbsp. unsweetened cocoa
  • 4 large eggs, lightly beaten
  • 1/2 cup whole buttermilk
  • 1 cup sour cream
  • 2 tsp. vanilla
  • red food colouring
  • 1 8 oz. package of cream cheese
  • 1/4 cup butter
  • 2 cups icing sugar
  • 1 tsp. vanilla

Directions

  1. In a small bowl, mix together the chocolate graham cracker crumbs with 1/4 cup melted butter and 1 tbsp. sugar. Press into the bottom of a 9 inch springform pan.
  2. Using a mixer, beat together 3 8 oz. packages of cream cheese with 1-1/2 cups of sugar until smooth. Add eggs, buttermilk, sour cream, cocoa and vanilla. Depending upon the kind of food colouring you’re using, add enough to get the colour you’re looking for. Mix together until combined. Don’t over mix. Pour into prepared pan on top of chocolate graham cracker crumb crust.
  3. Bake in a pre-heated oven at 325° for 1o minutes then reduce heat to 300° and bake for 1 hour 15 minutes or until centre is set and top appears dull.
  4. Remove cake when done and turn off oven. Run a knife around the edge of the pan and place back in the oven for 30 minutes. Remove and let cool for an hour. Cover and refrigerate over night.
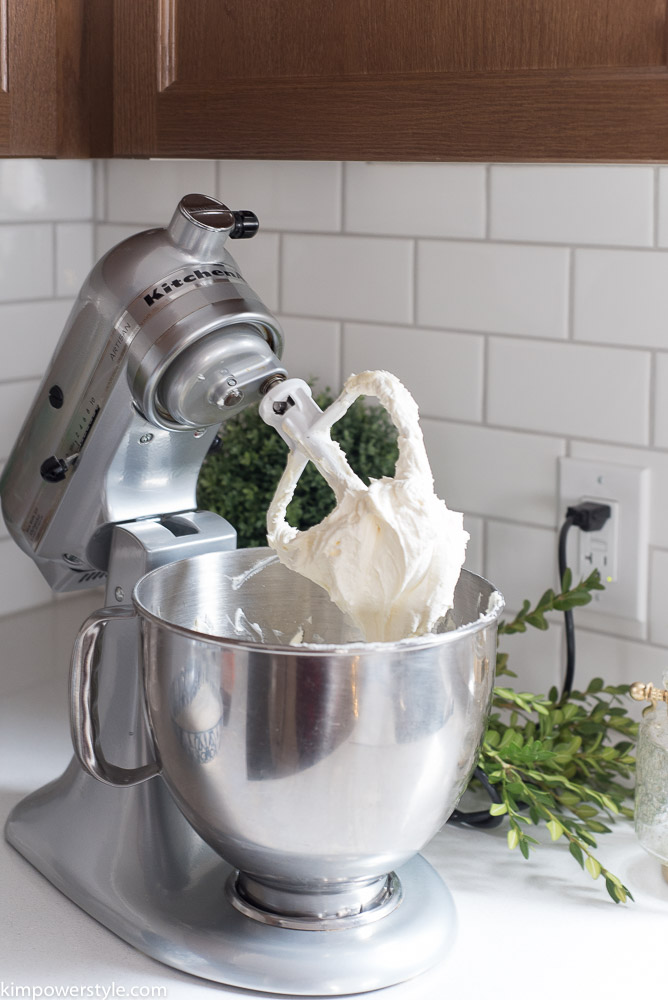
  5. Remove the sides of the pan. Mix together the 8 oz package of cream cheese together with 1/4 cup of butter until fluffy. Add the icing sugar and vanilla and mix until smooth. You can pipe your icing on or just smooth it over the top. Enjoy!

For more amazing Valentine’s Day inspiration, follow the links below. There are over 30 different Valentine’s Day ideas to make, bake and create!

Blessings,

Kim

30 Valentine's Day Ideas to Make, Bake and Create -1


Valentine’s Day Cherry Pie by Jo-Anna of A Pretty Life

Valentine’s Triple Berry Breakfast Parfait by Joanna at Lazy Moms Blog

Valentine’s Day Mini Bouquet with Printable Wrap by Lucy of Craftberry Bush

DIY Iron-On Mini Tote Bags for Galentine’s Day by Joann of Woman in Real Life

DIY Clay Valentine Heart Wall Hanging by Jen of Kitchen Counter Chronicles

Valentine’s Day Smoothie Bowl by Kristeena of Motherhood in Stilettos

Chunky Crochet Heart Banner by Christina of The DIY Mommy

‘I’m Stuck On You Valentine’ Free Printable by Chandra of HashtagBlessed Blog

DIY Love Tees by Colleen of Lemon Thistle

Red Velvet Cheesecake by Kim of Kim Power Style

Custom Floral Dishware DIY with Temporary Tattoos by Christine of Amidst the Chaos

Valentine’s Day Keto Cheesecake by Thalita of The Learner Observer

How to Host a Mother/Daughter Galentine’s by Kelsey of Kelsey Diane Blog

Free Printable Farmhouse Style Valentine’s Day Cards by Shannon of AKA Design

GALentine’s Day Tea Party by Shauna of Satori Design for Living

Valentine Heart Necklace by Christine of The DIY Dreamer

Simple Valentine’s Day Decor by Alicia of A Burst of Beautiful

Valentine’s Sushi Recipe by Stefania of From the Playpen

Valentine’s Day Decor by Dannyelle of Life is a Party

Valentine Countdown for Kids by Heather of Raising Memories

Love Sign by Meagan of Row House Nest

Valentine’s Day Kindness Countdown Calendar by Jen of Rambling Renovators

Rustic Valentine’s Day Decor by Sarah of The Project Pile

Peach Raspberry Crisp by Brittany of My Daily Randomness

How to Make Pine Cone Roses by Jane & Sonja of Sustain My Craft Habit

Handmade Paper Gift Boxes by Jessica of The Vanderveen House

DIY Valentine’s Day Pouch by Lidia of Design Inside the Box

Valentine Oreo Cookies by Kendra of Joy In Our Home

Valentine’s Day Lunch Idea by Adriana of Chaos and Caffeine

Chocolate Cherries Baileys Cookies by Emily of daydreaming of elsewhere

—

Filed Under: recipes, Valentine's Day

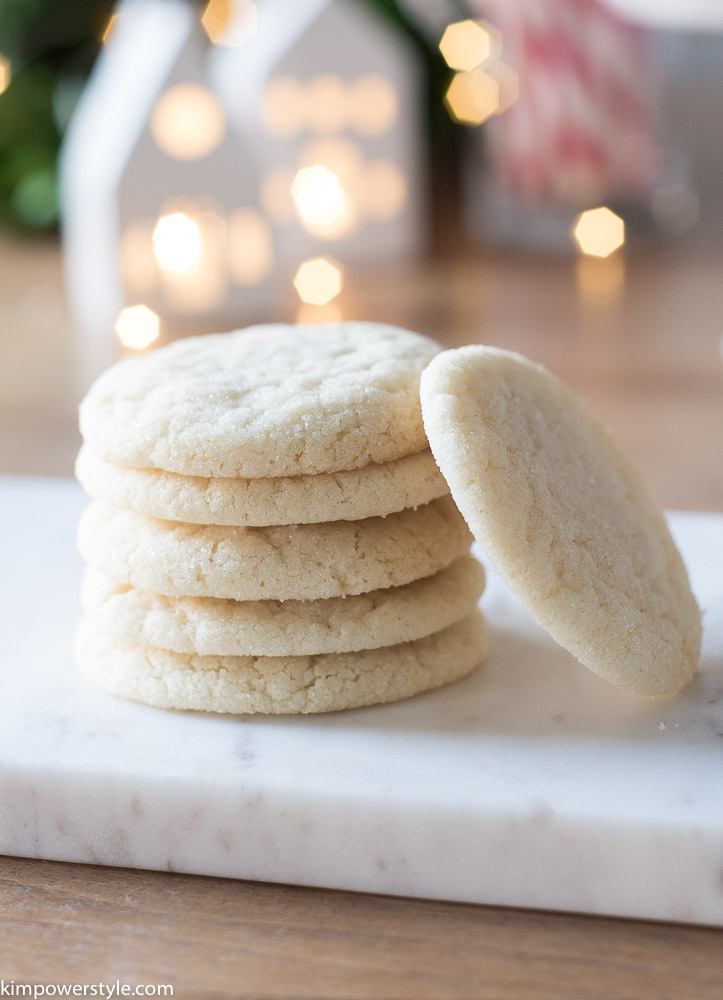
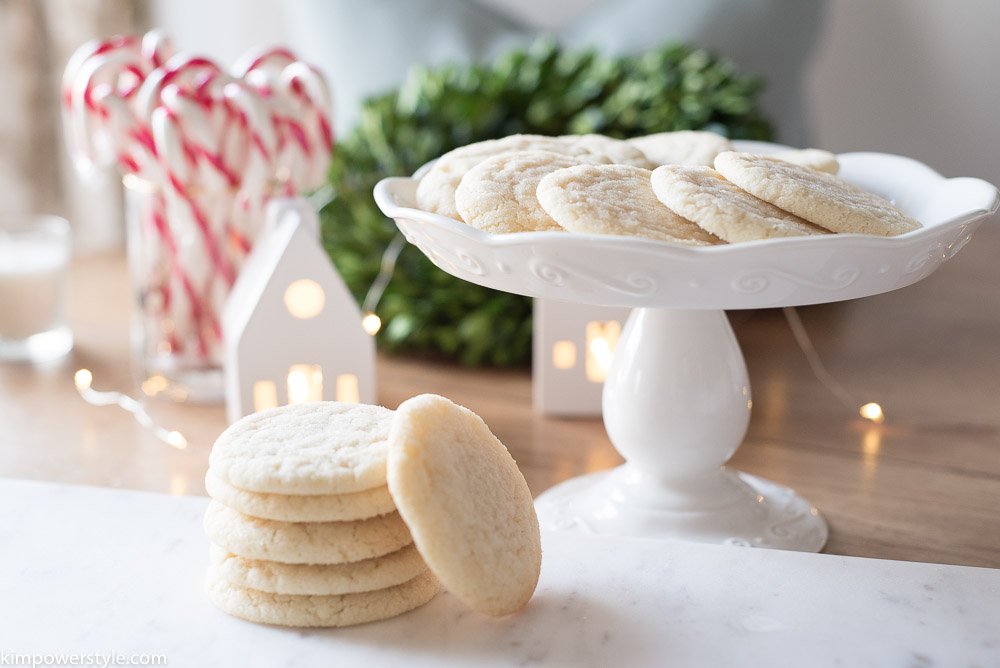
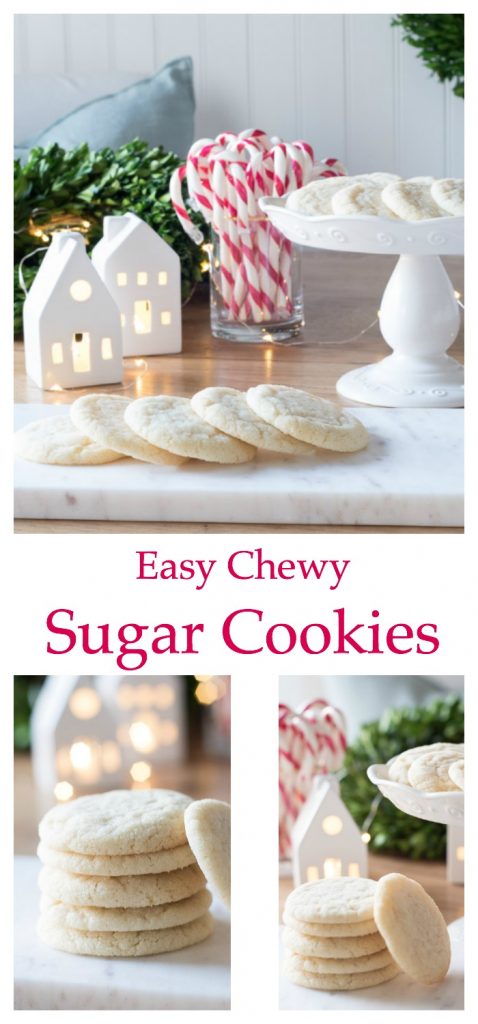
Easy Chewy Sugar Cookie Recipe

6:44 pm by kim 3 Comments

It’s that time of the year again and the baking season is upon us! One of the first recipes I’m making are these easy and chewy sugar cookies. They don’t require any chilling and can be easily spooned out onto a cookie sheet. Once you assemble all your ingredients together you can have a batch of cookies ready in about 15 minutes.

Easy and Chewy Sugar Cookies

You’ll Need:

  • 1 cup of softened butter
  • 1 1/2 cup of granulated sugar
  • 1 large egg
  • 2 1/4 cups all purpose flour
  • 1/2 teaspoon salt
  • 1/2 teaspoon baking powder
  • 1 1/2 teaspoon vanilla
  • Extra sugar to roll your cookies in
  1. Preheat the oven to 350° F.
  2. Line baking sheet with parchment paper or use a baking mat.
  3. Cream together the butter and sugar for a couple of minutes till light and fluffy. Add the egg and vanilla and mix.
  4. In a separate bowl, lightly mix the flour, salt and baking powder together.
  5. Mix together the dry ingredients into wet ingredients.
  6. Use a cookie scoop or a tablespoon and scoop out cookie dough and form into a ball.
  7. Roll cookie ball into the extra sugar and coat. Lay out cookie balls on your baking sheet and lightly press.  (Leave a 1  1/2 to 2 inch space between cookies)
  8. Bake in the oven for 8-10 minutes.

To make sure these cookies are really chewy, I took mine out of the oven at 8 minutes. They were still pale but continued to cook on the cookie sheet for a couple of minutes. I then used a spatula and put them on a cooling rack. Once they cool  you have a delicious cookie that’s a little crunchy on the outside and chewy on the inside!


Easy and Chewy Sugar Cookies

Easy and Chewy Sugar Cookies

Easy Chewy Sugar Cookie Recipe

I hope you try this easy recipe and enjoy the cookies! It’s so quick and simple and includes ingredients that most of us already have on hand. Stay tuned for some holiday baking coming up over the next few weeks. Subscribe and you’ll receive blogposts delivered straight into your mailbox!

You can follow along with me here too:

Instagram | Facebook | Pinterest

Blessings,

Kim

Filed Under: recipes

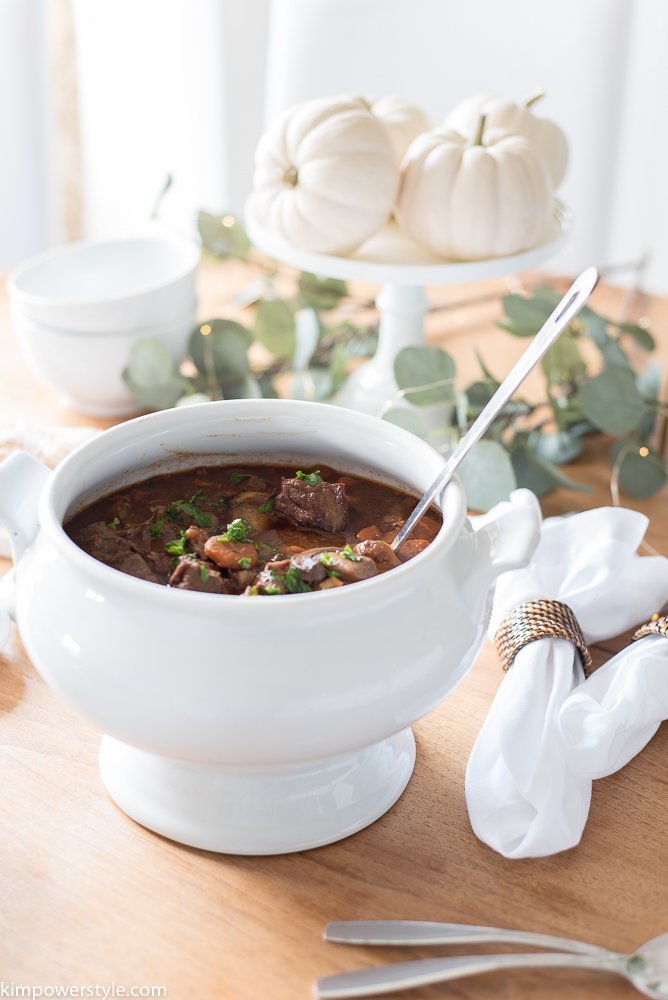
Hearty Slow Cooker Beef Bourguignon

5:00 am by kim 7 Comments

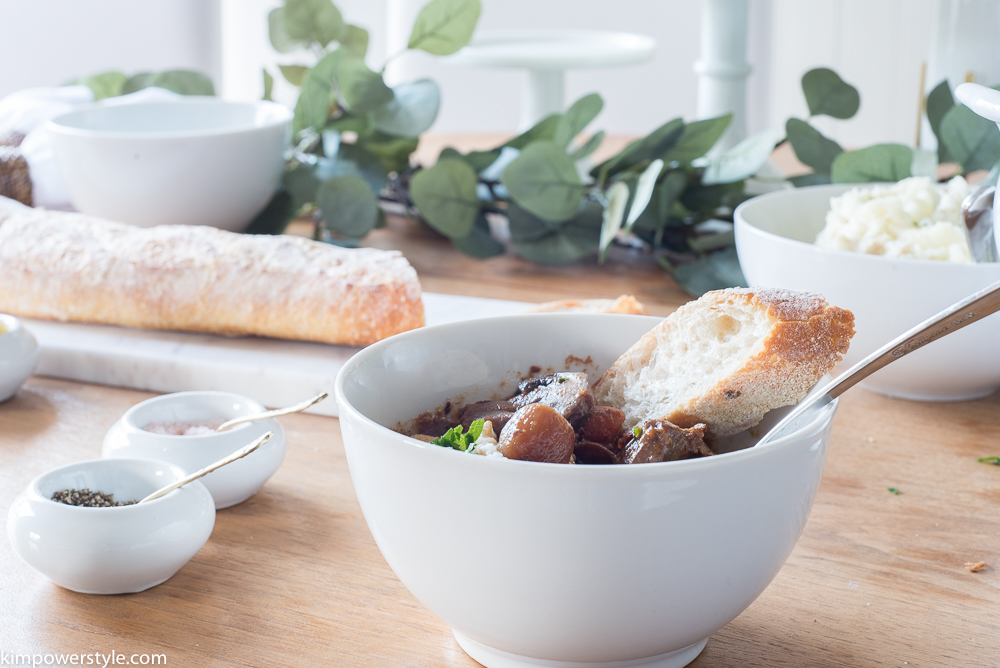
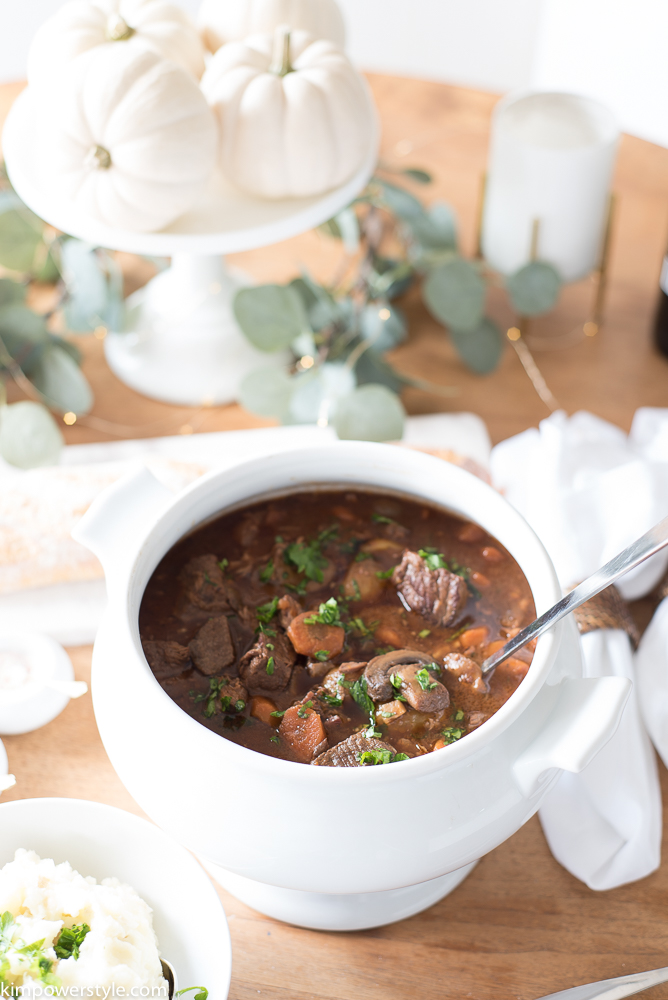
Thanks for joining me today along with 10 other bloggers as we share some of our favourite slow cooker recipes! Fall is my favourite season and I love it when the air starts to get cooler and we go from barbecues and salads to more hearty indoor comfort meals. There is nothing more hearty than a delicious beef bourguinon made slow and easy in your slow cooker. This tasty slow cooker beef bourginon recipe has a little work on the front end but once that’s done you can enjoy the aroma of it cooking away while you enjoy your day!

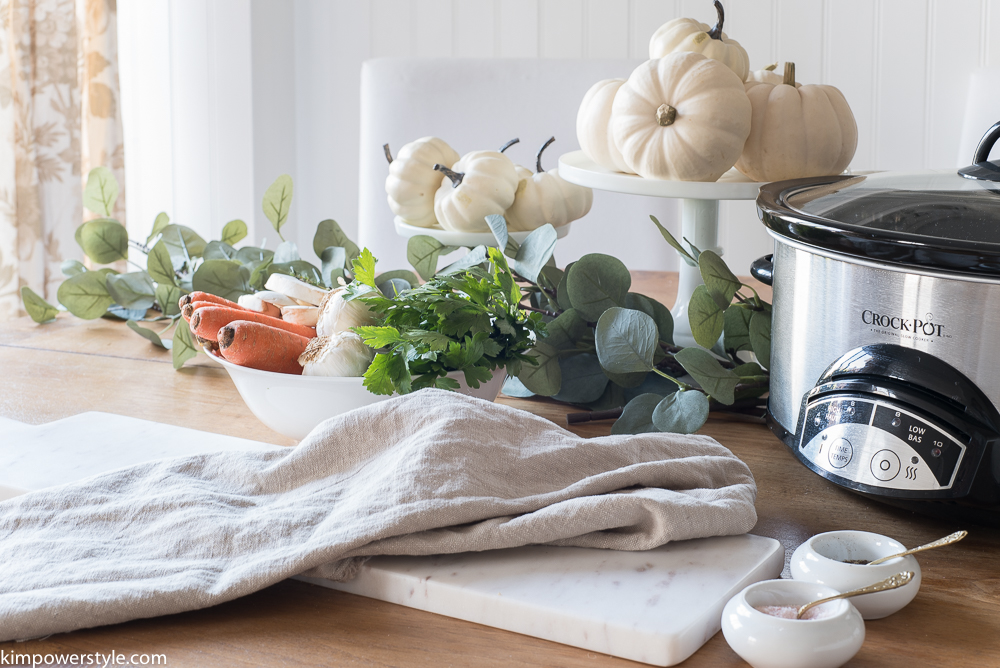
untitled-6435

Slow Cooker Beef Bourguignon Recipe:

Ingredients:

  • 5 slices of bacon chopped
  • 3 lbs stewing beef
  • 1 cup good red wine
  • 2 cups beef broth
  • 1/4 cup soy sauce
  • 1/4 cup tomato paste
  • 1/4 cup flour
  • 1 lb baby potatoes
  • 5 medium carrots chopped
  • 4 cloves of garlic minced
  • 10 0z mushrooms sliced
  • 8 oz pearl onions
  • 2 tbsp fresh thyme minced
  • fresh parsley finely chopped for garnish
  • salt and pepper to taste

Instructions:

  1. Add chopped bacon to a pan over medium heat and brown for 3-4 minutes. Remove bacon and place in slow cooker.
  2. Salt and pepper stewing beef and place in the pan to sear in the bacon fat in small batches. Add beef to slow cooker.
  3. Pour the cup of red wine into the pan and deglaze all the bits from the bottom.
  4. Whisk in beef broth, soy sauce and tomato paste. Once those ingredients are incorporated, whisk in the flour and let simmer for a couple of minutes. Add to slow cooker.
  5. Add the potatoes, chopped carrots, pearl onions, sliced mushrooms, minced garlic and thyme.
  6. Stir all the ingredients together and cook on low for 6-8 hours or until beef is tender.
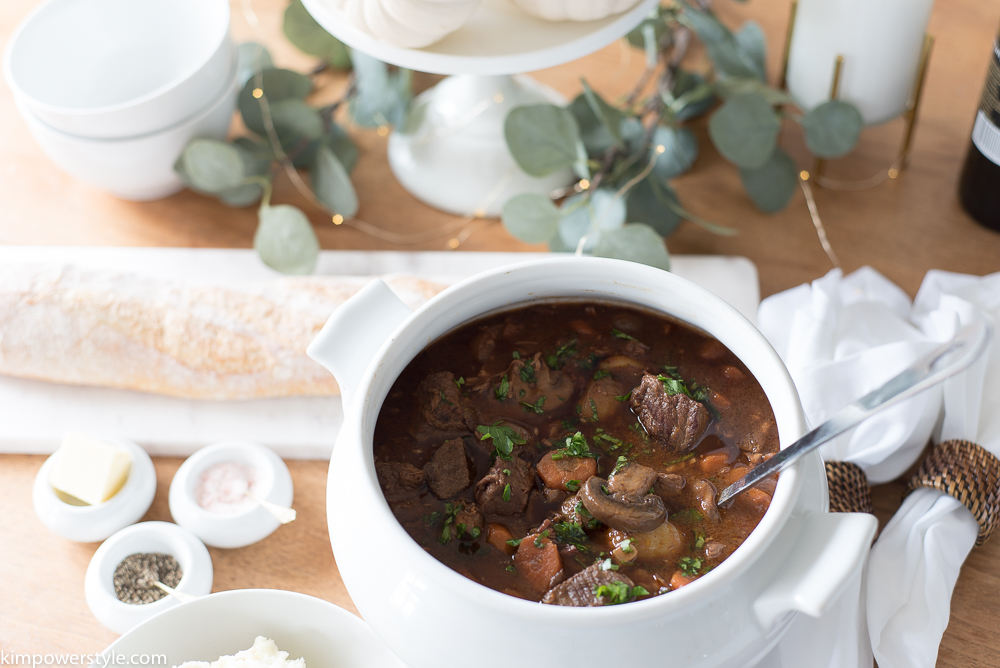
  7. Once it’s done, finely chop some fresh flat leaf parsley on top and you’re ready to serve.

Slow Cooker Beef Bourguignon

Slow Cooker Beef Bourguignon

untitled-6464

untitled-6465

untitled-6481

Slow Cooker Beef Bourguignon

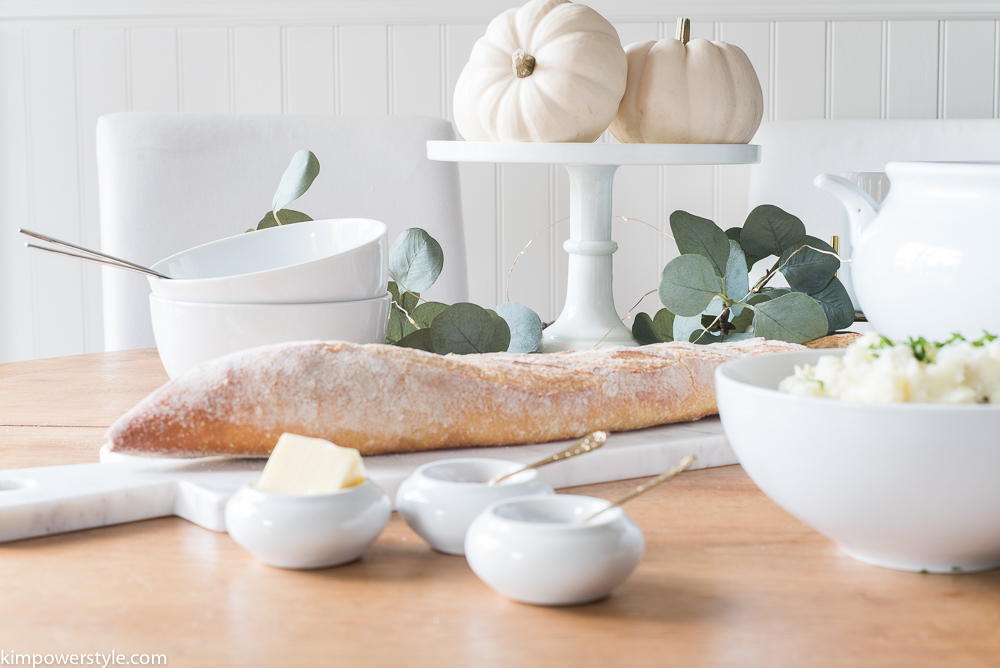
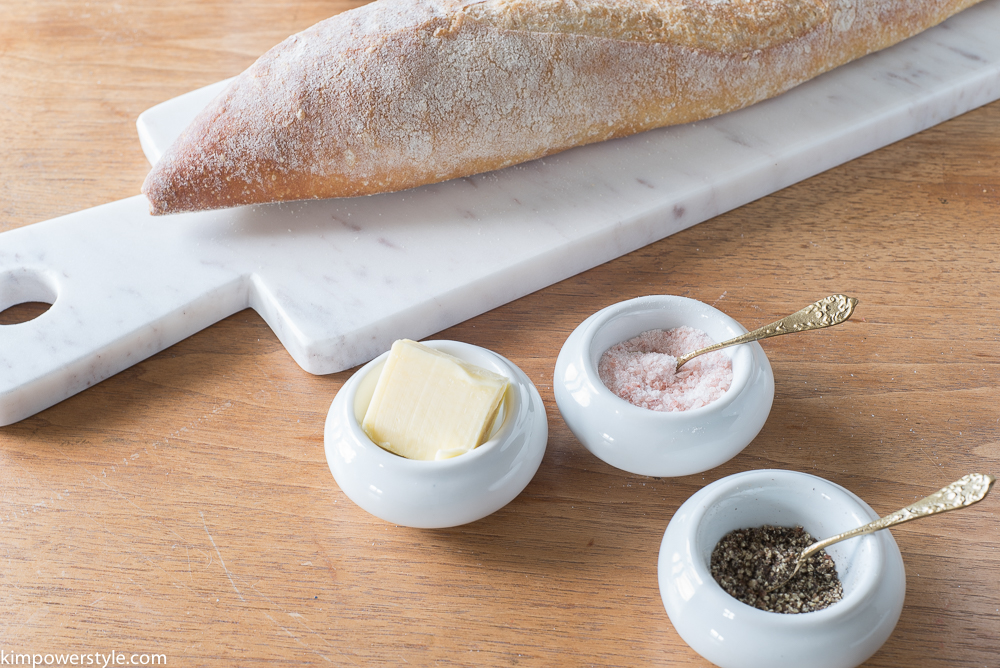
This delicious meal can be served with a crusty loaf of bread and creamy mashed potatoes. It’s definitely worth the added time it takes to sear the meat once you taste that rich dark gravy. It makes a great week night meal or a special Sunday supper with the family. I hope you try it, I promise you won’t be disappointed! Don’t forget to check out all the links below and visit the rest of the bloggers for some more great slow cooker recipes.

Blessings,

Kim

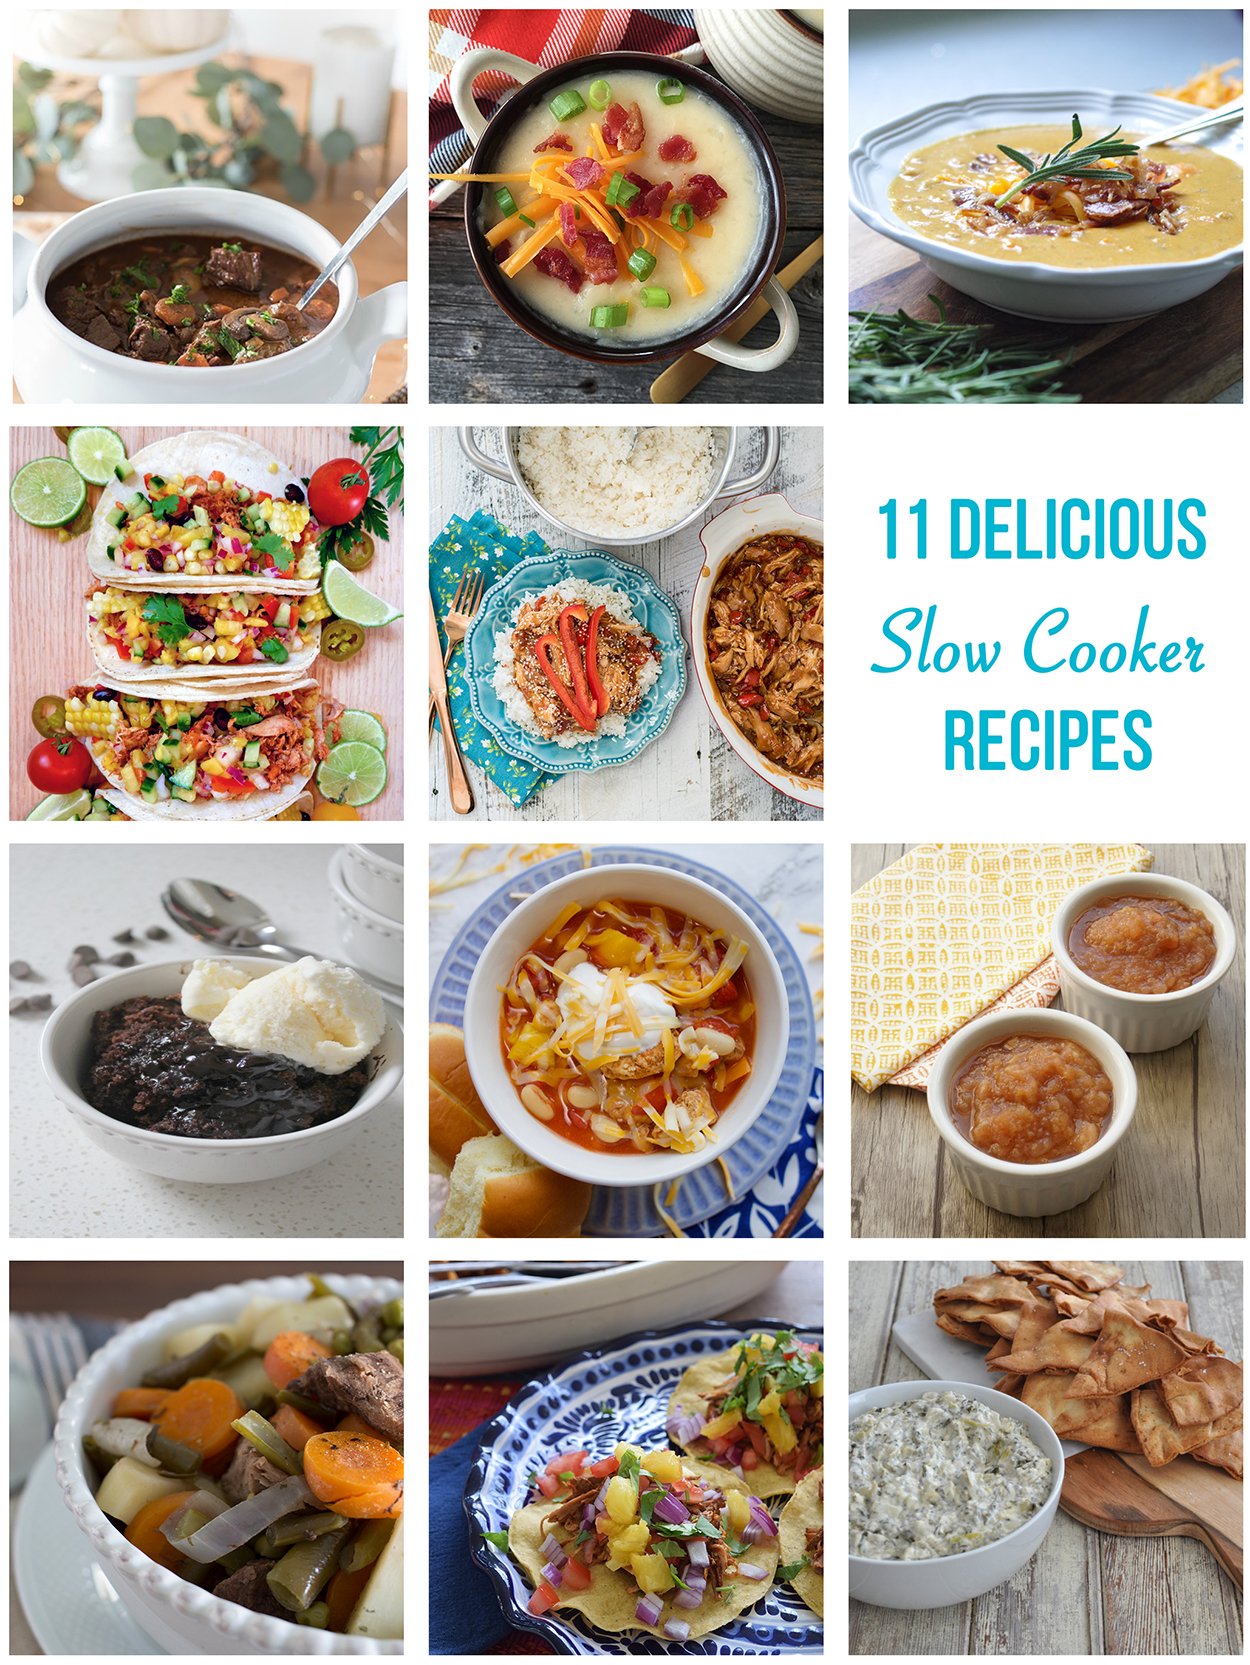
Slow Cooker Reipes


Slow Cooker Beef Bourguignon by Kim of Kim Power Style

Slow Cooker Loaded Baked Potato Soup by Jo-Anna of A Pretty Life

Cheesy Sweet Potato and Bacon Soup by Tara of Suburble

Weight Watchers Crock Pot Chicken Tacos by Virginia of Fynes Designs

Slow Cooker Honey Garlic Chicken with Peppers by Christina of The DIY Mommy

Slow Cooker Hot Fudge Cake by Kendra of Joy In Our Home

Slow Cooker Chicken Fajita Chili by Christine of Amidst the Chaos

Slow Cooker Apple Sauce by Jen of Kitchen Counter Chronicles

Slow Cooker Beef Stew by Shannon of AKA Design

Mexican Pulled Pork by Sarah of Flourish & Knot

Slow Cooker Spinach and Artichoke Dip by Dannyelle of Life is a Party

Filed Under: Fall, recipes

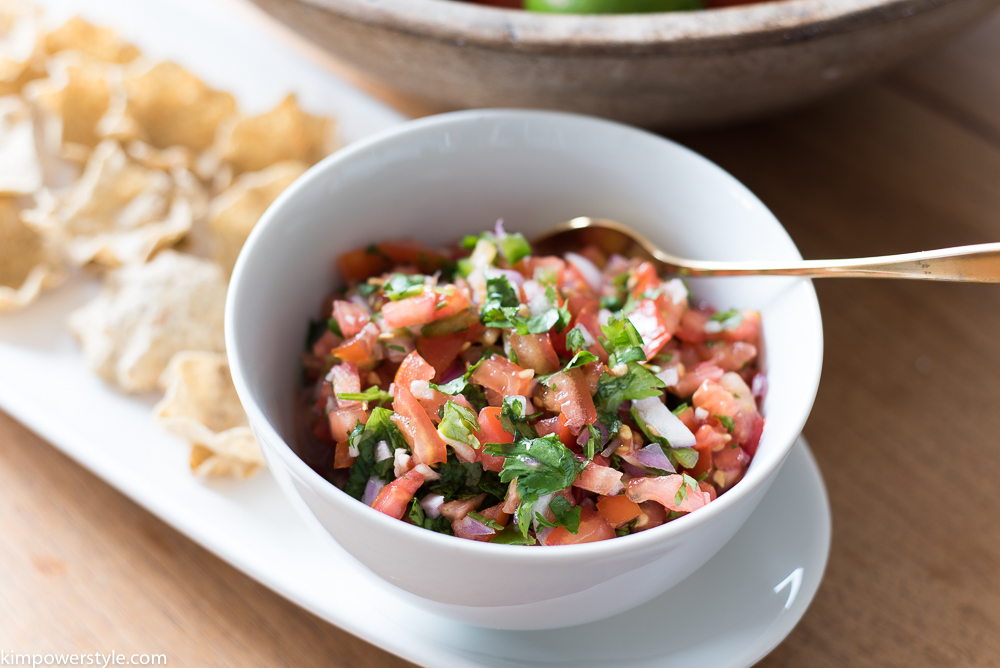
Easy Mexican Pico de Gallo

2:41 pm by kim 4 Comments

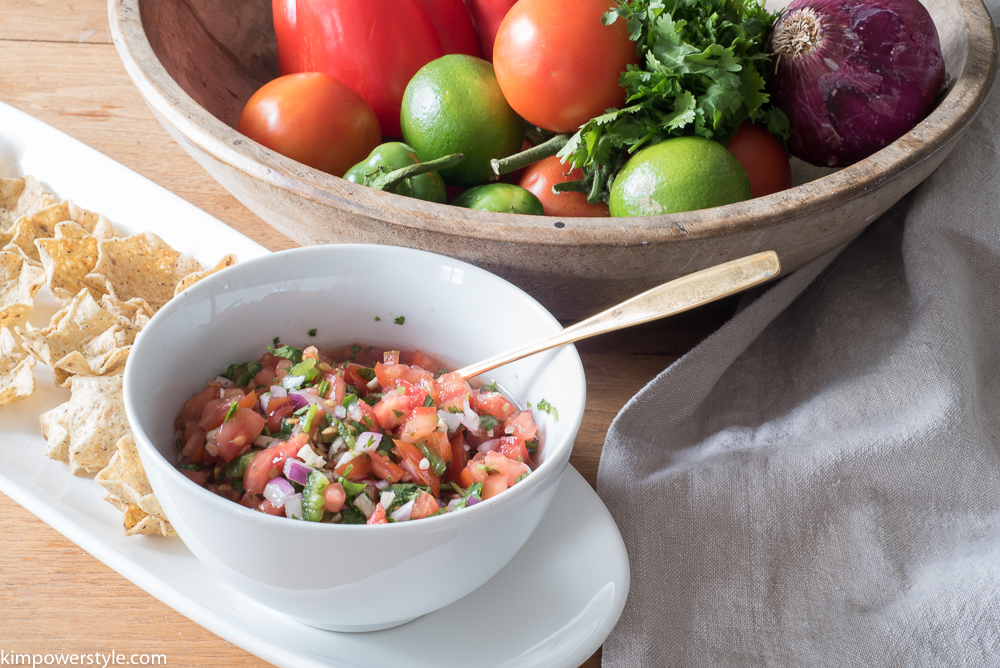
I’m sharing one of my favourite’s with you today folks. It’s a basic, Easy Mexican Pico de Gallo recipe. If you’ve never made this before, prepare yourself because you’re in for a real treat! This Pico de Gallo can be used for everything from topping on your chips to toppings on  fish, chicken and eggs.  Whenever I’ve gone to Mexico, It’s on my plate with every meal. I’m using it on my turkey breast and ciabatta sandwich right now!

You can make this anytime but it’s especially good when tomatoes are fresh from the garden! I love all the fresh colours that make up this wonderfully versatile dish.

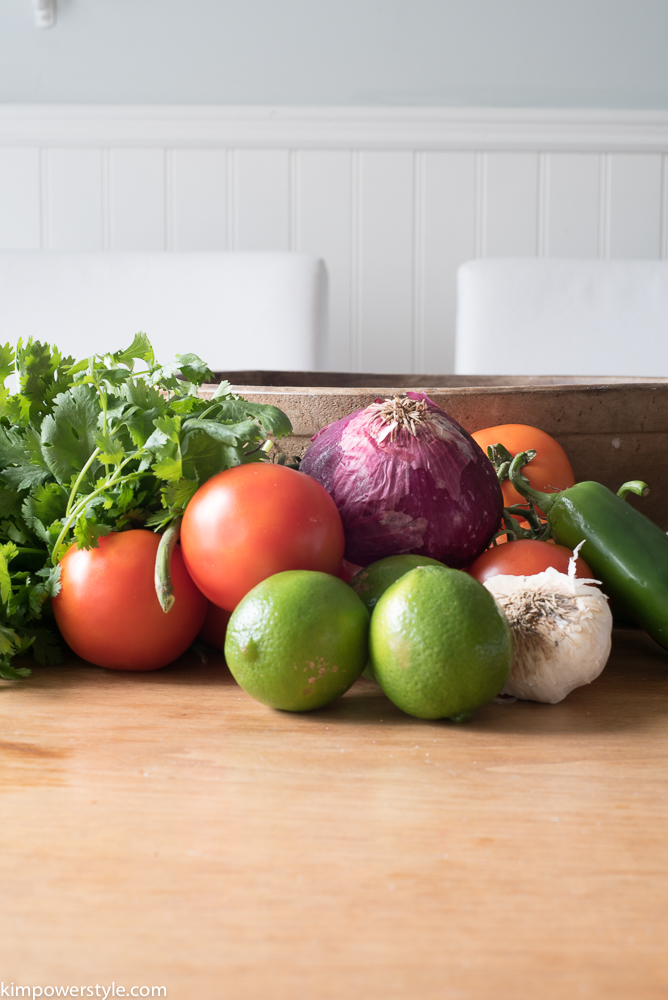
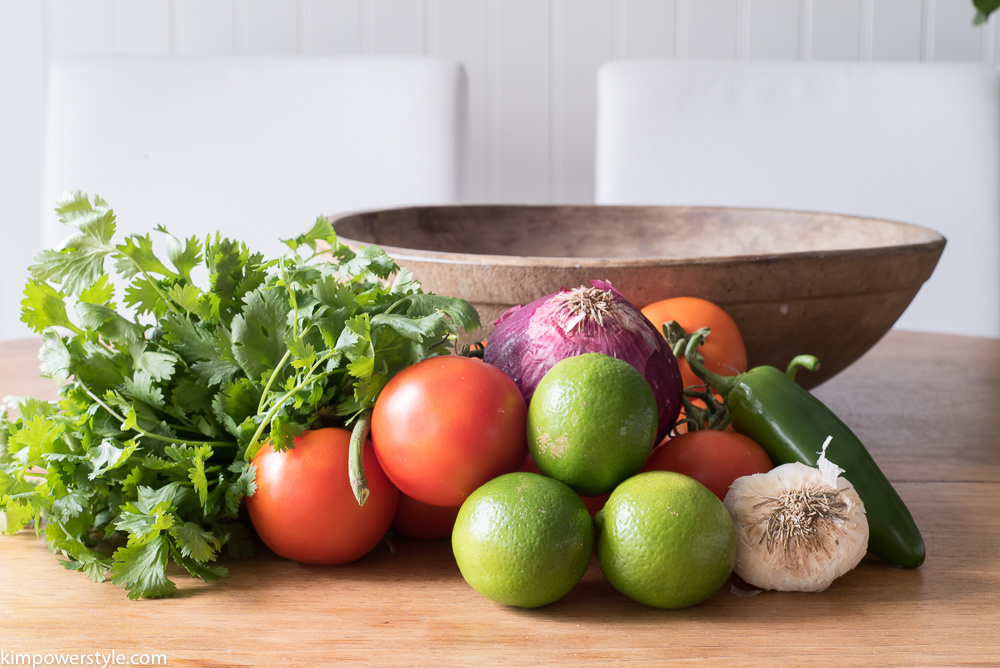
Easy Mexican Pico de Gallo

Easy Mexican Pico de Gallo

Let me start off by saying that this is the basic Mexican recipe. You can add whatever else catches your fancy! Also, these measurements are reflective of how I like my Pico de Gallo to taste. If you like more heat, add more jalapeño peppers. If you don’t like cilantro, omit it. If you like lots of tartness, add more lime juice etc. This dish is customarily chopped by hand but you can use a food processor if you like. Plum tomatoes are more meaty and firm but you can try other types as well. For this recipe I used vine ripe tomatoes that were on sale. This dish can be made a few hours ahead of time and can be eaten within 24 hours. However, I’ve kept it for longer and once you drain off the liquid  that can accumulate (I actually drink that stuff much to the chagrin of my daughters) It still looks and tastes great!

Easy Mexican Pico de Gallo

You’ll need:

  • 4-6 Plum tomatoes, diced
  • 1 small red onion or 1/2 a large one, minced
  • 1/2 a bunch of cilantro, finely choppped
  • 1/2 a jalapeno pepper, seeded and finely chopped
  • 3 cloves of garlic, minced
  • juice of 1 lime
  • salt and pepper to taste

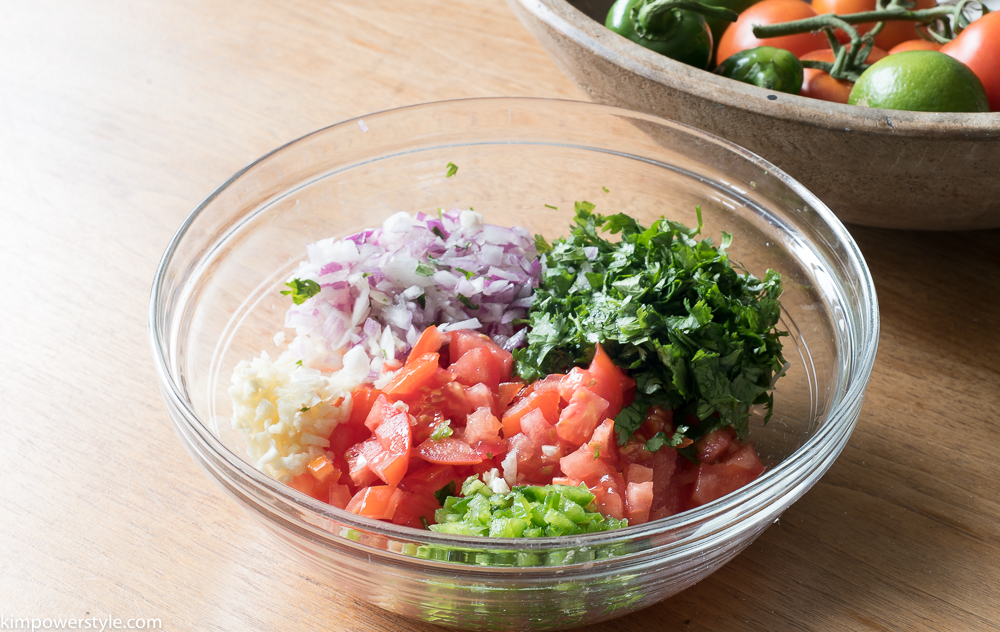
Easy Mexican Pico de Gallo

Place all your ingredients into a bowl and mix together adding salt and pepper to taste. You can use it right away or wait an hour or two for all the delicious flavours to meld together.

Easy Mexican Pico de Gallo

Easy Mexican Pico de Gallo

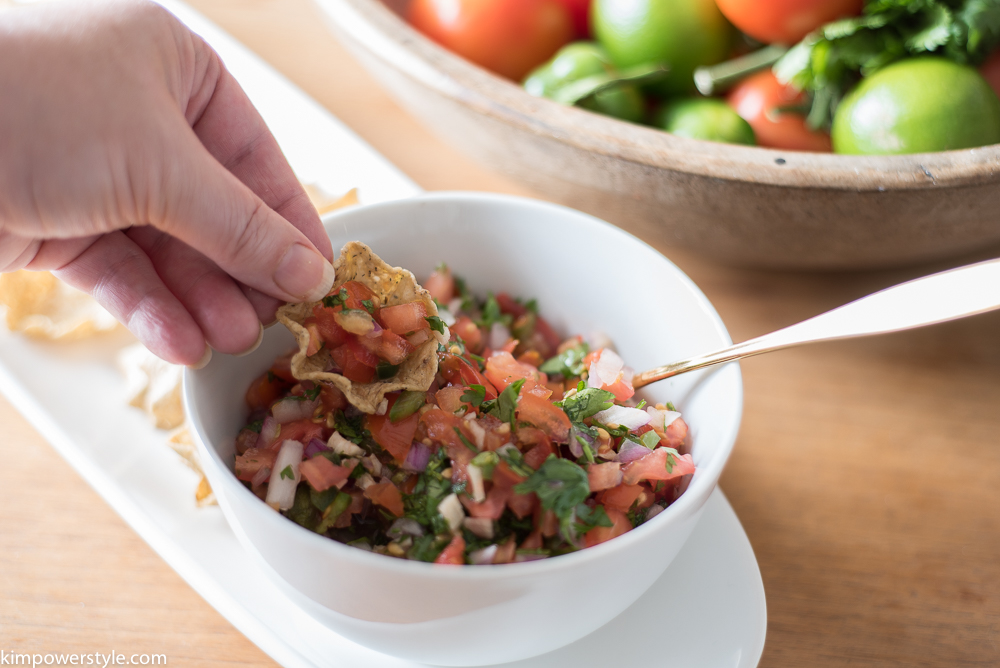
You can use it with tortilla chips or top it on your favourite foods.

Easy Mexican Pico de Gallo

 I hope you get the chance to make this dish. I think you’ll really enjoy it!

Thanks so much for stopping by! To see more and to receive these posts straight to your inbox, Just click the box on the right and subscribe. You can always find me on Instagram, and pinning away on Pinterest.

Blessings,

Kim

Filed Under: recipes

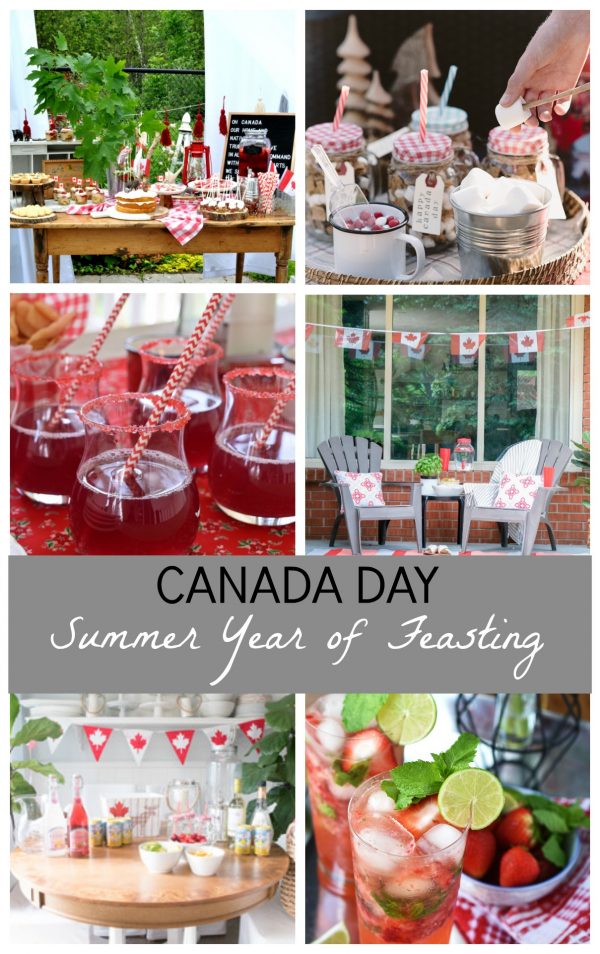
Canada Day Celebrations and a Simple Summer Sangria!

6:00 am by kim 8 Comments

Canada Day Celebrations and a Simple Summer Sangria!

Canada Day Celebration and a Simple Summer Sangria

Canada-Day-Celebration-and-a-Simple-Summer-Sagria

On July 1st, we Canadians will be celebrating Canada’s 15oth birthday! So that means lots of Canada Day family and friend get togethers to celebrate this amazing country that we live in. There will definitely be a sense of national community happening across the nation. My little shore community already has flags outside our homes and some of the streets will be lined with tiny little maple leaf flags and lots of parties going on. You can check out my previous Canada Day Post here.  This fits right in with our #YearofFeasting as I, along with 5 other bloggers get intentional about opening up our hearts and homes and inviting others to feast together with us no matter the occasion.

Canada Day Celebrations and a simple summer sangria

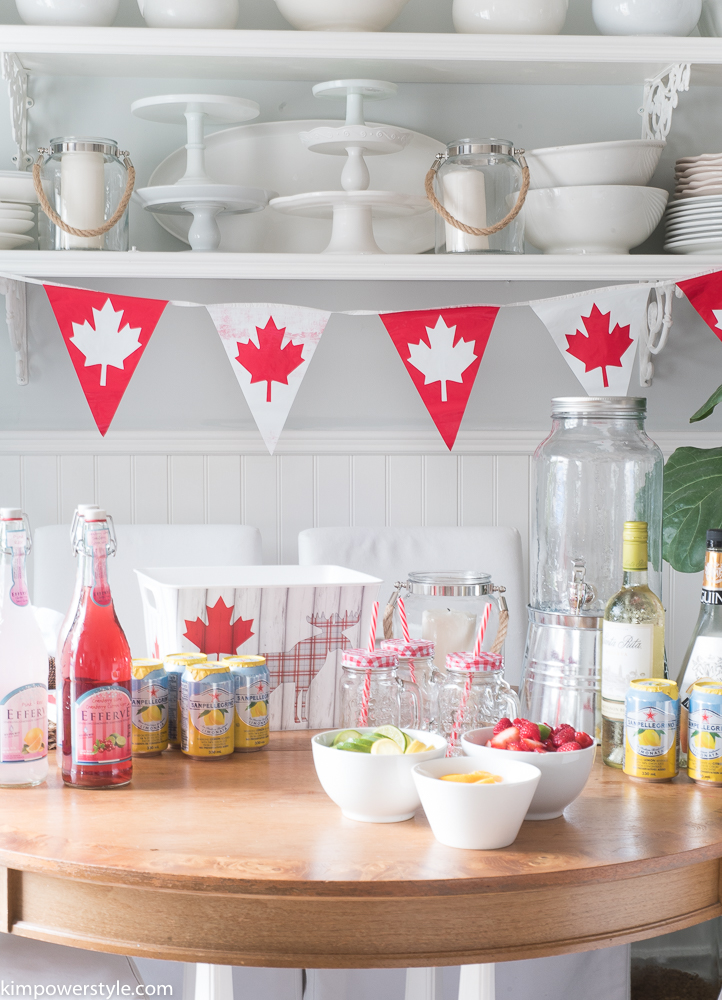
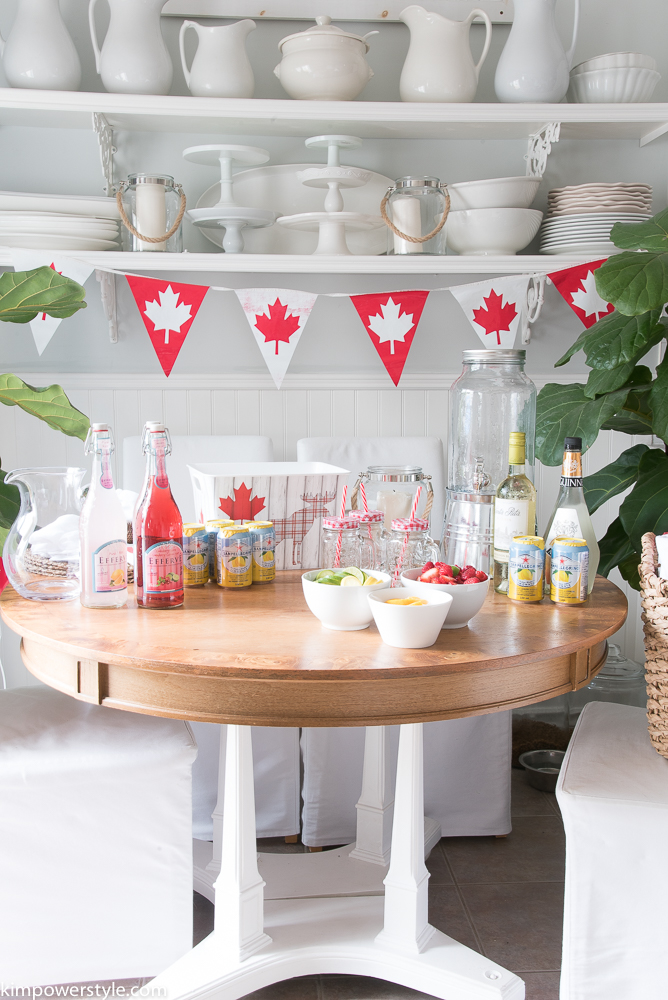
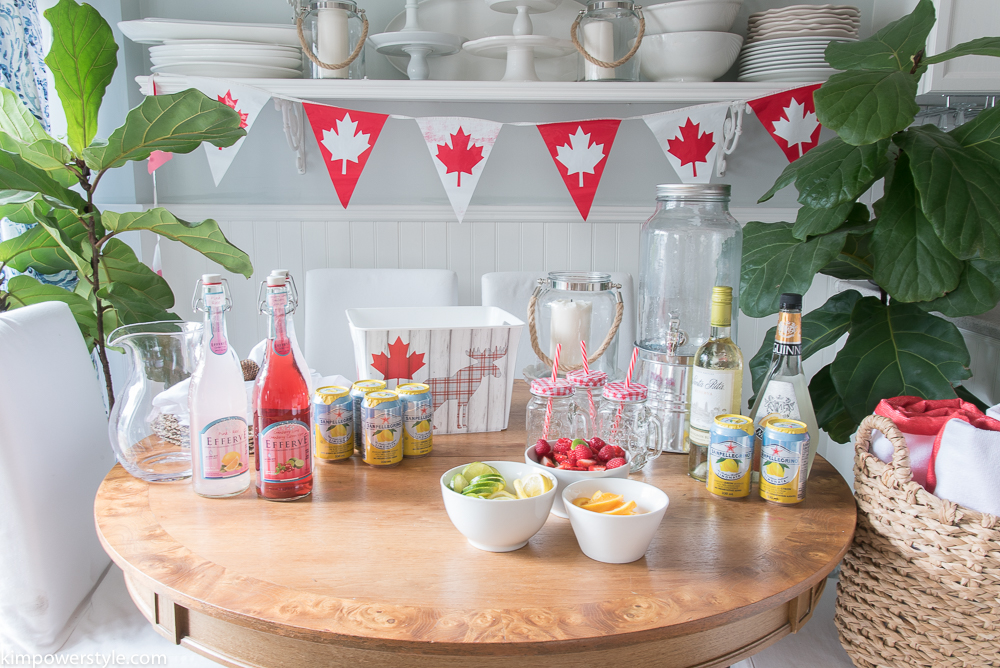
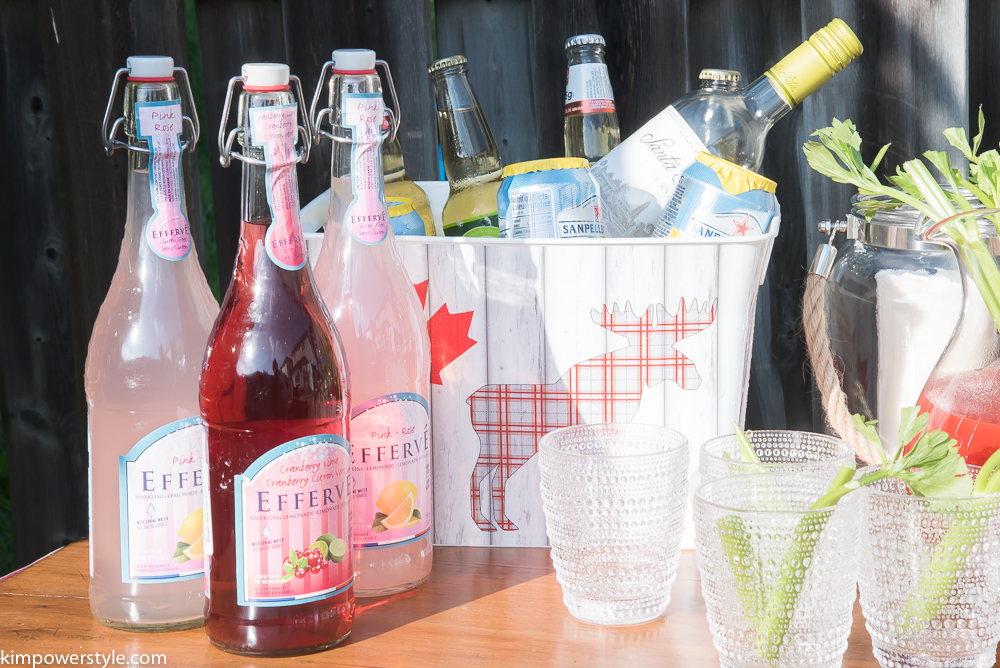
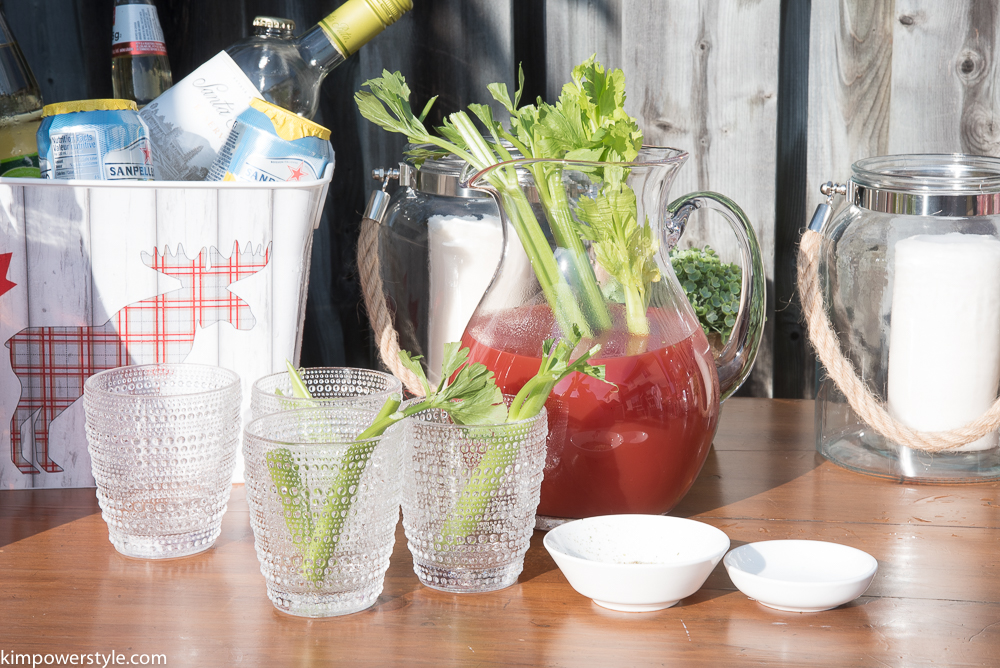
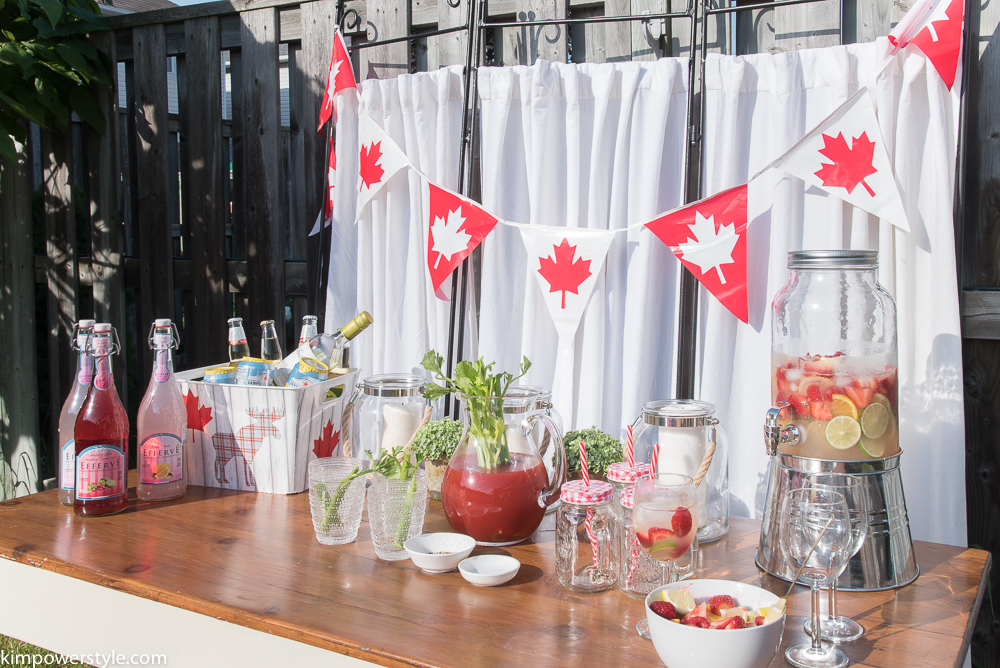
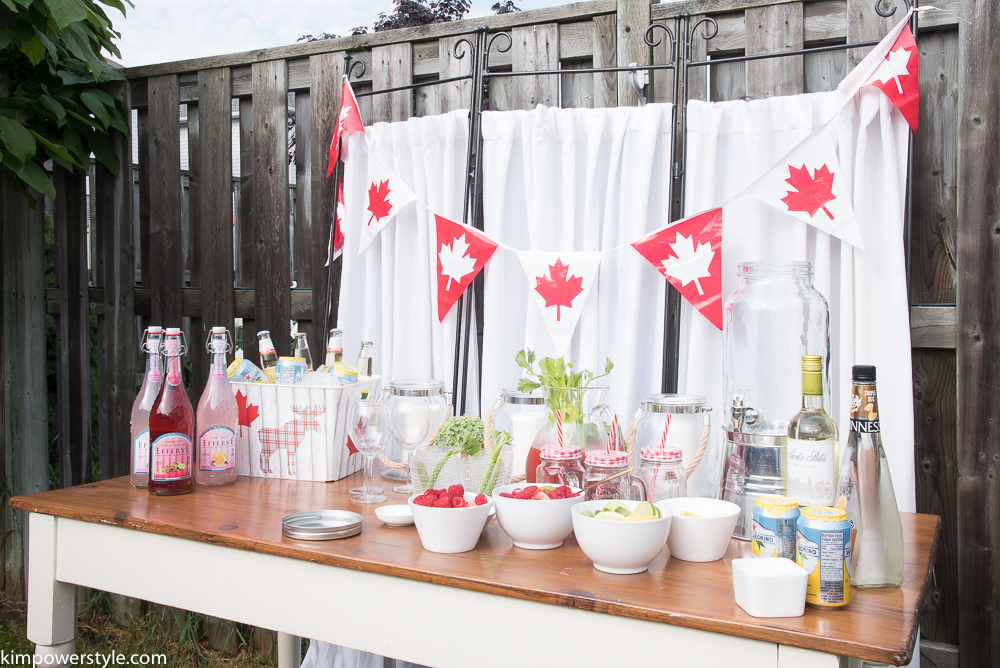
I love pot-luck get togethers where everyone pitches in and brings their share of the food. It takes a huge burden off of the host and other people’s food always taste better, (probably because I didn’t have to make it;) ) This year I’m in charge of the drinks, so I’ve set everything up and will mix it all together before everyone arrives. I’ll have a tasty simple Summer Sangria, pre-made jug of Ceasars, Cold beer, and a mix of different lemonades. I’ve set up the table in the nook where people can grab their drink and a  beach towel and head on outside. I found these Canadian flag beach towels at Giant Tiger. I rolled them up and placed them in a basket, which makes it convenient for everyone to grab and run.

Canada Day Celebration and a Simple Summer Sangria

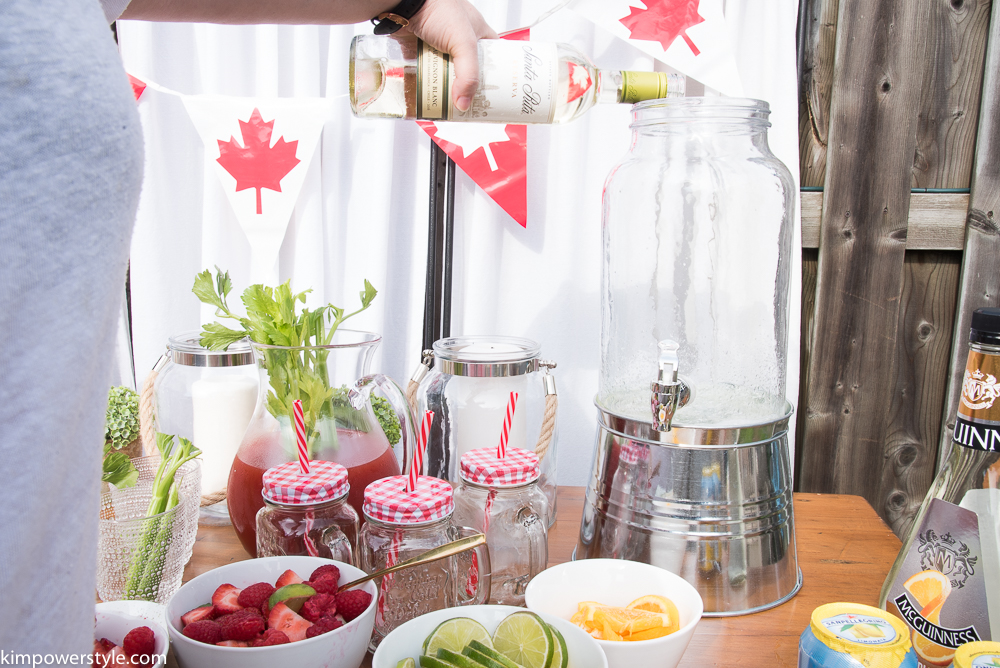
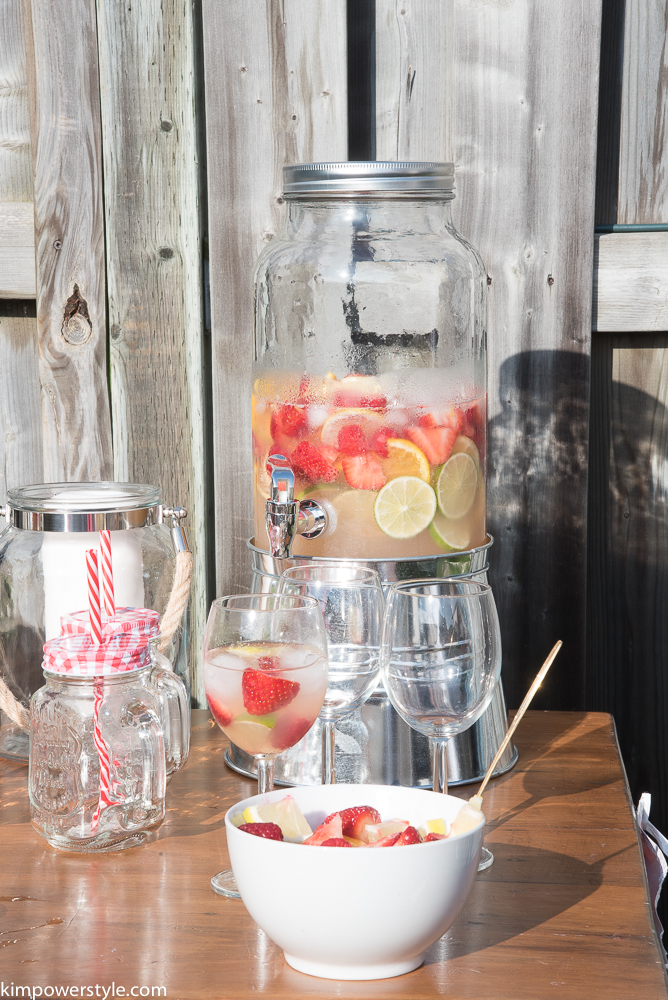
Before I mixed the drinks I brought everything outside to make it more convenient and accessible for guests to go back and forth for fill ups! To decorate I  used some Canada flag bunting and strung it up along this room divider. I found some glass lanterns with rope handles at Giant Tiger and filled them with candles. I also found these sweet little mason jar cups complete with straws along with a Canadiana plastic tub that I  filled with ice to keep beverages chilled. My favourite find was this great glass jar to mix my sangria in where everyone can help themselves. The bottom can be removed and used as an ice bucket, but I liked having the spout a little higher so you can place your glass under it. Giant Tiger is a great go-to shop for budget friendly decor and food!

Simple Summer Sangria:

  • White Wine 750ml.
  • Orange liqeur 25oml.
  • 2 Limes sliced
  • 2 Lemons sliced
  • 1 Orange sliced
  • 1 cup Strawberries
  • 1 cup Raspberries
  • 1/4 cup of Sugar (optional)
  • 4 cans of San Pellegrino Limonata

Canada-Day-Celebration-and-a-Simple-Summer-Sangria

First add your white wine. I chose my favourite Chilean wine.

Canada-Day-Celebration-and-a-Simple-Summer-Sangria

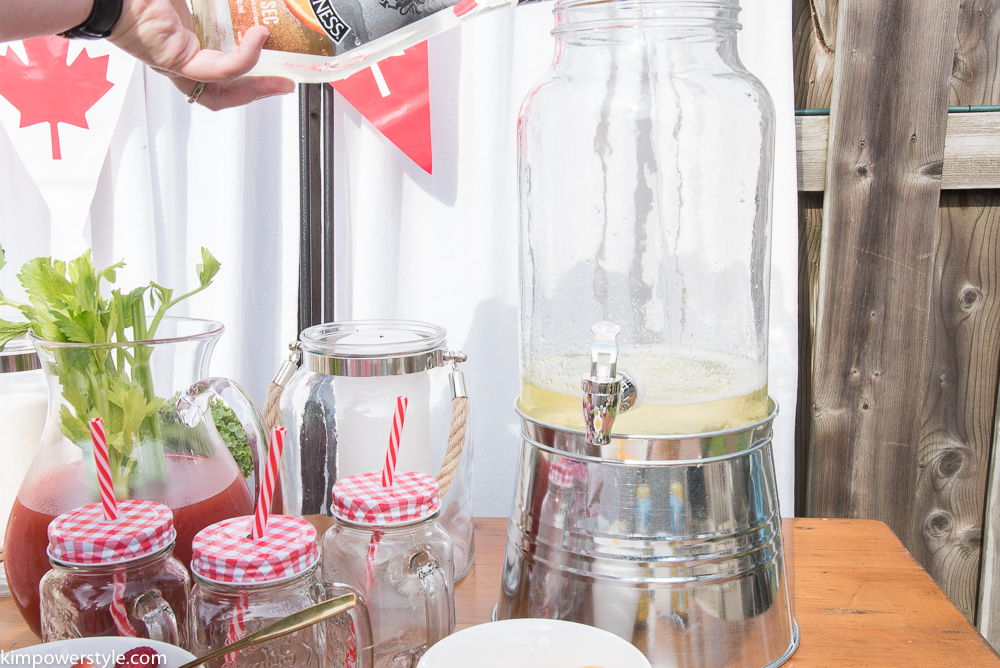
Next add your orange liqueur, I chose triple sec.

Canada-Day-Celebration-and-a-Simple-Summer-Sangria

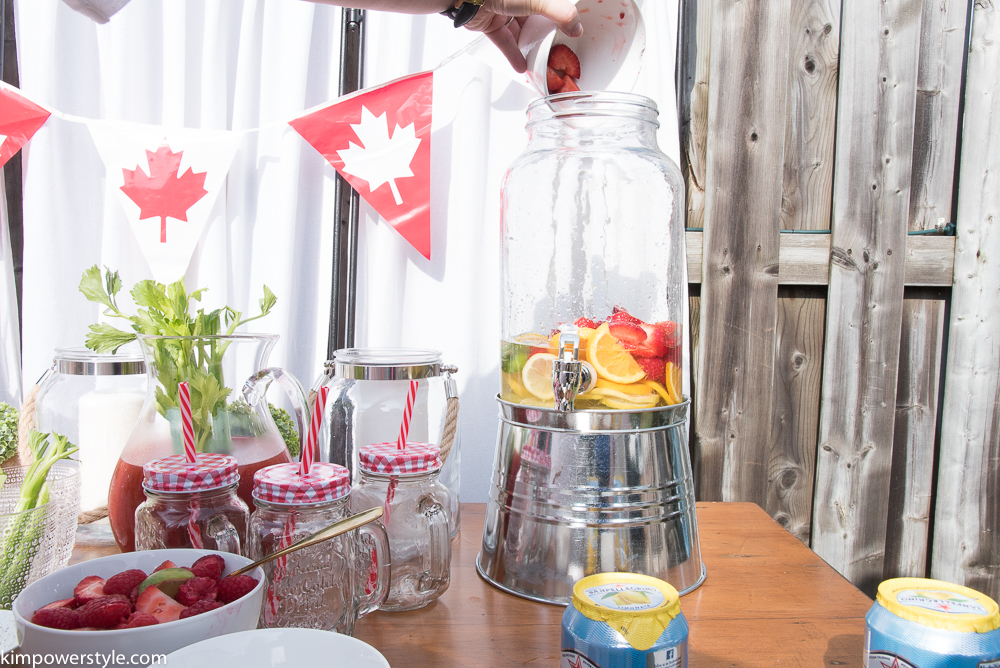
Next add all your fruit and berries. You can add any fruit or berries that you like here. I just find that a citrus base is always light and refreshing. At this point if you wanted to make this ahead of time, you can add the sugar and then chill it in the fridge until you’re ready to serve.

Canada-Day-Celebration-and-a-Simple-Summer-Sangria

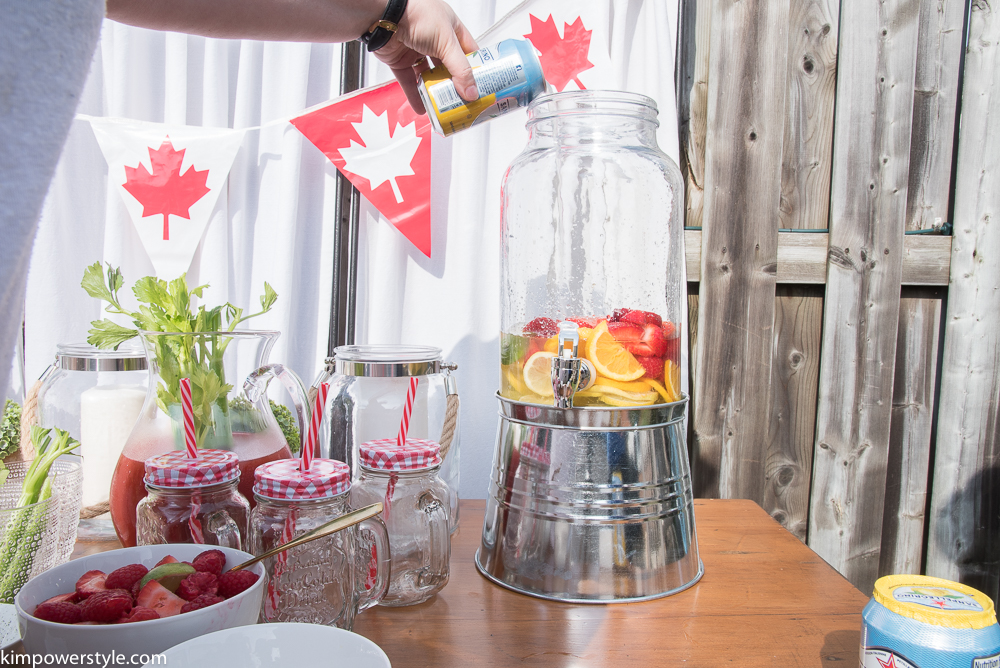
Lastly, you add your lemon drink. You can add any sweet bubbly/carbonated drink of your choice here. Including, soda water, ginger ale, fresca etc. This step should be done right before you serve so that your bubbles don’t go flat. Sangria is so tasty and just screams summer to me!

Canada-Day-Celebration-and-a-Simple-Summer-Sangria

I also cut up a bowl of the fresh fruit and berries so guests can add more to their individual drinks. As you can see, it was hot out and I already started partaking of this tasty refreshing drink! 😉

CaCanada-Day-and-a-Simple-Summer-Sangria

I also had lots of refreshing lemonades for people who wanted a non-alcohol alternative.

Canada Day and a Simple Summer Sangria

Making a spicy jug of Caesars (or Bloody Marys) is an easy way to make everything ready and available so  your guests have lots of refreshing and tasty options to try.

Canada-Day-and-a-Simple-Summer-Sangria

I hope you all get the chance to join with friends and family to celebrate Canada Day or The Fourth of July for my American friends! Whatever excuse you need to celebrate and feast on life together, do it!                 Be sure to check out my friends below for more Canada Day inspiration as they join in on the Canada Day  #YearofFeasting fun.

Blessings,

Kim

Disclosure: This post was sponsored by Giant Tiger. All thoughts, opinions, photography and fun are my own! Thanks for supporting the brands that make KimPowerStyle possible!


Life is Party

Personally Andrea

Flourish and Knot

Learner Observer

Kim Power Style

Woman In Real Life

Canada Day Celebration

Filed Under: recipes, summer

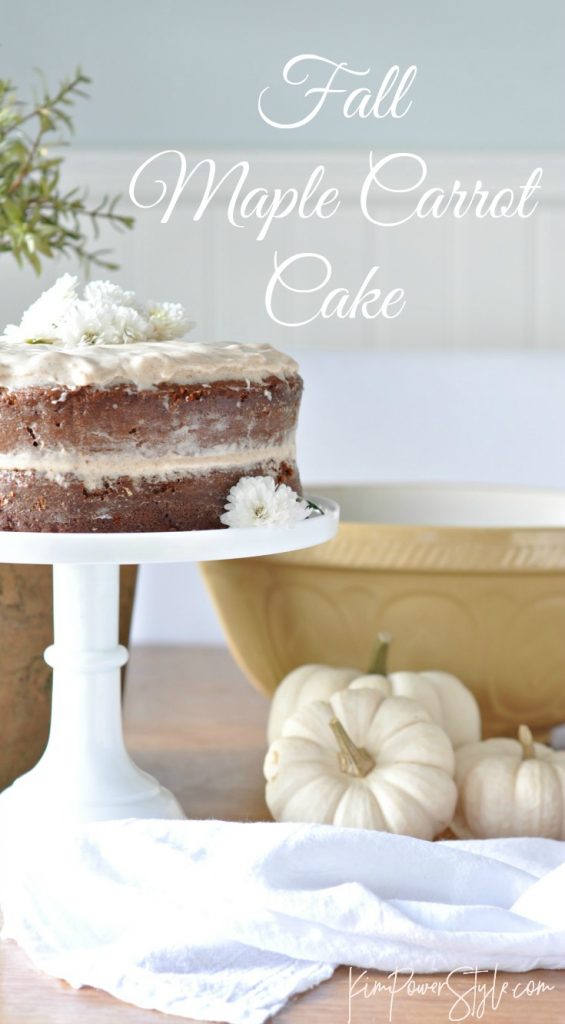
Fall Maple Carrot Cake

6:00 am by kim 6 Comments

Fall Maple Carrot Cake

fall-cake-title-in-white

Hi everyone! I’m sharing this fall maple carrot cake I made this week and I’m hoping you’ll try it out…and like it! Fall and winter are the times of the year when I enjoy baking. There’s something really comforting about having baked goods come out of the oven made from farm fresh produce as the temperature drops and the weather turns chillier. Not to mention the heavenly aroma that fills the house!

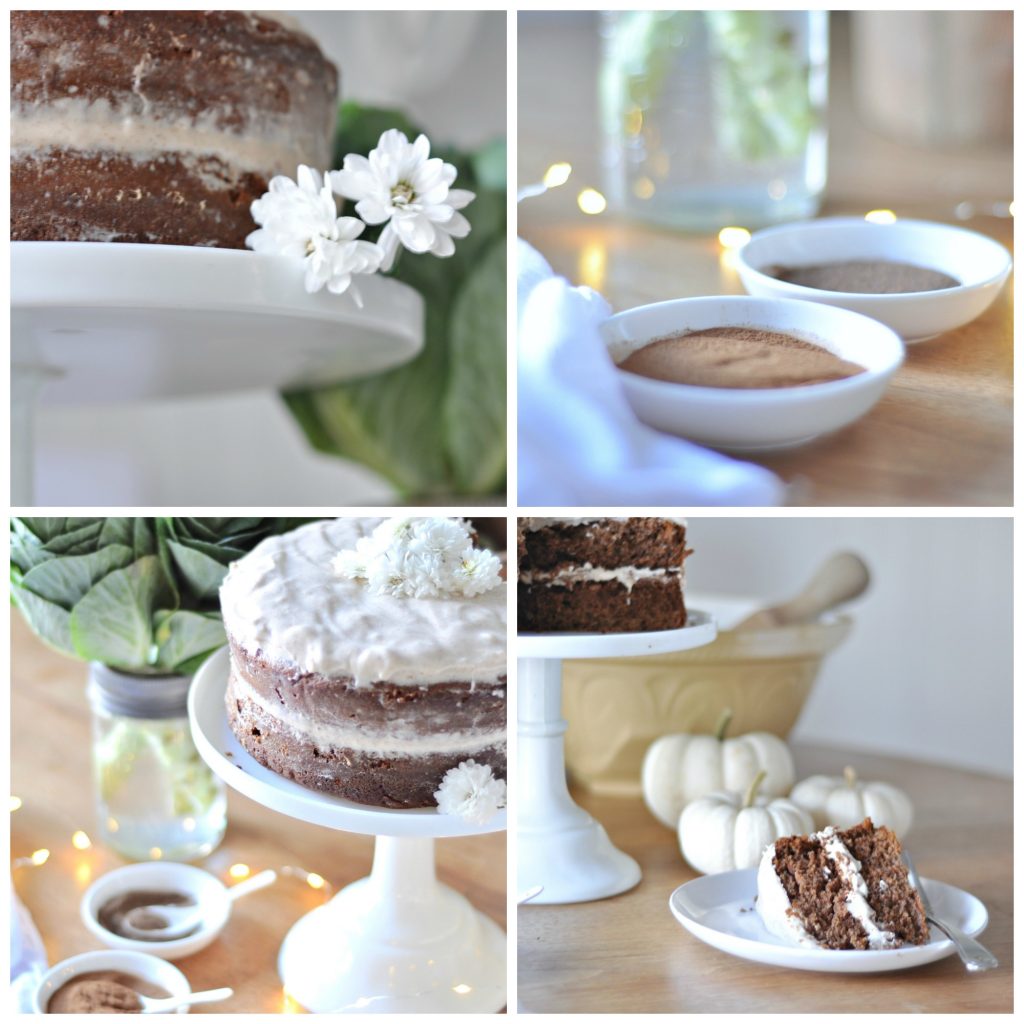
picmonkey-collage

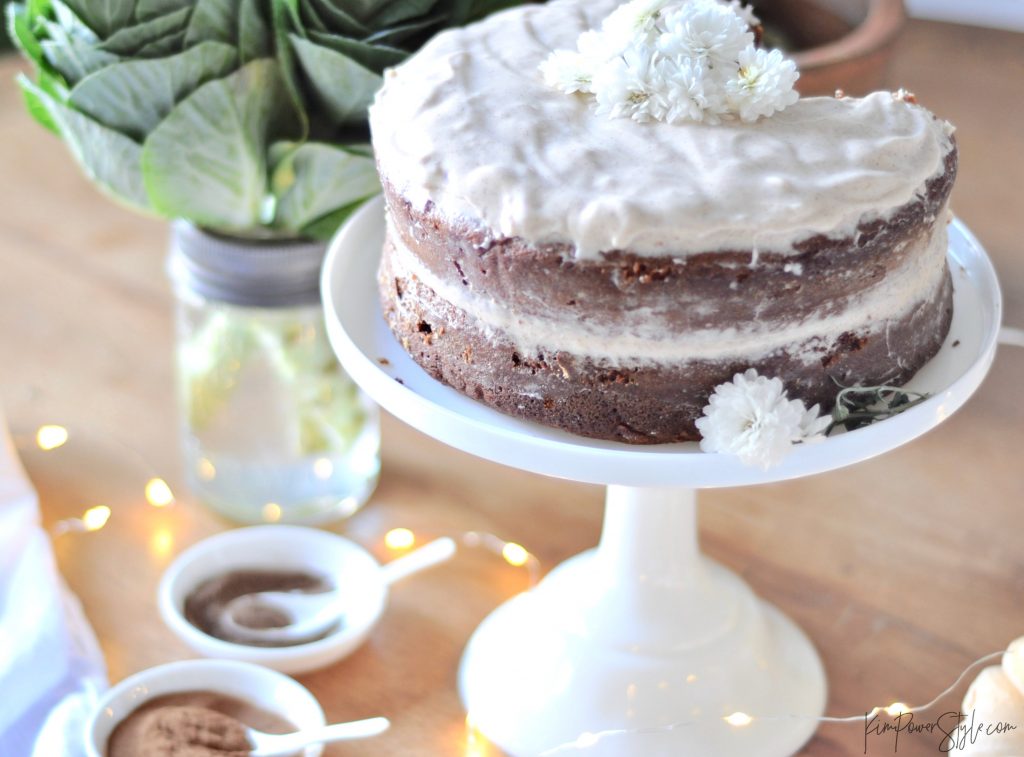
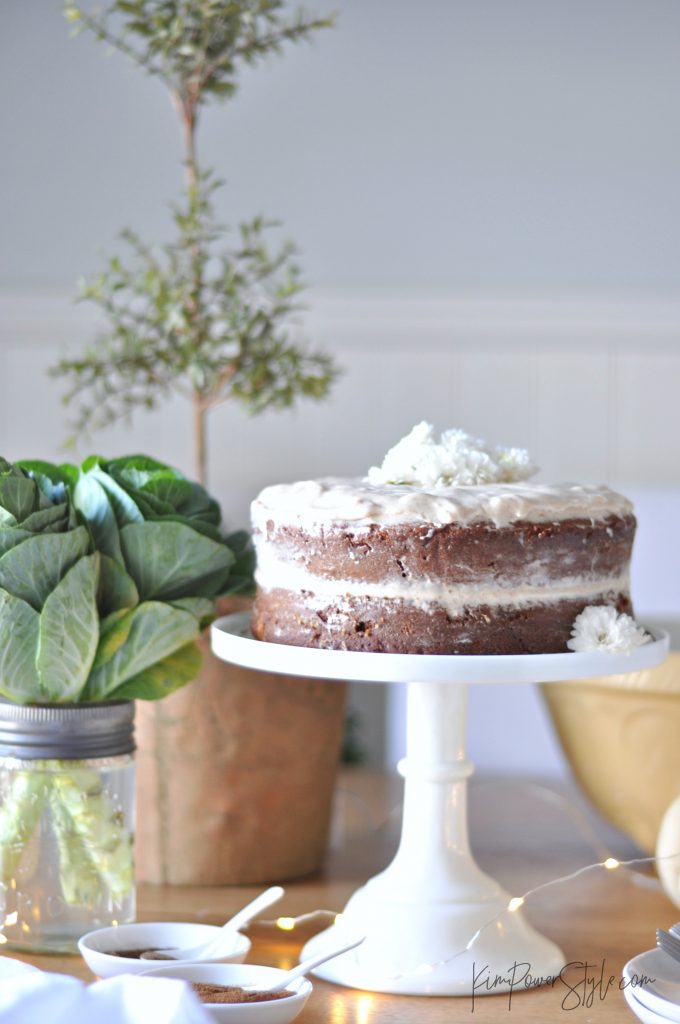
This is a delicious maple carrot cake with a maple cinnamon cream cheese frosting. I decided to make it a naked cake due to the ease of decorating it. I love naked cakes, they’re rustic and pretty at the same time and if you’re not the greatest at doing a pretty frosting job this is an easy and no-brainer way to do it. Even if you mess it up, it still looks good! I used some of the white mums from my front porch to decorate it up a bit. So easy!

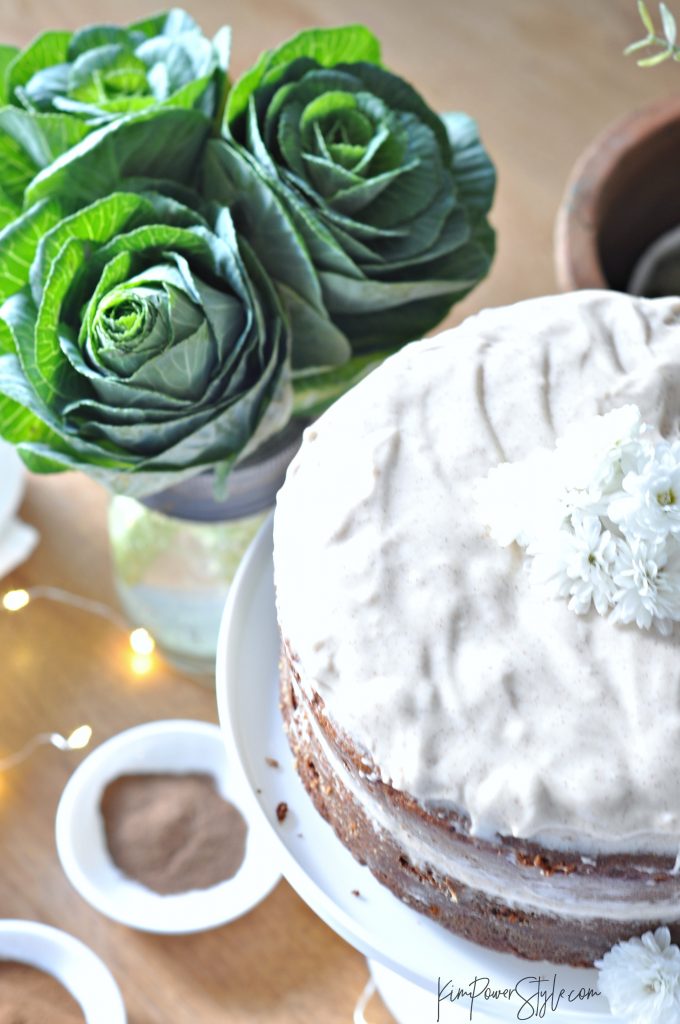
top-view

If you’re noticing a large chunk missing from the cake,  that’s because  I  we couldn’t wait to try it!

cake-frontal-5

Maple Carrot Cake

2 cups (500ml)         all purpose flour
2 tsp. (10ml)              baking powder
1  tsp. (5ml)                baking soda
2 tsp. (10 ml)             ground cinnamon
1/2 tsp (2 ml)             allspice
1/4 tsp. (1ml)             salt
2                                 eggs
3/4 cup (175 ml )       vegetable oil
1/2 cup (125 ml)        maple syrup
1/3 cup (75 ml)          packed brown sugar
1 tsp (5 ml)                vanilla
1 1/2 cups (375 ml)    grated carrots

Icing

4 0z (125g)                 softened cream cheese
2 tbsp (25 ml))          room temperature butter
3 tbsp (45 ml)           maple syrup
1/2 tsp (2 ml)            vanilla
1/2 tsp (2ml)             cinnamon
2 cups (500 ml)       icing sugar

Preheat oven to 350º F (180º C) butter and flour 2, 8-inch baking pans
Whisk together in a large bowl:  flour, baking powder, baking soda, cinnamon, allspice and salt.

Whisk together in another bowl the eggs, oil, maple syrup, brown sugar and vanilla until smooth, pour into the flour mixture, add the carrots and mix just until moistened.
Bake for 20-25 minutes depending upon your oven. Let cool on cooling rack.

Using an electric mixer, beat together cream cheese, butter, maple syrup, vanilla, and icing sugar. Frost tops of cakes and stack. Decorate however you’d like.

Recipe adapted from Foodland Ontario.

cake-front-2

Thanks for dropping by and let me know if you tried it and how it turned out!

Kim

Filed Under: Fall, recipes

Primary Sidebar

Hi, I'm Kim Read More…

Instagram

Follow along on Instagram

Sign up and don't miss a post!

Recent Posts

  • Festive Bacon Wrapped Chestnut Holiday Appetizer
  • DIY Mantel Decorated for Christmas
  • Simple and Cozy Fall Home Tour
  • Simple Fall Tablescape

Archives

Footer

Copyright © 2025 · Foodie Pro Theme by Shay Bocks · Built on the Genesis Framework · Powered by WordPress