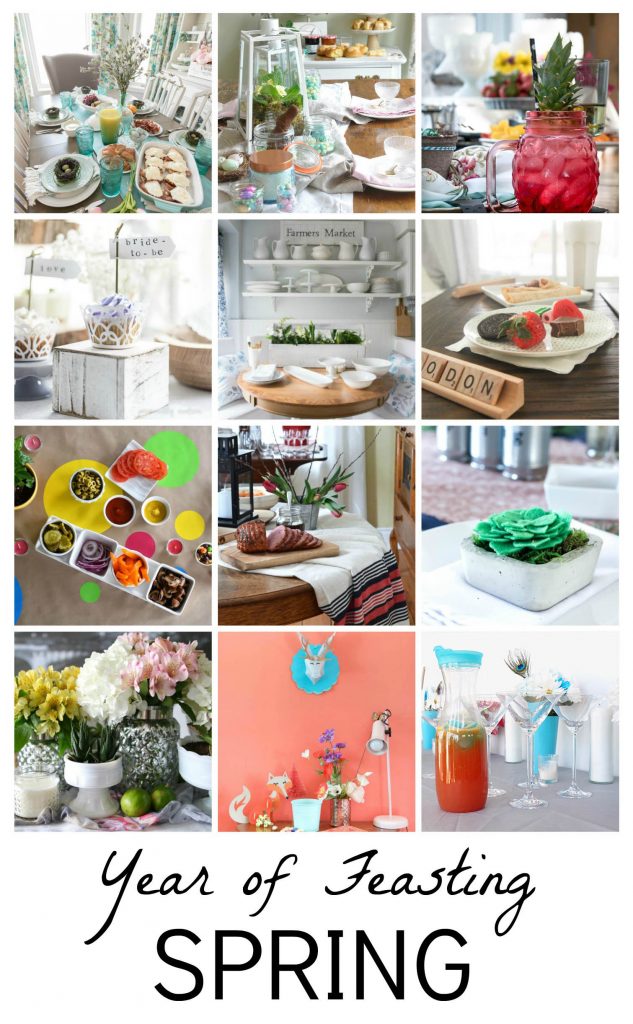
Three Simple Steps to a Spring Brunch Buffet
Welcome everyone! This week I’m joining eleven other bloggers for our “Year of Feasting” blog hop. This is our first season to share together and I’m showing an easy, three simple steps to a brunch buffet. Special thanks to Giant Tiger for sponsoring this post!
Now that my daughters are older and all out on their own, its rare to have us all together at the same time unless it’s a holiday. Their schedules aligned this last weekend and they were all able to come home for a visit! Celebrations like this rare event usually centre around food! We almost always have a brunch buffet. Everyone helps out by cooking and or cleaning and its a great time to feast on foods that we don’t normally have everyday. The only difficult part of putting on a buffet is food preparation. But if you’ve got friends and/or family, it’s great if everyone pitches in by helping to cook or by bringing a dish. Here are three simple steps to prepare a brunch buffet.
Step 1
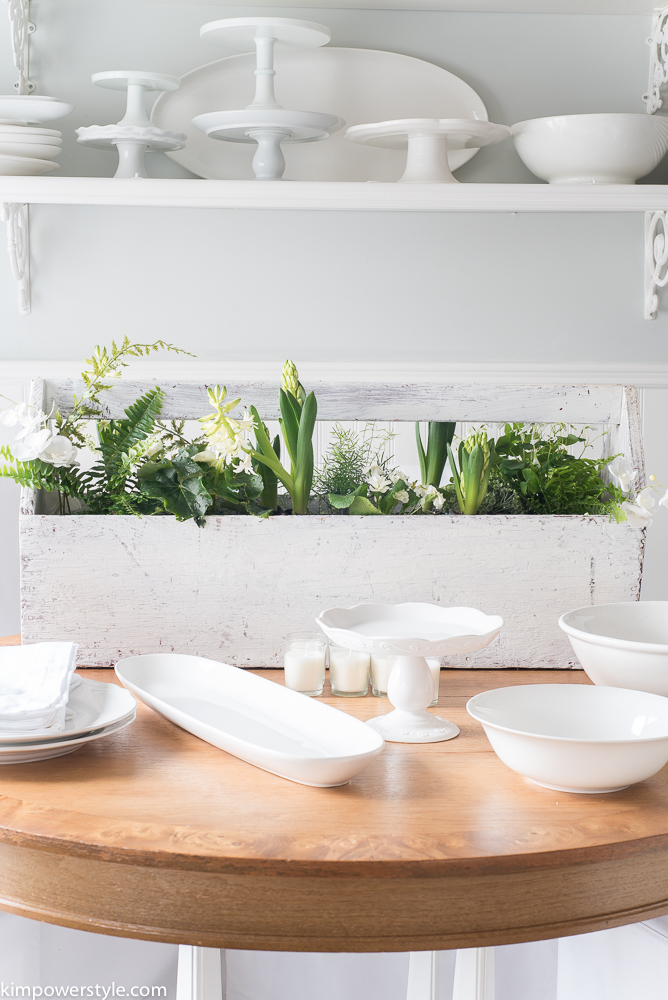
Prepare a centerpiece
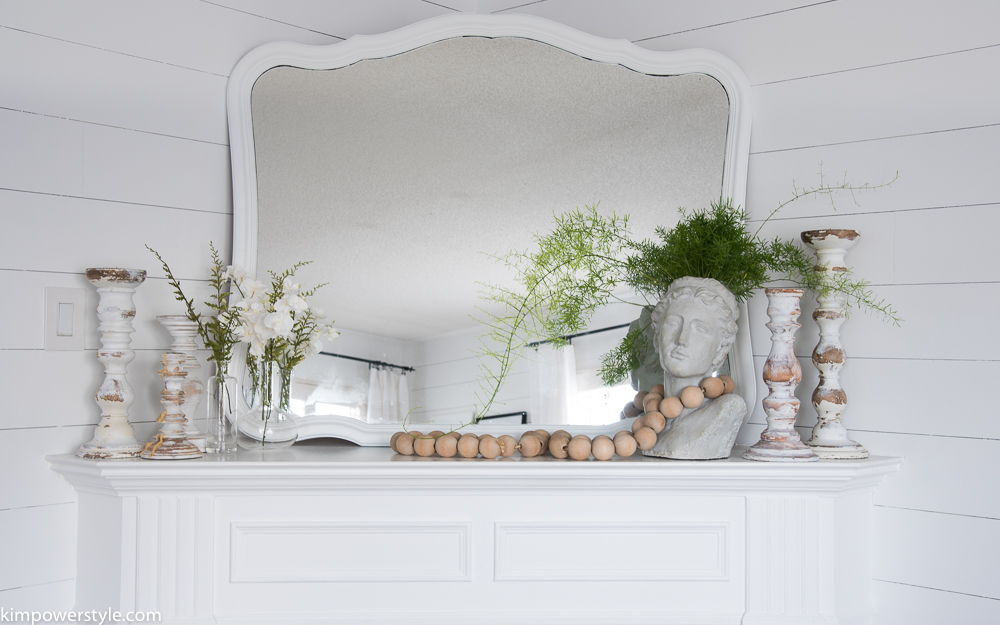
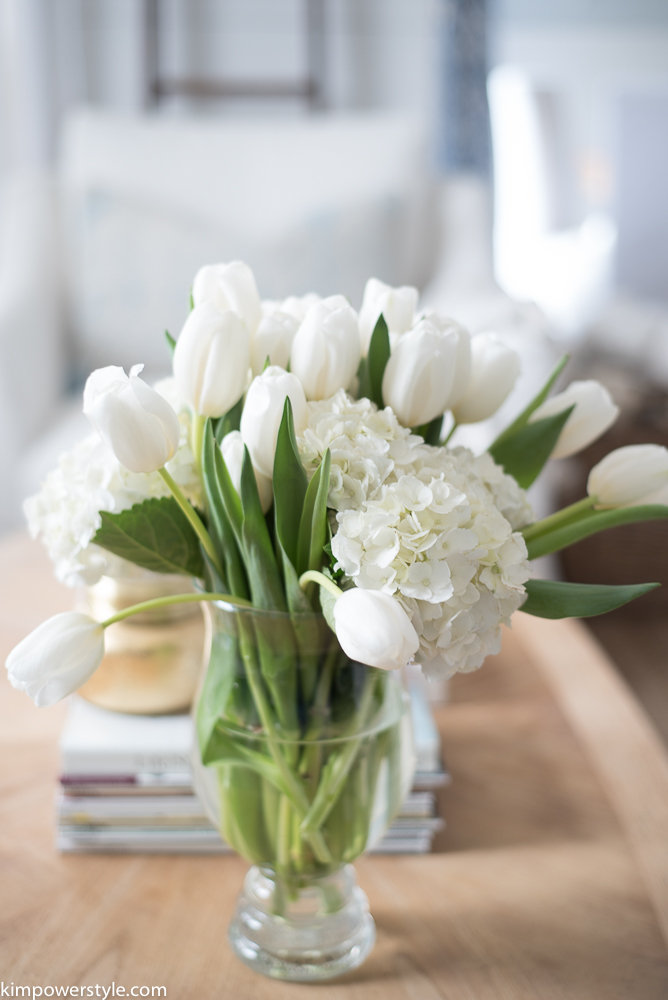
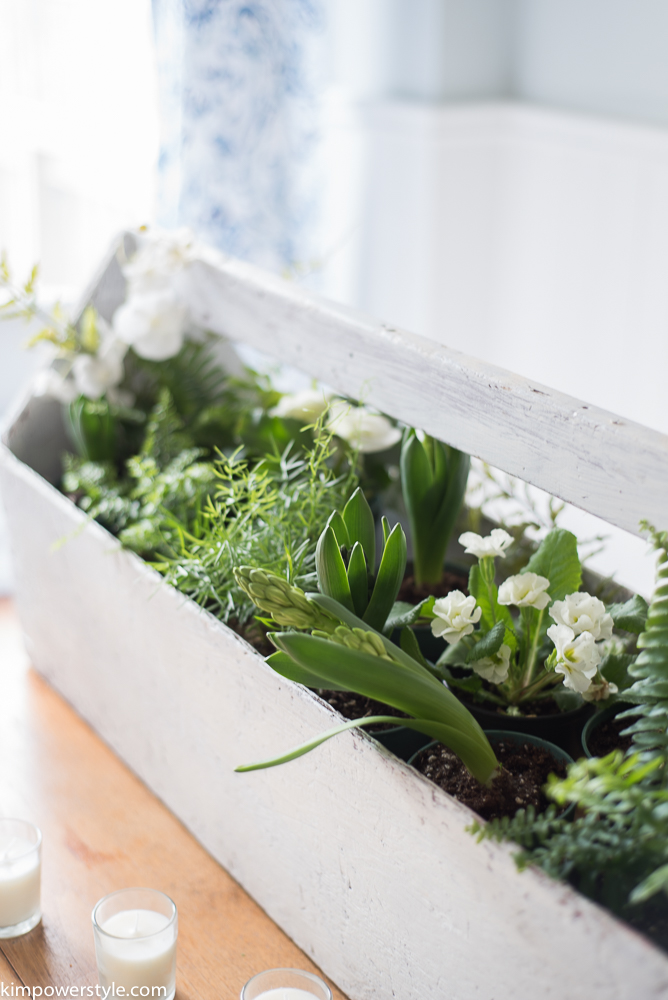
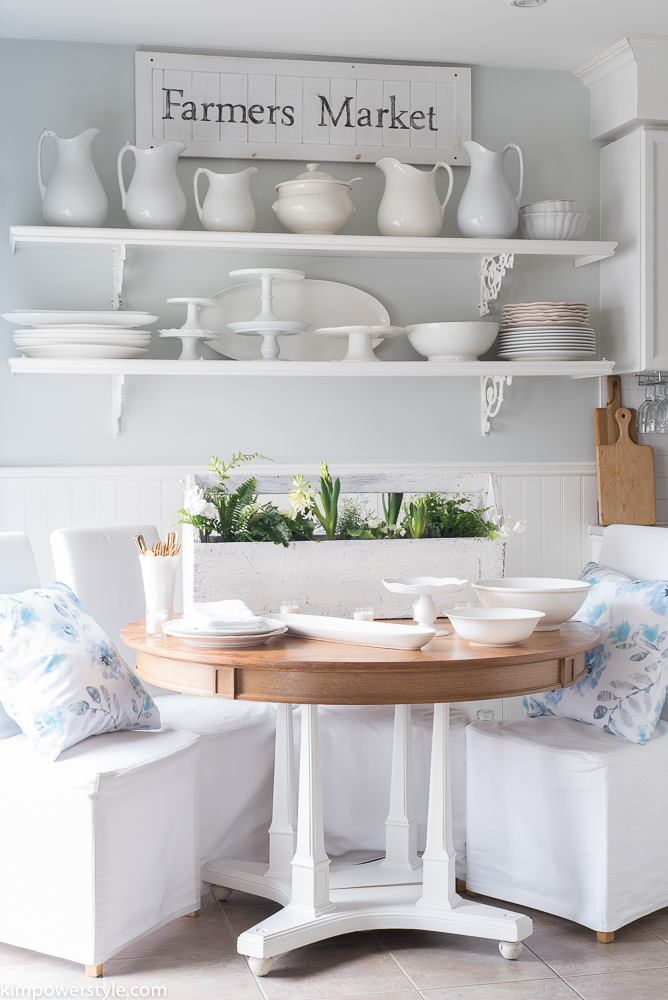
I love a buffet because it’s so casual and less formal than a sit down meal. I don’t feel like I have to be as spot on with my tablescaping, aka lazy! I still like to have a centerpiece of some sort and I will use whatever I have on hand. This old vintage toolbox was in the garage and I pulled it out because I thought it would look great packed with little spring plant pots I found at Giant Tiger. To simplify, you could place a vase with fresh or faux flowers, branches from outside, etc.
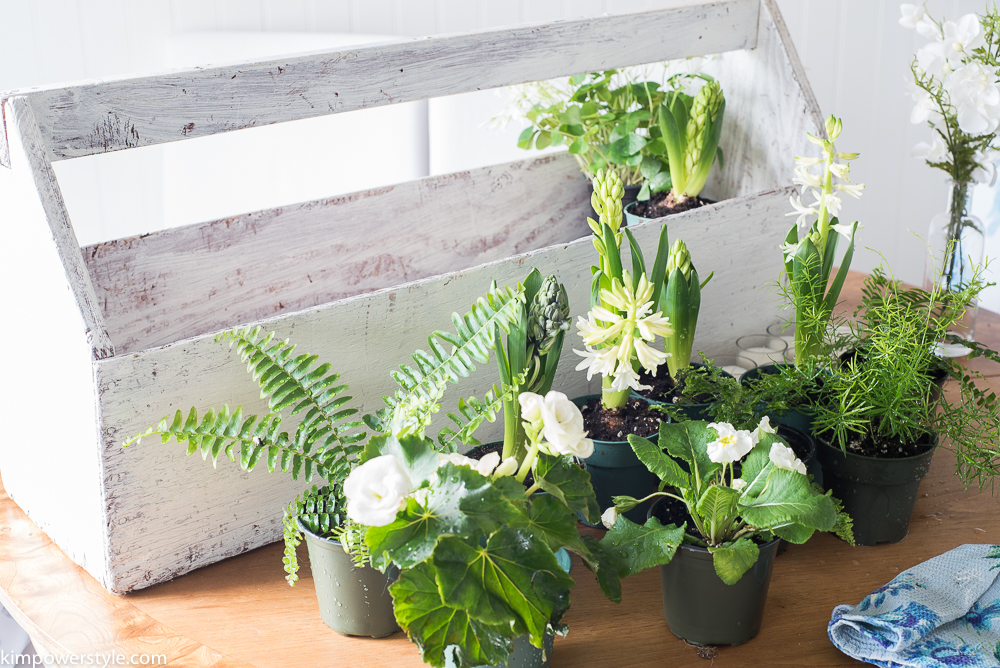
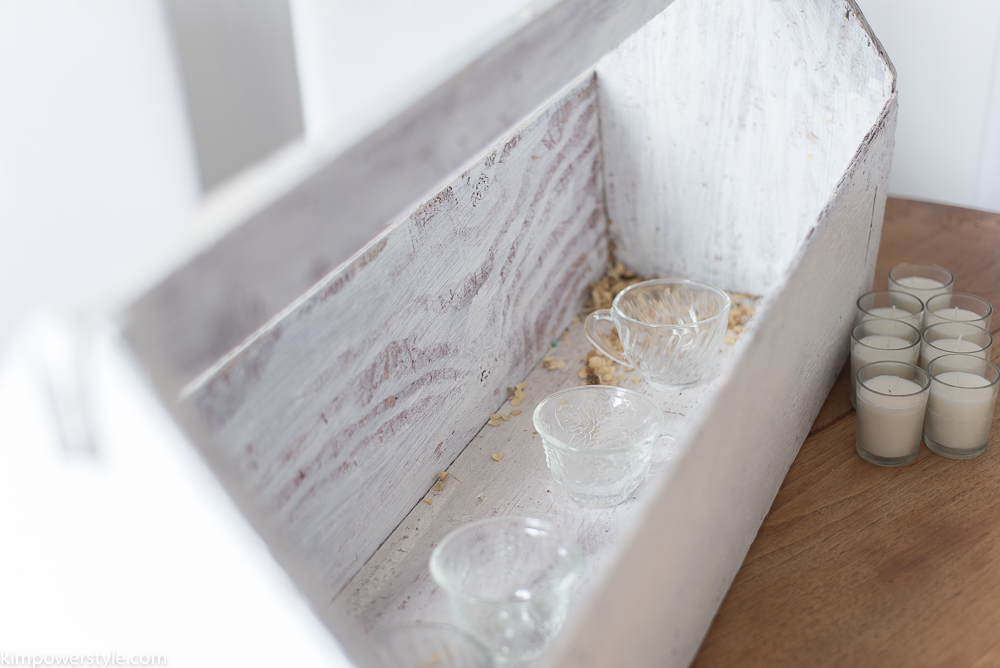
Because the box is so deep I added some little cups to bring up the height.
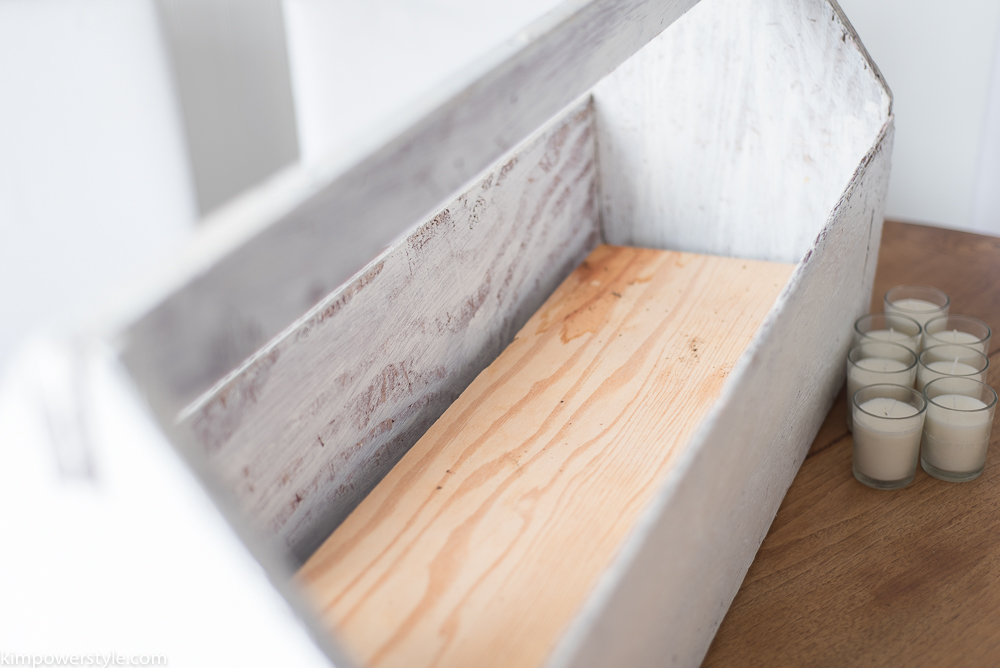
Then I just laid a piece of plywood over the cups so that my plant pots would be higher and make more of an impact.
I filled up my toolbox and added a couple of white faux flowers I had too. It filled out beautifully and the bulbs will continue to grow and blossom. Such a simple and beautiful spring centrepiece.
Step 2
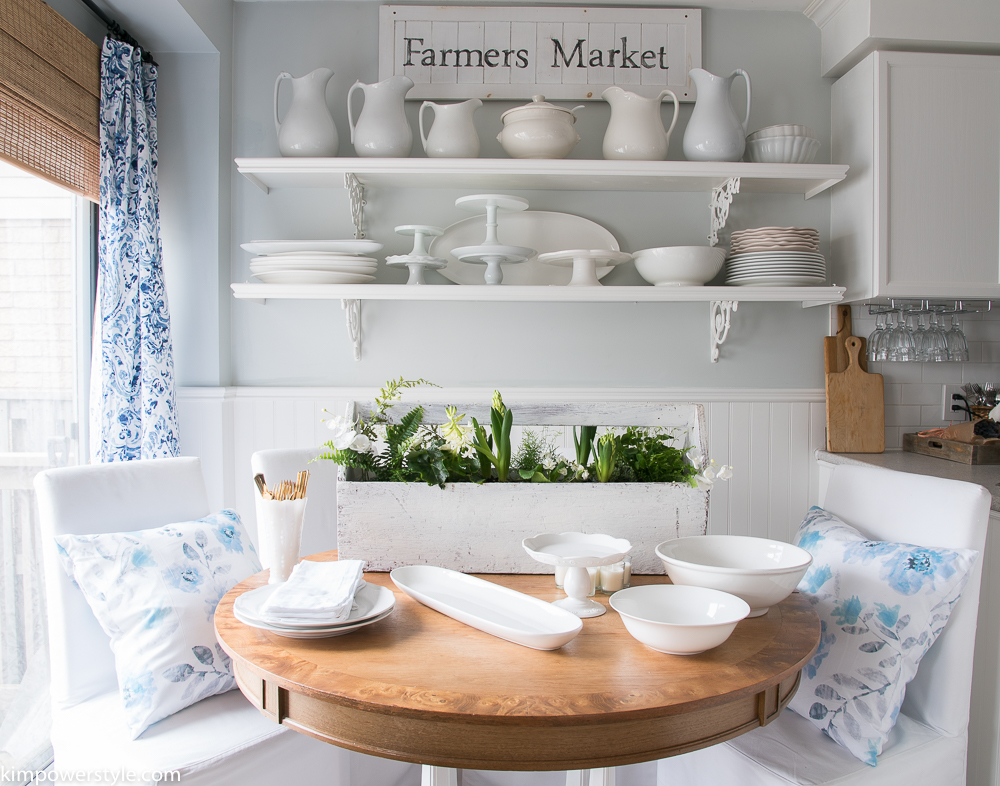
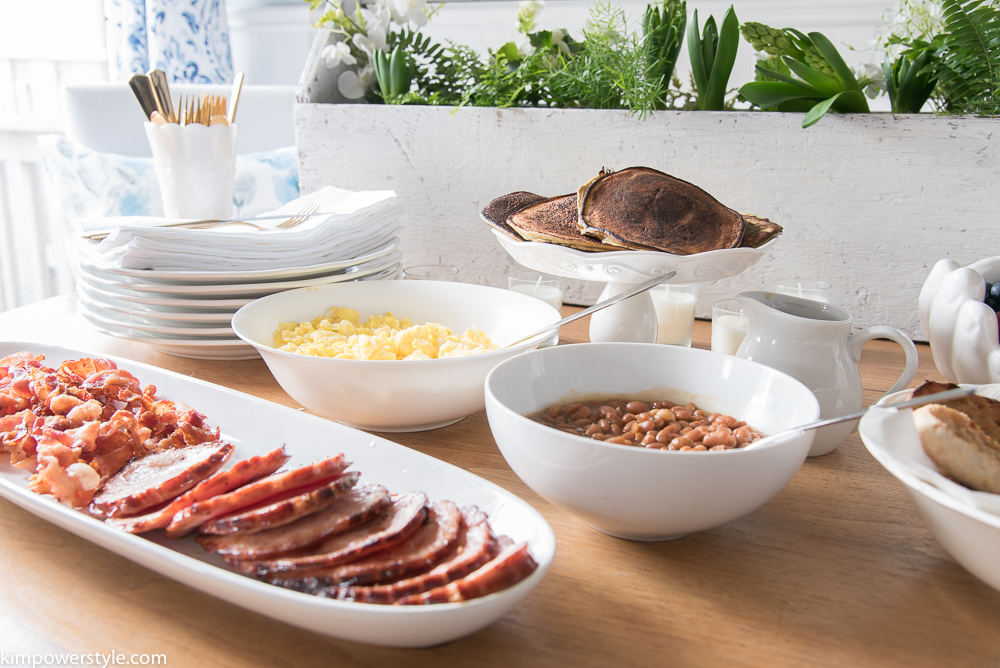
Lay out your dishes.
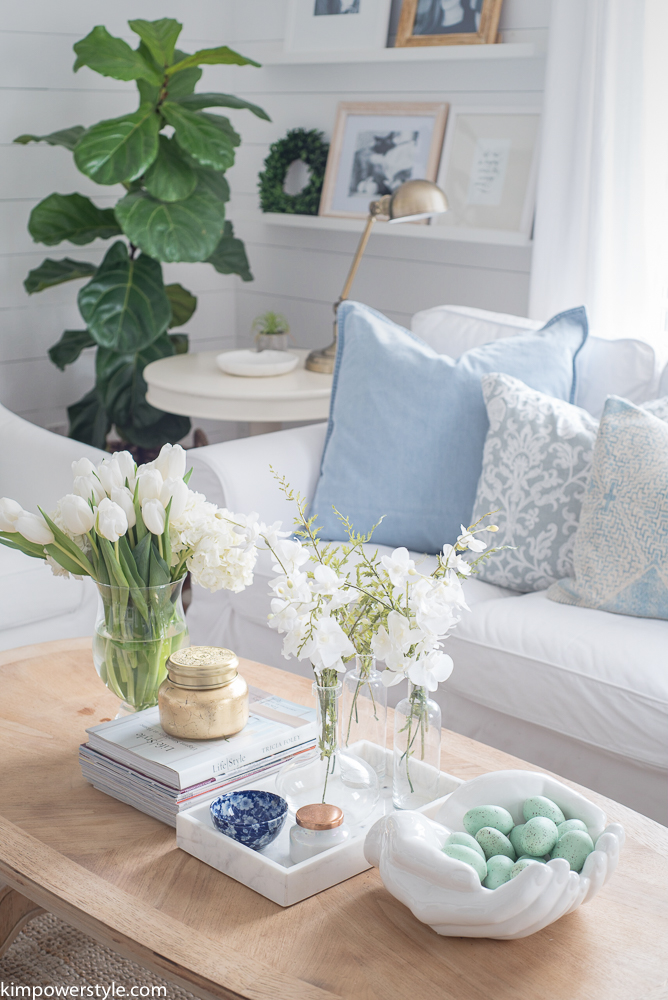
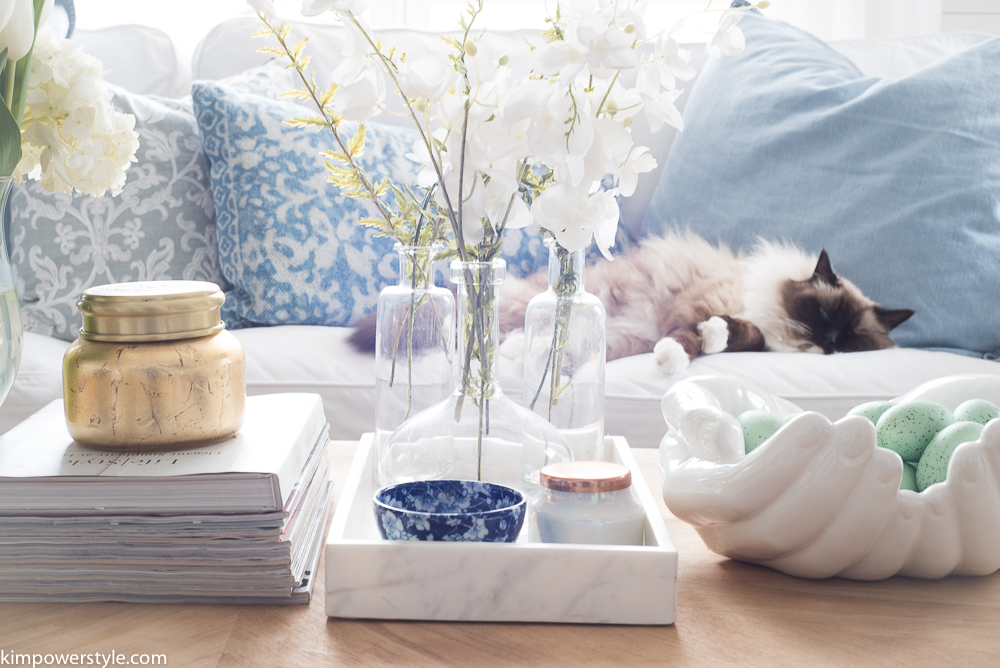
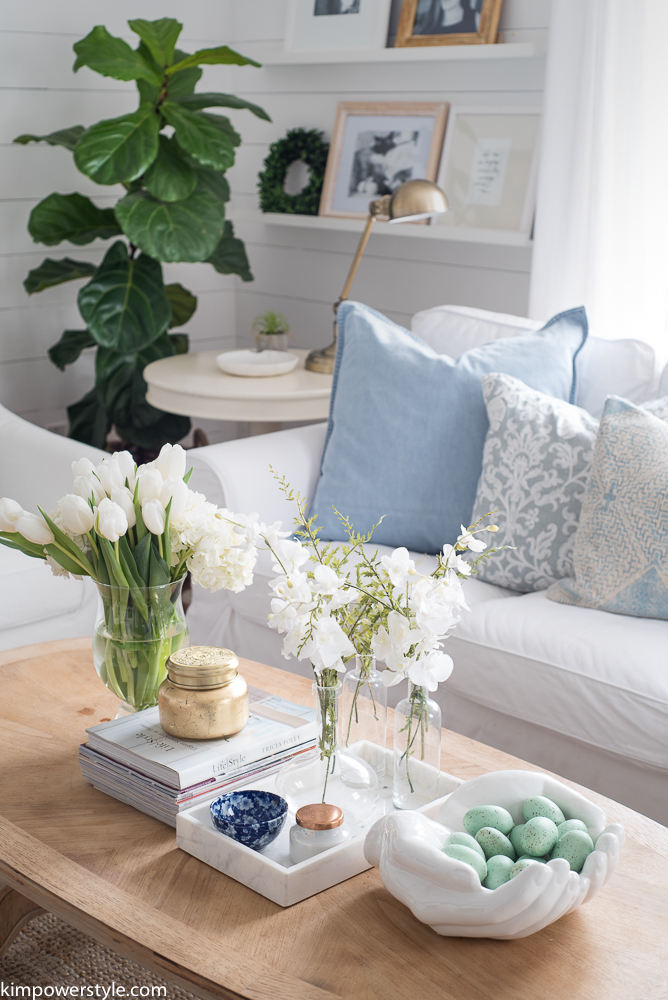
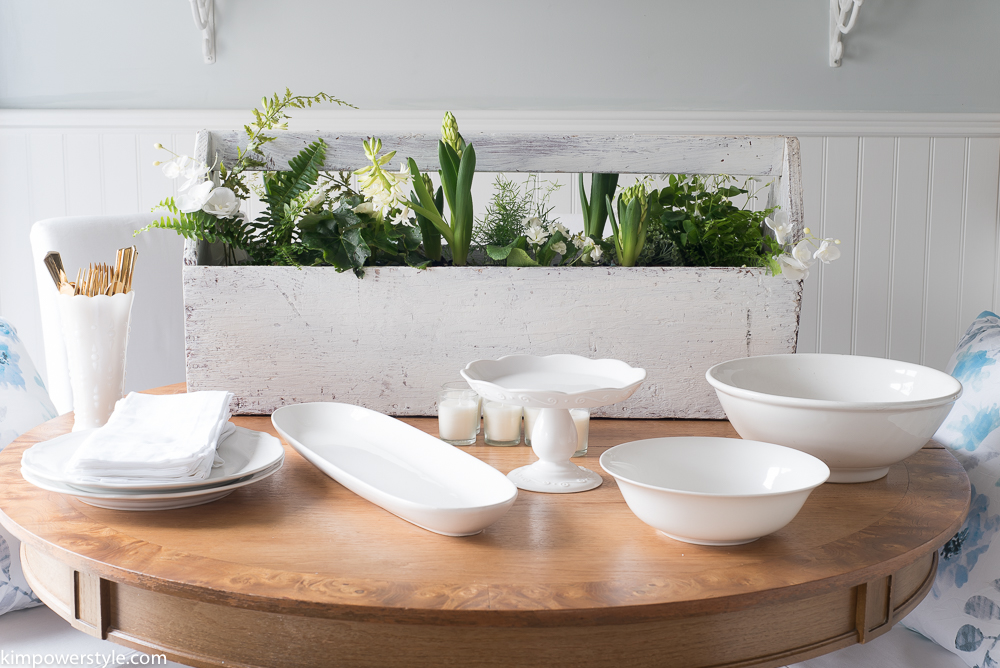
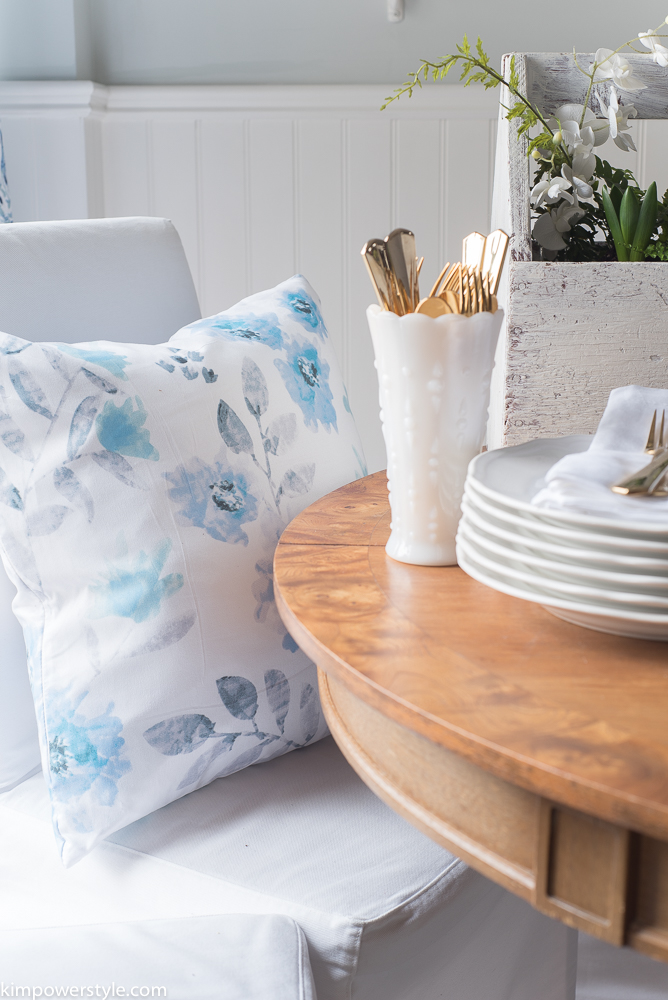
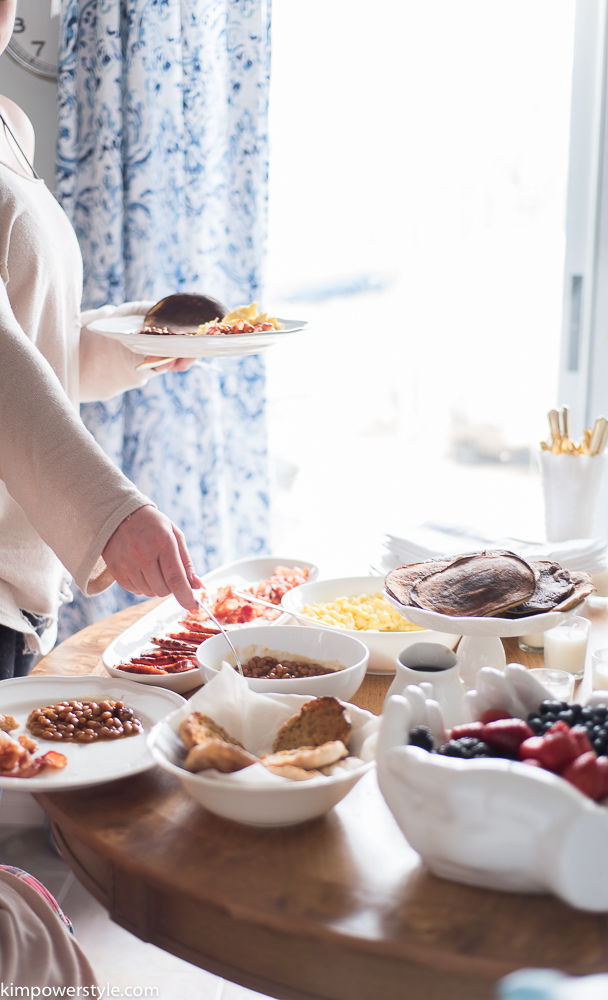
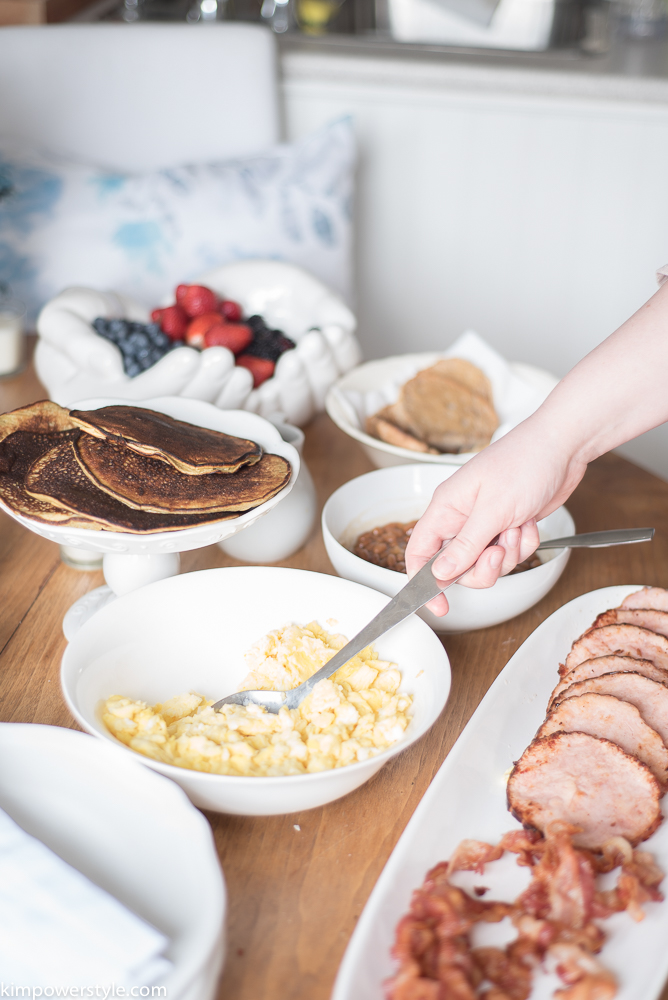
I love white dishes and have them in abundance. I find it makes table arranging so much easier too. You don’t have to worry about piecing different dishes together, everything just automatically fits. I pulled out a piece for each food item. I like finding dishes of different shapes and heights as this adds some visual interest…I later used my “open hands” ceramic piece as a dish for the berries! Some lovely gold coloured silverware in a an old milk glass vase, some plates and white napkins, a few candles and you’re done. To make things easier you can always use disposable dish ware if you really want to simplify things.
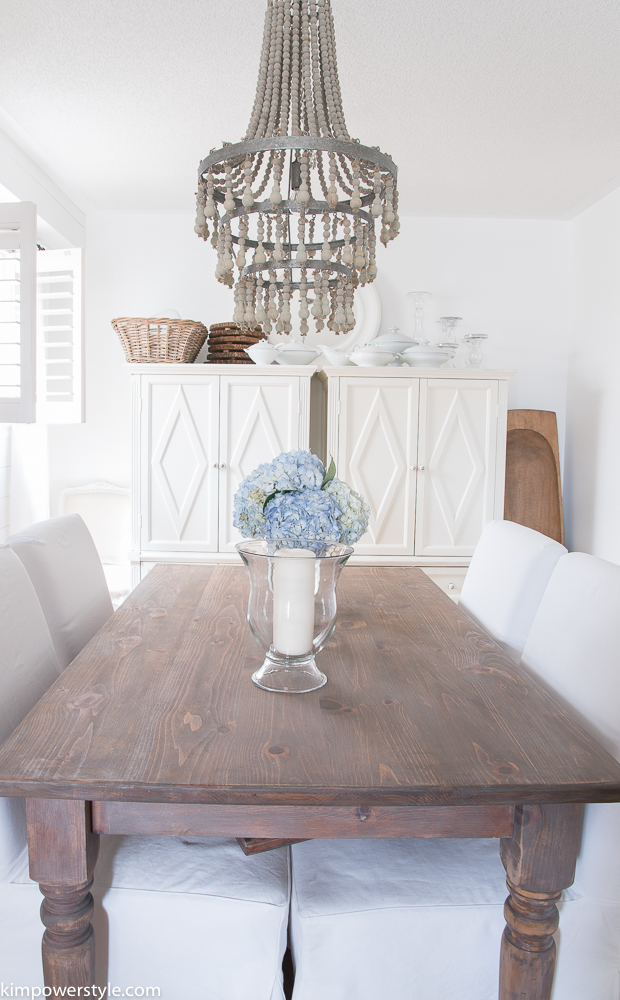
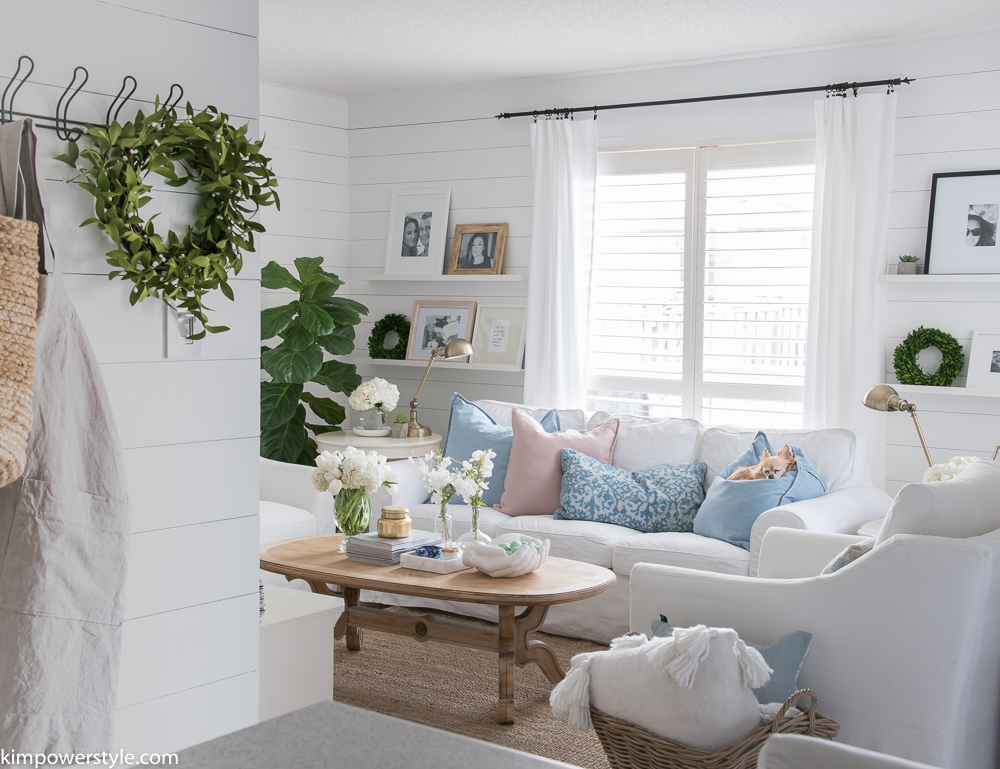
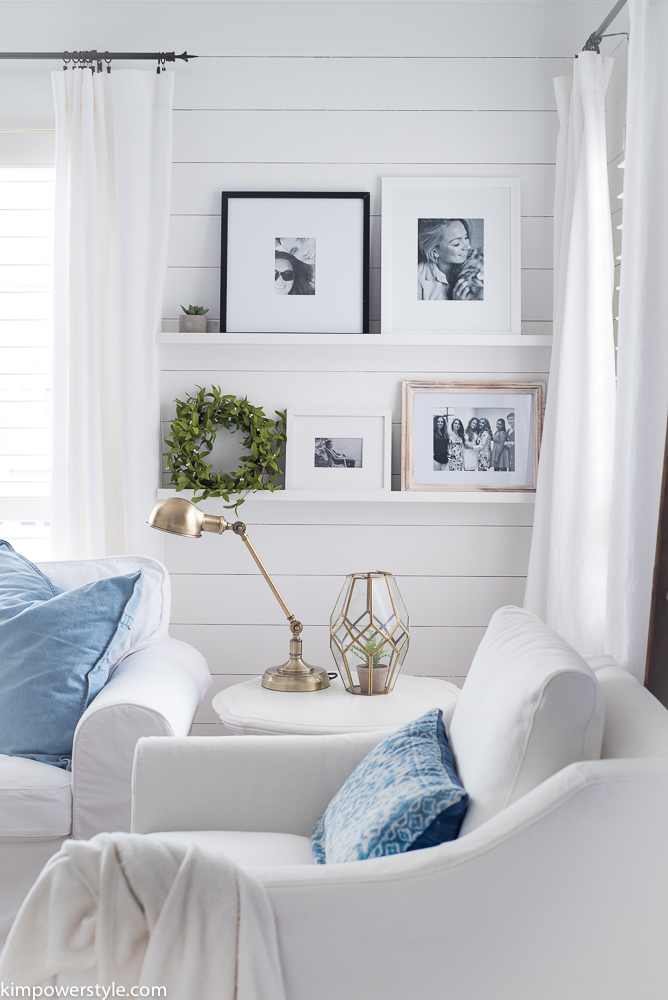
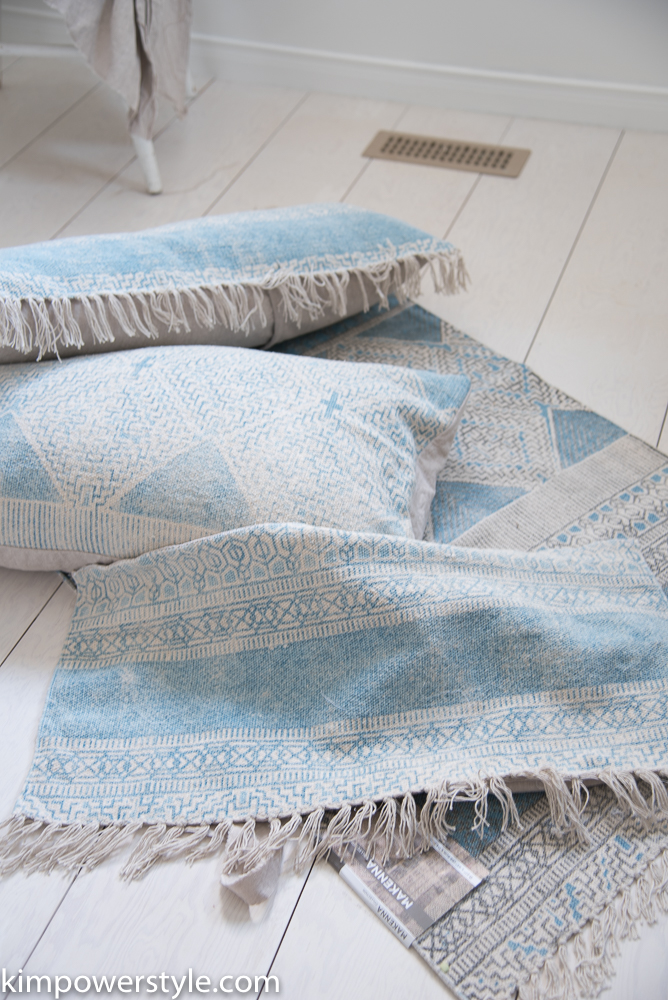
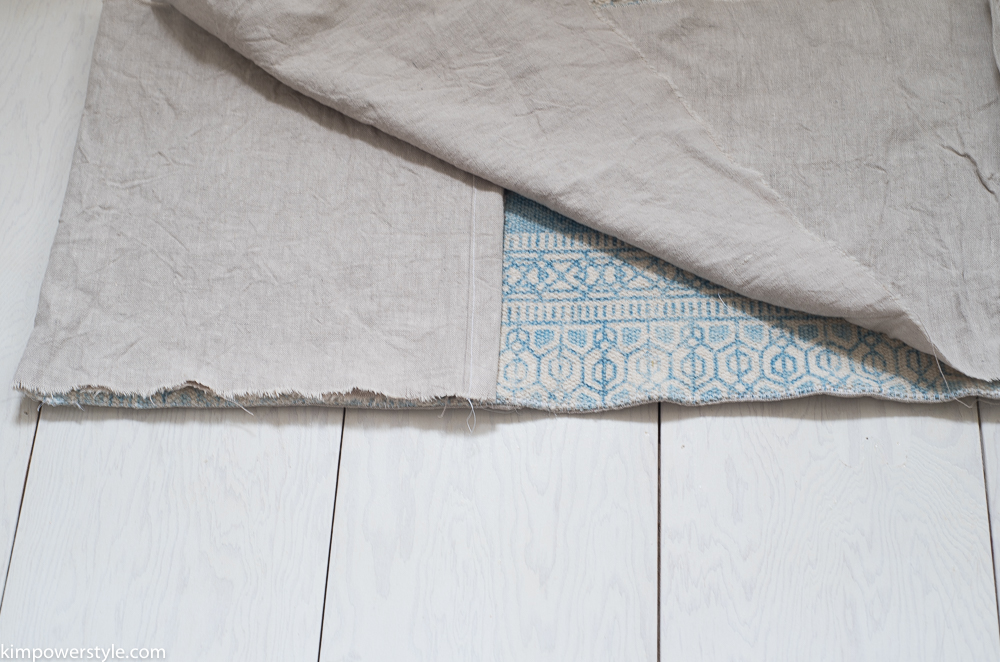
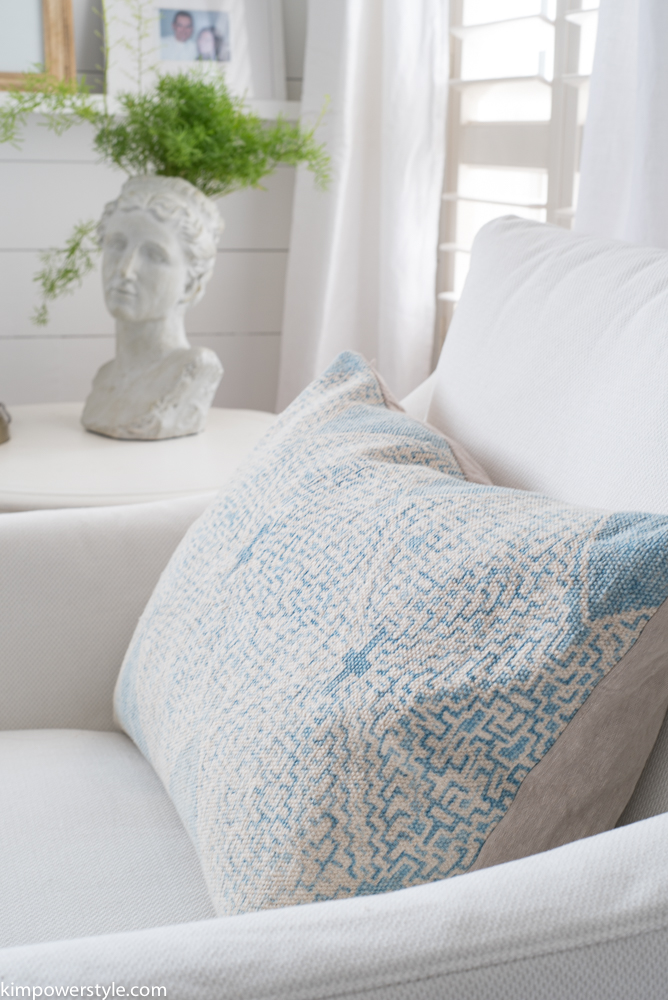
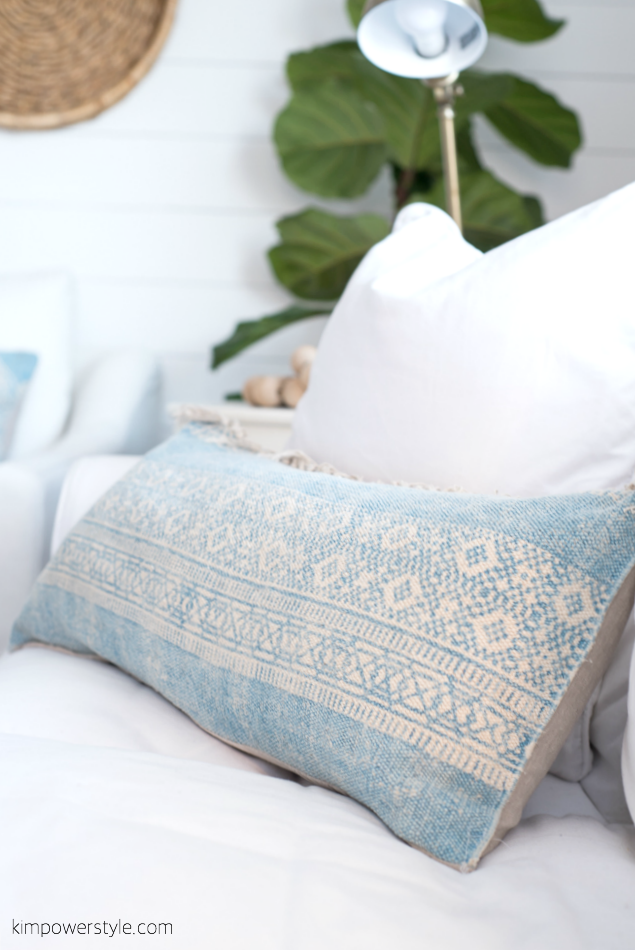
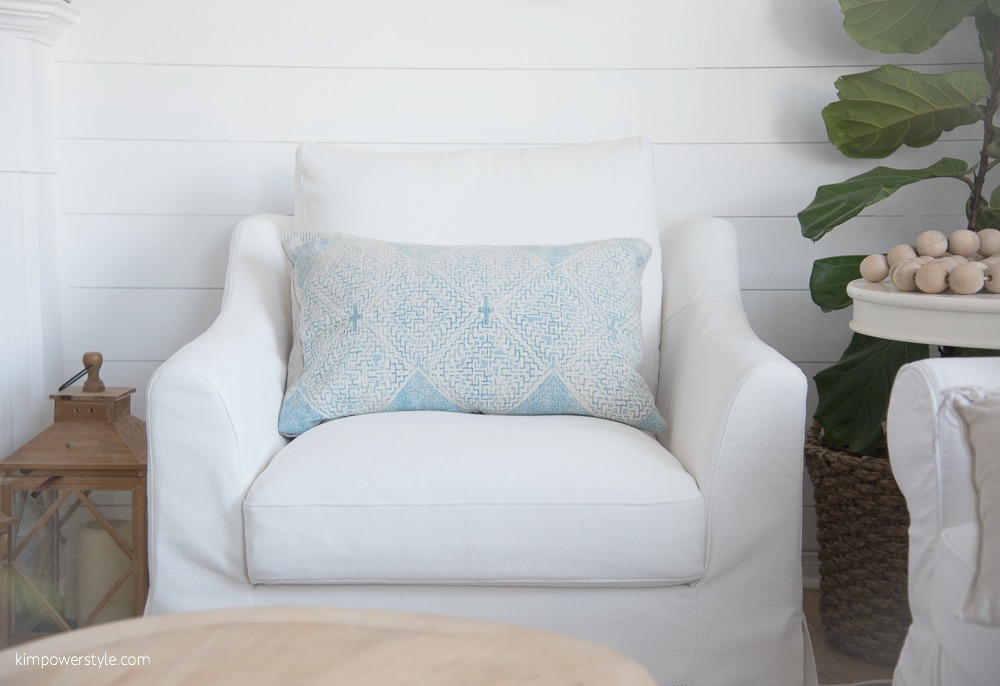
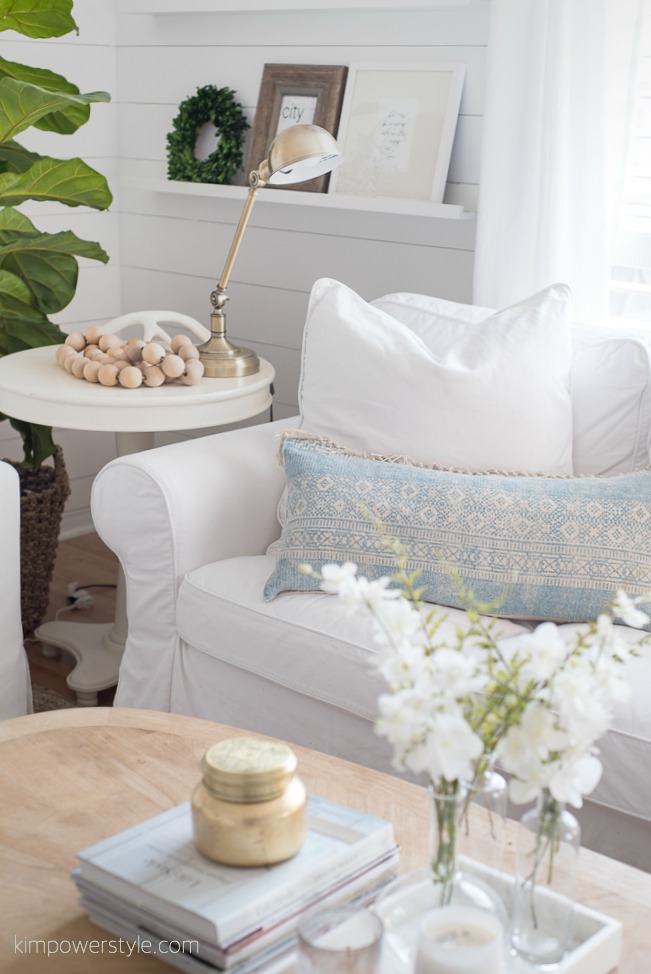
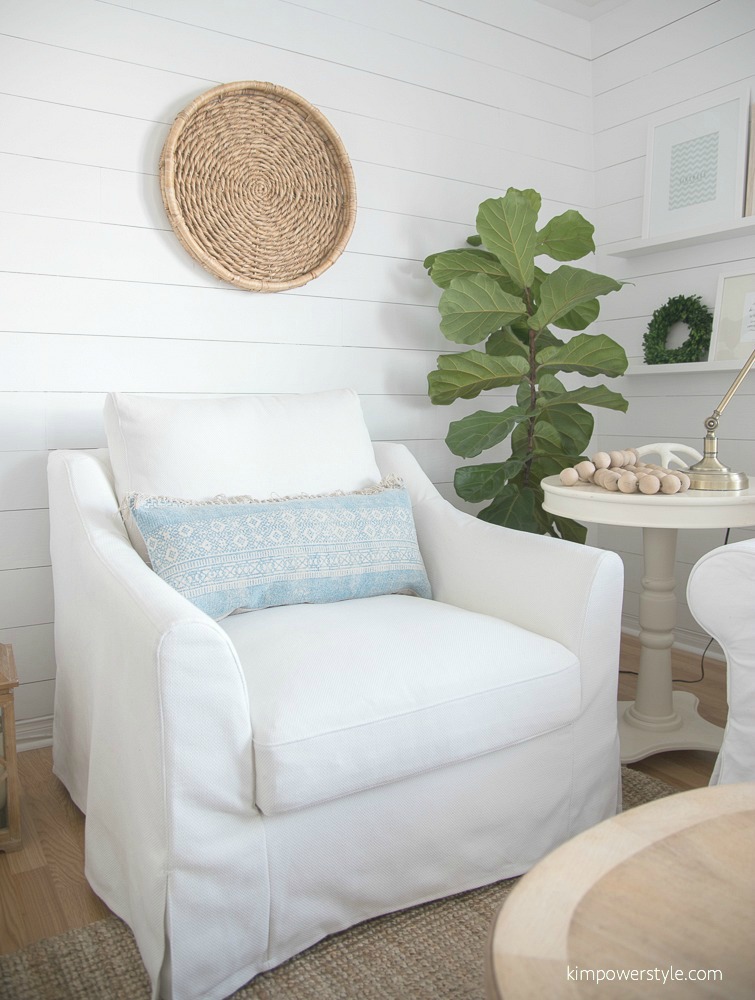
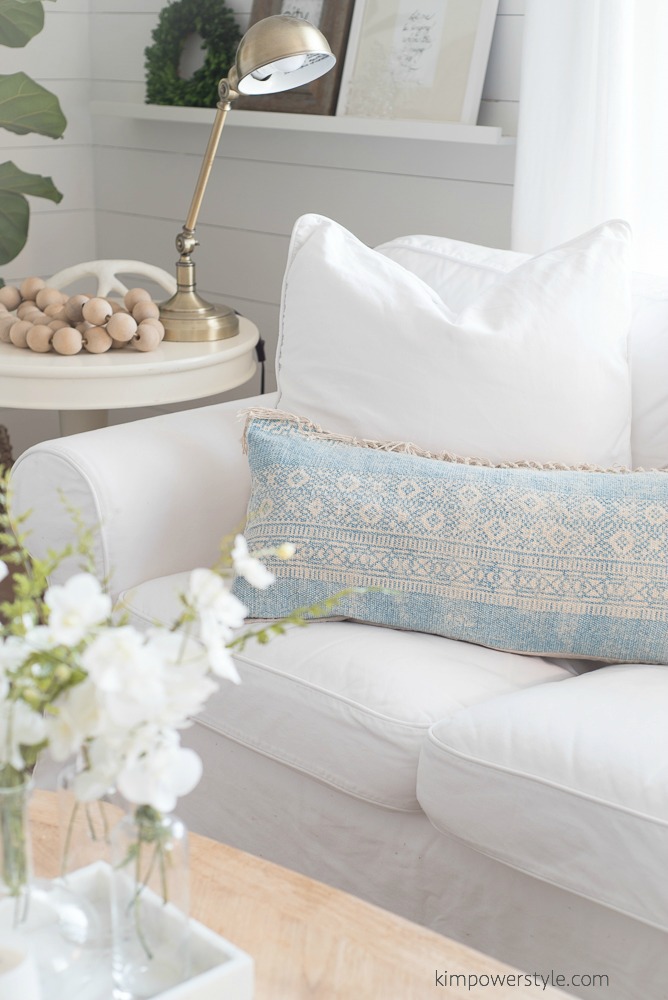
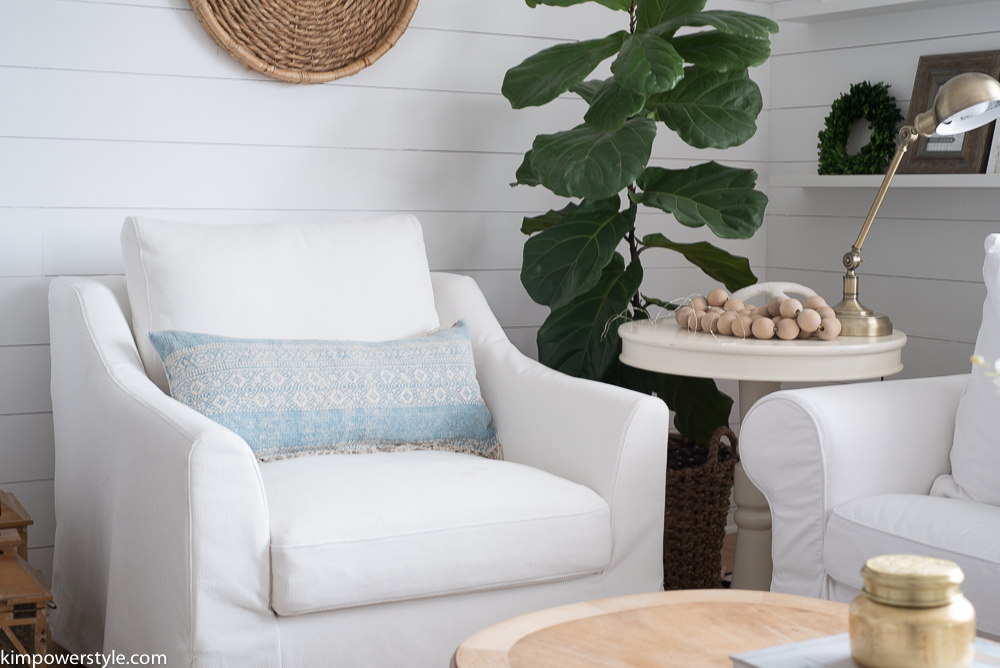
I found these pretty little cushions at Giant Tiger and they go well with all the blue and white I have going on. They make the nook feel even more inviting.
Step 3
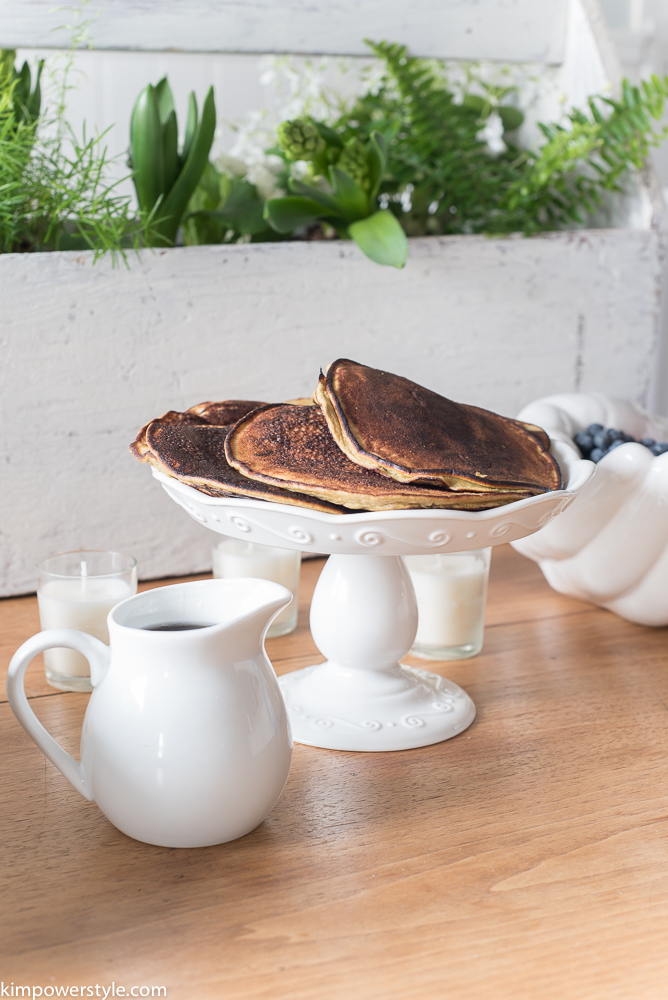
Fill up those dishes with food
This is the exciting part! You already have your dishes ready for each corresponding type of food so just fill and display! I loved this cake stand for our banana protein pancakes along with the little jug for syrup.

The crock pot on the counter is the perfect thing for keeping baked beans warming!
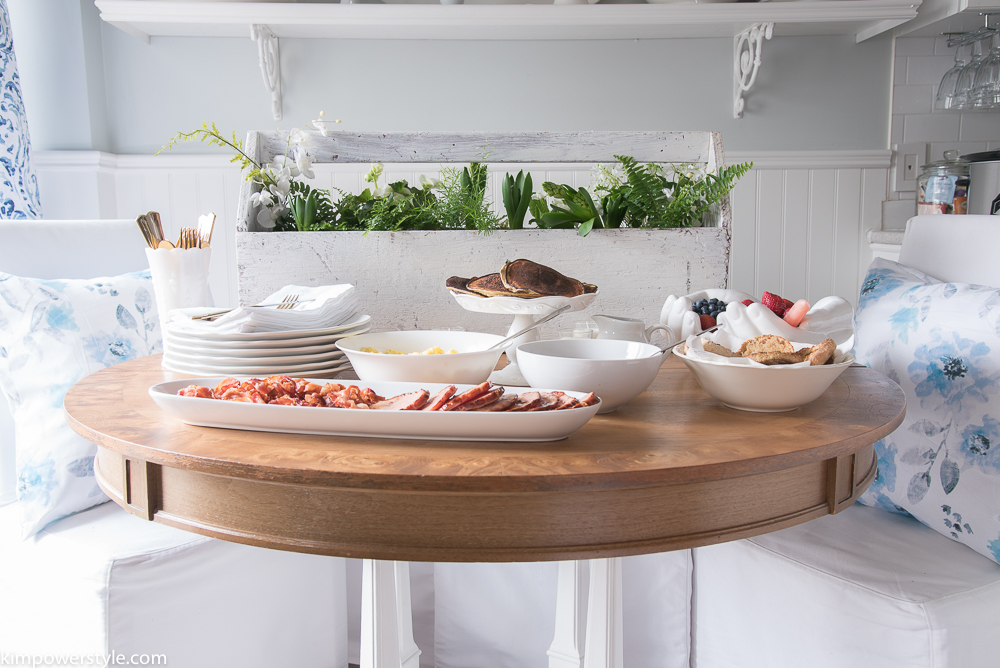
This is also the hard part as everyone waits around for you to take some photos of the food! Lol. Which they didn’t wait for long!
I hope you enjoyed this post, thanks so much for stopping by. Please continue on and see what my friends have cooked up too!
Blessings,
Kim
THE DIY MOMMY – LIFE IS A PARTY – VINYETE ETC.
PERSONALLY ANDREA – KIM POWER STYLE – THE LEARNER OBSERVER
WOMAN IN REAL LIFE – FLOURISH AND KNOT – LOVE CREATE CELEBRATE
AMIDST THE CHAOS – PMQ FOR TWO – THE DREAM HOUSE PROJECT