The Guest Room Makeover and White Washing the Dresser
Hello friends! I’ll be working on the guest room over the next few weeks leading up to the holidays. We’ll have all three of the girls and one son in law home for Christmas and I want to make it as comfortable as possible. It’s also a great excuse to spruce up a plain room! The first project I started on was white washing the dresser and I couldn’t be happier with the results.
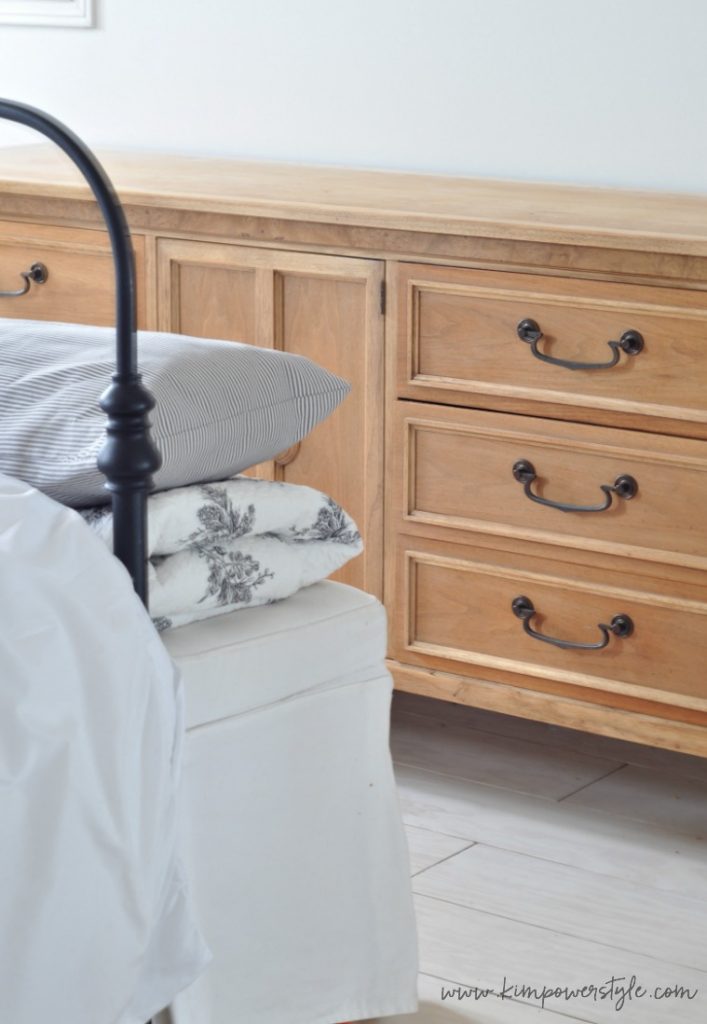
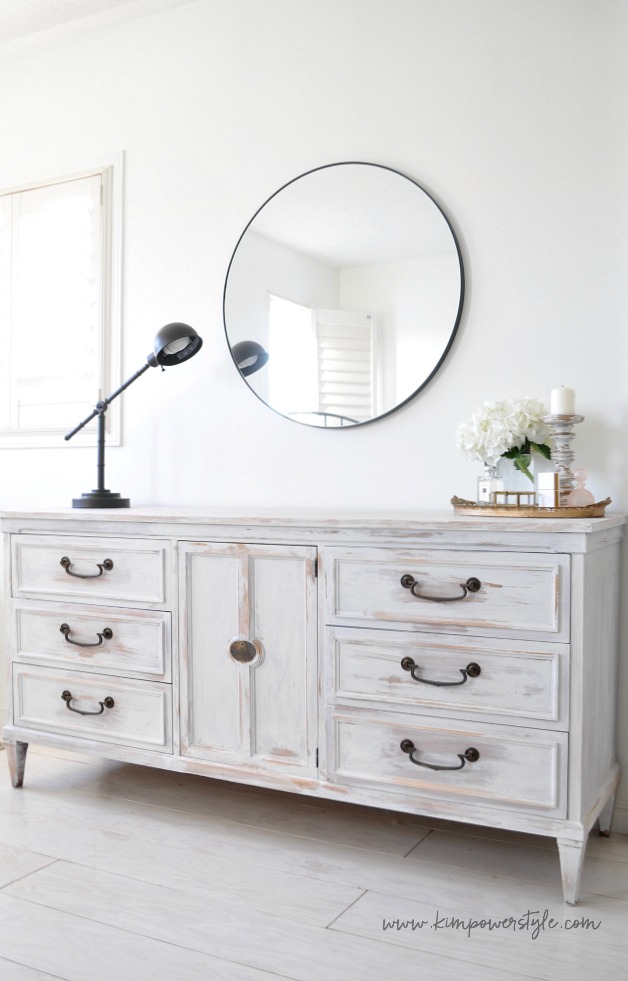
I found the dresser a few summers back at a garage sale for next to nothing. It’s a solid piece that came with two nightstands as well. Unfortunately, I gave those away and have been kicking myself since. They would have looked great in the room, but they’re gone to a good home. The dresser was stained and varnished when I found it and I spent a couple of weeks removing it all… only to white wash it! I actually liked it in it’s raw wood state, but felt the piece needed a little character. White washing the piece to achieve a distressed worn look, would help it fit in with the modern farmhouse look I’m going for in the guest room.
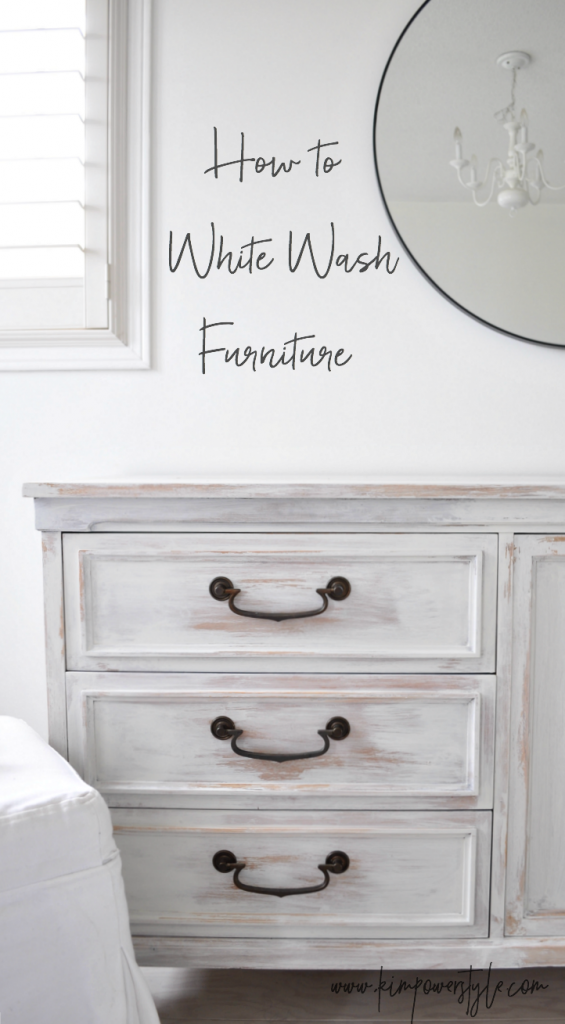
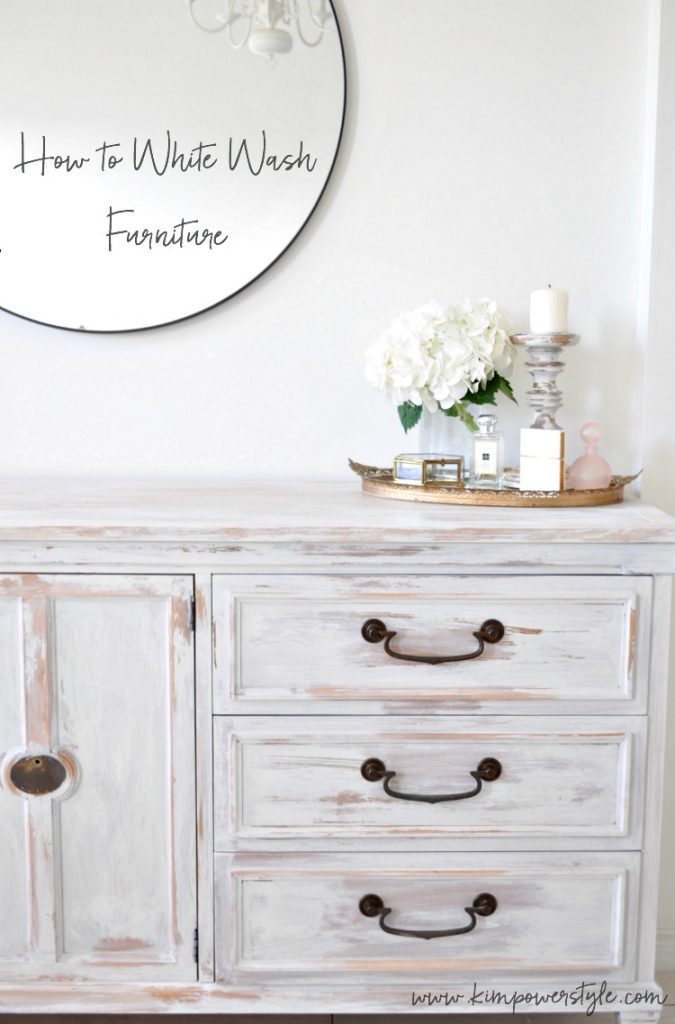
How to White Wash furniture Tutorial
For those of you who have never tried this technique before, it is one of the easiest to do! The whole process cost me absolutely $0! Now if you’re somebody who doesn’t have any leftover paint kicking around it may cost you for the paint. The smallest size container will do! This technique is called white washing because you usually use a white, off/white paint colour. However, you can do this in any colour! White washing can also refer to the effect of washing over, with paint or stain, another colour or stain to tone down or add an effect to your piece. This tutorial however, will be a simple and easy white wash over wood.
You will simply need:
- Paint of your choice. (It’s better to use a flat finish but I’ve used satin and eggshell before too). Depending on the finish you’re looking for, your paint can be mixed 1:1 with water.
- Paint brush.
- Cloth or rag (one that doesn’t leave behind any lint).
- Sandpaper (optional, if your decide you want to distress it a little more after it’s dried).
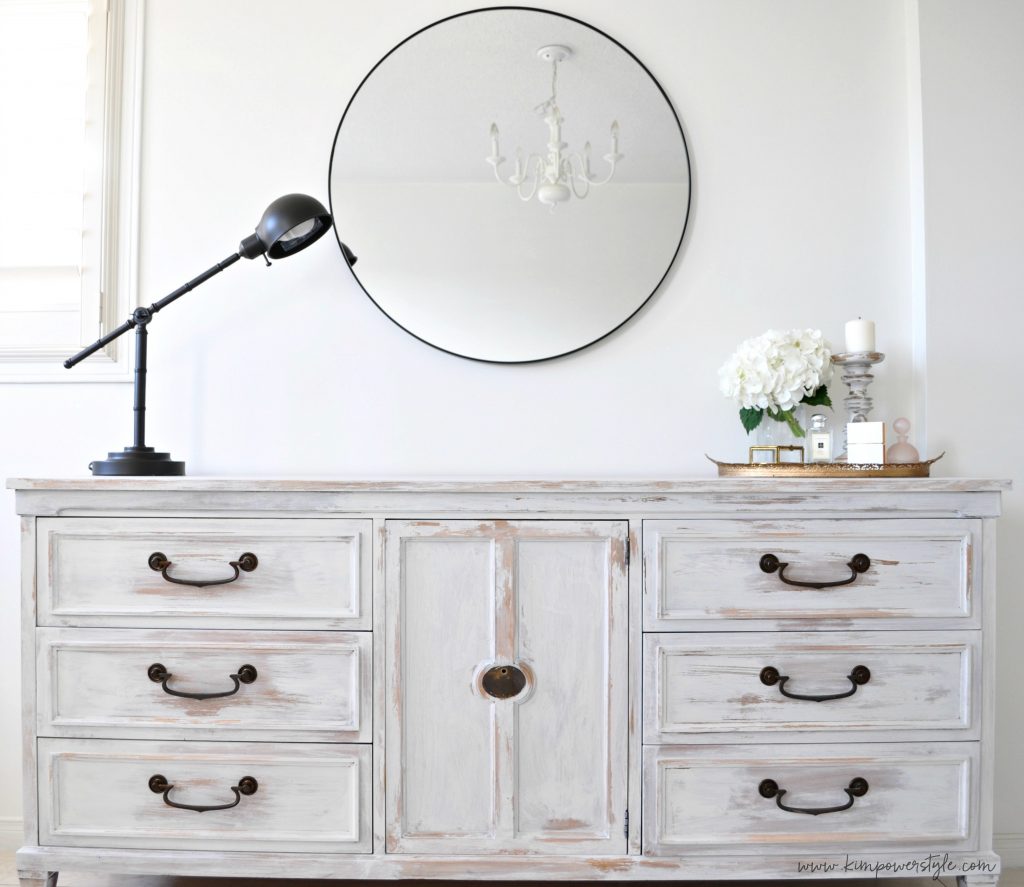
I wanted to achieve the effect of a painted piece where over time it has lost it’s paint with wear and tear. You can white wash your piece more evenly so that it looks less distressed. It’s up to you! I also chose some leftover paint that was more greige than white. The dresser had a bit of orange in the wood that I thought the greige would tone down.
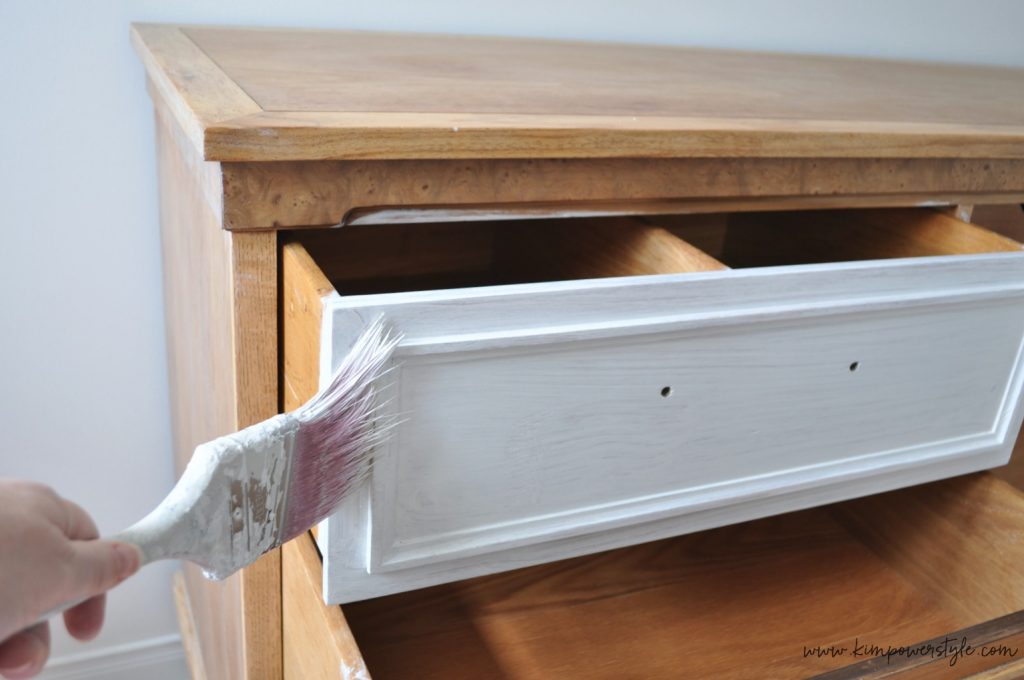
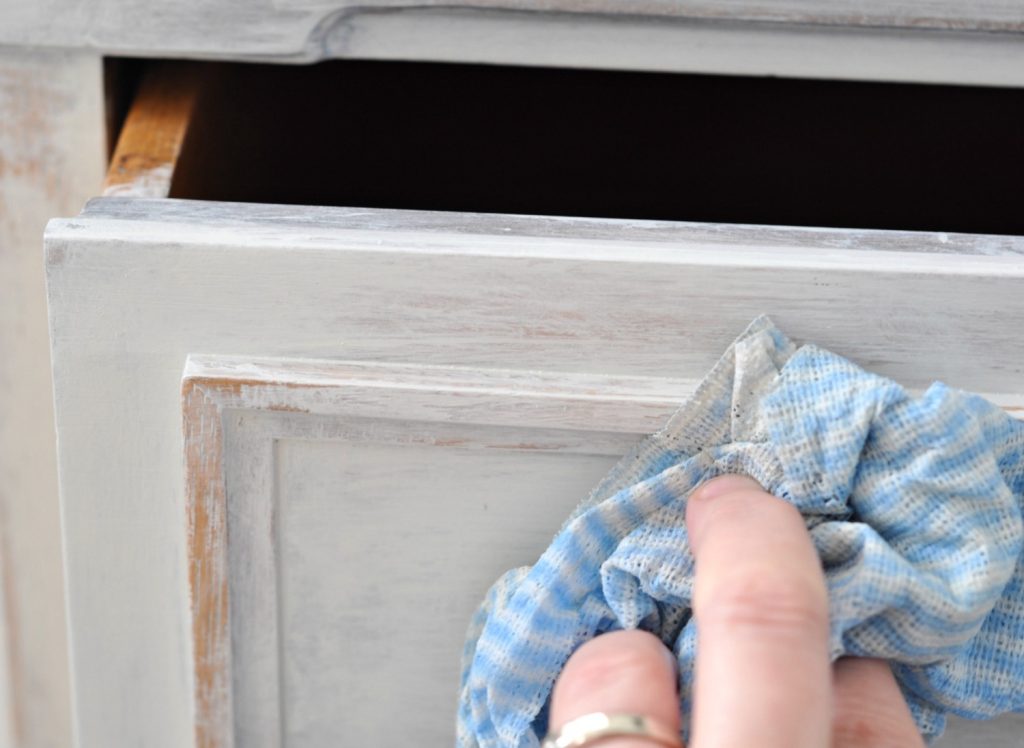
- Start by adding your paint with the paint brush in sections (the effect will change depending on how dry or wet the paint is when you try to remove it with your cloth. So working in sections will help you obtain a more uniform look).
- Depending on the look you want to achieve, you can then use a dampened cloth to remove some of the paint and or begin to “wash” your section with the cloth to remove any brush strokes. The more you wipe, the more paint you’ll remove. You’ll notice that you need to rinse your cloth out after each section to remove excess paint.
- Sometimes you’ll think that you removed too much paint, (unless that’s the look you’re trying to achieve). No problem, simply add more paint with your brush.
- The time you allow between applying the paint and wiping it off will also change the look. I let my paint dry for a few minutes after applying, This gave me more of a “sanded” look rather than “washed”.
- Once you’ve finished your piece and are happy with it, you can apply a coat of poly to help protect the finish. A matte or satin finish would be better, but it’s up to you!
- If you’re not happy with the look, you can sand it to remove more paint or you can add more paint again and start over. The sky’s the limit! You can check out the coffee table I white washed last Christmas with a slightly different look here.
Thank you for stopping by! I hope this mini tutorial was helpful for you. If you do try out this technique, I’d love to hear how it worked out for you!
-Kim
Looks beautiful Kim! Love it, and great tutorial.
Thanks Dannyelle! I appreciate that!
Looks amazing!
Thank you sweety!
gorgeous Kim!
Thanks Kate!
This looks great. Do I need to sand the piece first? Would the whitewash look similar if I painted over the existing varnish?
Hi Rachael, I started with a sanded piece. I find that in most painting applications (even the ones that say you don’t need to sand first) you need to do a light sanding to the piece first. Especially if the surface has a glossy finish. It just helps the paint to adhere. Hope this helps!?
What type of paint works the best?
Hi Christie!
Any latex or water based paint will work. I’ve used mineral paint, regular wall paint left overs, chalk paint etc. It needs to be water based because you use water to water it down and wet your cloth. Oil based would be a mess!
Hope this helps!
Kim
Could you do this with gray and it still look nice?
Yes! you could do it with whatever colour you’d like.:)
-Kim
Lovely tutorial, thank you! Am so going to try this!
Thank you! Hope it turns out well!
-Kim
What color paint did you use?
I used a white, with a little grey in it. No actual name.:)
-Kim
Hello Kim, Love this and was wanting to know do you need to sand off the older vanish before applying the white paint?
Thank you
Hi there
I love your dresser!
Will it be durable? Without a primer or top coat?
Thanks!
Thanks Gil! It will be durable without a primer because the base was freshly sanded and it had no finish on it. As far as a top coat goes. It depends on what your piece is used for. If it’s a higher traffic area, like a coffee/end table or a dining/kitchen table I would definitely put a top coat on. you can find low and matte finish top coats that look great.
This is a great tutorial. Simple and easy to follow! Thank you!
Kim thanks so much for the tutorial! Perfect timing I’m about to do my whole bedroom set…I’m thinking of trying a dark navy for my nightstands. Have you used a dark paint before or anyone that you know and did it work out?
Hi Catherine,
The great thing about “white washing” is that you add and remove to suit your tastes, It’s never wrong! You can use any colour to white wash! I haven’t used a dark colour yet but plan on doing a piece in dark navy too! I say go for it:)
I have been following your tutorial and put it into practice in my mantle project. I had one problem and was wondering if you have any suggestions for me. I whitewashed it, following your instructions and it looked amazing. But now I’m sealing the paint so decided to use Minwax Polycrylic water based, but after drying it turned yellow. Any suggestions on what I can do to restore it? Any idea why is yellowing, even though, it supposed to dry clear?
Hi! So sorry to hear that you’re having some issues with your project. I usually make sure that whatever poly I use says “non-yellowing” on the container. I’ve heard different views on the minwax product you used. Some say it’s the best, while others have complained of yellowing. Was your mantel wood? If so it may require a coat of shellac first to prevent the wood from bleeding through. (I’ve never experienced this) I think that you may have to sand the the yellowing poly off. A pain I know, Especially when you’re project initially looked amazing! I would talk to the people in the paint department and asks specifically for non-yellowing poly and then do a tester before hand at home. So sorry it didn’t work out, hope this helps.
Hi, so I mix half paint and half water? Or equal parts paint and equal parts water? Just want to make sure before I start my project.
Yes you can mix equal parts paint and water.:) Hope it goes well!
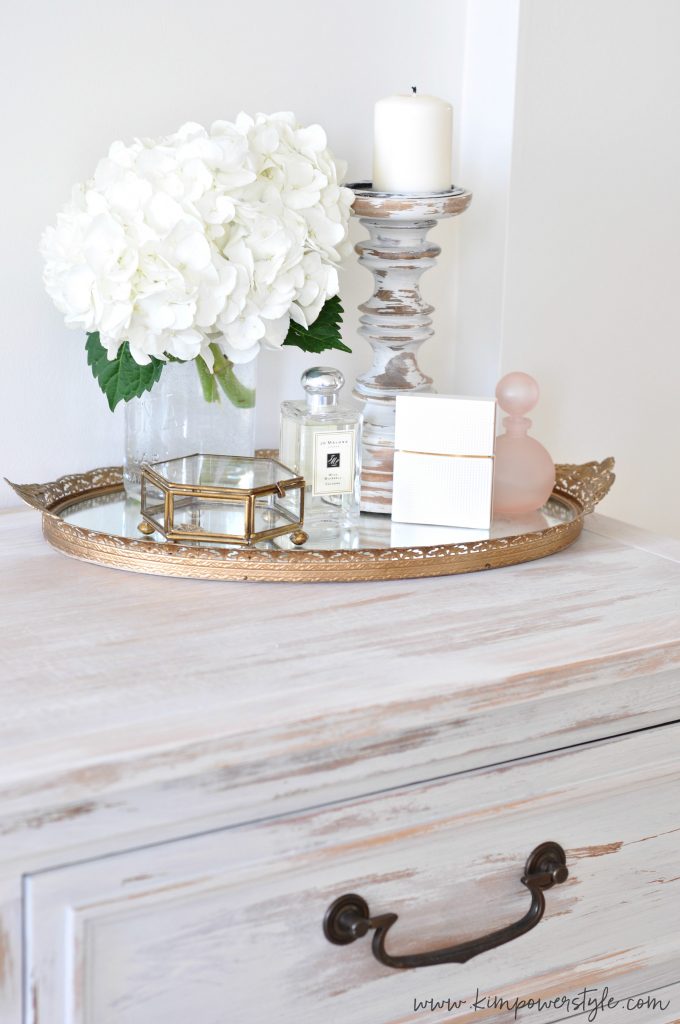
Where us the gold mirror tray from?!
I picked it up at a thrift store. 🙂
Do you think this would work on a veneered piece?
Hi! Yes, it should work on wood veneer as well.:)
Hi, do I need to sand my stand before it paint?
Love your dresser! Where did you find the drawer pulls?
Hi and thanks! They came with the dresser.
Hi, whats the wall color? Beautiful!
HI and thank you! It’s “Chantilly Lace” by benjamin moore