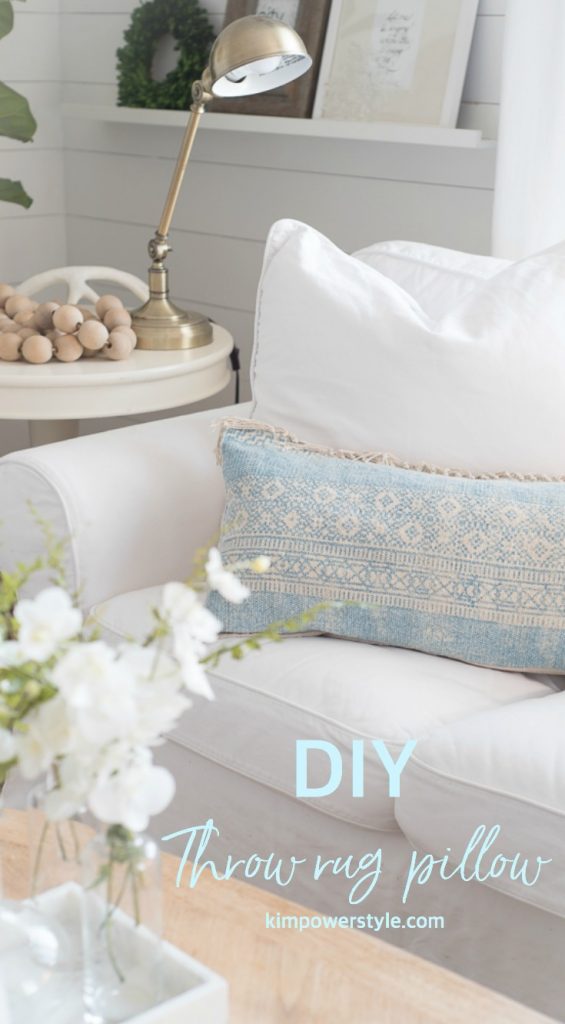
DIY Throw Rug Pillow Tutorial
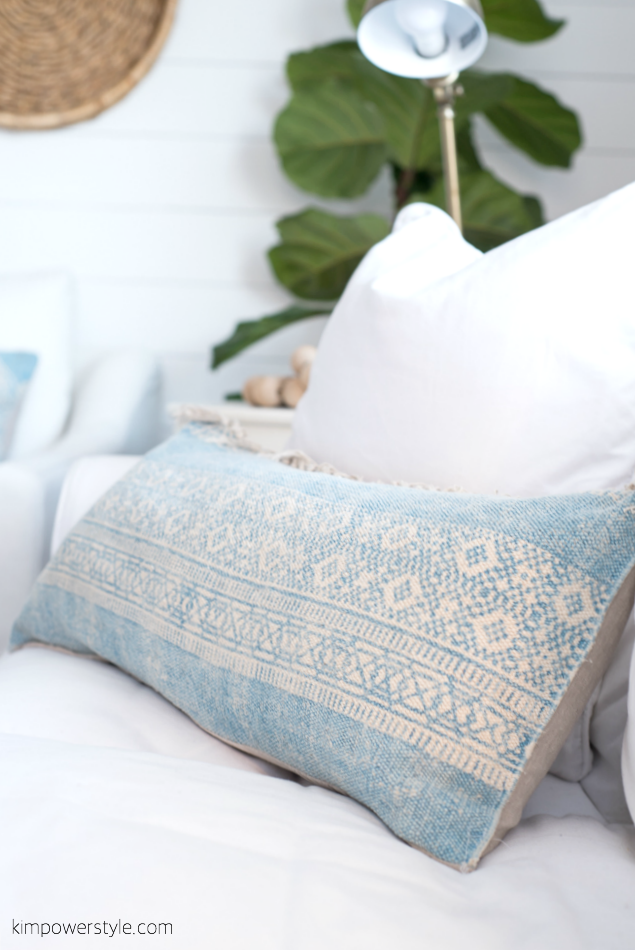
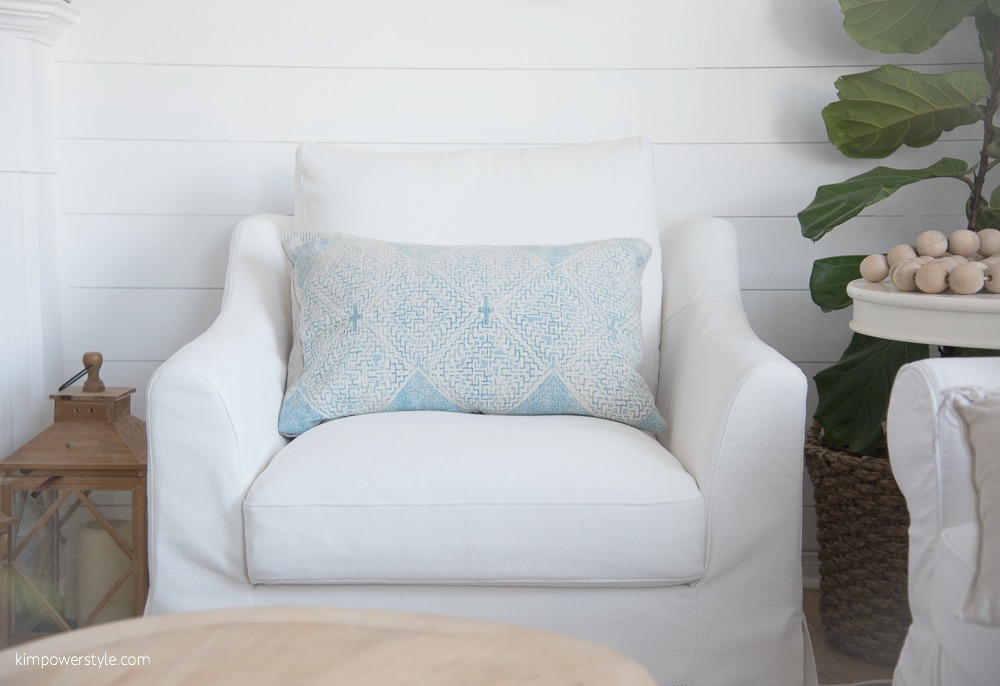
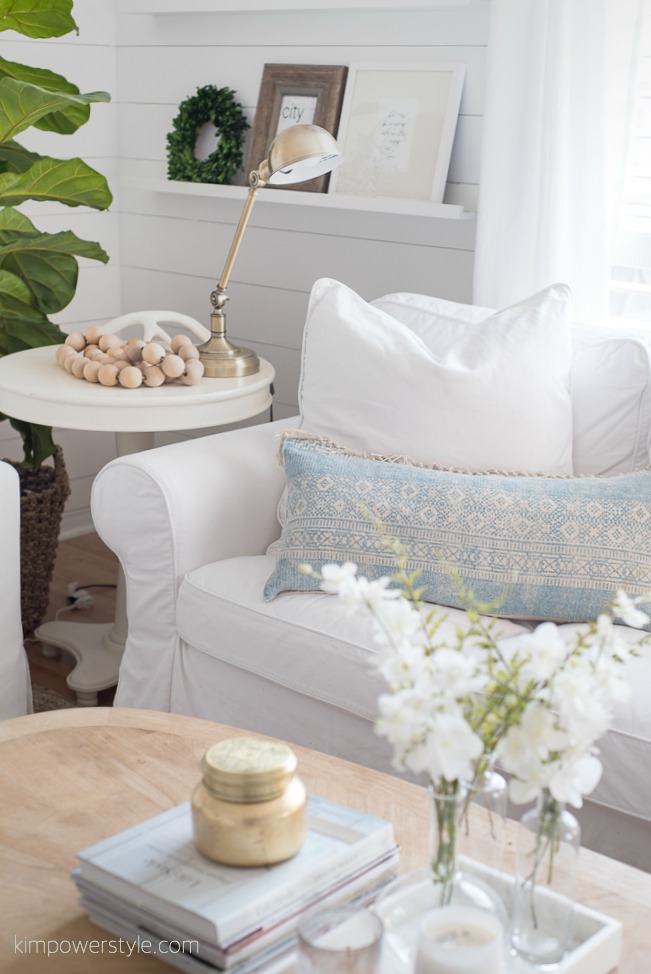
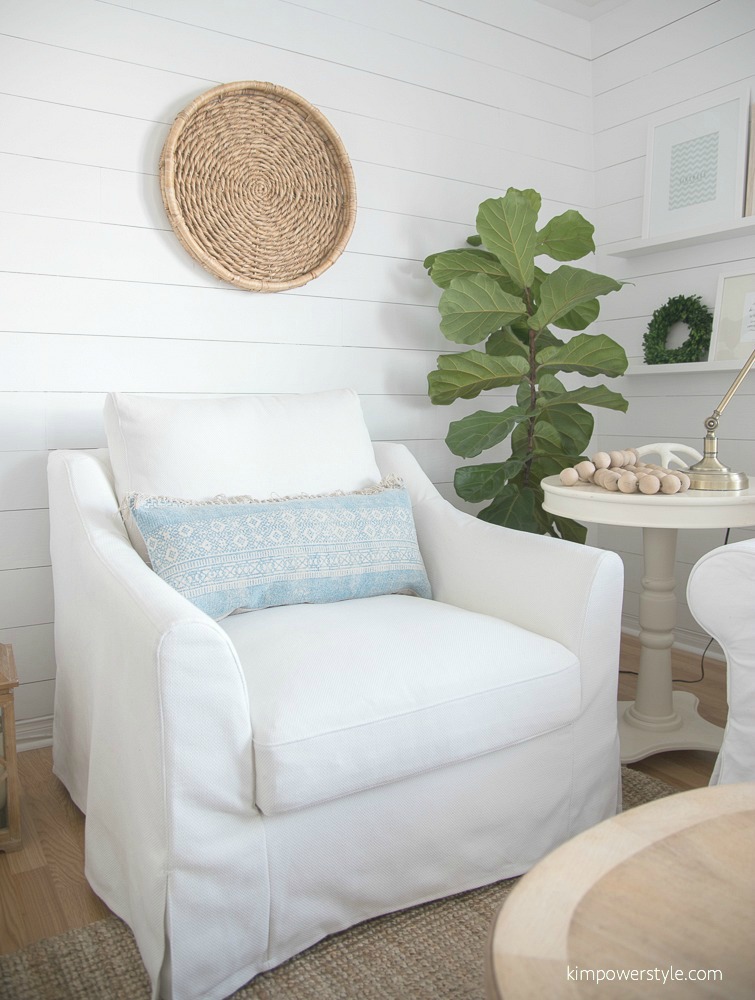
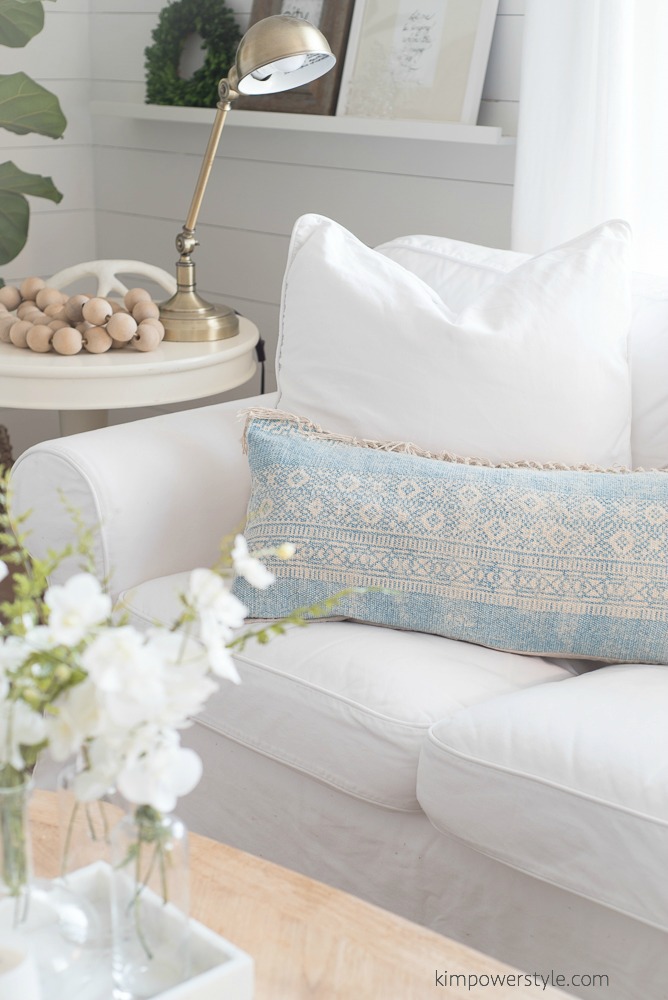
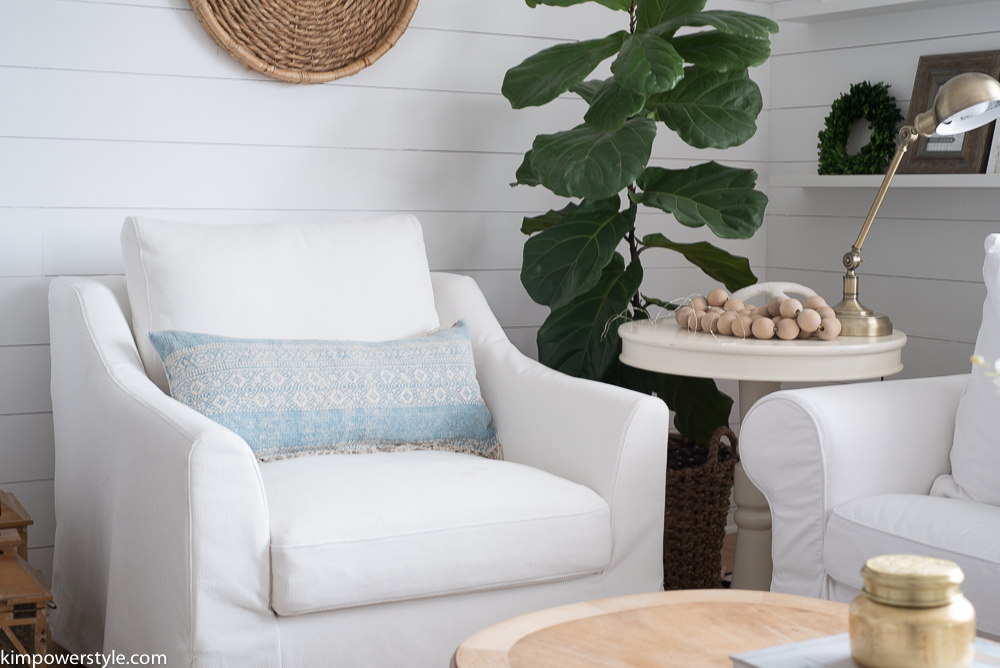
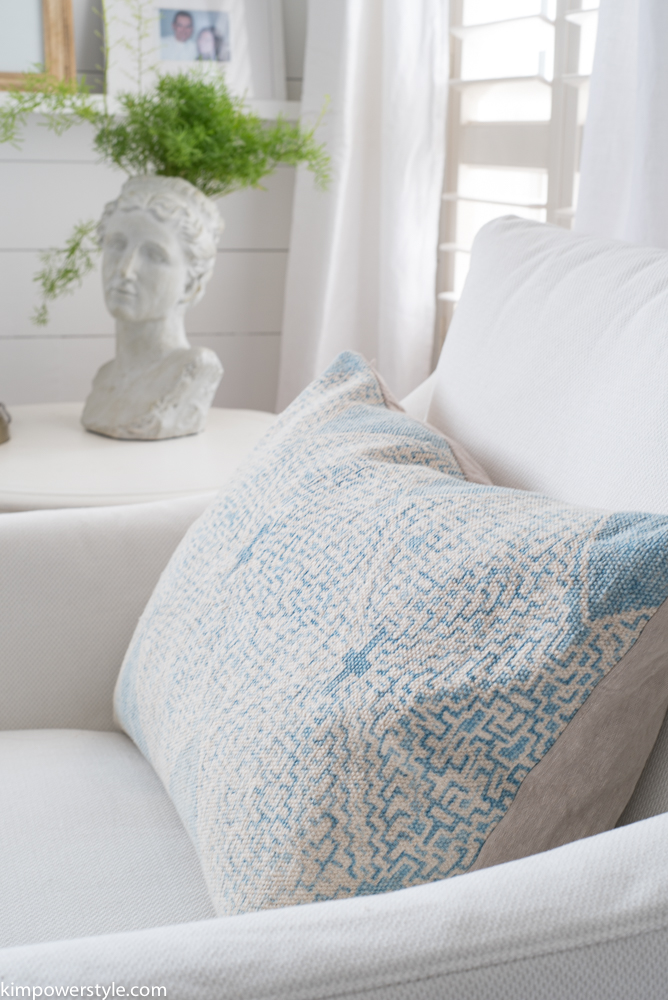
I’m loving my DIY throw rug pillows so much that I thought I’d share with you all exactly how I did it. I found the rug at Homesense and it was love at first sight! I was thinking about using it as my kitchen rug but it was too darn pretty to be hidden away on the floor. I knew I wanted to see this pattern often. It was a 2.5’x3.5′ rug which would easily give me three different pillows of varying sizes if I added a complimentary fabric to the back. I’ll share with you how easy it was to put together in case you’d like to try it yourself! I used a simple envelope style, no zippers! I did a post years ago on how to make an envelope styled pillow called the “the 5 minute pillow” you can find that here.
Throw Rug Pillow Tutorial
Materials Needed:
- Throw rug of your choice.
- A complimentary fabric for the back of your pillow.
- Sewing Machine.
- Measuring Tape.
- A good pair of sharp scissors.
- Pins.
- Thread.
Tutorial:
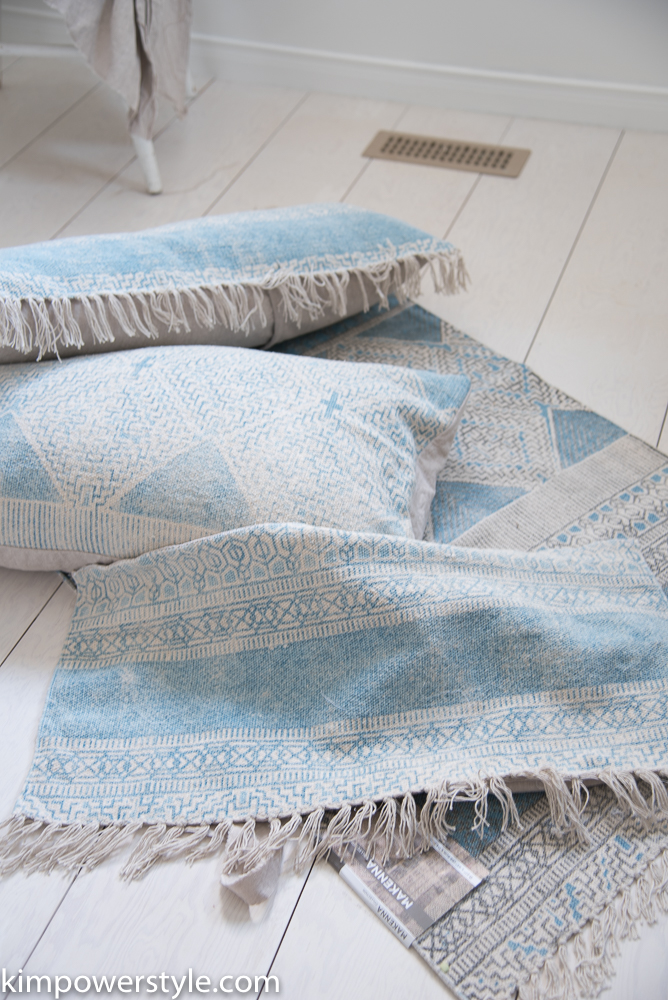
- Start by figuring out how you’d like to cut up your rug. My rug had lines and patterns that made it easy for me to divide it up. I ended up with three rectangles. The middle one being the larger. This tutorial will reference to the middle piece.
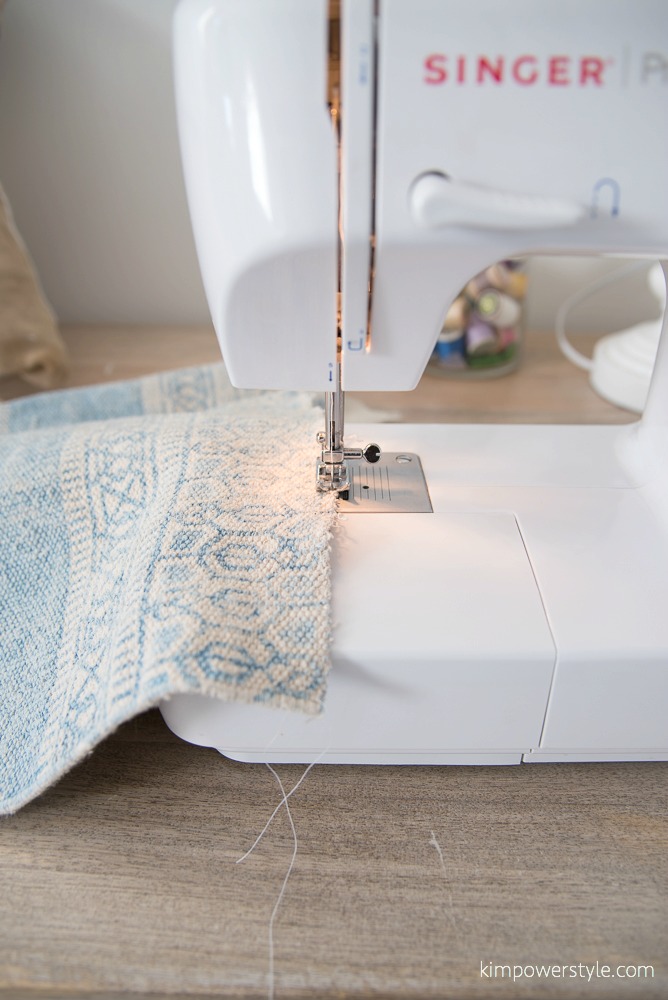
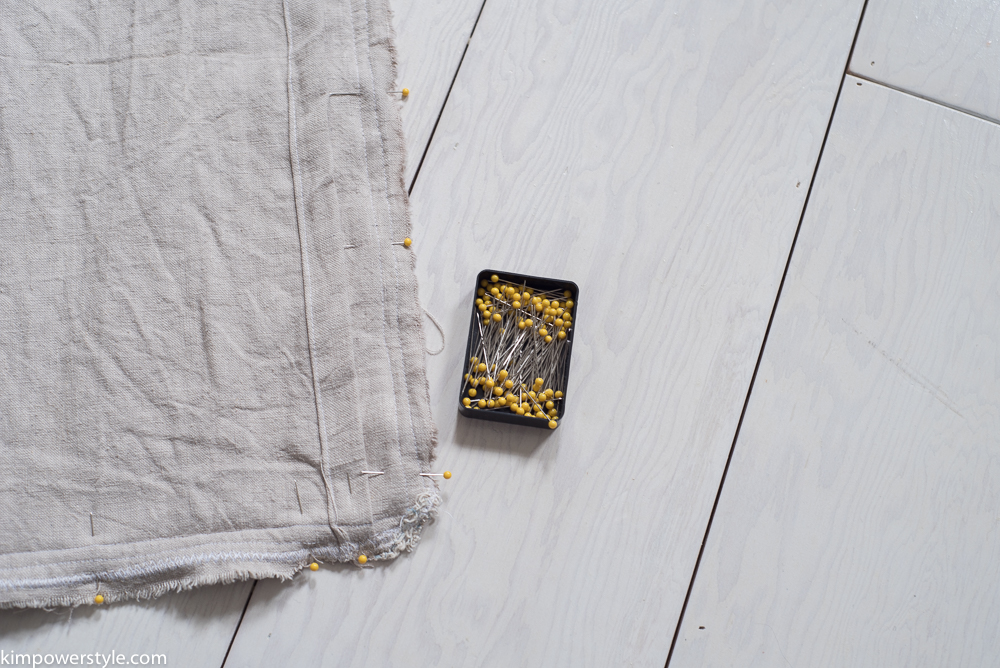
- Finish off your raw cut side. The rug will have two finished sides (meaning they’re already bound with a hem so no fraying) and 2 unfinished sides. If you have a serger, go ahead and serge the unfinished sides. If you have a regular sewing machine like me that’s ok, you can do a zig zag stitch on your unfinished sides, this is going to keep the ends from fraying which they will! I actually did a very wide and tight zig zag and went over it twice! The edge started to fray right away and I was able to salvage it.
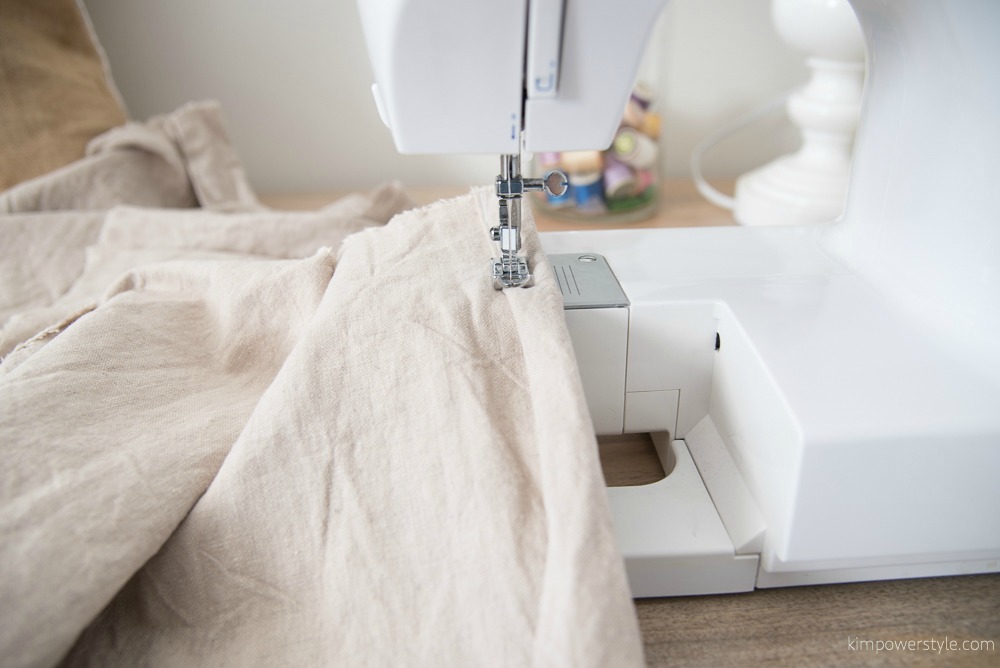
- Now you’re going to measure and cut your coordinating fabric. (This will be the back of your pillow and will have two overlapping pieces which work as the “envelope” to get your pillow insert in and out from) For your first piece, measure the length of your rug minus two inches (because that piece will be sewn 2″ inches down from the opening end of your pillow) and add 1″ inch for a hem. Eg. if your rug piece is 10″x30″ than your first piece of fabric will be 10″x29″The width will be the same width as the rug. For the second, smaller piece of fabric, I usually will do an 9 inch flap plus allow for a 1″ hem, making it 9″ of fabric. I use this same measurement every time I make an envelope pillow, only the width will change according to how wide your pillow is). The width for both pieces of fabric will be the same.
- Next, sew a 1″ hem on one end of each of the two fabric pieces.
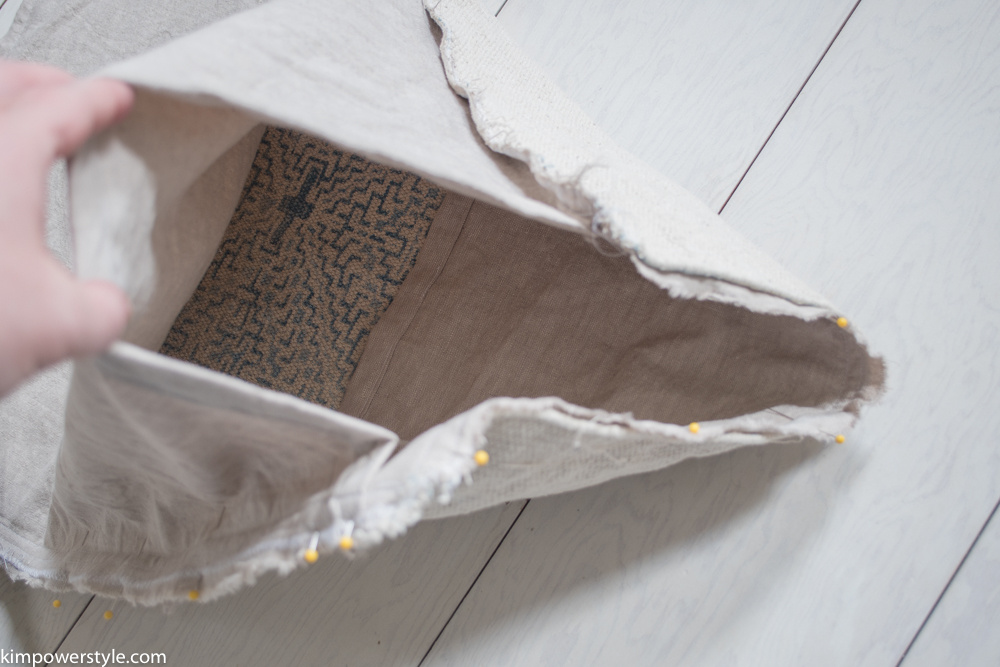
- Now you will take your shorter fabric piece first and lay it over your rug piece, right sides together with your hemmed edge facing towards the middle.
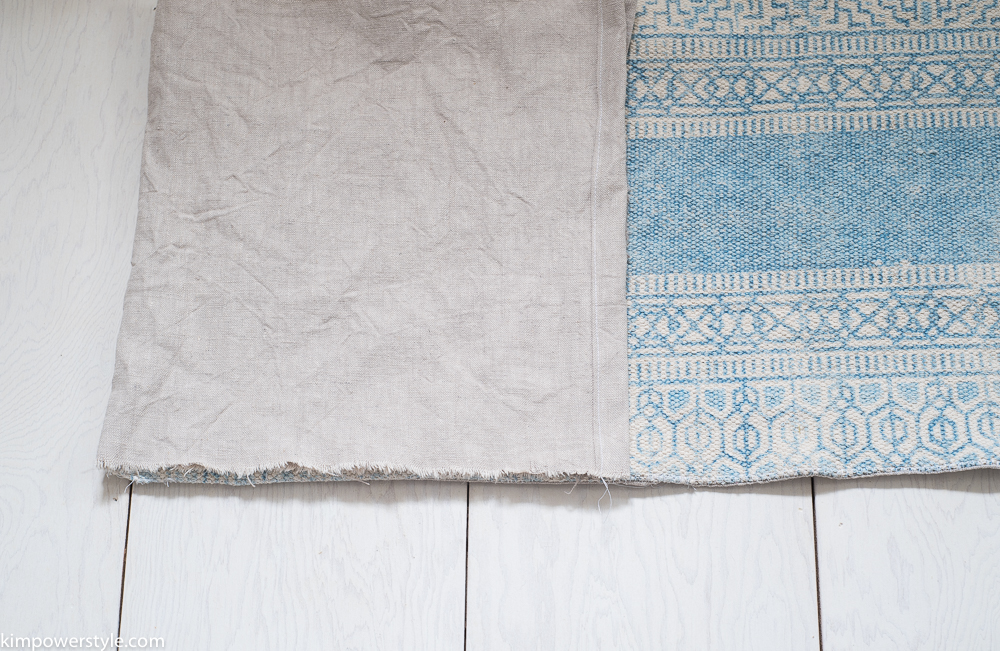
- Take the longer fabric piece and lay it over your rug piece, right sides together with the hemmed edge about 2″ down from the opening side edge (L side here). Your long piece should be laying over the rug and also most of the shorter piece. So in some places you will have three layers.
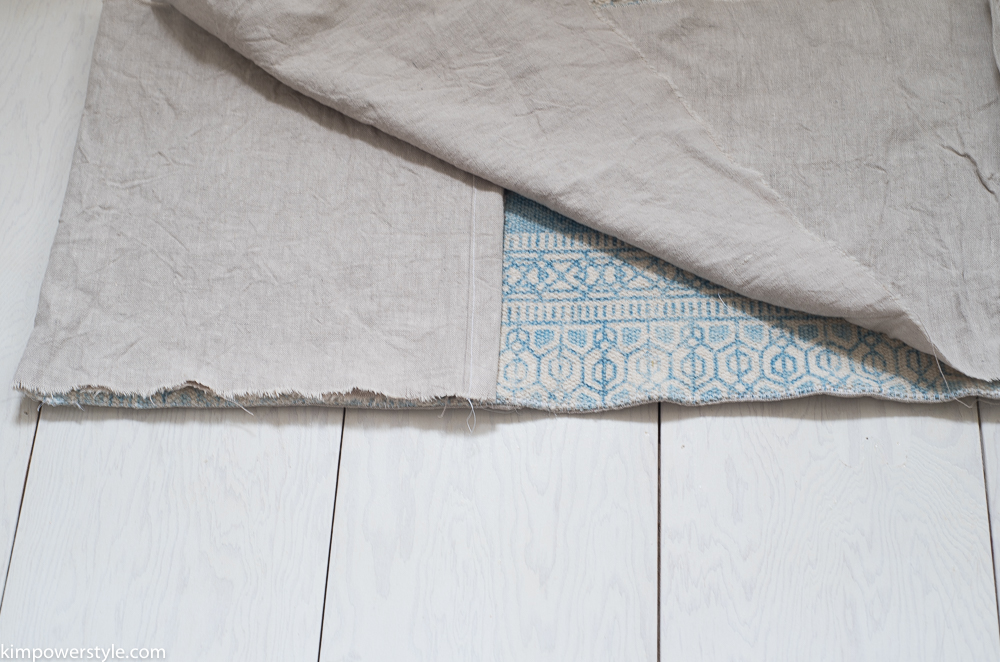

- Pin around the perimeter paying close attention to pin down where the hems are. Now sew along the perimeter of the pillow about 1/2″ in.
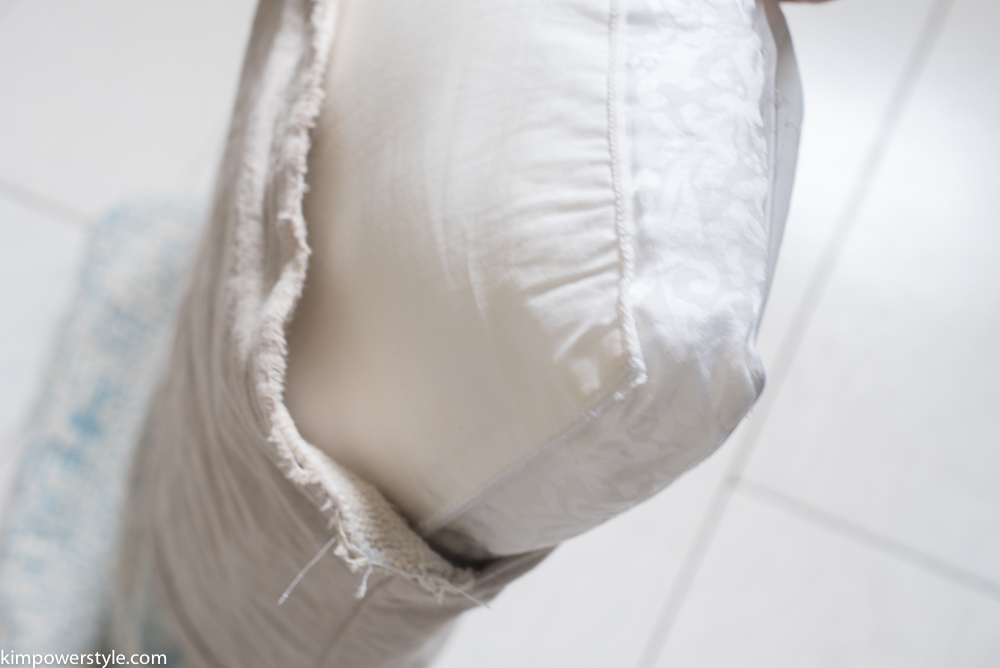
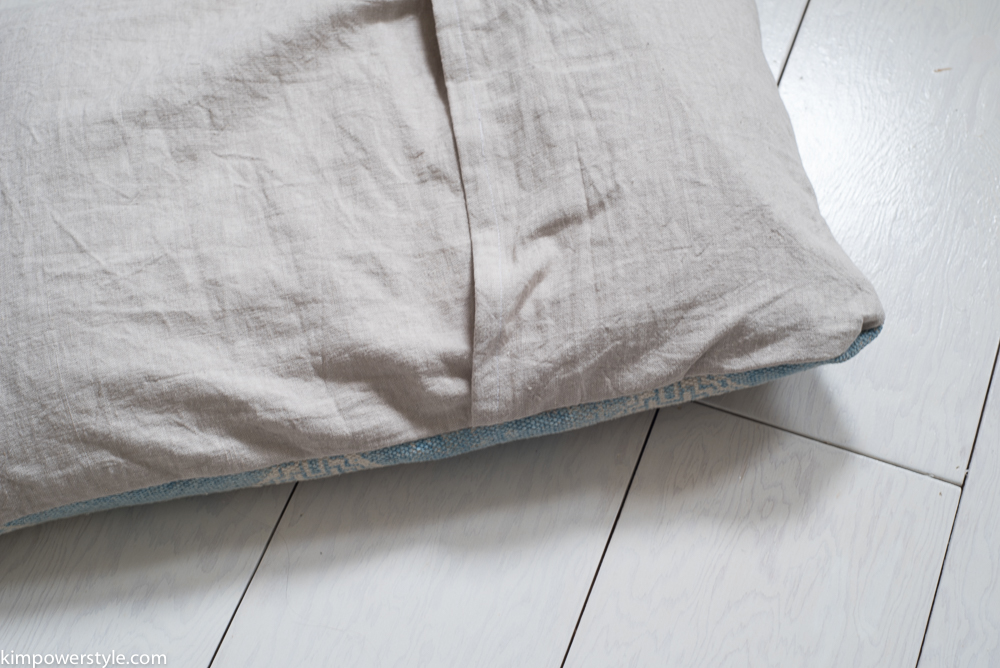
- Remove your pins and turn your pillow rightside out. You’ll notice you have a good size pocket to place your insert into. Now take the small flap and turn it rightside out and fold it over the other end of your insert. Go inside and stretch out the corners. You’re done!
I hope this was easy to understand and that your were able to make your own! Don’t hesitate to leave a comment and ask a question if your need to. I’m happy to help! Please subscribe if you’d like to receive these posts straight into your inbox.