We Partnered with BEHR® for this project. All thoughts, opinions and project ideas are my own.
My master bedroom has been due for an update for a while now and although I love white, it was time to inject some colour. Dark and moody paint colours are really on trend right now and I’ve wanted to take the plunge and try something new for a while now. But as much as I love making a design statement, the thoughts of diving headlong into a room full of a dark colour scared the heck out of me! I tried out BEHR MARQUEE® Interior Paint & Primer in One, it was just the opportunity I needed to tip-toe into this new world of colour.
I had applied board and batten in my office last spring and knew I had wanted to try it again in my bedroom. It really lends to the coastal cottage vibe of my home and works perfectly for those of us who want to try a more dramatic colour but are a little timid to commit to a full room of it.
Bedroom Update with BEHR MARQUEE Paint
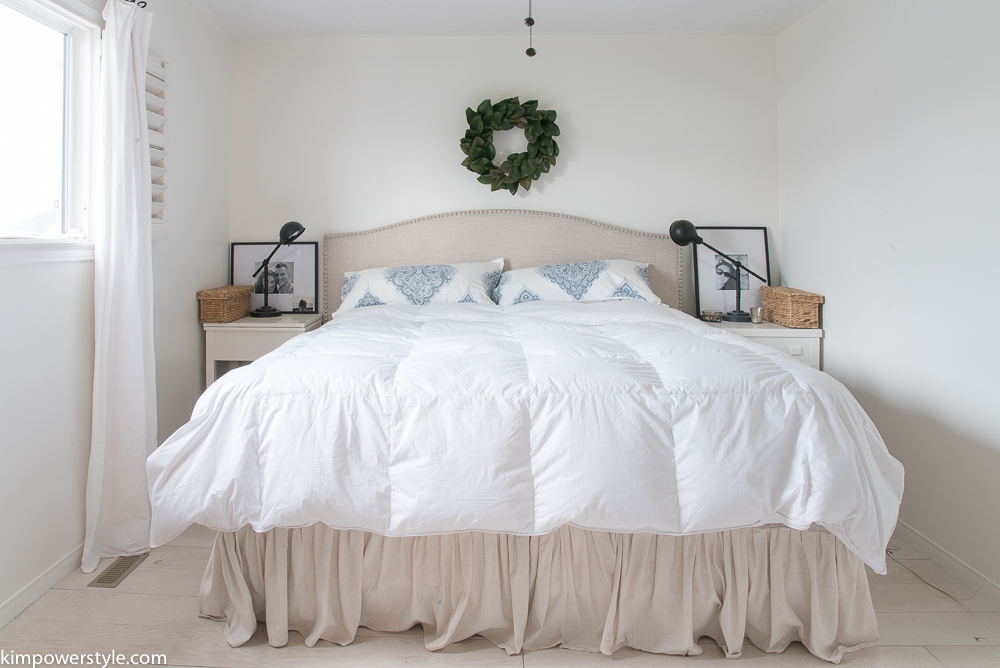
Here is the bedroom before… kind of blah right?
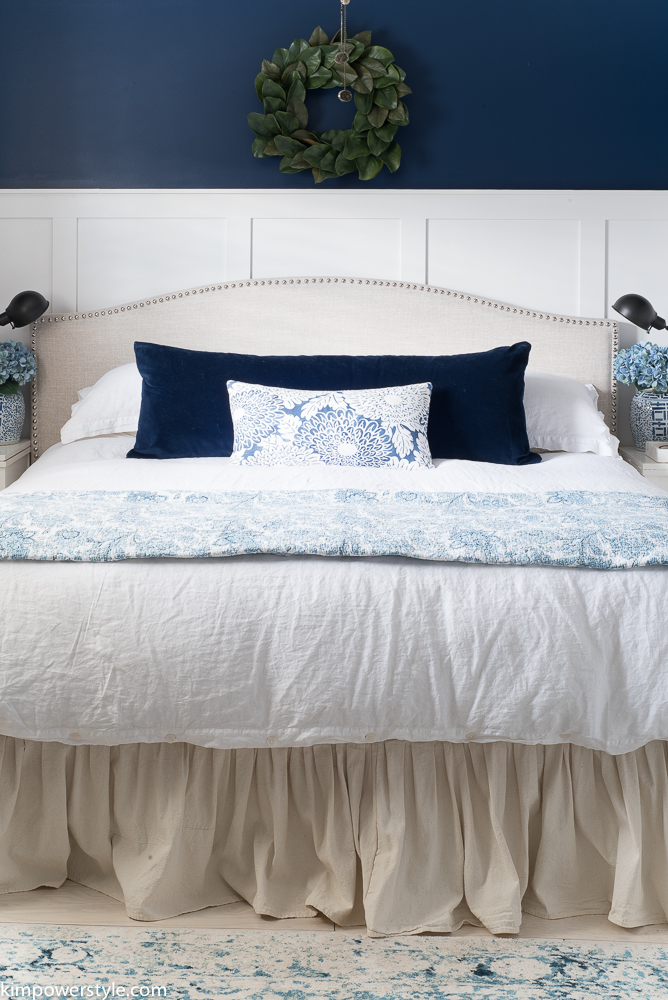
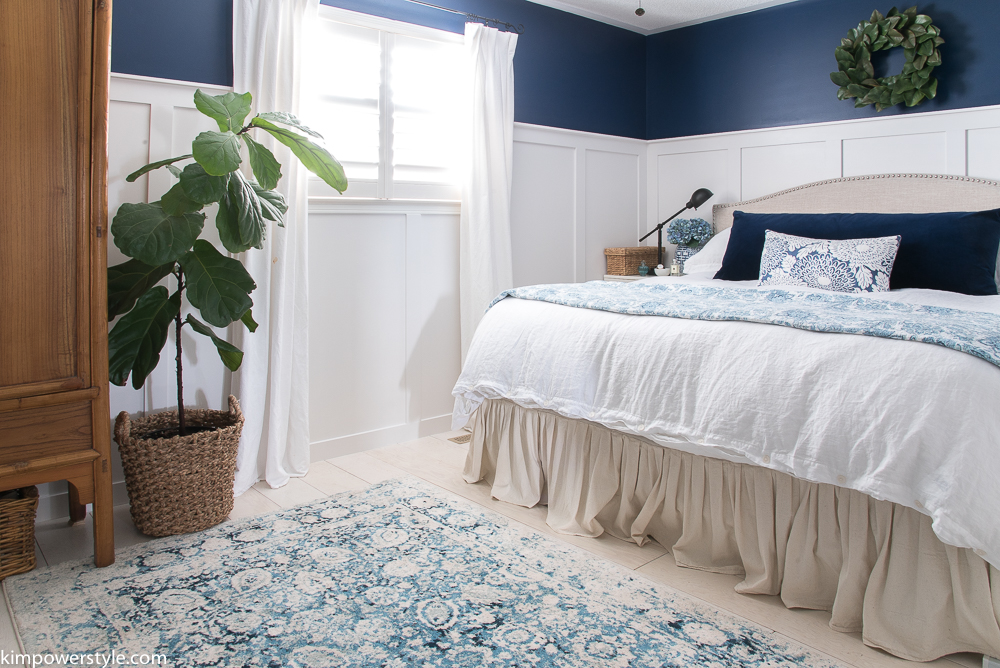
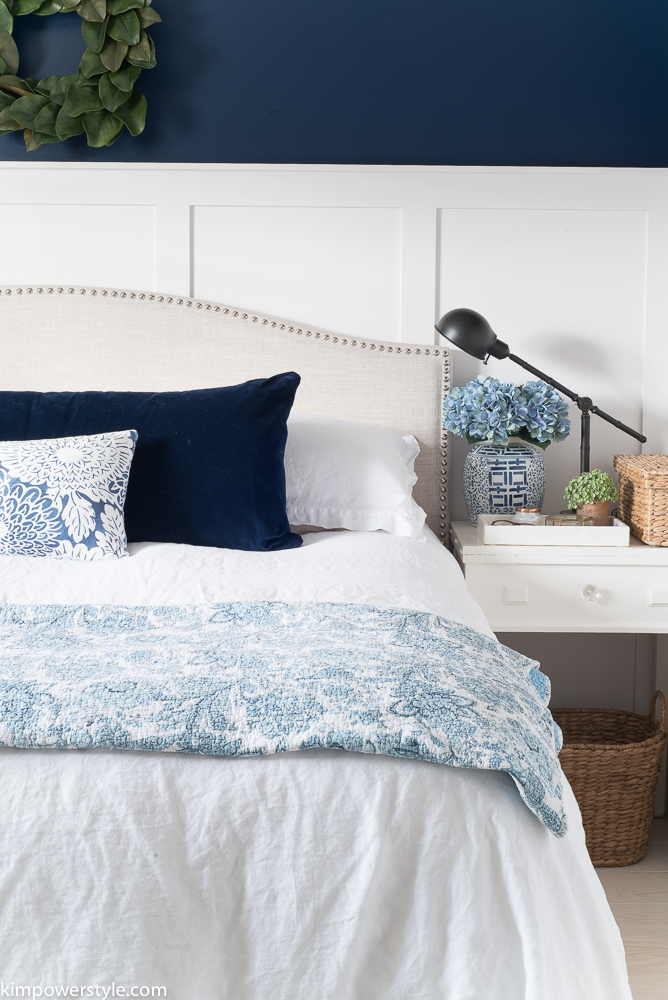
Here is the After… amazing what a bit of paint can do! Follow along and we’ll show you how we did it.
Board and Batten:
You’ll need:
- MDF boards in the size of your choice
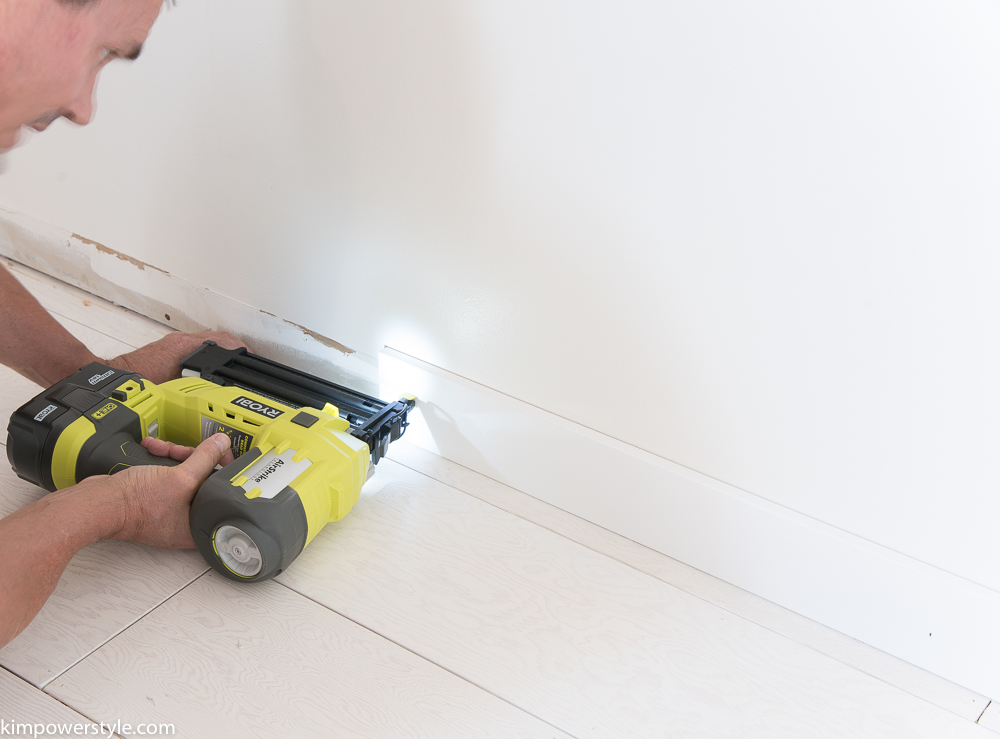
- Brad Nailer
- Table Saw
- Jig Saw
- Level
- Wood filler
- Latex Caulking
The hubby and I removed everything from the room so we would have space to work.
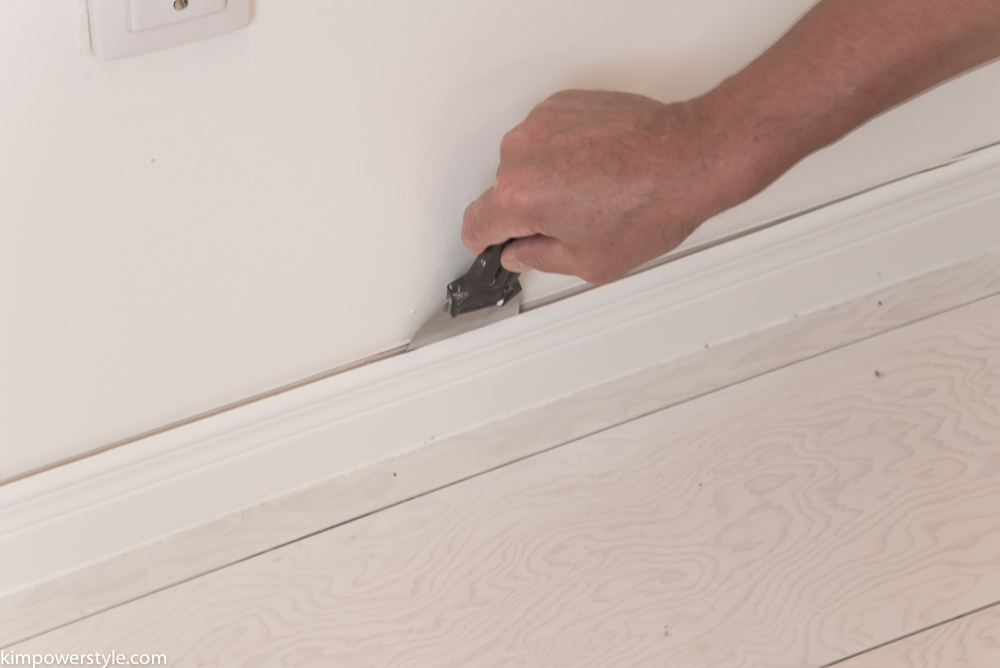
We started by removing the existing baseboards, a bit of a pain I know but we wanted all the board pieces to match up evenly and this base trim was just too thin.
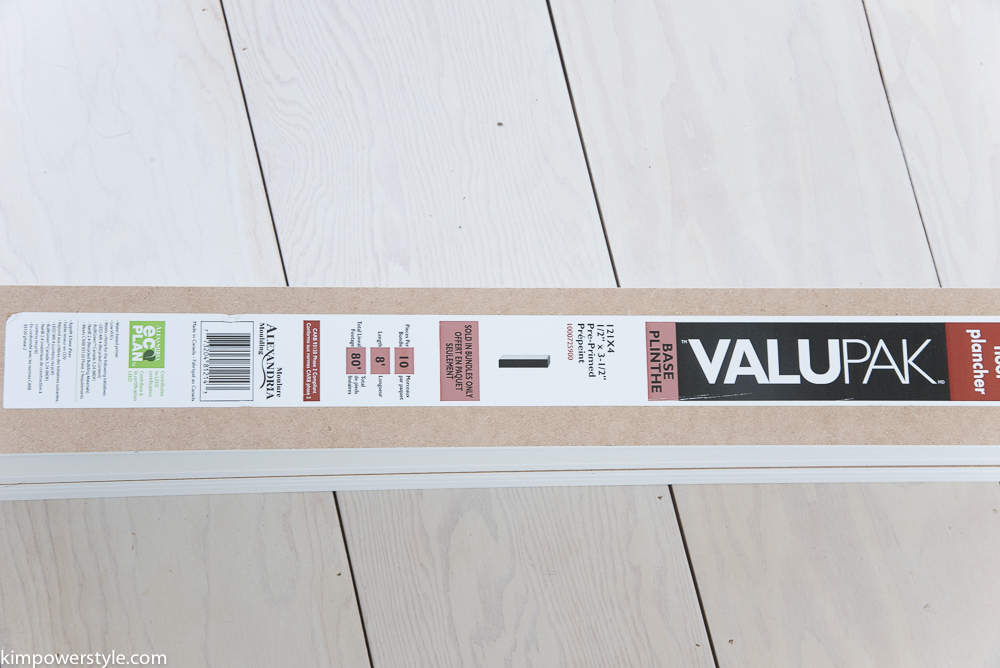
We used the 1/2″ x 3 1/2″ MDF pre-primed base boards in the valupak from the Home Depot. They come in 8′ lengths and there are 10 pieces in the valupak. This was used for all the board and batten in the room, approximately 3 valupaks.
Next we applied our MDF baseboards all around the room using a brad nailer.
Once the baseboards were applied, we rested the vertical pieces on top of the baseboards starting in the corners. Making sure they were level! Our vertical boards were 59″ in height. You can decide how tall you want your board and batten to be. It was roughly 2/3 of our 8′ walls.
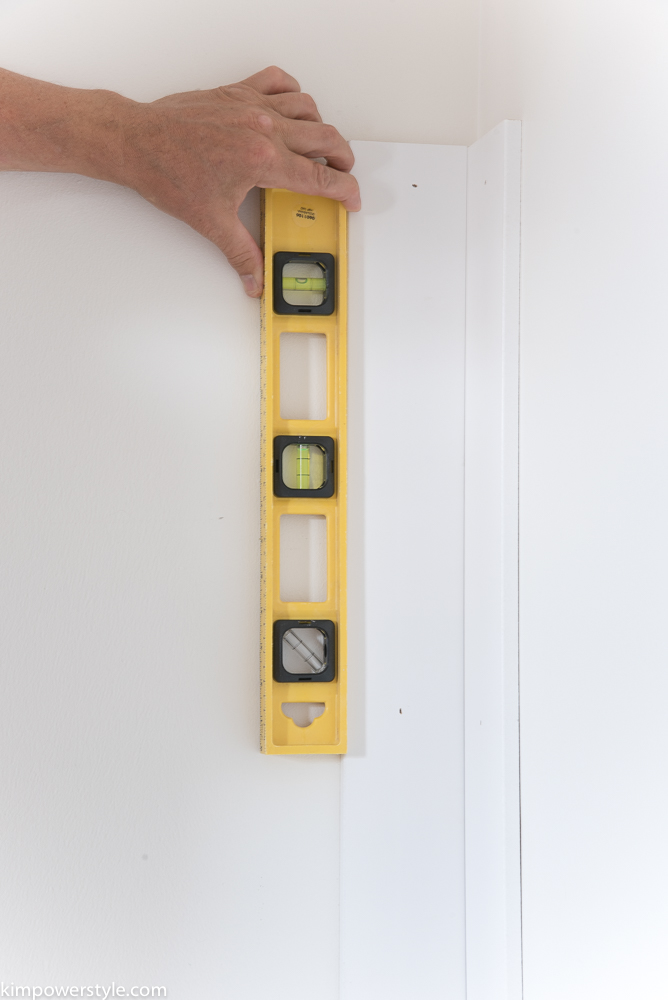
This next part can be tricky and includes that four lettered word “Math”! My husband was the one who figured this part out. We started by laying our boards against the wall to see approximately how far apart we wanted them to be. Not all of your walls will be the same size so you may find that on one wall your boards are 21 inches apart and on another they are 19 inches apart. As long as they look uniform and there isn’t that big of a difference from wall to wall. Remember to measure twice and nail once! Make sure that each board is level before you nail too.
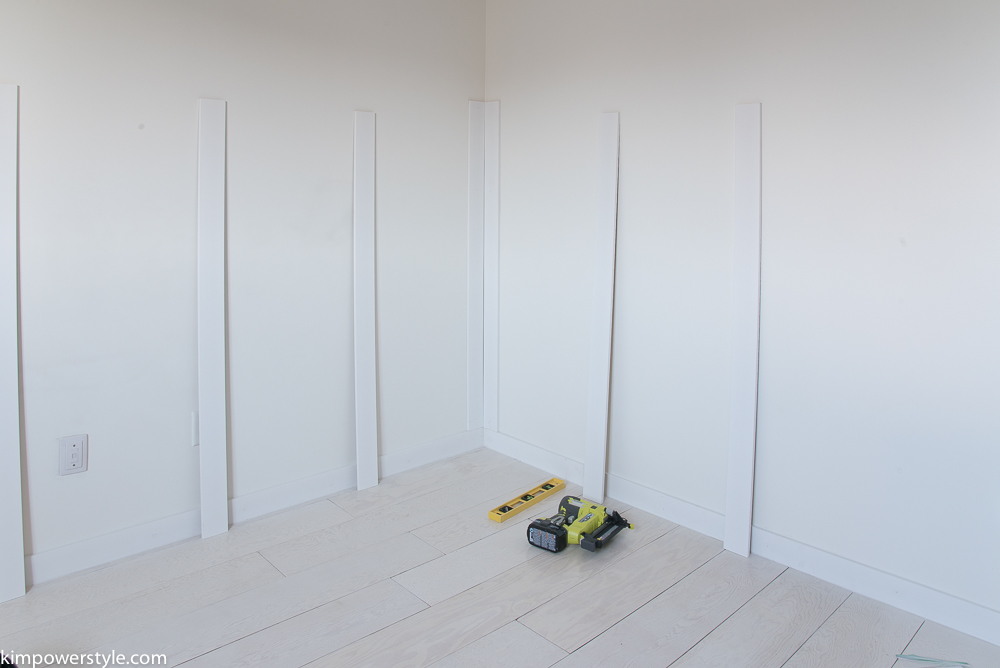
For outside corners we just butted the joints up. We didn’t bother with tricky angle cuts as we’ll be filling in all the joints with wood filler and/or caulking. We then laid the upper horizontal boards across. Don’t worry if there are some small gaps, you’ll be filling them in with wood filler.
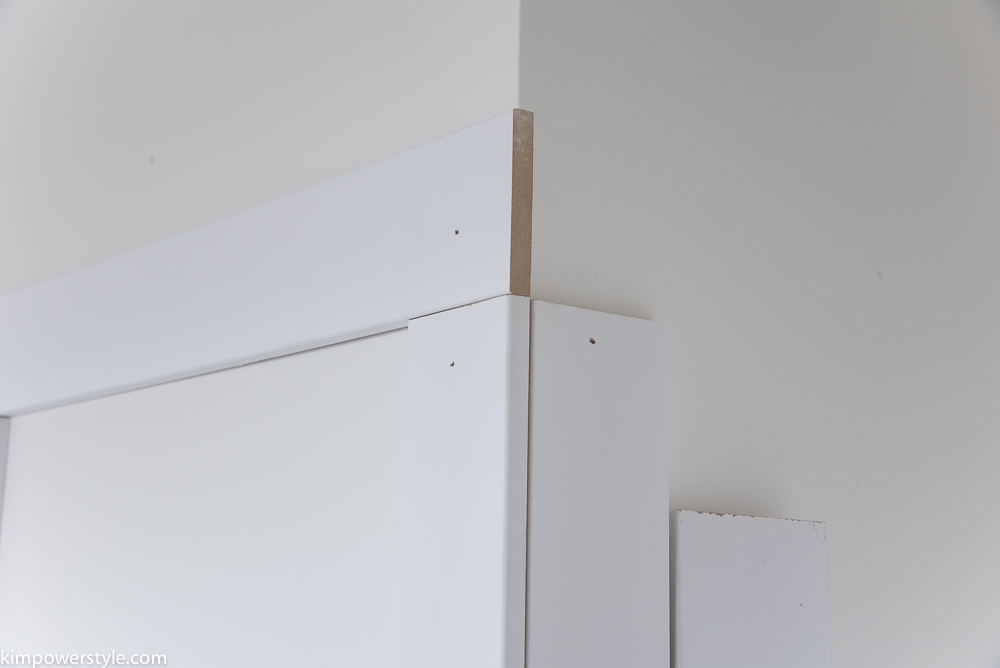
When all our boards were applied we used wood filler to fill the nail holes and gaps where MDF meets MDF. Once it was dry we lightly sanded to a smooth finish.
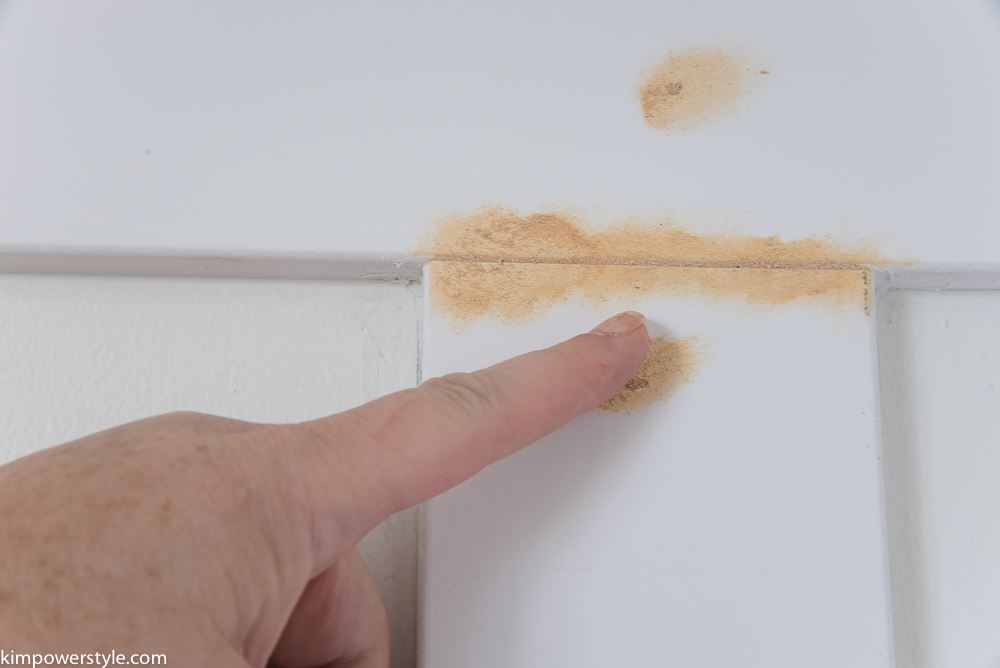
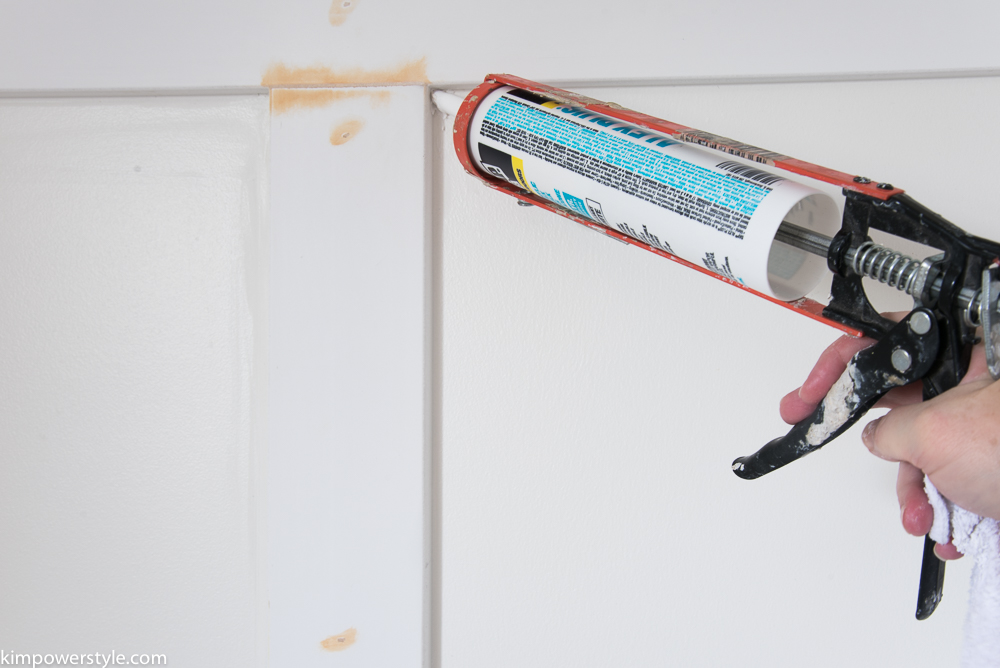
We added latex caulking wherever the boards met the wall. This is time consuming but finishes the job off so nicely. Caulking covers a multitude of sins!
Painting:
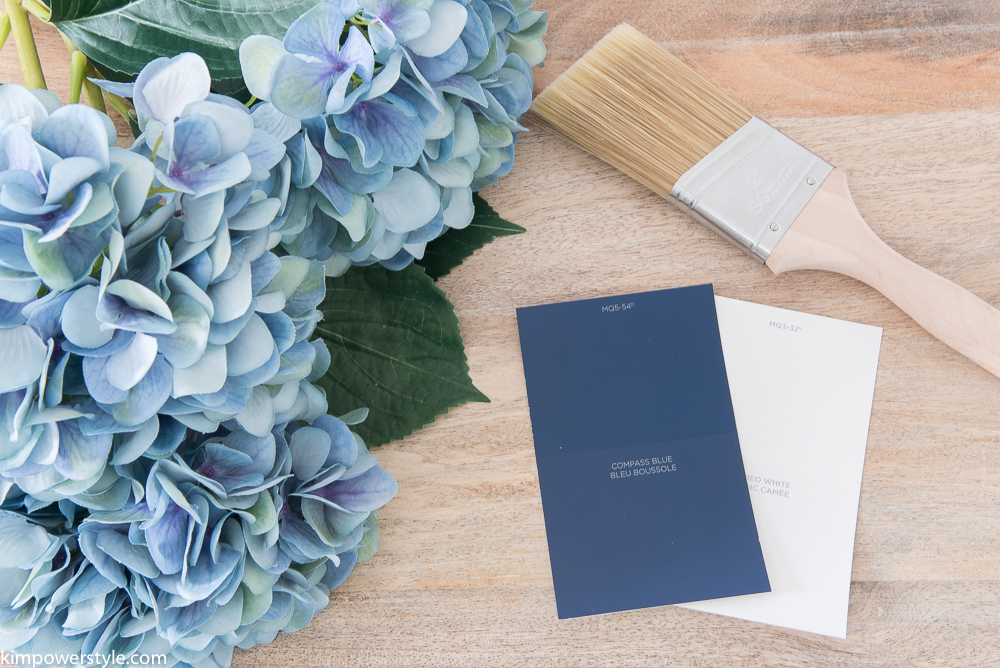
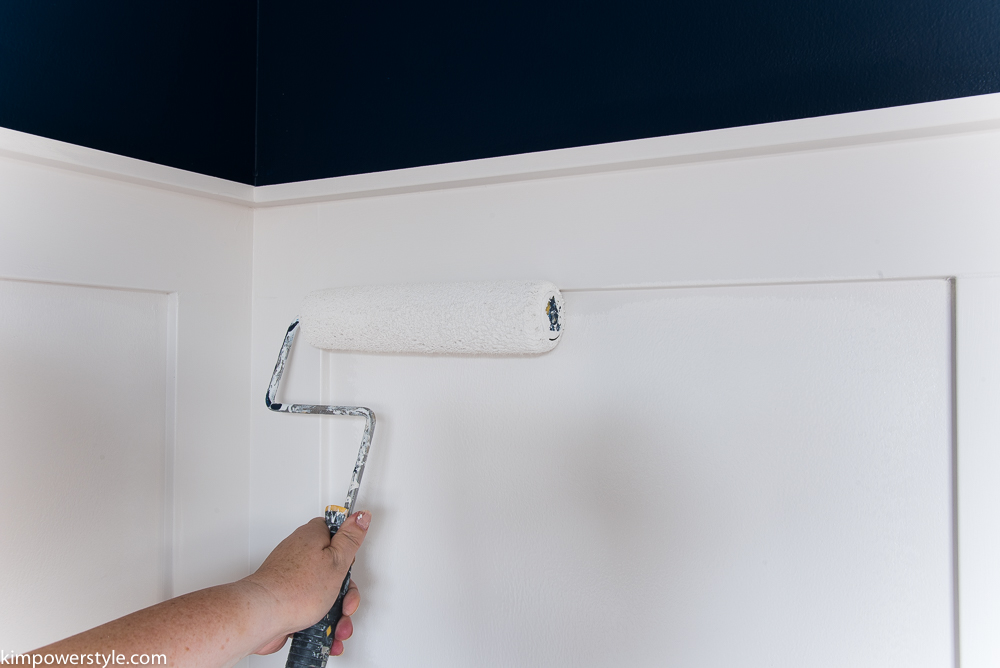
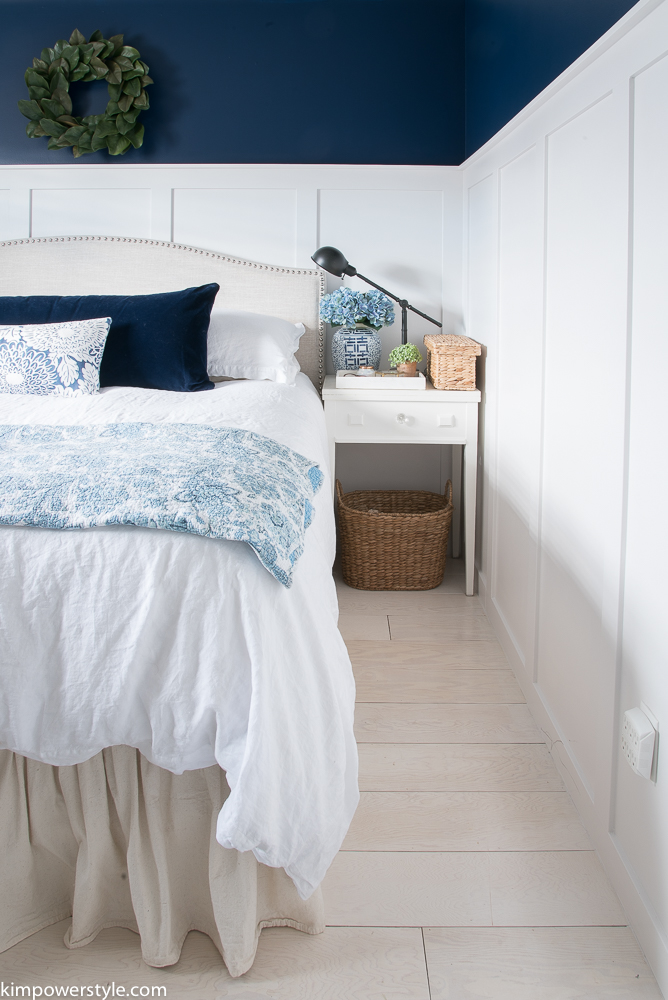
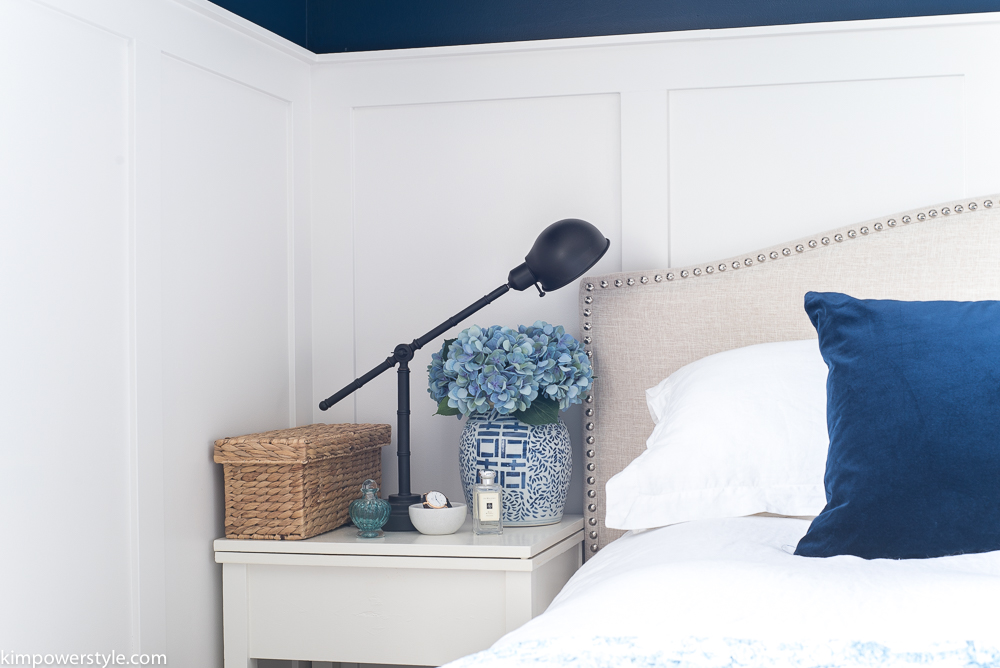
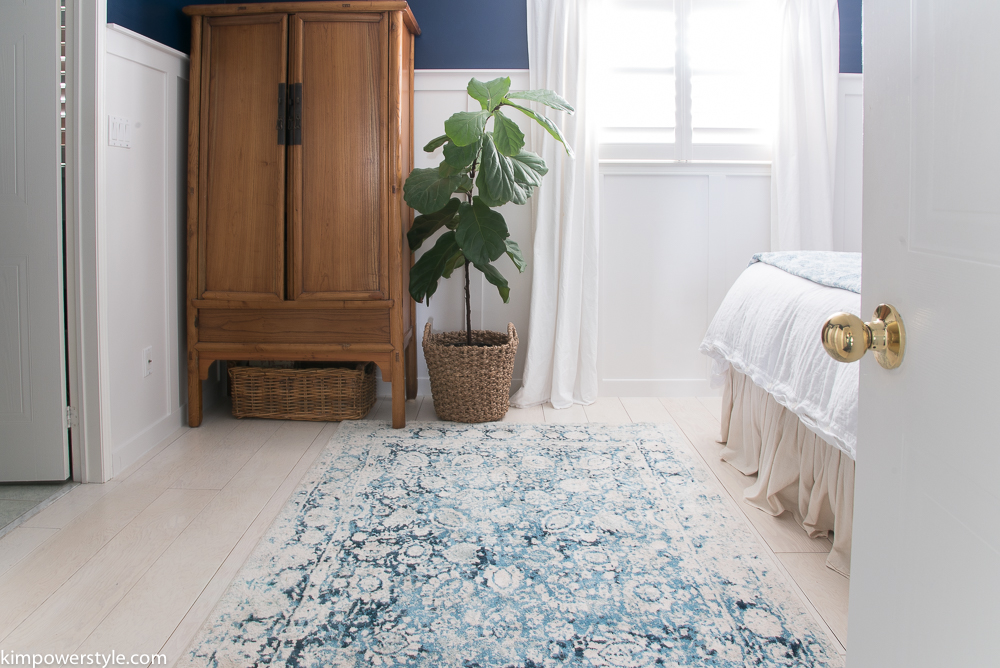
For paint we used the BEHR MARQUEE one coat coverage interior paint from Home Depot. We applied Compass Blue to the upper walls and Cameo White for the board and batten. When my husband saw the first brush stroke of the Compass Blue applied to the walls, he was a little shocked! I told him not to worry, it was going to look great, “I know what I’m doing”. Inwardly I was asking myself what the heck was I doing and trying not to let my own panic show! It didn’t take long till I realized It looked great and I had made the right choice. That happens all the time.
We started with the upper portion of the wall and applied Compass Blue. I taped off the ceiling using painters tape to avoid any mishaps while I used a brush to cut-in. A quick roll was all that was needed to apply this super thick paint to the walls. I had to touch up a few places where I cut-in otherwise this really is one coat coverage!
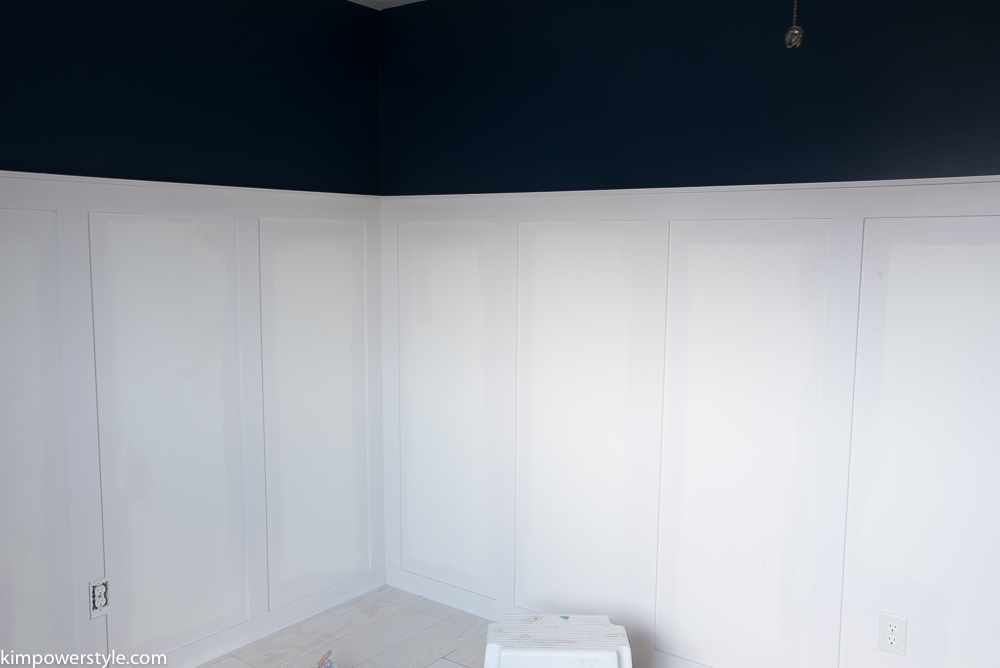
For the board and batten we used Cameo White. I used a brush to do all the trim work and then used a roller for the wall.
It turned out beautifully!
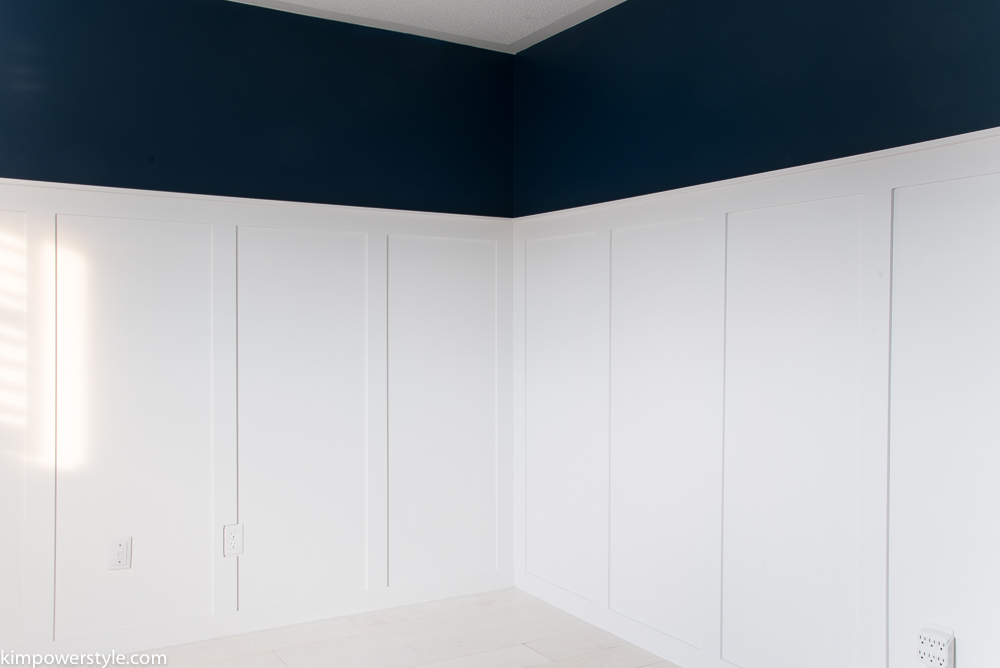
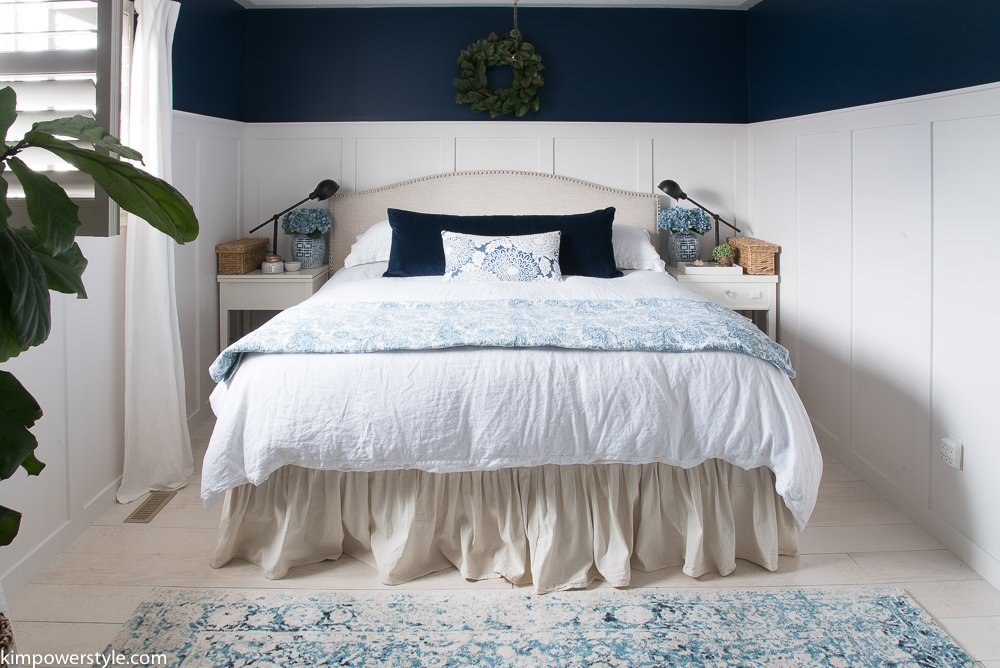
The after…I painted the “blah” out of that room!
The hubby was so impressed, he kept walking around the room saying “wow!”
I’m so glad we decided to try something that was a little out of our comfort zone. The room has a dramatic edge to it but still has that simple, cozy cottage look that I love. I hope this gives someone the courage to step out and try something new!
Blessings,
Kim
Kim, it’s such a dramatic change!!! I LOVE it!
Aww thanks so much Shannon, I love it too!
Looks amazing Kim! What a difference that navy and the board and batten make! Total transformation! Well done!
Thanks Christine, it is amazing what a difference it makes, feels like a totally different room! 🙂
Wow! Looks amazing. Can you youcome and do my bedroom please. Love it!
Whenever you’d like! Just make sure you have some apple dumplings on hand. 😉
Kim,
It looks absolutely lovely!!!
Thanks so much Jo Ann!
Your bedroom looks great! Could you provide some sources…rug, comforter, pillows, headboard?
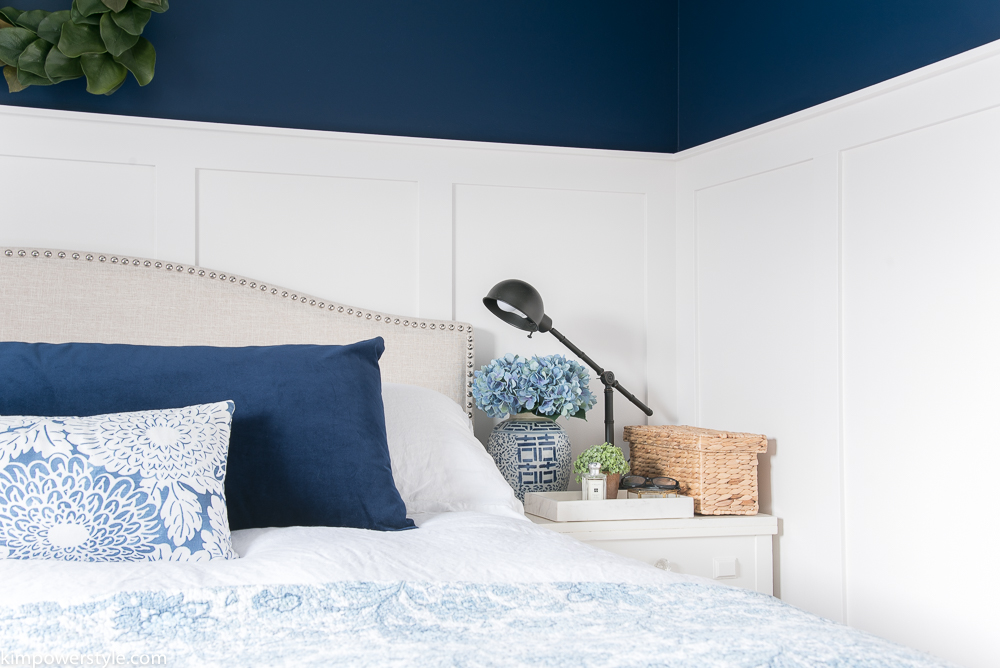
Thank you! the rug is from Rugsusa, the linen duvet is from Homesense. The pillows were made by me and the headboard is also Homesense. One of the bedside tables were found on the side of the road and the other one from a thrift store. they’re old sewing machine tables that I painted.:)
Very nice! I love the fresh crisp contrast of the dark blue and white. What kind of wood floors are those? They have such a nice light stain and finish.
Thanks! The floors are planks of plywood white washed in primer with a few coats of poly. 🙂
Gorgeous, Kim! You did a wonderful job.
Thanks so much Wendy, It was a fun project and I love the after!
Just gorgeous!
What did you use to finish off the top of the board & batten to give it some trim at the top? This is gorgeous and will definitely help when I do this to our master. Thanks for the direction!
Thank you! I’ll be doing this again in a couple of weeks in my new bedroom. I used a 1×2 piece of wood trim. If you’re at HD you’ll see all sorts of trim and you’ll find the 1×2 as well.?
Hi Kim
Beautiful job, what finish on the blue?
Hi liz and thanks, the finish is satin.