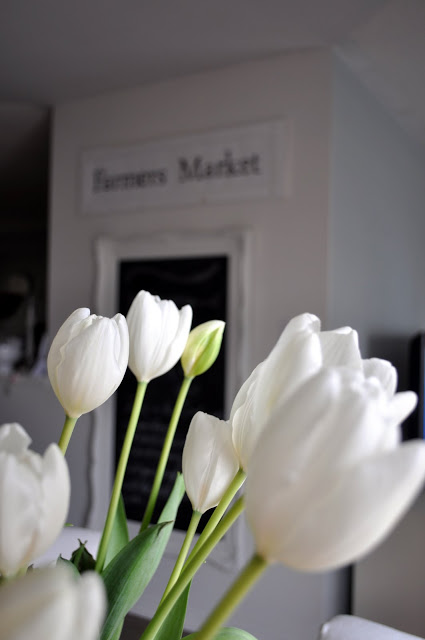
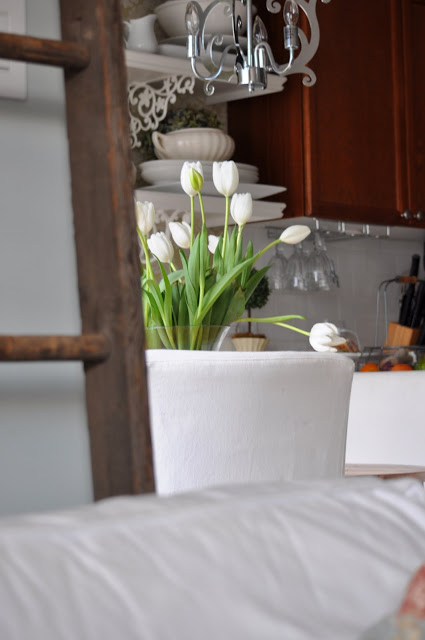
Tiptoe through the tulips…
Another sign…
New Dropcloth slipcover
I’ve been missing in action this past week.
Just taking a little time off and working on a project.
I want to thank you all for the awesome lampshade advice!
So many of you were so sweet to help me with this lampshade dilemma.
The majority of you thought the new lampshade was a little too small for the base and I agree. I am going to return both of the burlap/linen shades.
Some of you suggested that I cover the white shade, which is something I thought of but a fabric on top of the shade would allow little light in through the shade and I use these lamps for reading.
I am going to do what some of you suggested and keep the white shades and hold out for something that fits.
Once again, so appreciative of all your help!
Now here is what I’ve been working on this week.
I bought a matching pair of these club chairs at GW a few months ago with the idea of slipcovering them.
They are a hideous lovely green velvet underneath. Lol.
It took me about a week to finish this one, with plenty of time off in between for my back to recuperate!
I used my favorite painter’s dropcloth to cover this. Love the look and it fit my budget.

Do you notice the seam in the middle of the seat panel? Didn’t even notice it until I had the seat cover on.
Argh! May do this seat cover over again.

You can see the ladder I got at the antique barn last weekend with hubby, behind the chair. It was 11 feet tall so hubby cut it down to fit my 8 foot ceilings. Really luv these old ladders.
I still have another chair to do! Ugghh.
I think I’ll take some time off before starting it though!
Thanks for stopping by and blessings to you all.
Will be linking up with these ladies:
Metamorphosis Monday @ BNOTP
Twice Owned Tuesdays @ House of Grace
DIY Showoff
Nifty Thrifty Tuesdays @ Coastal Charm
White Wednesday @ Faded Charm
Wow us Wednesdays @ Savvy Southern Style
Transformation Thursdays @ Shabby chic cottage
Show and Tell Friday@ My Romantic Home
Frugal Friday @ The Shabby Nest
Flaunt it Friday @ Chic on a shoestring decorating
Furniture Feature Friday@ MMS
Saturday Nite Special @ Funky Junk Interiors
Lampshade advice needed…
I managed to get hubby out to an anitque barn and then out for lunch. You have to understand that hubby’s idea of a good time is running, climbing or hiking and the whole thrifting/anitqueing on the weekend isn’t his kinda thing! Despite our differences, he has always been there to help load up a vehicle with my finds without batting an eye! Lol.
I managed to find a couple of things (well I found more than a couple, but a couple is what I came home with!) I’ll post those later on this week!
Right now I need some lampshade advice!
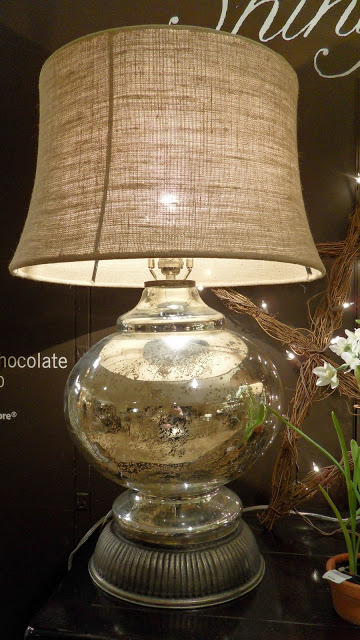
Back in December I posted about this PB mercury glass lamp with linen shade that I absolutely loved!
There was no love between the pricetag and I however.
Luv the size, style, mercury glass, just a great lamp.
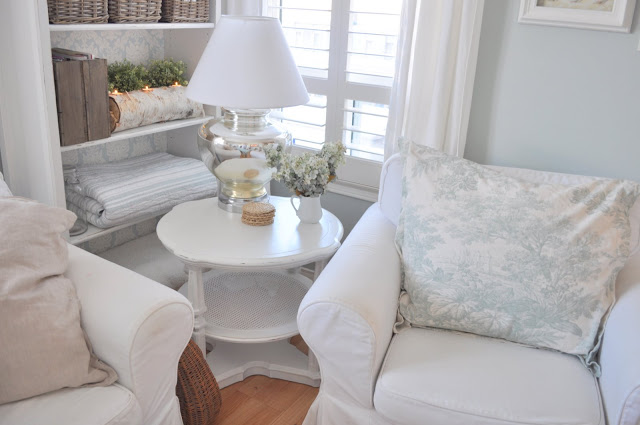
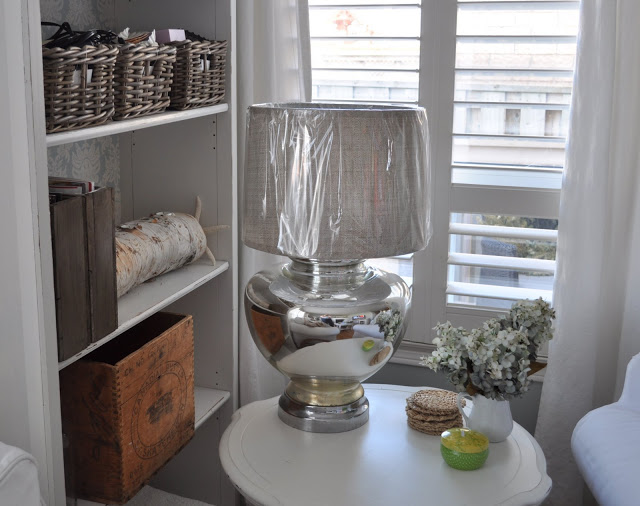
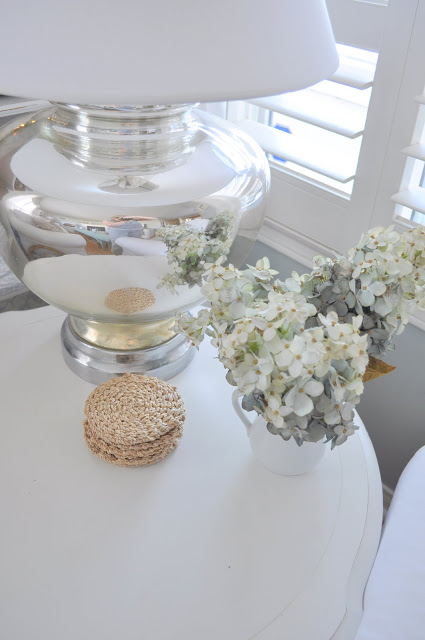
That same week I stumbled across these lamps at a thrift store. They are somewhat similiar to what I had seen @ PB in terms of size and shape, but instead of mercury glass they are some sort of mirror glass.
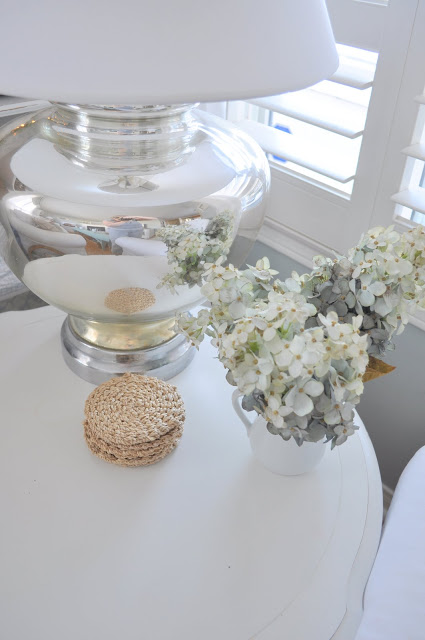
So here’s where I need the advice. The lampshades I have on them now are from my old lamps. I’ve wanted to get some linen shades to match the PB ones.
It’s been really difficult finding shades as these lamps are really large! I also have a next to nothing budget to work with and the linen shades can be pricey.
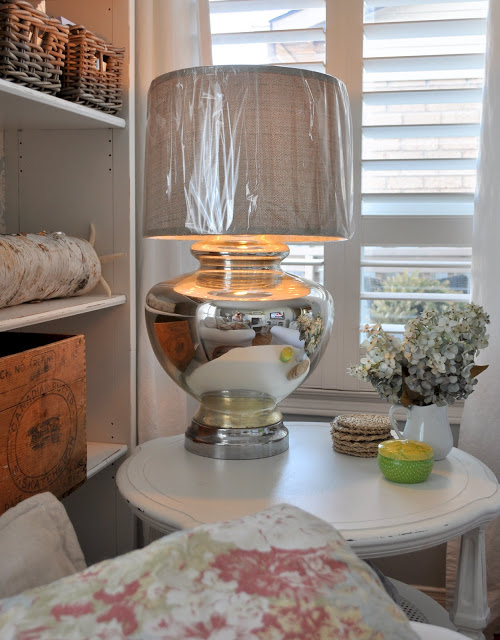
I managed to find these shades at homesense for $16 each. They have a cross between linen and burlap look to them and the size seems appropriate to the base. (I’ve heard that the shade should be at least 2/3 the length of the base in which this shade is). I’ve left the plastic on in case I need to return them.
What do you think?
Are you partial to the white shade or this linen look shade?
Should I just continue looking?
Should I get rid of the lamps all together because they are uber large? Lol.
Appreciate you all stopping by and giving your opinion!
Blessings to you!
Family Room Spring Refresher…
Happy Monday to you all!
Jennifer Rizzo is hosting a Refresh Your Room Party for spring!
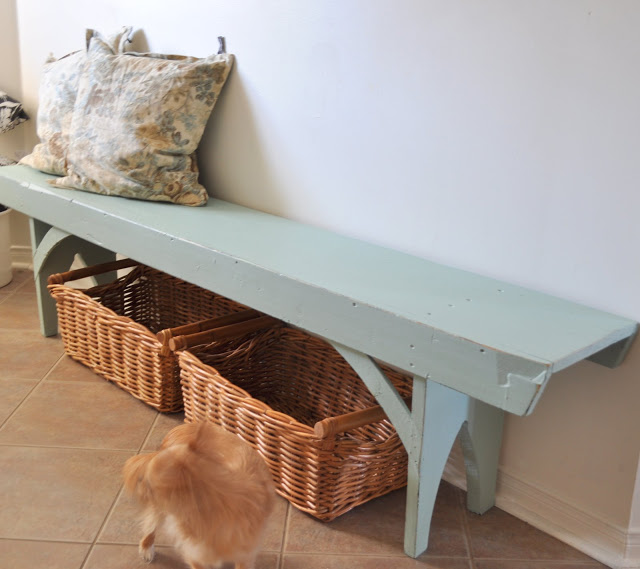
I thought I would refresh my family room with a newly painted bench and try it out as a coffee table, along with a few greens to lighten and brighten things up. Hopefully this will help to hasten spring along .
I had this old bench that I bought at at the Aberfoyle Antique show a couple of summers ago.
This bench ususally sits by the front door and is supposed to be a place to sit and put your shoes on but everybody sits on the steps and the bench became a great place for putting junk bags on as you come in the door.
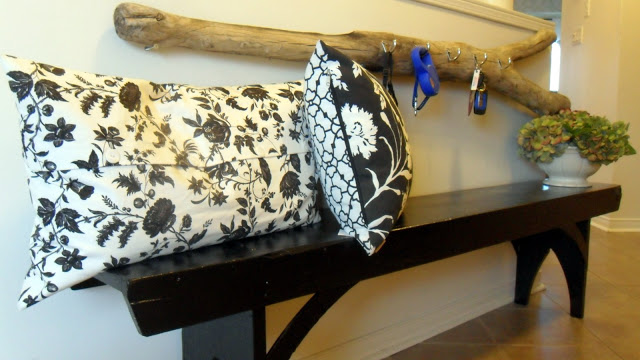
This is what the bench looked like before. I had just painted it black and had placed my driftwood keyholder above it since we really weren’t using the bench to sit on. I have since moved the driftwood as it wasn’t working for me there. You’ll see it in my walk-in closet in an upcoming post.
You can see my post on the driftwood keyholder here.
OK back to refreshing my family room! Lol
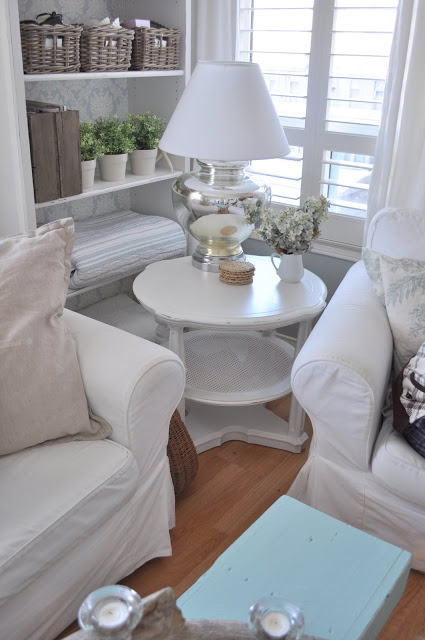
I’ve also added a few more greens in my bookcase.
Most of you have recently seen my spring mantel which is in my family room too.
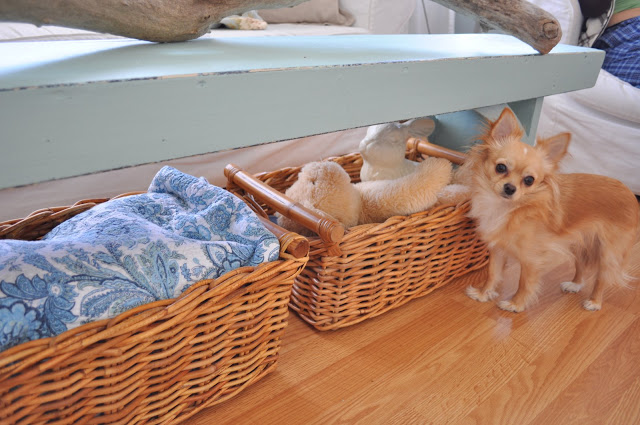
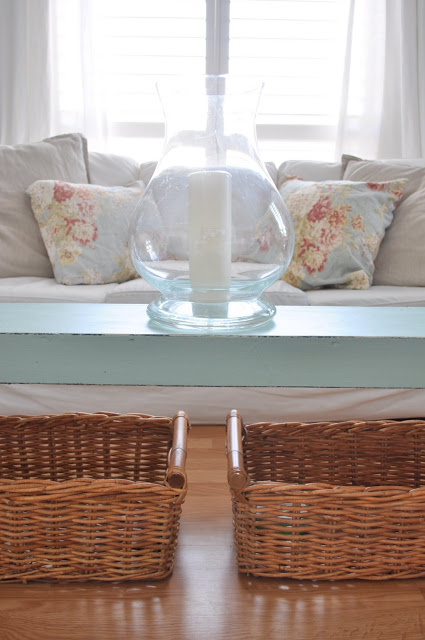
I decided to place a couple of baskets under the bench. They make a great place to put Butter’s toys. I’m not sure how he feels about this but It’s better than having them all over the floor. Now if I can only train him to put them away!
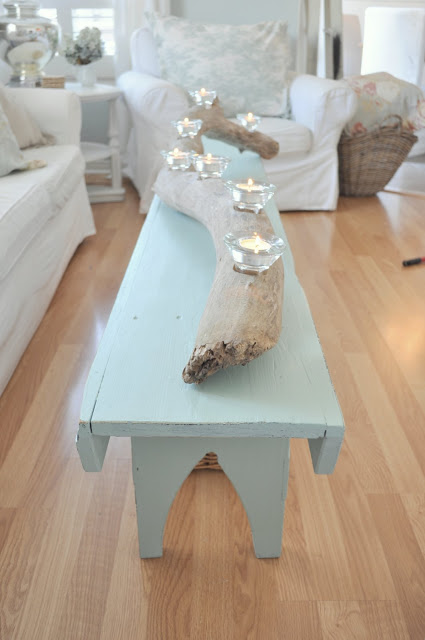
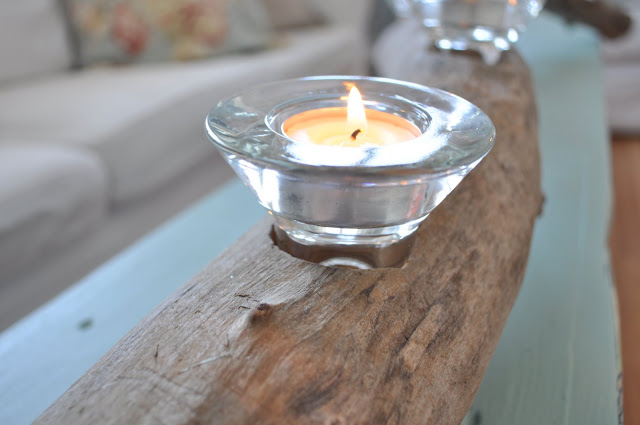
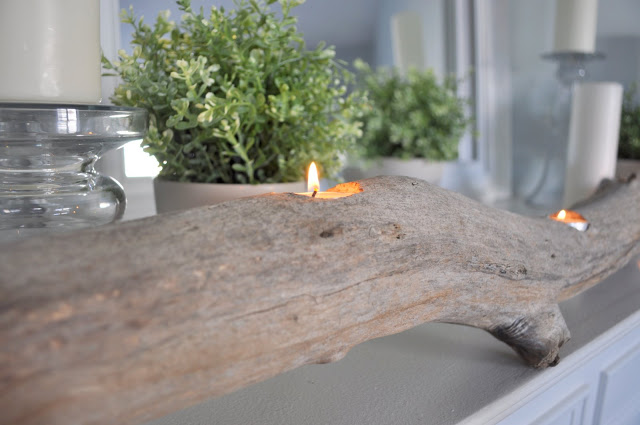
I thought I would try placing one of my driftwood candleholders on the bench and love the look. I don’t think it’s practical for everyday, but it would be nice on special occassions.
With this candleholder I made the holes a little larger and put little votives in there, some nice plain ones would look great too. You can find the driftwood candleholder tutorial here.
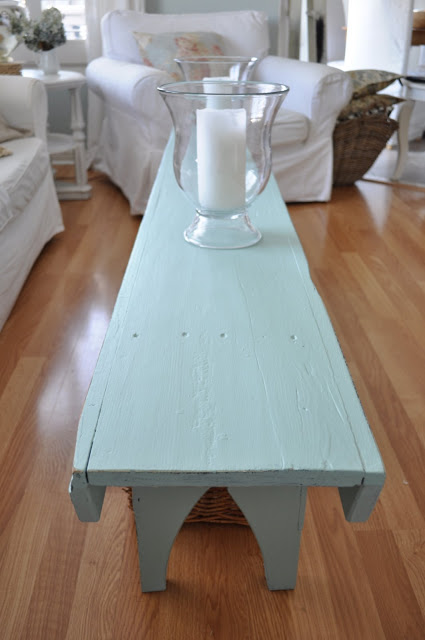
I’m enjoying the lovely glass vases with candles, to me it’s simple, clean and fresh.
Not sure what the paint color is as I got it from the oops bin at HD but I love it!
I also freshened thing up by placing some of my favorite waverly linen fabric cushions. I love the blue/green color with the lovely floral pattern. Anyone who has been following my blog for a while knows that I change my cushions almost as often as my underwear! Lol.
I hope you all enjoyed my attempt at Refreshing my family room for spring. Maybe you’d like to take a look at some other spring room refreshing over at Jennifer’s.
Thanks for stopping by and have a great week!
I’ll also be linking up with these ladies this week:
Metamorphosis Monday @ BNOTP
SNS @ Funky Junk Interiors
Nifty Thrifty Tuesday @ Coastal Charm
Tuesday’s Treasures@ My Uncommon Slice of Suburbia
Wow us Wednesdays @ Savvy Southern Style
White Wednesdays @ Faded Charm
POPP @ Domestically Speaking
Good life Wednesdays @ Beach Cottage
Transformation Thursdays @ The Shabby Chic Cottage
Furniture Feature Friday @ MMS
A little green in the Kitchen and a couple of finds…
Hope you’re all enjoying your weekend. It’s raining cats and dogs here, but I’m not minding it as it’s melting whats left of the snow and reminding me that spring is on it’s way!
I decided to add a little bit of spring in the kitchen and breakfast nook and show you a couple of thrift finds.
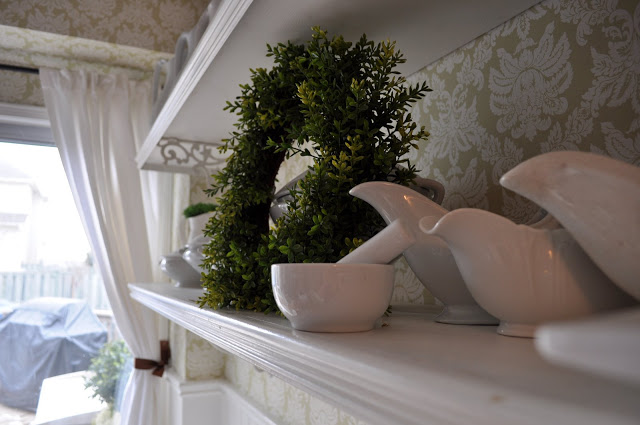
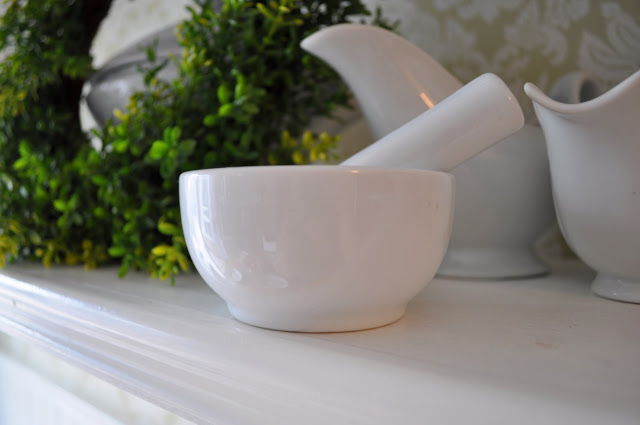
Here is a lovely green wreath up on the shelf with my ironstone, it really pops against the white,
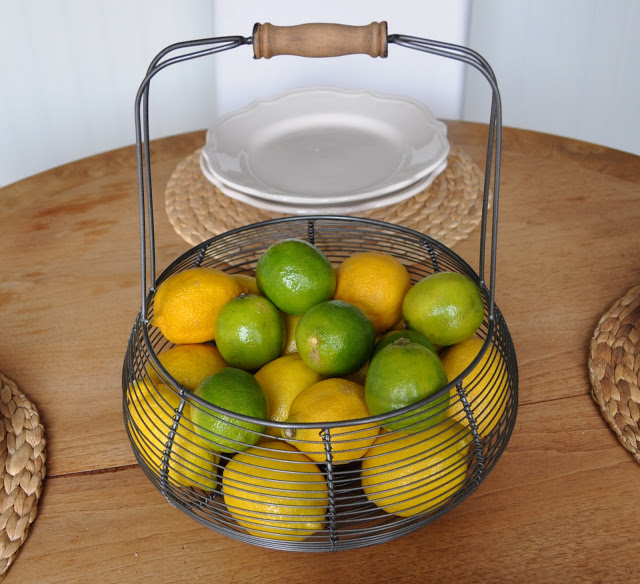
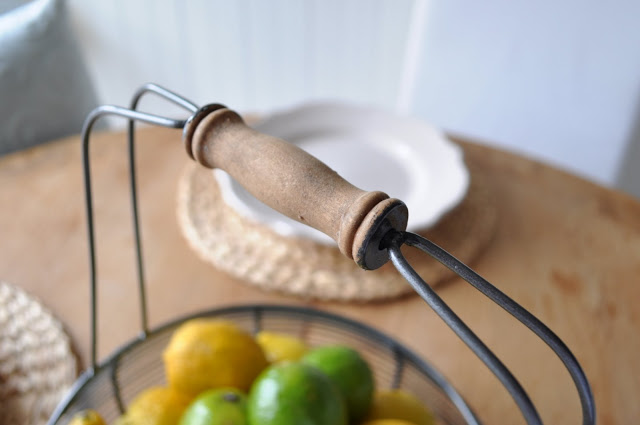
This is my first find. It’s perfect for my lemon and limes that I keep in abundance and use constantly!
This little wire basket cost me $3.03 at GW! Yes, they’ve started adding these funny little prices to things.
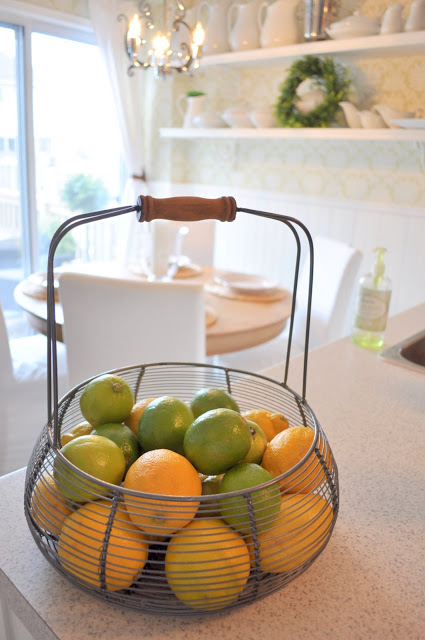
Along with being great for cooking, drinking and cleaning,
they also help to add a little brightness to the kitchen.
I like the look of this old wooden handle.
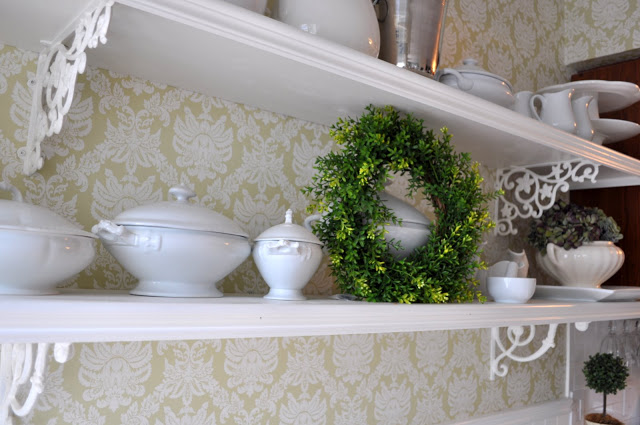
Loving how the green really brightens up the space and makes it feel clean and fresh, just like spring!
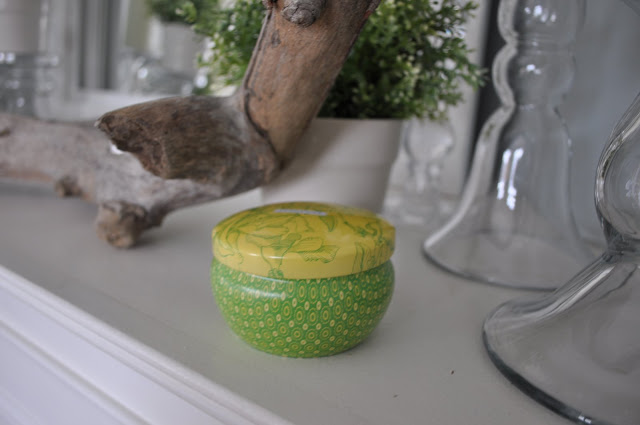
Couldn’t help but share this candle I got from paddywax. It’s jasmine scented and so fragrant! It’s green too! Lol.
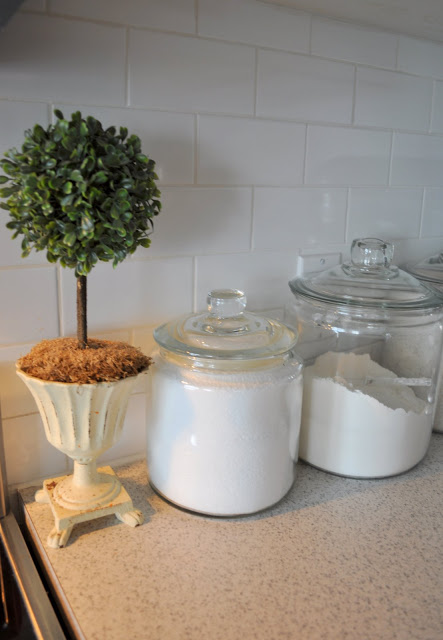
This is one of two topiaries I keep in the kitchen.
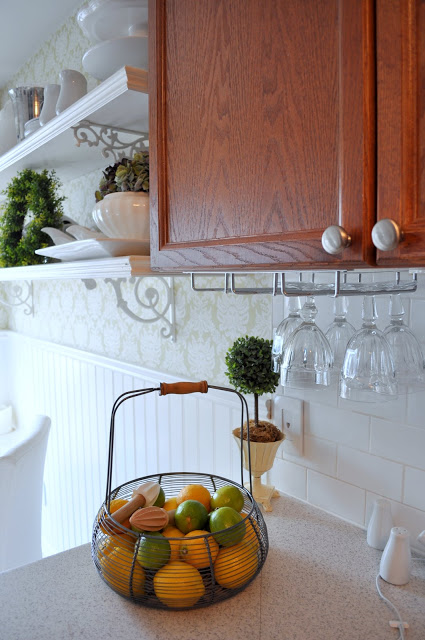
Loving all the freshness of it. See these cupboard doors? They will be painted once the weather gets a little warmer and I’m able to do the work in the garage. Can’t wait, I’ve been thinking about it for 5 years now! After seeing so many of your lovely painted cupboards I am going to take the plunge!
Spring Mantel…
I hope you’re all enjoying the middle to your week, It’s going by so quickly!
I’ve been busy working on my spring mantel today.
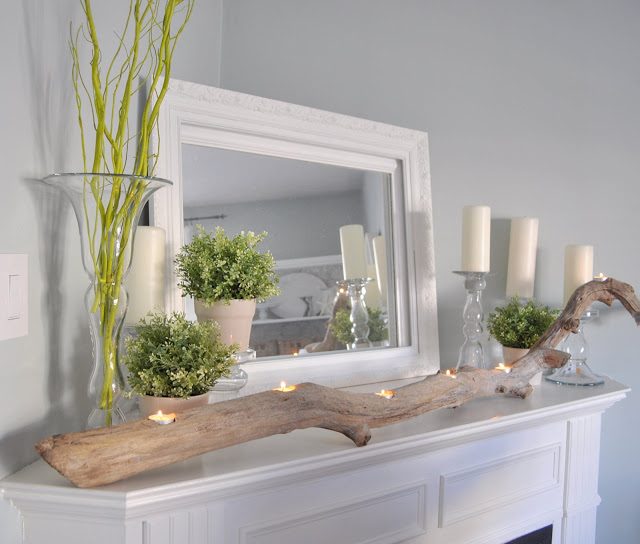
Because I have a corner fireplace, I have a larger mantel to decorate and have to make sure I don’t overdo it! All the elements I’ve used shout out spring to me. Hope you like it!
I wanted to add some freshness with (faux) greens, my white candles, clear glass and a bit of nature with my driftwood candle holder. You can find the driftwood candle holder tutorial here

I”ve also added some branches that I usually use in my outdoor urns. I liked the pop of green that they add and our outdoor branches haven’t begun to bud yet.
The vase that the branches are in is actually a candle holder turned upside down! Gotta love pottery barn. All these candle holders were 50 % off. Because they’re clear glass they fit in with any color and decor.
Ugly frame, nice bones…

White Wednesday @ Faded Charm
Metamorphosis Monday @ BNOTP
The five minute cushion and faux grain sack
Hi everyone!
I hope you’re all enjoying this long weekend! As most of you celebrate President’s Day, we Canadians are celebrating Family Day and I am celebrating this day by making cushions!
Last week I was watching a local TV show called Cityline. Thursday is Homeday where they give decorating advice, tips etc. A regular on the show, seamstress Mary Dobson did a tutorial on how to make a five minute cushion. She had me at cushion! I love making cushions, you can change a room up with a little bit of fabric and now an extra 5 Minutes!
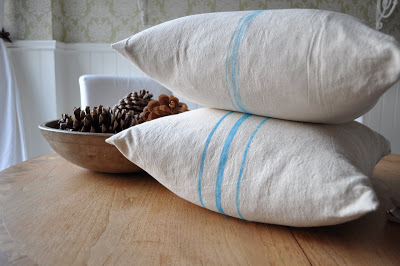
I also wanted to try making one of these faux grain sack cushions that I’ve seen in blogland lately using a fabric marker and fabric paint. I have to say the fabric paint turned out better for me.
This is the black one I made. Many of you may not know this but I love black!
I used my favorite dropcloth material for these. Butters is a little upset that my pinecones are preventing him from jumping up on his stool to get to the sofa!
I think it turned out well.

You begin with 1 piece of fabric. Just add 2 inches to the width of your insert.Then double the length of your insert and add 8 inches for your flap.My inserts were 18×18 so I ended up with a piece of fabric 20x 44 inches.
It actually only takes five minutes after you have cut your fabric and then folded and pressed your seems. Here I started by pressing my two ends

You will then bring up the bottom end right up to the top. After this you will hem the sides together. At times three layers of fabric.
After your two hems are done turn the cover right side out. You will have a little envelope like this, the flap will still be inside out.
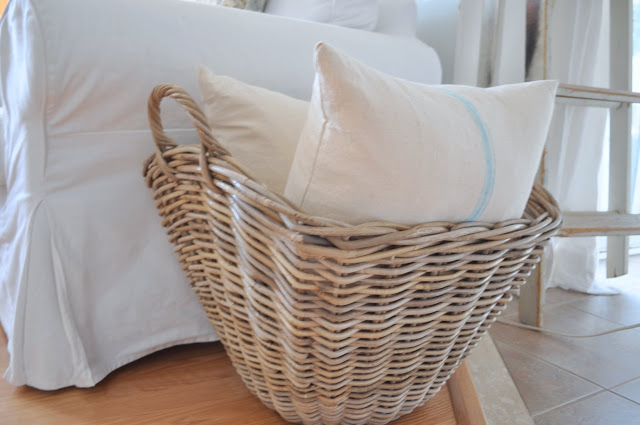
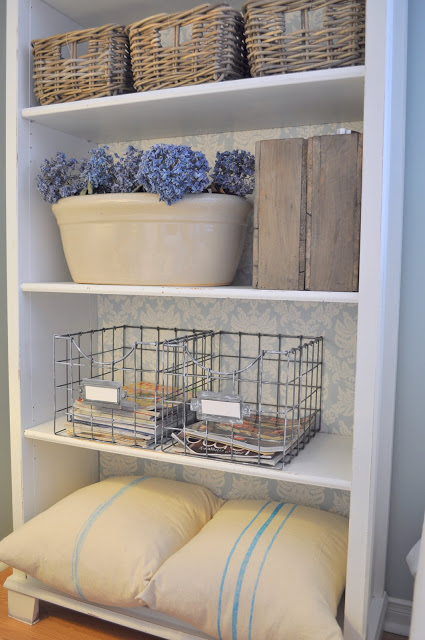
I had made some other ones with more of a beachy blue color
I hope you’ve enjoyed this tutorial and thanks for stopping by!
Be Blessed!
I’ll be partying with these ladies this week:
Coastal Charm
Between naps on the porch
Faded Charm
My Uncommon slice of Suburbia
A Beach Cottage
Savvy Southern Style
Shabby Chic Cottage
The shabby Nest
My Romantic Home
Funky Junk Interiors
Chic on a Shoestring Decorating
French Country Cottage
DIY Showcase


