• Skip to primary navigation
  • Skip to main content
  • Skip to primary sidebar
  • Skip to footer

Kim Power Style

  • Home
  • Contact
  • About
  • Tutorials

Archives for October 2010

Driftwood candle holder tutorial…

5:09 pm by kim 43 Comments

 
I know that summer is over and Christmas is fast approaching, but I keep my driftwood out all year long. I wanted to combine my love of candlelight with my love of driftwood and this is what I came up with.
Sooo pretty!

We live near the lake so we can walk a few blocks to the nearest sandy shore. My daughter and husband got these pieces for me on their walk.

Just find a piece that you find appealing. It should have some depth to it as your candle will have to sit in it. A flat piece would not be a good candidate for this project.

You will need a drill, a 1.5 inch spade bit or a 1.5 inch orbital bit? (Not exactly sure what that one is called and the knower of all names aka my husband is not around) Using the spade bit is much easier and far quicker as it reduces 1 step. when I first tried this project I didn’t have a spade bit so  I had to do it the hard way.  You should have a tape measure, pen, flat head screwdriver if using that orbital bit and Tealight candles.

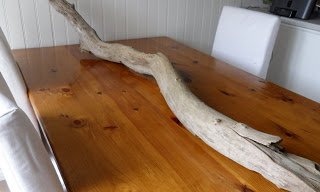
First, lay down your piece of driftwood and see which side you prefer as well as where your piece sits level.
Take out your tape measure and mark where to place your holes. Or you can eyeball it like I did.

This is the 1.5 ( or1 1/2) size spade bit


Center your bit over your mark and apply pressure. It may be easier to do on the floor. The table works for my back! Start drinlling.

I have a level on the end of my drill. You want to keep it level so that your candle will sit level.

If you decide to use this bit, remember to place a mark on your bit at the depth you want your bit to go in the wood. I wanted my candles just at or above the wood line to decrease risk of setting the piece on fire.

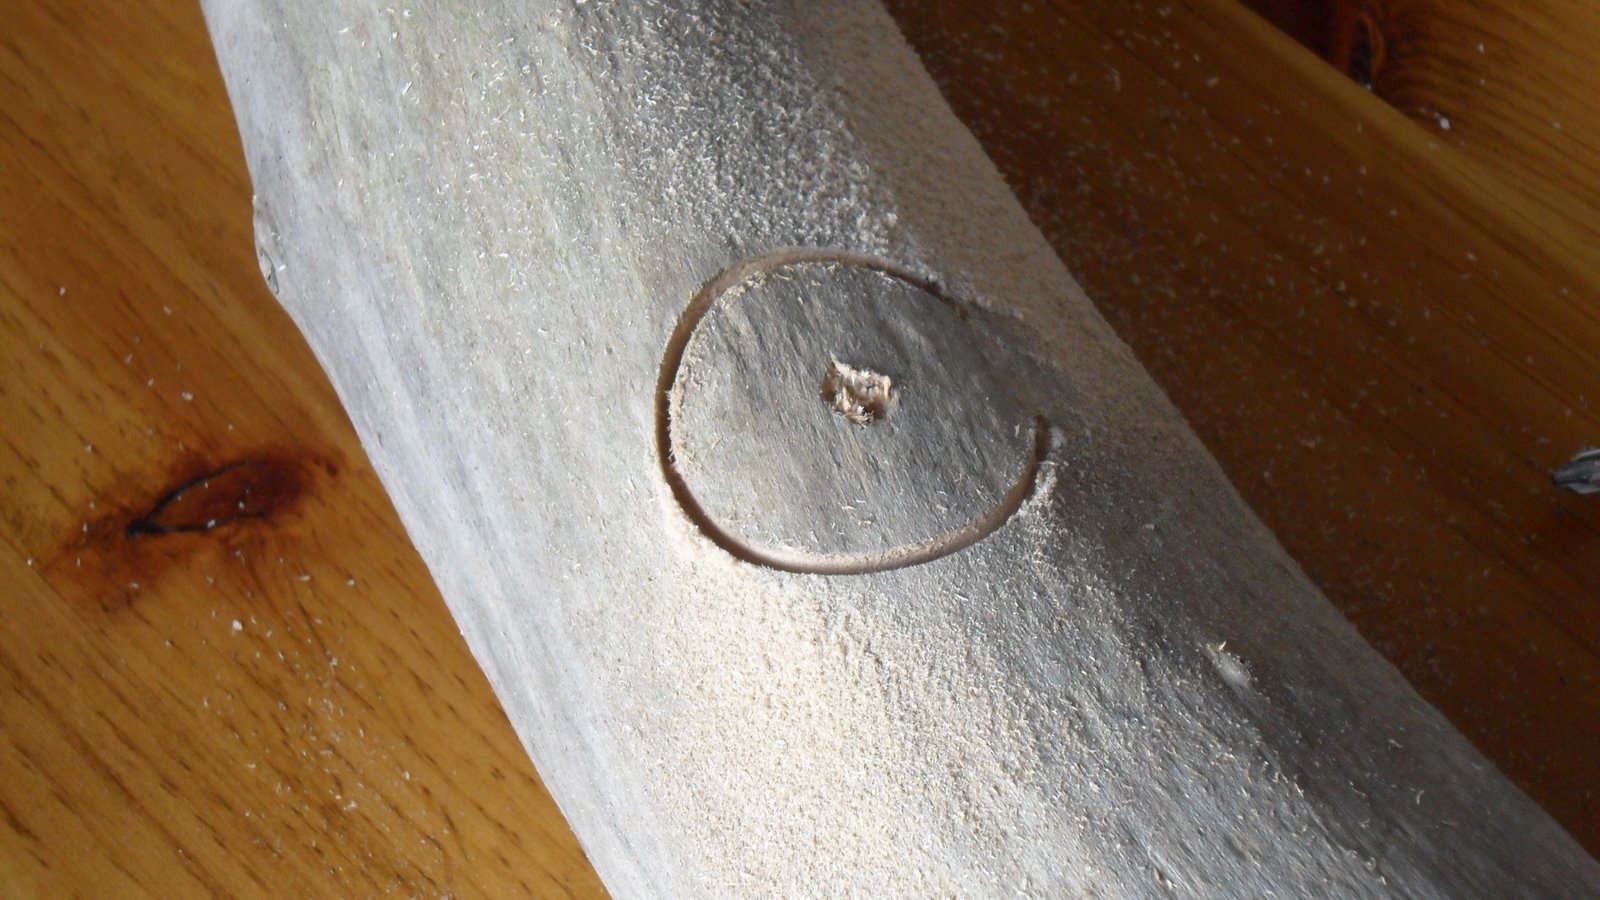
This is what it will look like when you use the above bit.

You will have to tap out the wood  that is still left with this bit which wasn`t difficult but time consuming, however, both bits were 1.5 inch but this orbital bit left a bigger hole and was easier to place the tealight candles into than the spade bit.

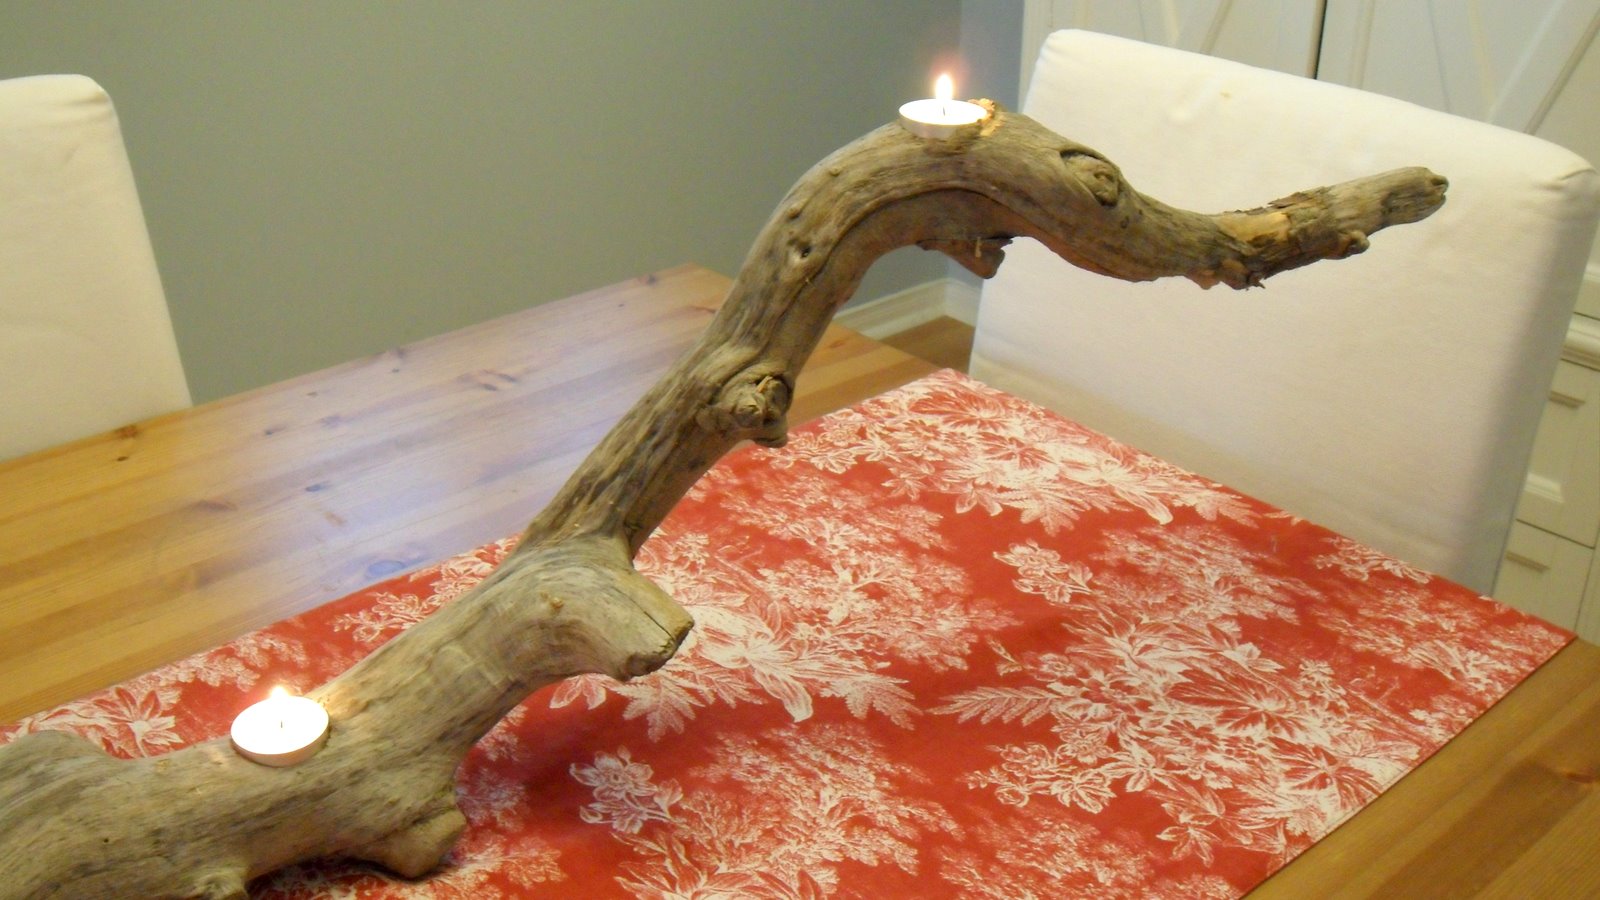
This is the piece with all the holes done. You are ready to put your candles in!

 Please make sure that you use the tealight candles with the metal around them (most come this way from ikea and Walmart etc.) as this will decrease the chance of your piece catching fire! Also, make sure that your holes are flat and even so the candle doesn`t sit sideways, you will get wax everywhere.

You can place it anywhere!
Like all candles, DO NOT LEAVE UNATTENDED!

You can use all different shapes of driftwood to make it interesting.

I use them on my mantel as well.

Soo pretty!

Hope you enjoyed todays tutorial. Please once again, NEVER LEAVE UNATTENDED! This is old DRY WOOD and burns very easily
.

I will be partying with:
Its So Very Cheri
coastal blog posts 2010

Filed Under: Uncategorised

Brass sconce makeover

8:24 pm by kim 4 Comments

I found these brass candle sconces at the Goodwill  for 3.99 each. These pics are not the greatest as today was pretty overcast. There seems to be some brass coming through in the above pic but that is a reflection of the green hydrangeas below it.

I forgot to take a “before” pic before painting the above sconce in a pewter colour spray paint. I also bought another pair of sconces but  in a different shape and placed it with the restored one so you could see the original colour and finish.


This is the after. I used rustoleum all surface spray paint in “silver” I wanted a  pewter look  and this one seemed to be the closest to the pewter look I could find. These sconces didn’t come with shades and to be perfectly honest I didn’t know what those two metal brackets  (my husband says they are called clip holders) were for! It just dawned on me today that they are to hold a shade of some sort.

I found this little glass shade at home depot for 5.99. I wasn’t sure it would fit…

I used the little oil lamps from pottery barn that I had gotten for 50% off last year. I didn’t want to use tapered candles (which the sconce seems to be made for) as it would stand above the shade. When I run out of these oil lamps I’ll use tea light candles.

I think they look charming and I love the fact that you can take something that somebody didn’t want anymore and restore  it into something lovely and useful again.

Posted by Picasa

Filed Under: Uncategorised

Goodwill Hunting…

7:30 pm by kim 5 Comments

These are all my great finds from Goodwill! This little Eiffel Tower was a little pricey at $4.99. It stands about 12 inches and looks lovely on my end table.

Loved this picture. It was 19.99 but I asked if I could get it reduced  due to the fact that the frame was a little damaged. The manager gave it to me for 14.99. I was hoping for 10.00 but oh well. You never know until you ask. I absolutely love the colours in this pic as well as the awesome scene.

This is definitely a before shot!
This will be a before/after post in the near future.

Another chandelier! This one is made out of wood. I kind of like the black but the light holders need some work. The wiring is also quite old. Will need to let the hubby look at it to see if it is salvageable. Either it will need to be rewired or it can be used as a candle holder. We’ll see…either way it was a find for 6.99 don’t you think?

This is my chihuahua “Butters” he loves to check out and smell all of my new  (junk) acquisition’s.
Isn’t he adorable?

These are few more of my goodwill hunting finds.

Don’t you just love these dishes? I love the wonderful scalloped edges
.

I placed the plate behind the white ironstone tureen so you could see the colour better. It is a little pink/ beige. I’ve thought of  calling it peige or bink? They look  so lovely on the table. I was able to get 6 of them  for 6.00. I believe they sell them at the Bay so I may be able to get more.

This is a pretty little milk glass piece to add to a somewhat growing collection. I try not to spend more than 4.00 dollars on any piece. This one was 3.99.

Look at this lovely ironstone bowl I got for 2.99! Not sure how old it is but I don’t care anymore!

It looks good with these lovely Christmas balls  I keep out all year. It would look good with some pine cones as well. Is anyone else excited about Christmas yet?

Did I mention that I love ironstone?  Especially ironstone platters?
this platter was 3.99! It is approx 16×11 inches.

I like the platters so much that I hang them on the walls! These two were also goodwill finds.

This is what my breakfast nook usually looks like! Yes that is my sewing machine on the counter.
What do you think of my Goodwill hunting?

Filed Under: Uncategorised

Some of my favourite things from around the house…

12:04 pm by kim 6 Comments


Here are a few pieces from my milk glass collection.
I love anything white! Especially pumpkins in the fall.
Many of my favourite things are on my mantle now, milk glasss, clear glass, white candles,
ironstone, hydrangeas in any colour fresh or dried and of my white pumpkins.
My ironstone collection that I love.
I hope you enjoyed a few of my favourite things there are many more I assure you!
             

Filed Under: Uncategorised

Primary Sidebar

Hi, I'm Kim Read More…

Instagram

Follow along on Instagram

Sign up and don't miss a post!

Recent Posts

  • Festive Bacon Wrapped Chestnut Holiday Appetizer
  • DIY Mantel Decorated for Christmas
  • Simple and Cozy Fall Home Tour
  • Simple Fall Tablescape

Archives

Footer

Copyright © 2025 · Foodie Pro Theme by Shay Bocks · Built on the Genesis Framework · Powered by WordPress