• Skip to primary navigation
  • Skip to main content
  • Skip to primary sidebar
  • Skip to footer

Kim Power Style

  • Home
  • Contact
  • About
  • Tutorials

Archives for November 2016

Guest Room Makeover Week 4-The Slipcover

6:00 am by kim 4 Comments

Hello everyone! It’s been a crazy busy week here and I’ve been working on projects, preparing for the Christmas season. I realize that I said reveal week would be this week but I made a mistake! I had one more project to finish before the reveal. On December 1st I’ll be joining with some amazingly talented bloggers and sharing the first of  my two Christmas Home Tours. The guest room makeover will be revealed in the 1st home tour. So stay tuned, you don’t want to miss that!

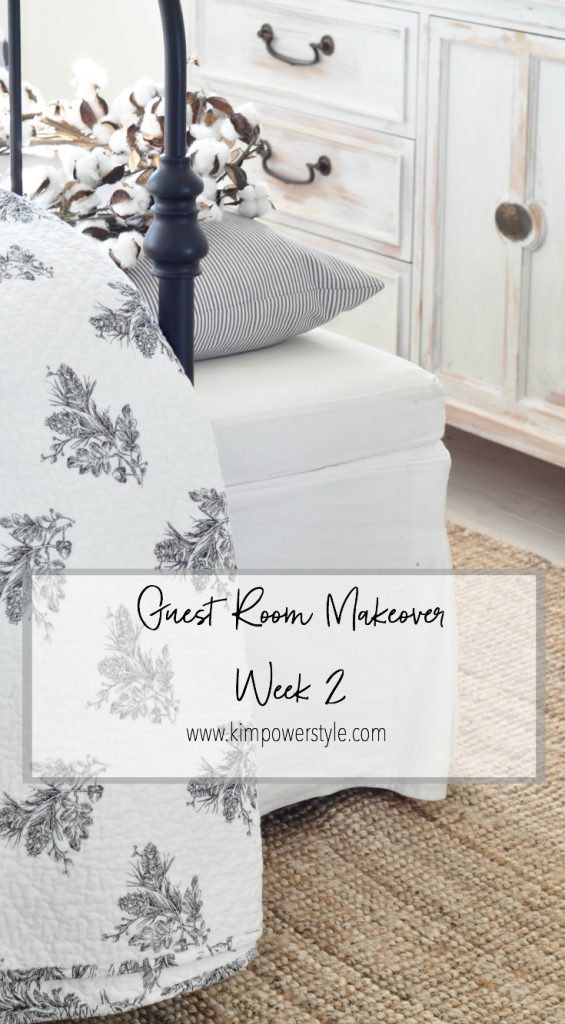
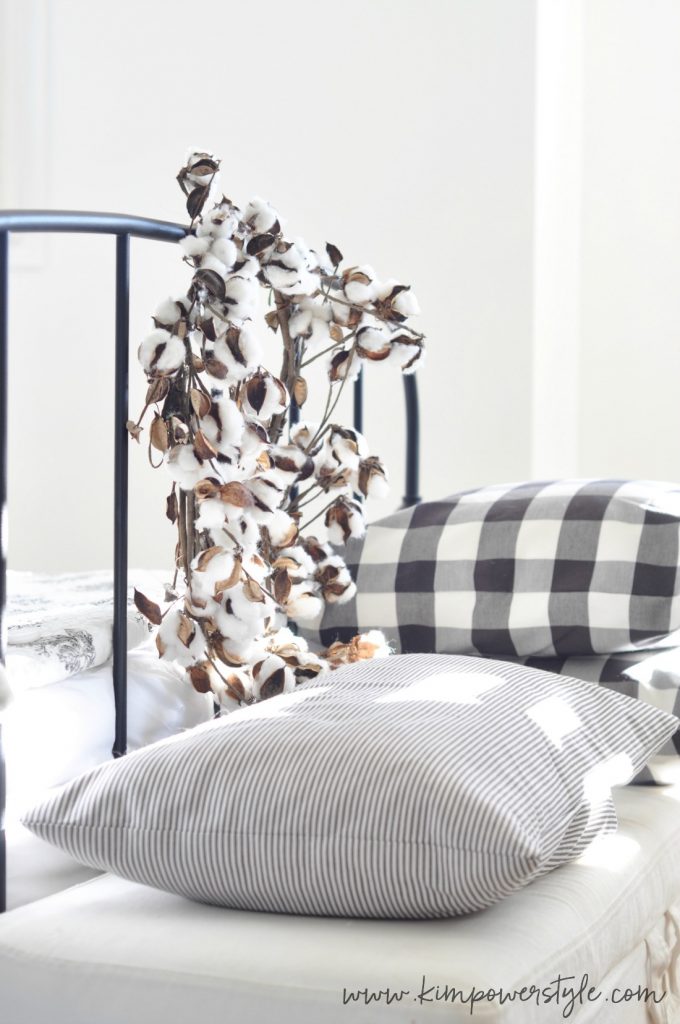
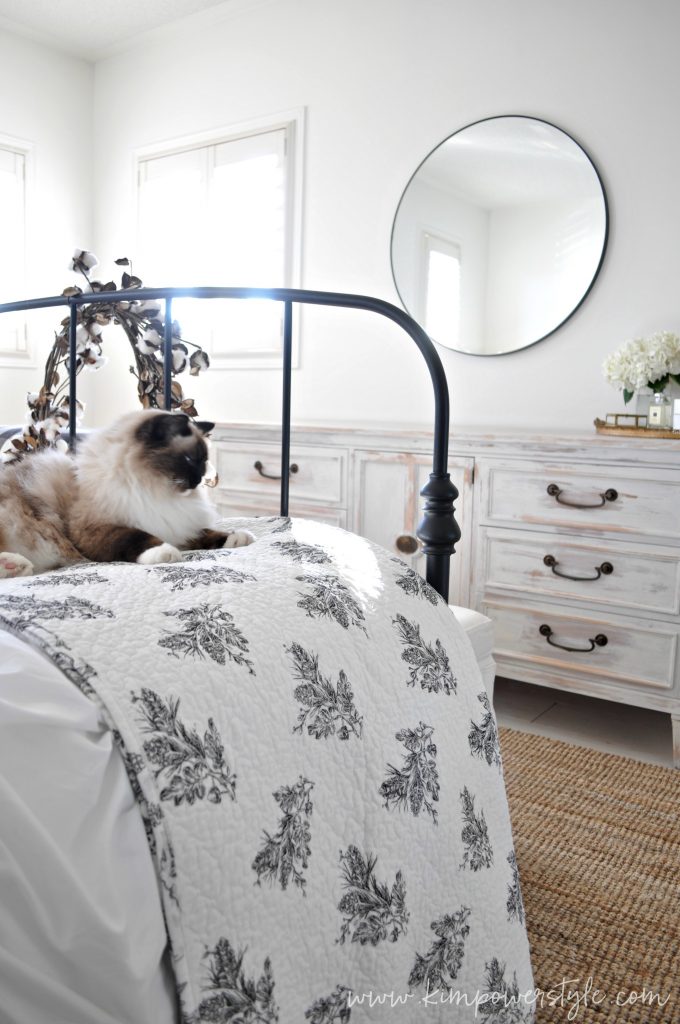
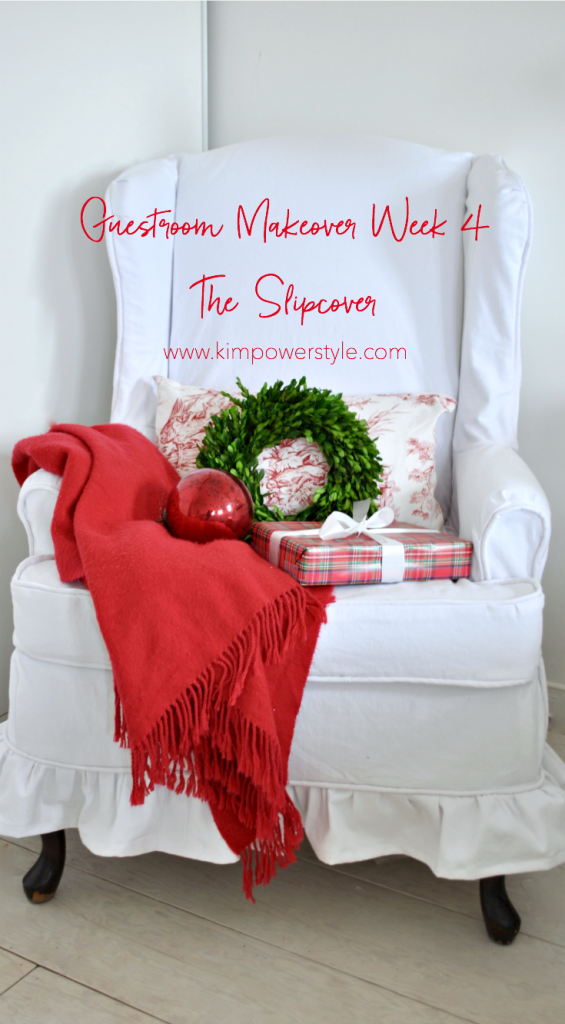
Guest Room Makeover Week 4 – The Slipcover

Guest Room Makeover Week 4-The Slipcover

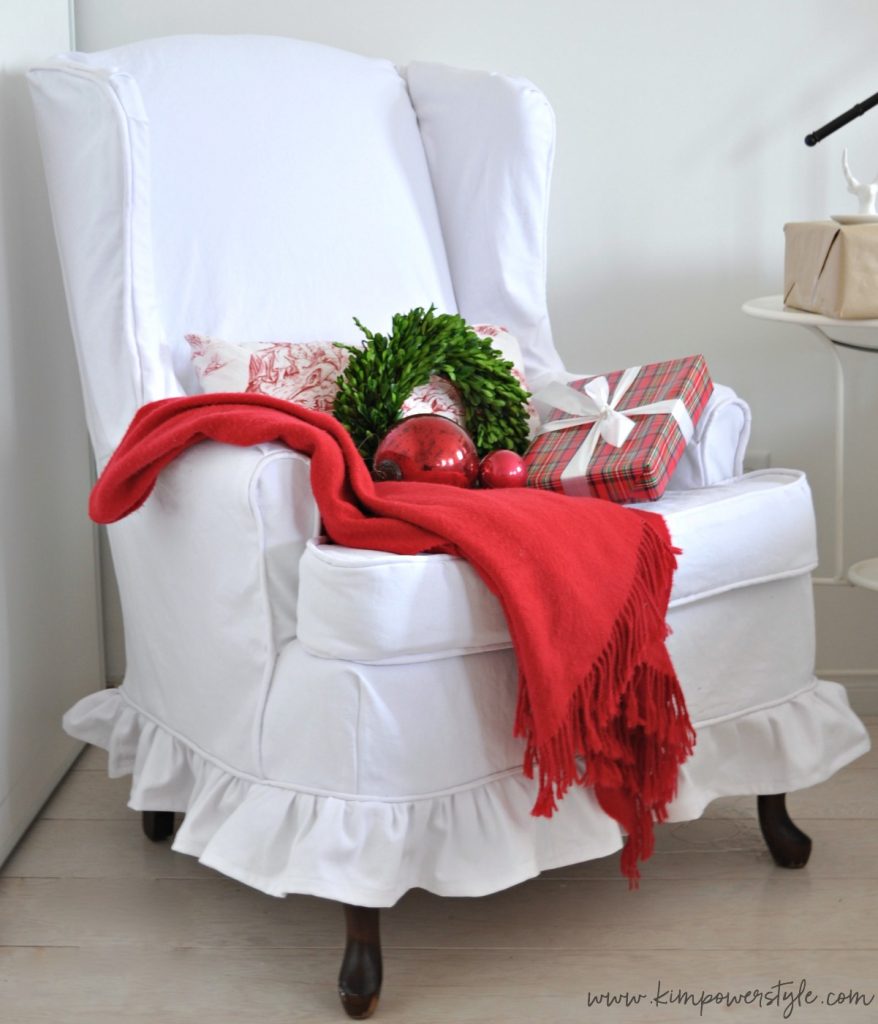
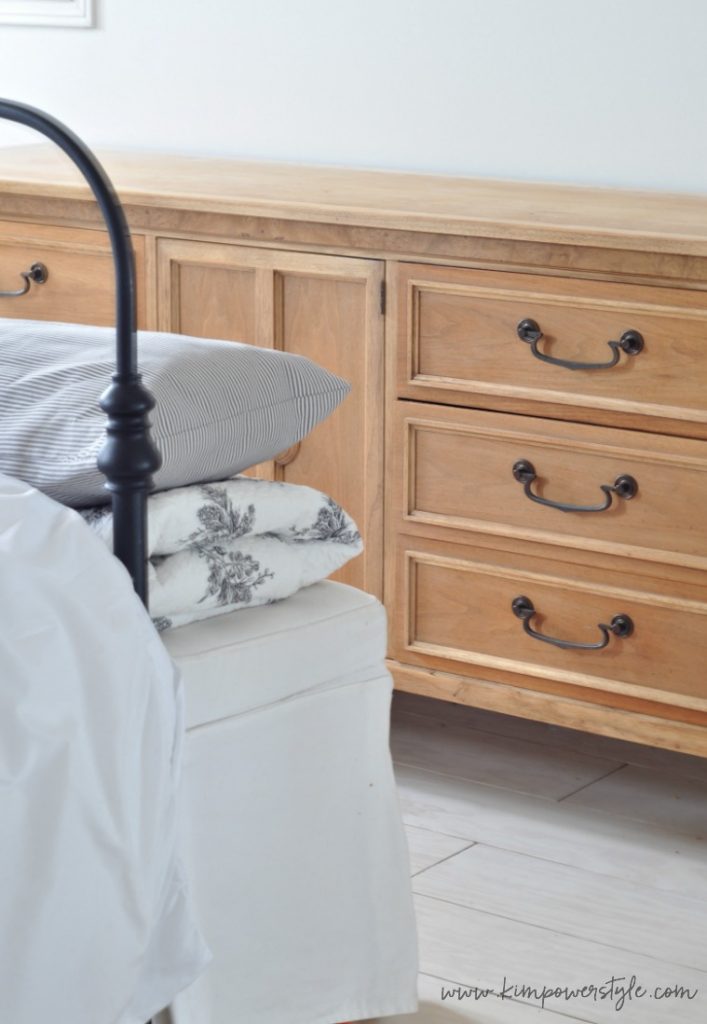
I found a wingback chair at a local thrift store for a few dollars a couple of months back. I had planned on trying my hand at painting it but changed my mind when I found this white denim fabric for 50% off. I love using denims for linen as they’re so durable and can  handle lots of traffic and washings. It took me a few days of marathon sewing, definitely not for the faint of heart,  but I finally finished it. This is my third time making a  slipcover and I think it’s my favourite one I’ve done. I’m loving the cute little frill around the bottom and how great it looks in this room! Slipcovers are amazing for covering a multitude of sins and they’re washable.

Guest Room Makeover Week 4 The Slipcover

What do you think? Do you have an old chair that has great bones but is in need of a makeover? Try your hand at a slipcover. If you’d like a tutorial, let me know in the comments below!

Thanks for joining me for this quick guest room makeover update!

You can follow along with the Guest Room makeover progress here:

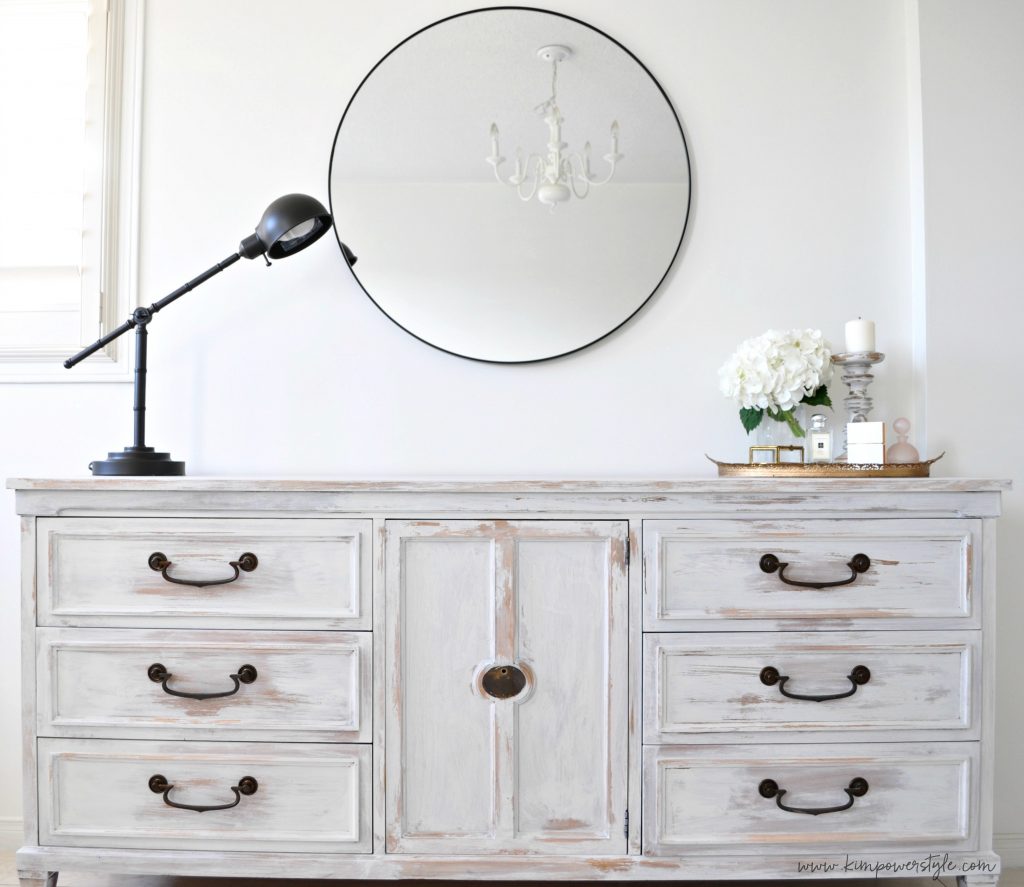
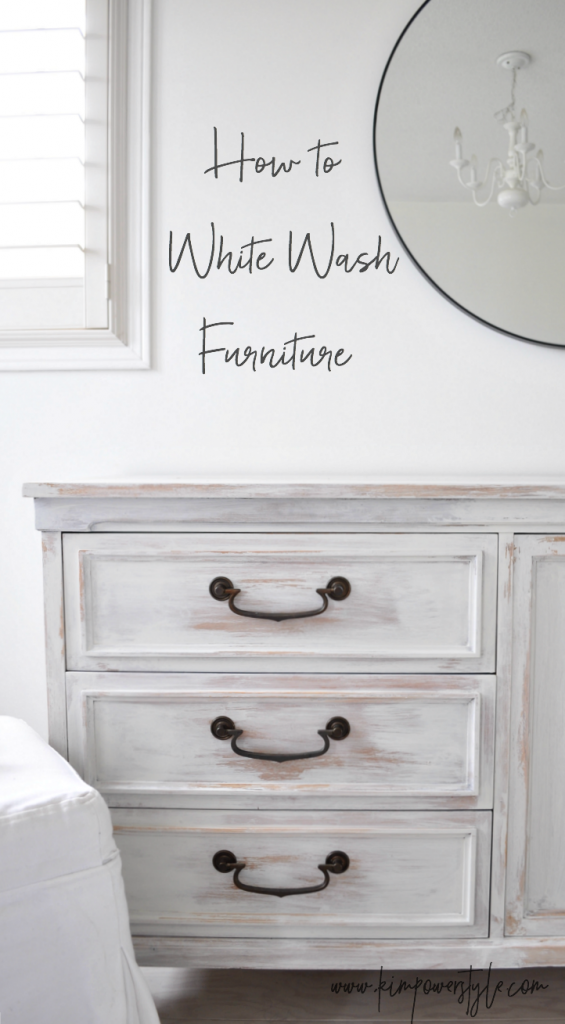
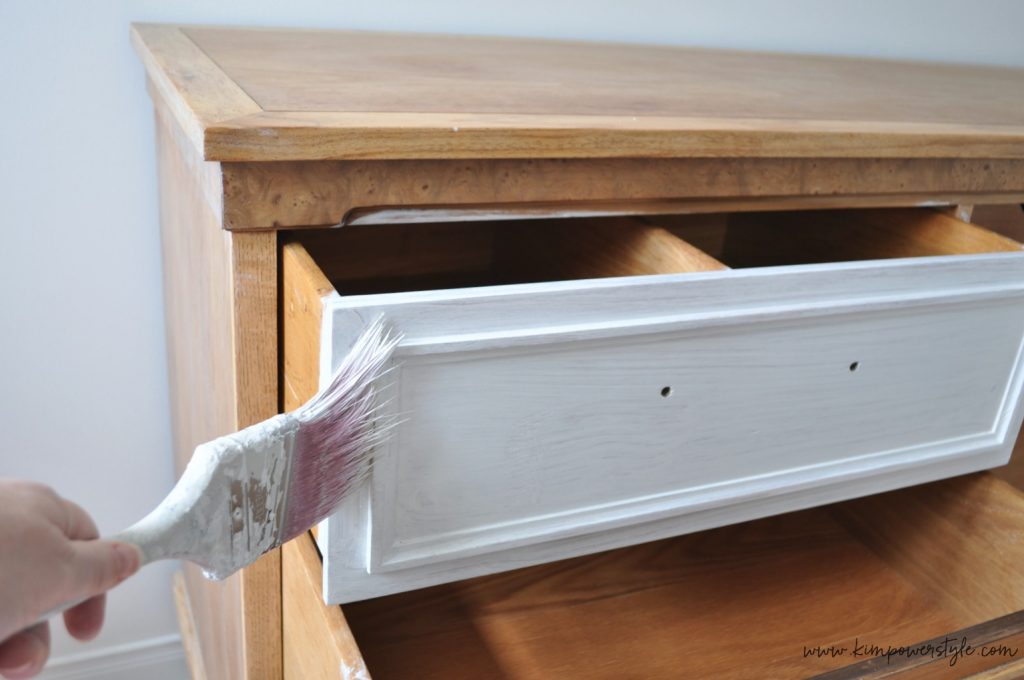
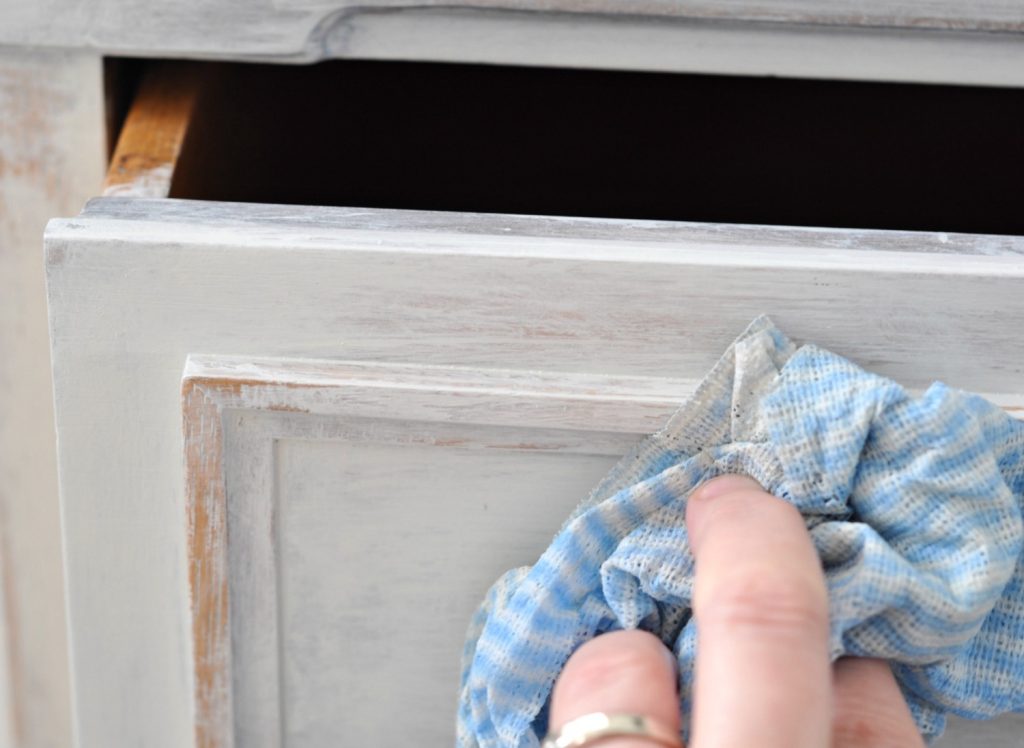
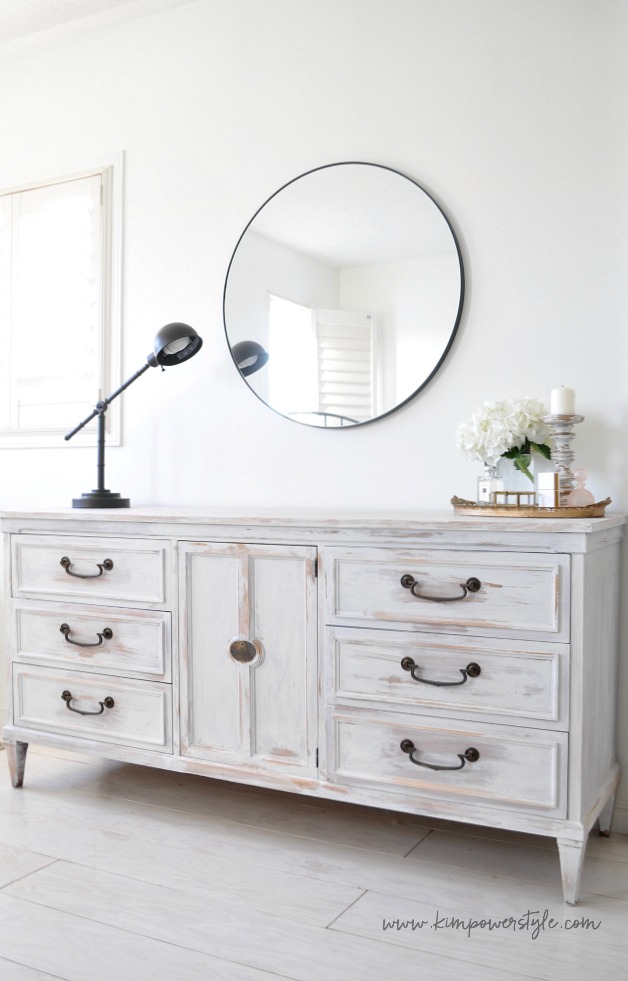
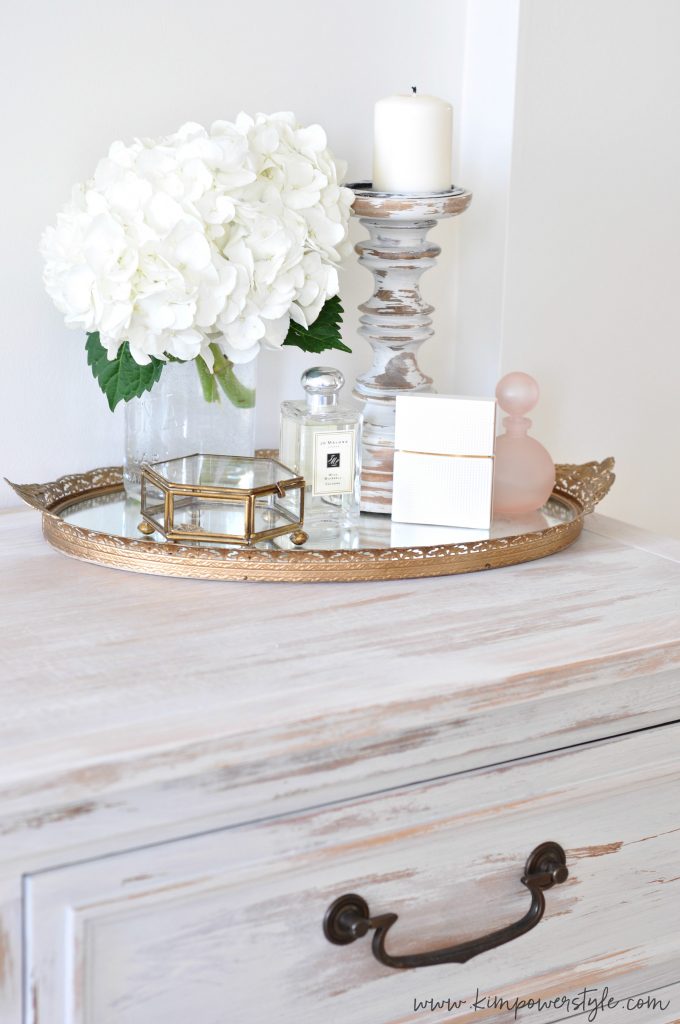
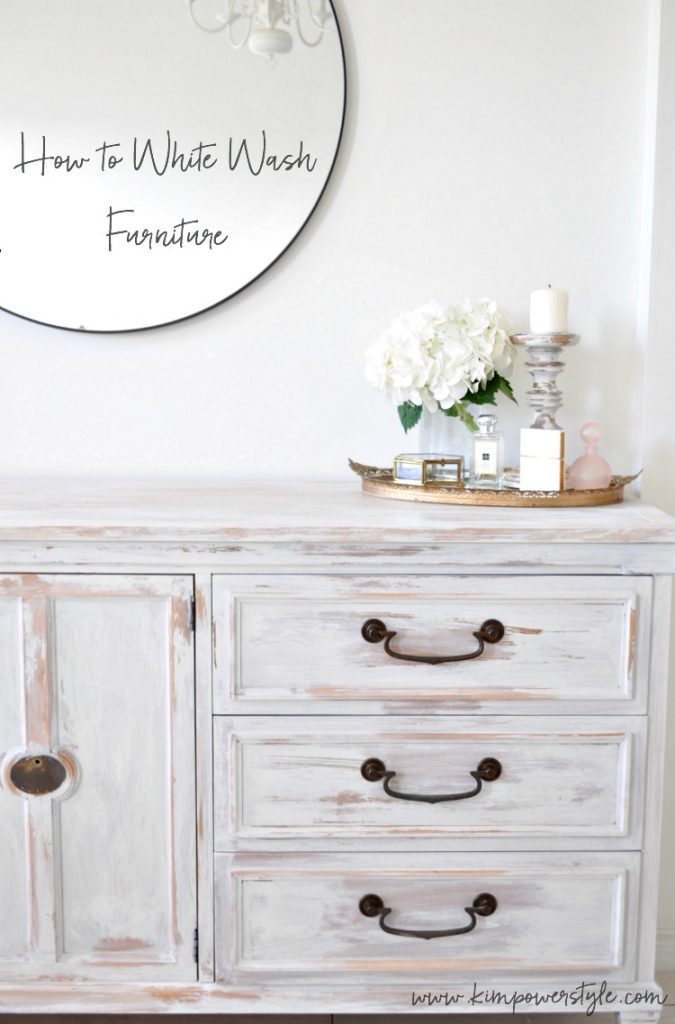
Week 1 Whitewashing furniture
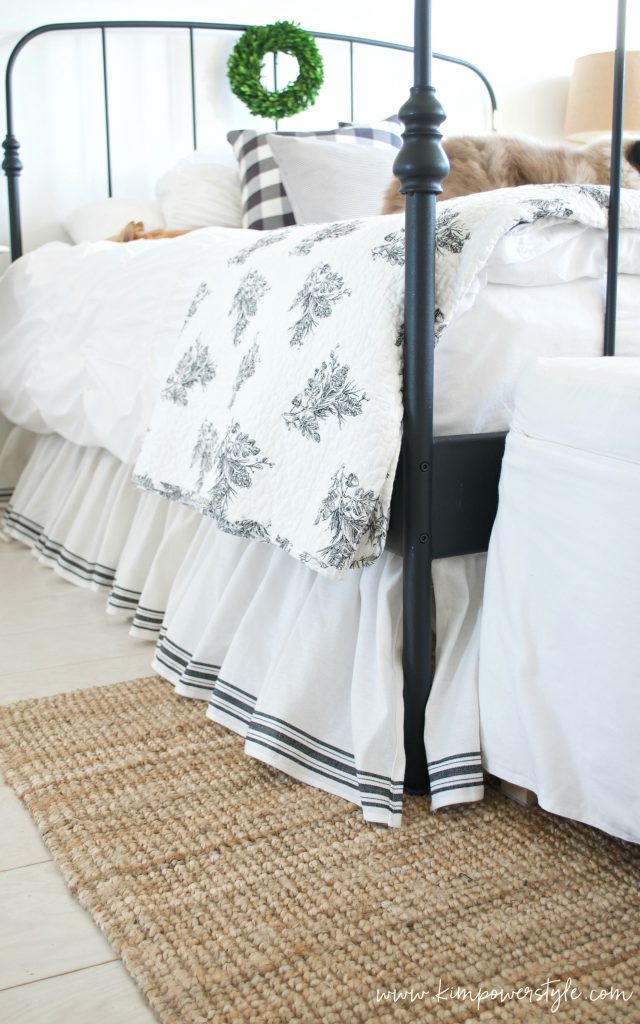
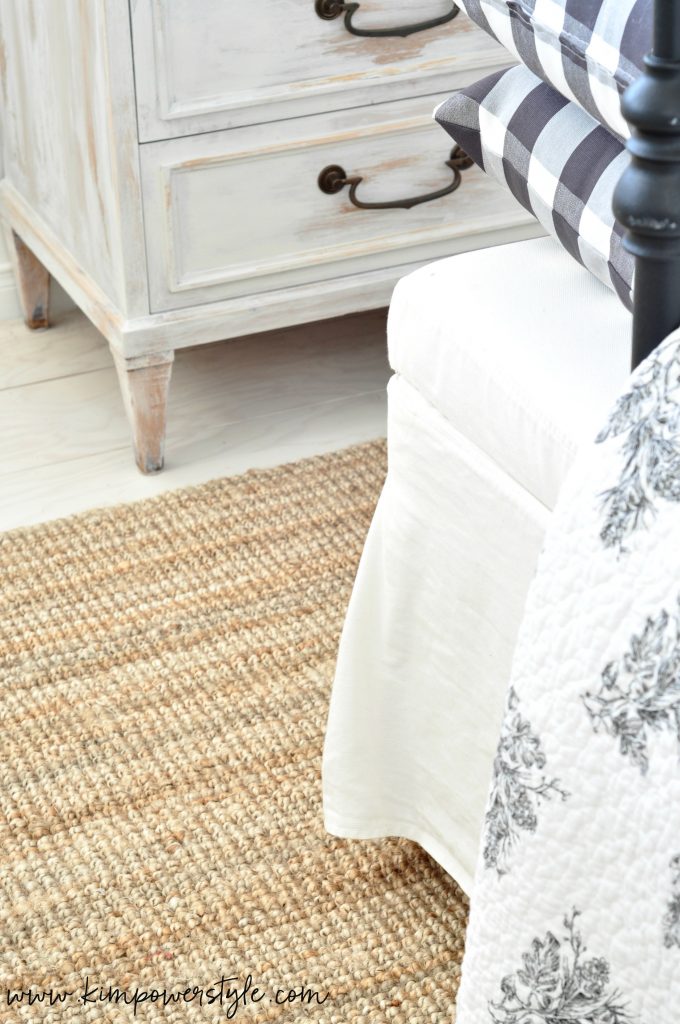
Week 2 The Jute Rug

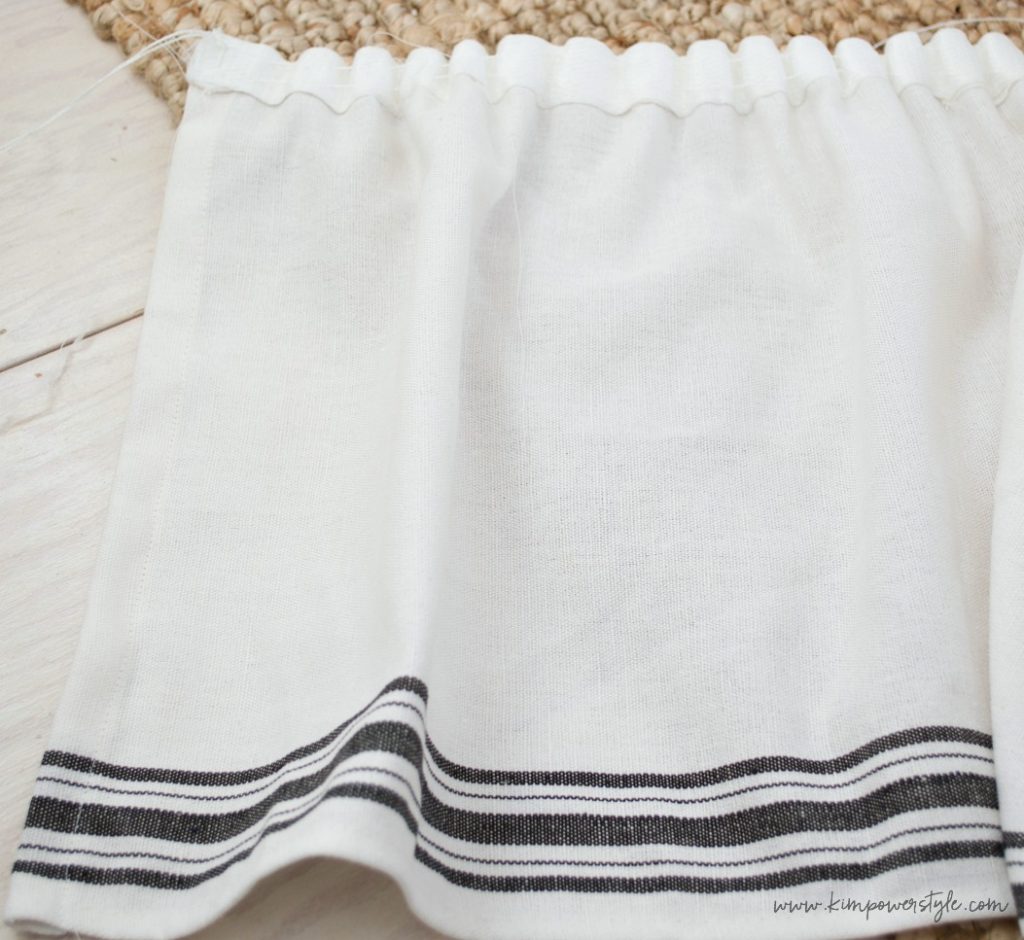
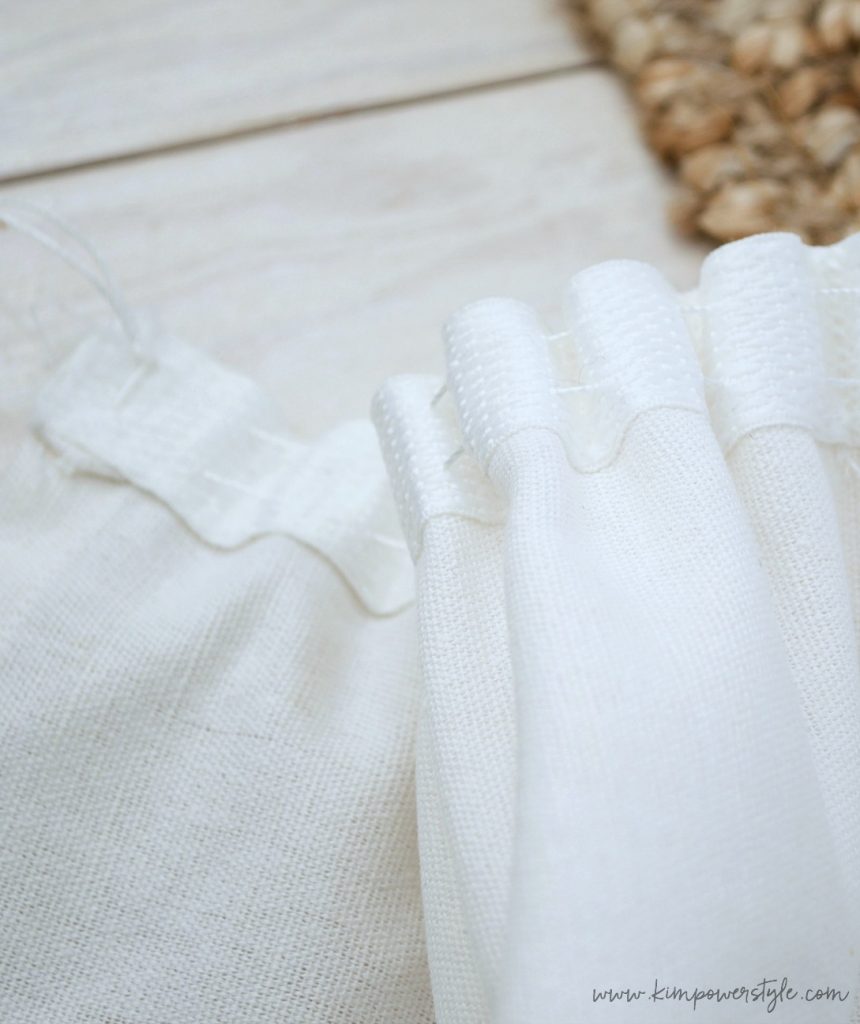
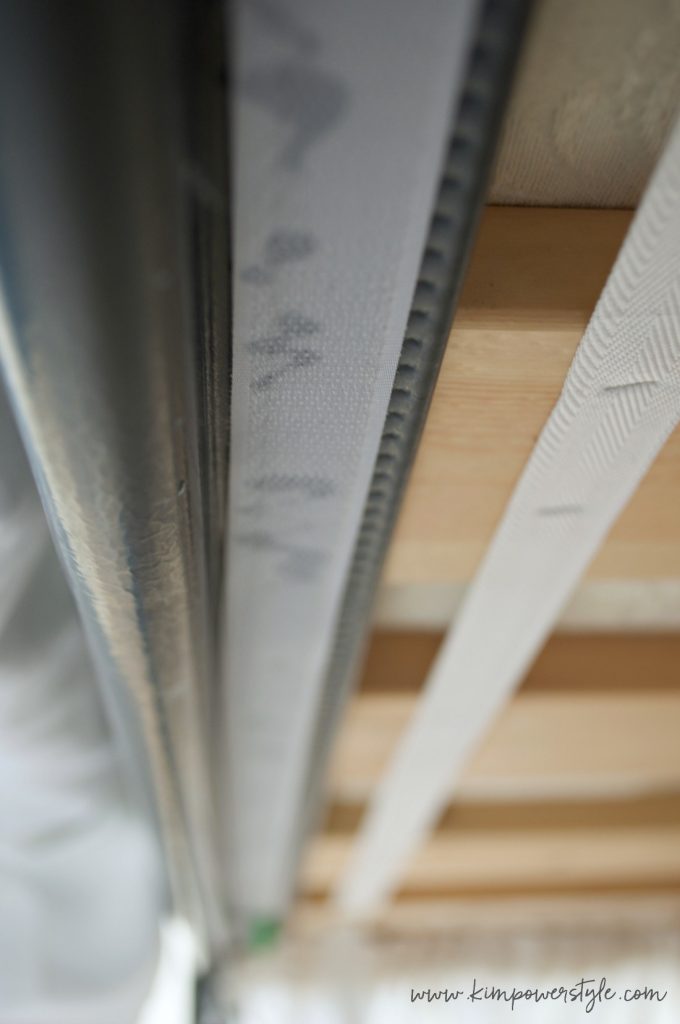
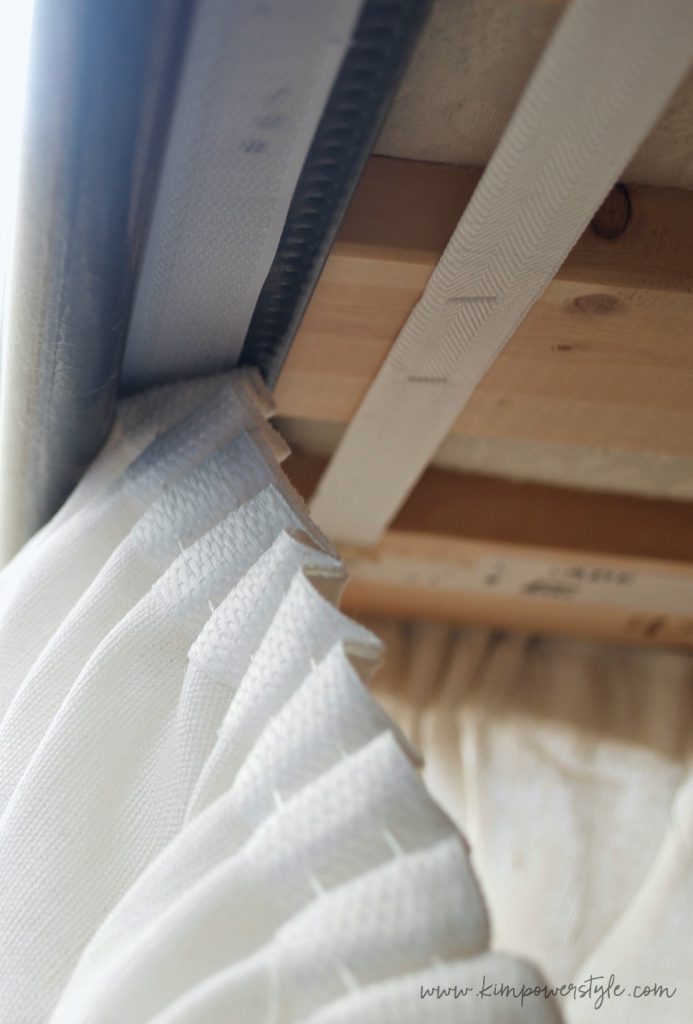
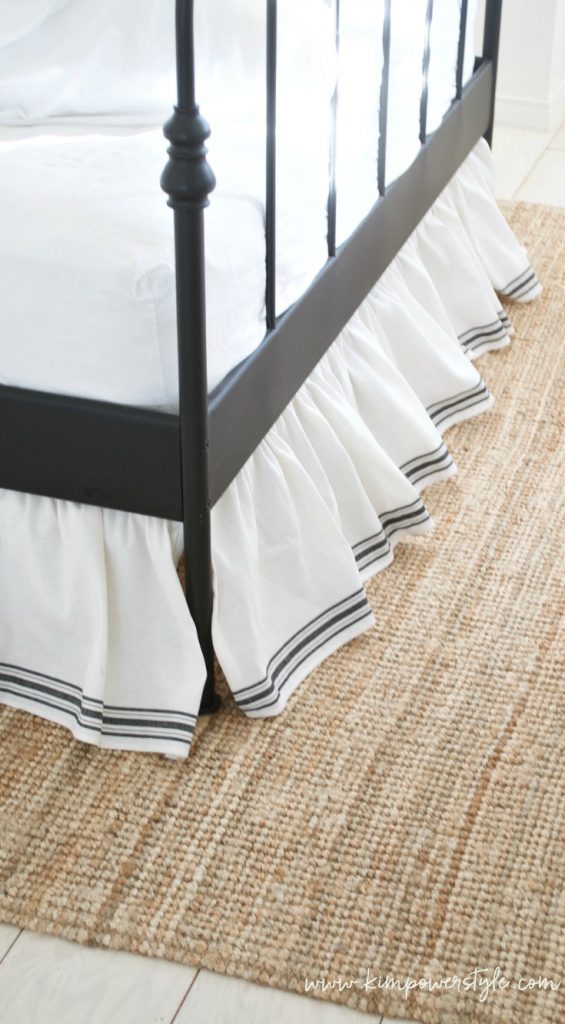
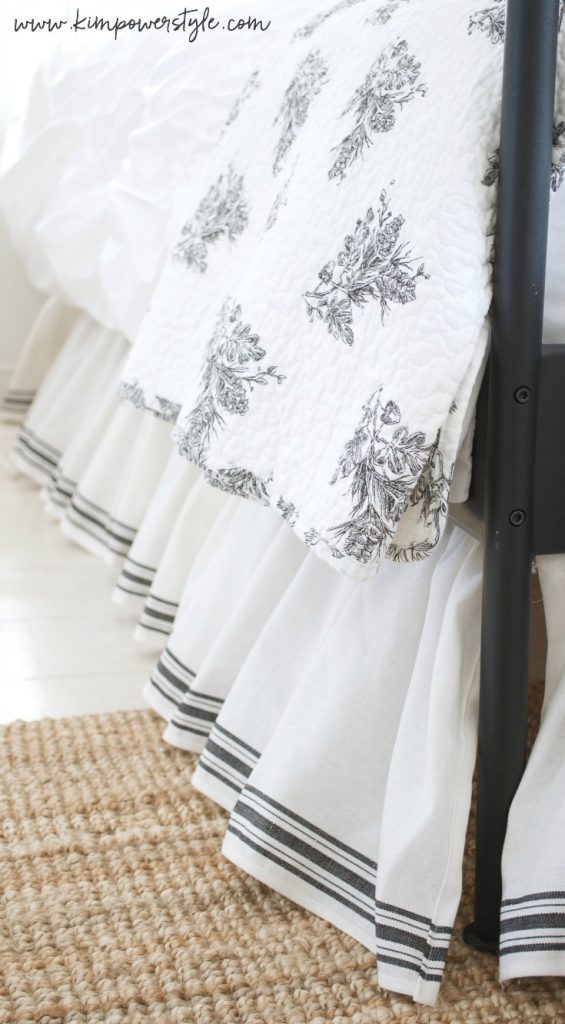
Week 3 Tea Towel Bedskirt

And stay tuned for the final reveal…for real!

-Kim


Filed Under: diy, Home decor, Makeovers

A Tea Towel Bedskirt-Week 3 of the Guest Room Makeover

6:00 am by kim 6 Comments

A Tea Towel Bedskirt For an Ikea Bed- Week 3 of the Guest Room Makeover

Hello everyone! In week three of my guest room makeover I’ve made a bedskirt for my Ikea bed. The Ikea bed has slats and a normal bedskirt doesn’t fit properly so I came up with a way to get around that. Linen was my  fabric of choice but  not something the budget allowed. I’d been looking for a project to use this tea towel fabric with and it fit in with the decor and the budget. It was 50% off!

A tea towel bedskirt for an Ikea bed

Tea towel fabric for a bedskirt

The tea towel fabric comes in a 20″ width which made it easy to work with, I simply had to cut off 6″ along one side. It also comes with a hem on either side of the length which meant I only had one hem to do.

Bedskirt fabric with gathering tape.

I applied gathering tape to the raw edge which I folded under and then sewed it on.  Once the tape is sewn on there are two strings that you pull and it gathers the fabric for you. I used double the length of fabric so it would gather nicely. I sewed together three separate pieces for the three sides of the bed that are seen.

Velcro tape under the bed

I meant to use the velcro with a taped side but totally forgot. That’s when my old trusty glue gun came in! I applied the velcro under the side of the bed using glue from the glue gun.

Bedskirt with velcro

The gathering tape attaches nicely to the velcro.

Tea towel fabric bedskirt on an Ikea bed

A tea towel fabric bedskirt

Tea towel bedskirt fabric

Both my boys Jack and Bubs have joined in for this post. They usually follow me around wherever I go and there is no moving them out of the way! I’m sure you’ll see them in many of my posts.

A tea towel fabric bedskirt

Thank you again for joining me in the guest room saga! I’m so pleased with how it turned out. Stay tuned for the reveal next week and please subscribe if you’d like to see more of these posts!

-Kim

Filed Under: diy, Makeovers, Tutorials, Uncategorised

The 5 Minute Christmas Birch Bucket

6:00 am by kim 5 Comments

The 5 Minute Christmas Birch Bucket

Hi everyone! This week I’m revisiting an oldie but a goodie! Five years ago I created a  galvanized bucket full of birch, sugar pinecones, greens and ornaments. You can see that old post here, but be warned, my photography was not the best! Since I’m blogging again, I thought I’d share these updated favourites of mine. I do them every year in some form or another. This year I’m using vintage sap buckets I found at a decor store in the summer. I love the height and narrowness of these buckets and they fit perfectly into my small living room, flanked on either side of my fireplace. The 5 minute Christmas Birch Bucket’s are so easy to put together! Once you have all your ingredient at hand, it will literally take you five minutes to do.

The 5 Minute Christmas Birch Bucket

The 5 Minute Birch Bucket Tutorial

Ingredients needed:

  • Start off with a container of your choice. I’m using this vintage sap bucket, but you can use whatever you like and fits in with your decor.
  • Birch branches. Using 3 poles in varying heights works best.
  • 2-3 Large Sugar pinecones. If you’re unable to find these, the smaller pinecones will work as well.
  • Greenery. I love the softness and texture of Cedar. You can choose whatever is available, fresh or faux.
  • Christmas balls etc. You can use varying colour to match your decor. I’m keeping mine neutral this year with mercury glass.
  • Ribbon or garland. I used this burlap garland to make a bow.
  • Fairy lights or branches.
  • You  may need something to help fill in the bottom of your container so the ingredients don’t all fall to the bottom. I’ve used tissue paper to fill in my bucket.

The 5 minute birch bucket ingredients.

  1. Start  by filling the bottom of the bucket with bunches of tissue paper leaving room for the birch branches to fit in behind.
  2. Arrange your birch branches at the back of the bucket.
  3. Arrange the tissue paper in such a way that your sugar cones will sit up high in the bucket. You can place 2 or 3 in depending on their size.
  4. Place in your greenery, this can be done in whatever way looks good to you.
  5. If you’r using branch lights you can add them now. If you’re using fairy lights I leave those till the end.This is the basis of your bucket. You can add whatever you’d like now. But the sky’s the limit. In the past, I’ve used cinnamon sticks, faux poinsettias etc.

The 5 minute birch bucket tutorial.

The 5 minute Birch Bucket Tutorial.

The 5 minute birch bucket tutorial.

The 5 minute Birch Bucket Tutorial.

The 5 minute birch bucket tutorial.

The 5 minute birch bucket tutorial.

These two are slightly different. I’ve added a burlap bow to the one above and I added some faux flowers to the bucket below.

The 5 minute birch bucket tutorial.

Thanks so much for dropping by. I hope you try one of these, They’re super easy! You can add whatever you like to make it your own. If you try your hand at one of these, let me know how it turned out!

 -Kim


Filed Under: Christmas, diy, Tutorials

Guest Room Makeover Week two

6:00 am by kim 4 Comments

Guest Room Makeover Week two

Hello everyone! Here is a peek of the guest room I’ve been working on over the last couple of weeks. On week one I started by white washing the dresser. I shared a little tutorial on how to do that here. The bed was really the jumping off point for my modern farmhouse look that I’m going for in the room. I found the bed on kijiji for a great price! It’s originally from IKEA but is now discontinued.

Guest room makeover week two, adding the rug.

Guest room makeover week two.

In week two of the makeover, I’ve added this neutral jute rug called the “lohal’ from IKEA. I have this same rug in my living room and I love it! I looked at many different rugs but I really wanted to keep the major pieces neutral and the price worked with my almost next-to-nothing budget. When my main pieces are neutral, I can switch out the soft furnishings and change the colour/style whenever I get the hankering to. If you know me, you know how much I love adding blue come the spring and summer!

Guest room makeover week two.

Cotton wreath on the footboard, Week two of the guest room makeover

I love the texture of this rug and how well it goes with the white washed plywood floorboards we put in last year. I made these cushion covers to add to the bed next week when I show the new bedskirt I’m making. This fall look will slowly transition into Christmas in the next week or so.

Guest room makeover week two, adding the rug.

It’s next to impossible to do anything without this guy wanting to be in the middle of it, so you may see him in quite a few pics!

Thanks for joining me in week two of the guest room makeover. I really appreciate you stopping by. If you haven’t subscribed yet, please do to make sure you don’t miss any posts!

-Kim

Filed Under: Fall, Makeovers

The Guest Room makeover and White Washing Furniture

3:06 pm by kim 36 Comments

The Guest Room Makeover and White Washing the Dresser

Hello friends! I’ll be working on the guest room over the next few weeks leading up to the holidays. We’ll have all three of the girls and one son in law home for Christmas and I want to make it as comfortable as possible. It’s also a great excuse to spruce up a plain room! The first project I  started on was white washing the dresser and I couldn’t be happier with the results.

A garage sale find wooden dresser before the white wash.

I found the dresser a few summers back at a garage sale for next to nothing. It’s a solid piece that came with two nightstands as well. Unfortunately, I gave those away and have been kicking myself since. They would have looked great in the room, but they’re gone to a good home. The dresser was stained and varnished when I found it and I spent a couple of weeks removing it all… only to white wash it! I actually liked it in it’s raw wood state, but felt the piece needed a little character. White washing the piece to achieve a distressed worn look, would help it fit in with the modern farmhouse look I’m going for in the guest room.

The dresser white washed to achieve a distressed using leftover paint.

How to white wash furniture, a simple, easy tutorial.

How to White Wash furniture Tutorial

For those of you who have never tried this technique before, it is one of the easiest to do! The whole process cost me absolutely $0! Now if you’re somebody who doesn’t have any leftover paint kicking around it may cost you for the paint. The smallest size container will do! This technique is called white washing because you usually use a white, off/white paint colour. However, you can do this in any colour! White washing can also refer to the effect of washing over, with paint or stain, another colour or stain to tone down or add an effect to your piece. This tutorial however, will be a simple and easy white wash over wood.

You will simply need:

  1. Paint of your choice. (It’s better to use a flat finish but I’ve used satin and eggshell before too). Depending on the finish you’re looking for,  your paint can be mixed  1:1 with water.
  2. Paint brush.
  3. Cloth or rag (one that doesn’t leave behind any lint).
  4. Sandpaper (optional, if your decide you want to distress it a little more after it’s dried).

I wanted to achieve the effect of a painted piece where over time  it has lost it’s paint with wear and tear. You can white wash your piece more evenly so that it looks less distressed. It’s up to you! I also chose some leftover paint that was more greige than white. The dresser had a bit of orange in the wood that I thought the greige would tone down.

  • Start by adding your paint with the paint brush in sections (the effect will change depending on how dry or wet the paint is when you try to remove it with your cloth. So working in sections will help you obtain a more uniform look).
  • Depending on the look you want to achieve, you can then use a dampened cloth to remove some of the paint and or begin to “wash” your section with the cloth to remove any brush strokes. The more you wipe, the more paint you’ll remove. You’ll notice that you need to rinse your cloth out after each section to remove excess paint.
  • Sometimes you’ll think that you removed too much paint, (unless that’s the look you’re trying to achieve). No problem, simply add more paint with your brush.
  • The time you allow between applying the paint and wiping it off will also change the look. I let my paint dry for a few minutes after applying, This gave me more of a “sanded” look rather than “washed”.
  • Once you’ve finished your piece and are happy with it, you can apply a coat of poly to help protect the finish. A matte or satin finish would be better, but it’s up to you!
  • If you’re not happy with the look, you can sand it to remove more paint or you can add more paint again and start over. The sky’s the limit! You can check out the coffee table I white washed last Christmas with a slightly different look here.

white washing the dresser for guest room makeover.

White washing furniture tutorial. First project in guest room makeover.

White washed dresser with tutorial

White washed dresser tutorial.

White washed dresser. First project in the guest room makeover.

Thank you for stopping by! I hope this mini tutorial was helpful for you. If you do try out this technique, I’d love to hear how it worked out for you!

-Kim

Filed Under: diy, Home decor, Tutorials

Primary Sidebar

Hi, I'm Kim Read More…

Instagram

Follow along on Instagram

Sign up and don't miss a post!

Recent Posts

  • Festive Bacon Wrapped Chestnut Holiday Appetizer
  • DIY Mantel Decorated for Christmas
  • Simple and Cozy Fall Home Tour
  • Simple Fall Tablescape

Archives

Footer

Copyright © 2025 · Foodie Pro Theme by Shay Bocks · Built on the Genesis Framework · Powered by WordPress