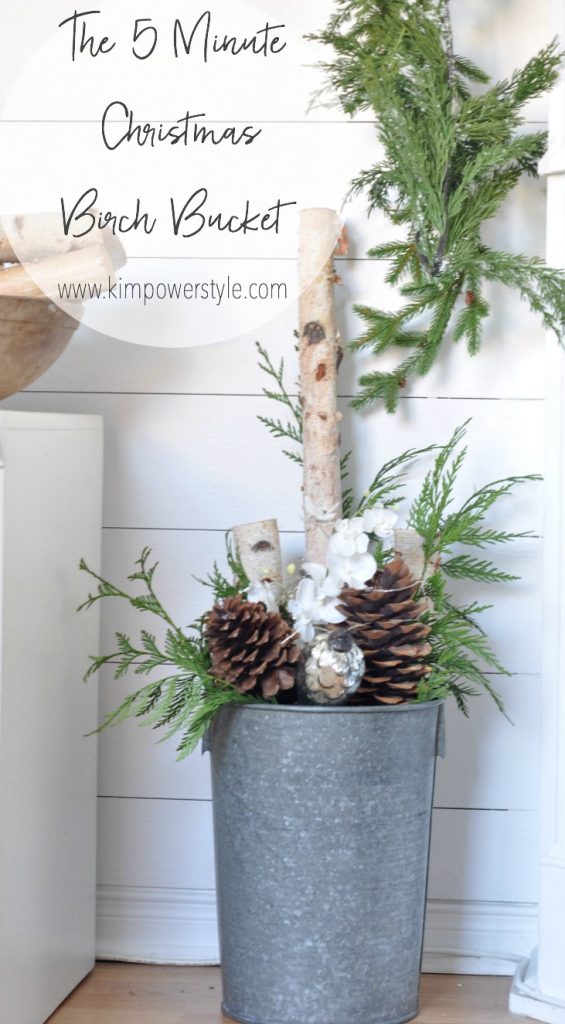
The 5 Minute Christmas Birch Bucket
Hi everyone! This week I’m revisiting an oldie but a goodie! Five years ago I created a galvanized bucket full of birch, sugar pinecones, greens and ornaments. You can see that old post here, but be warned, my photography was not the best! Since I’m blogging again, I thought I’d share these updated favourites of mine. I do them every year in some form or another. This year I’m using vintage sap buckets I found at a decor store in the summer. I love the height and narrowness of these buckets and they fit perfectly into my small living room, flanked on either side of my fireplace. The 5 minute Christmas Birch Bucket’s are so easy to put together! Once you have all your ingredient at hand, it will literally take you five minutes to do.

The 5 Minute Birch Bucket Tutorial
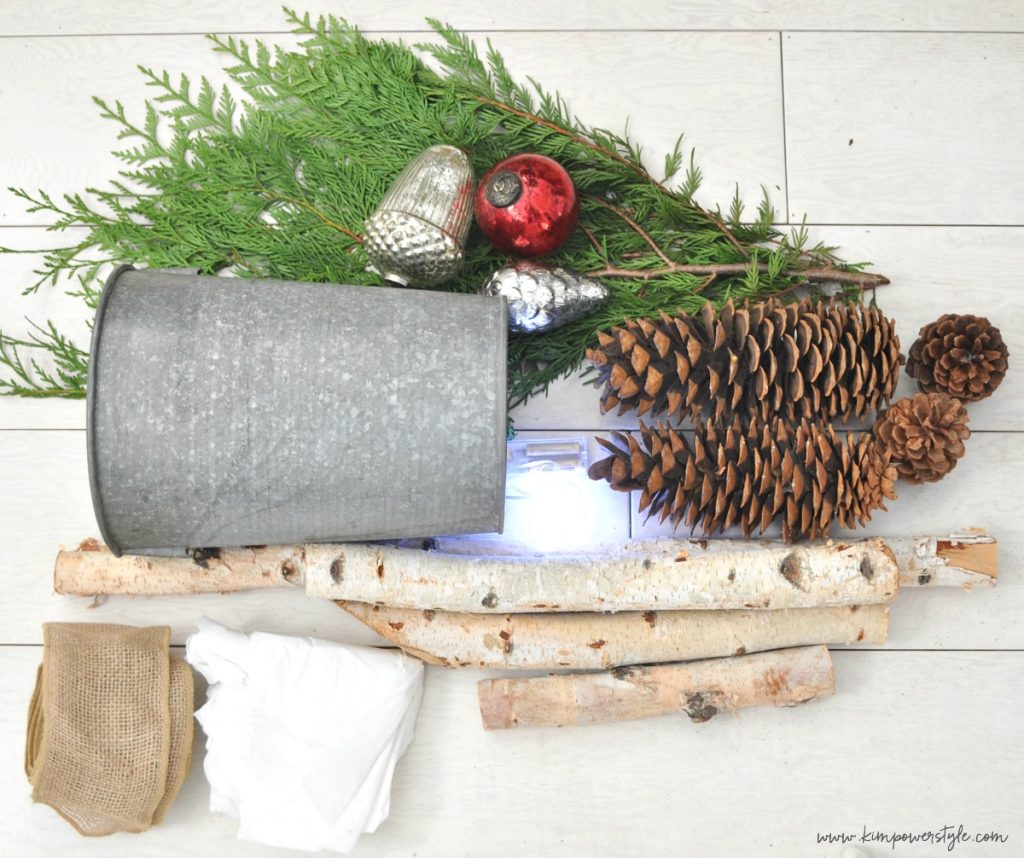
Ingredients needed:
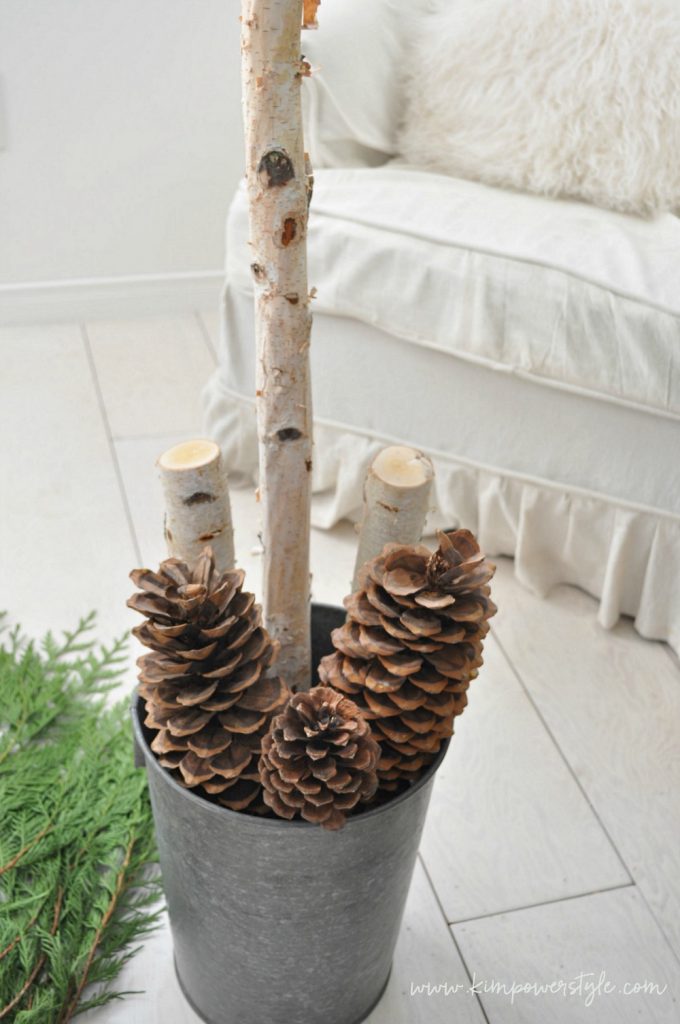
- Start off with a container of your choice. I’m using this vintage sap bucket, but you can use whatever you like and fits in with your decor.
- Birch branches. Using 3 poles in varying heights works best.
- 2-3 Large Sugar pinecones. If you’re unable to find these, the smaller pinecones will work as well.
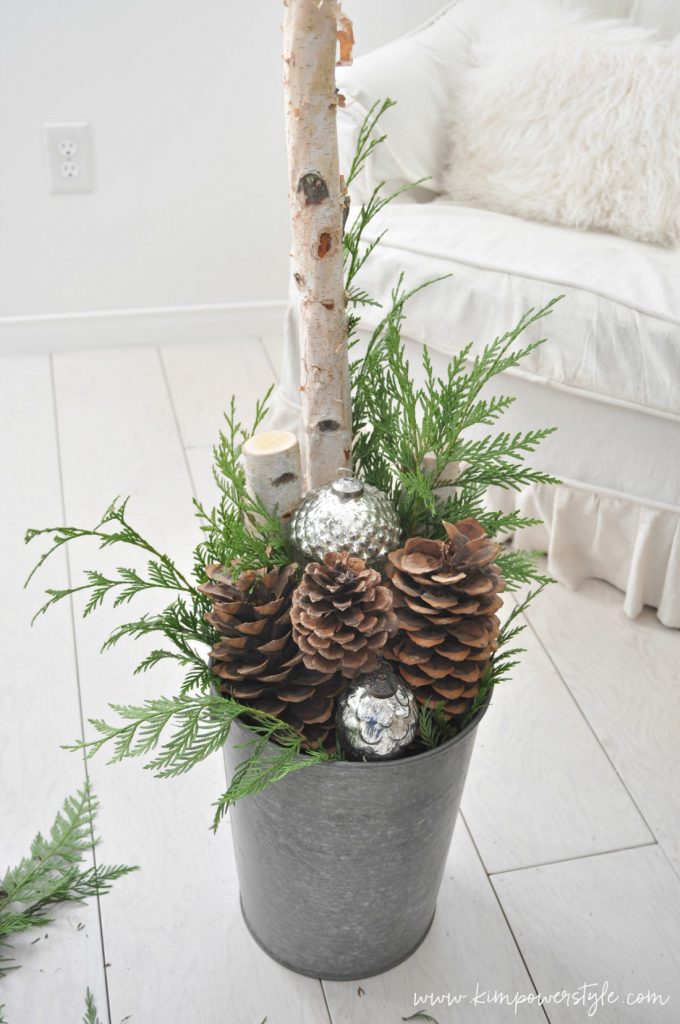
- Greenery. I love the softness and texture of Cedar. You can choose whatever is available, fresh or faux.
- Christmas balls etc. You can use varying colour to match your decor. I’m keeping mine neutral this year with mercury glass.
- Ribbon or garland. I used this burlap garland to make a bow.
- Fairy lights or branches.
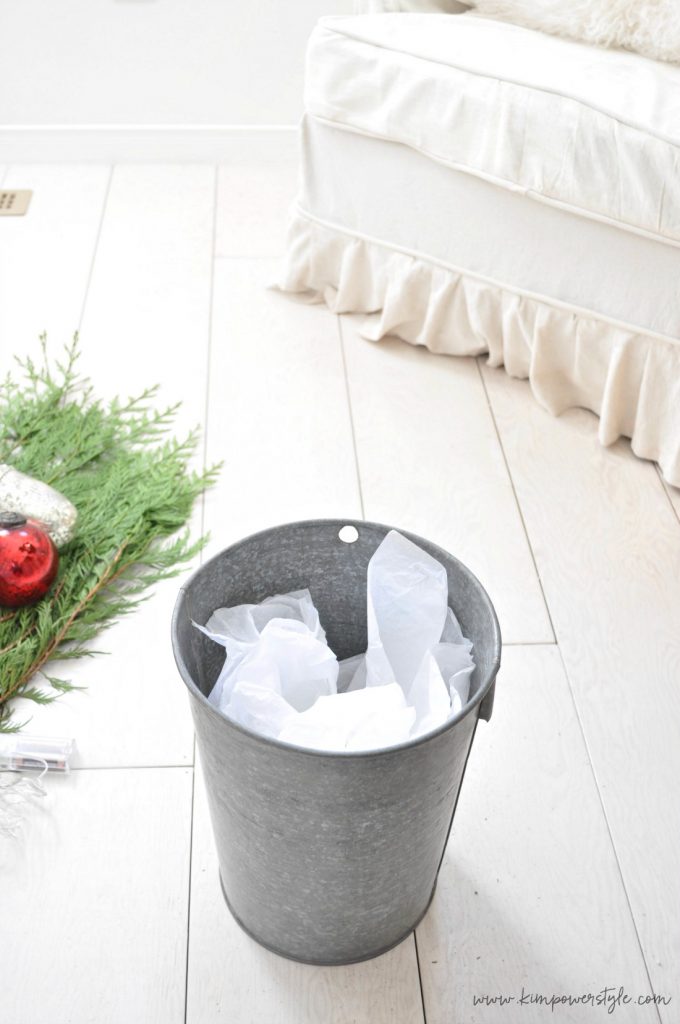
- You may need something to help fill in the bottom of your container so the ingredients don’t all fall to the bottom. I’ve used tissue paper to fill in my bucket.
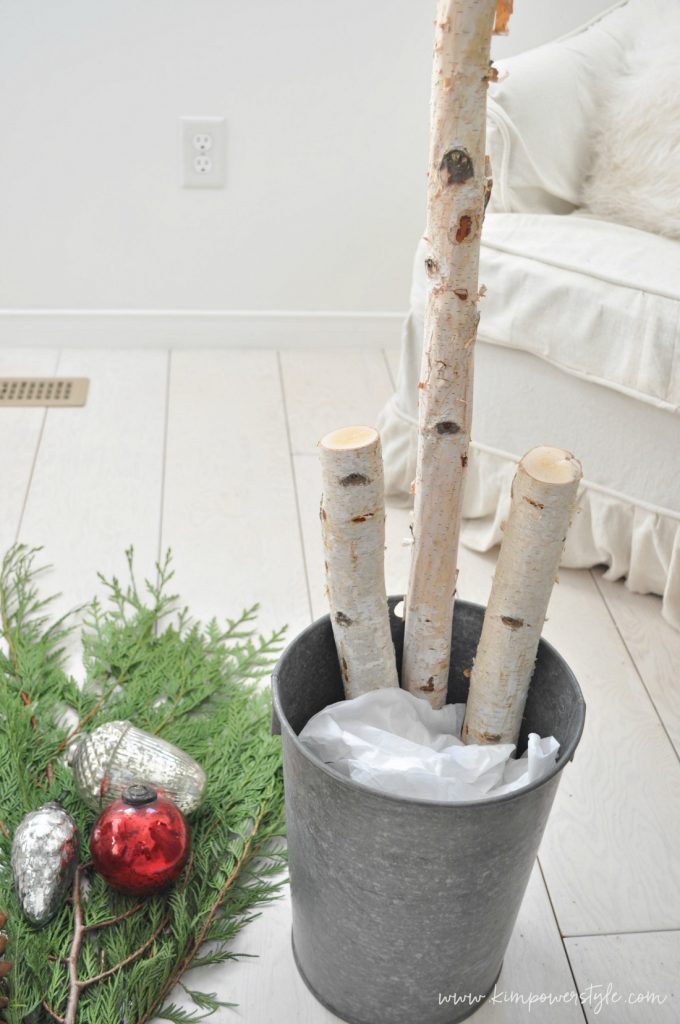
- Start by filling the bottom of the bucket with bunches of tissue paper leaving room for the birch branches to fit in behind.
- Arrange your birch branches at the back of the bucket.
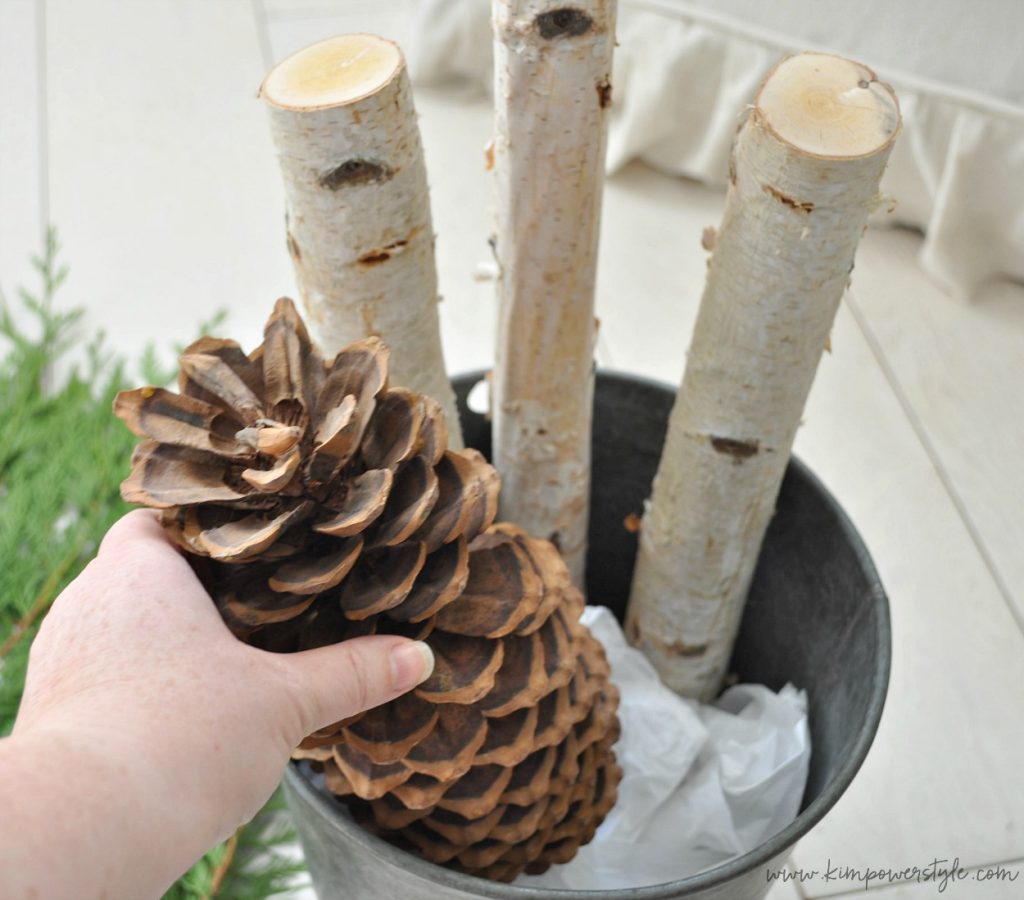
- Arrange the tissue paper in such a way that your sugar cones will sit up high in the bucket. You can place 2 or 3 in depending on their size.
- Place in your greenery, this can be done in whatever way looks good to you.
- If you’r using branch lights you can add them now. If you’re using fairy lights I leave those till the end.This is the basis of your bucket. You can add whatever you’d like now. But the sky’s the limit. In the past, I’ve used cinnamon sticks, faux poinsettias etc.

These two are slightly different. I’ve added a burlap bow to the one above and I added some faux flowers to the bucket below.
Thanks so much for dropping by. I hope you try one of these, They’re super easy! You can add whatever you like to make it your own. If you try your hand at one of these, let me know how it turned out!
-Kim
I was contemplating on what to use on the bottom of my bucket for height. But as you water the greens periodically doesn’t the tissue become soft and sink? Thks
Hi Maggie! I have never added water for the greens. I usually just put in a few sprays of greenery and let them dry out. Everything else in the bucket doesn’t require watering. If you’d like, you could use faux greenery. Hope this helps.:)
-Kim
Love this! I should try my own.
How do you get the birch branches to stay in place?