• Skip to primary navigation
  • Skip to main content
  • Skip to primary sidebar
  • Skip to footer

Kim Power Style

  • Home
  • Contact
  • About
  • Tutorials

Archives for February 2017

A Simple Valentine’s Day Dessert Table

2:05 am by kim Leave a Comment

Hi everyone! If you’ve read my previous post you’ll know that Valentine’s Day is my wedding anniversary. While it’s a great time to celebrate, it’s not one of those “holidays” that I necessarily decorate for. However, if we happen to be home, and not escaped to some tropical local, I may set a bit of a dessert table. Notice I didn’t say dinner table! Because we better be going out for that!

Valentine's Day dessert table

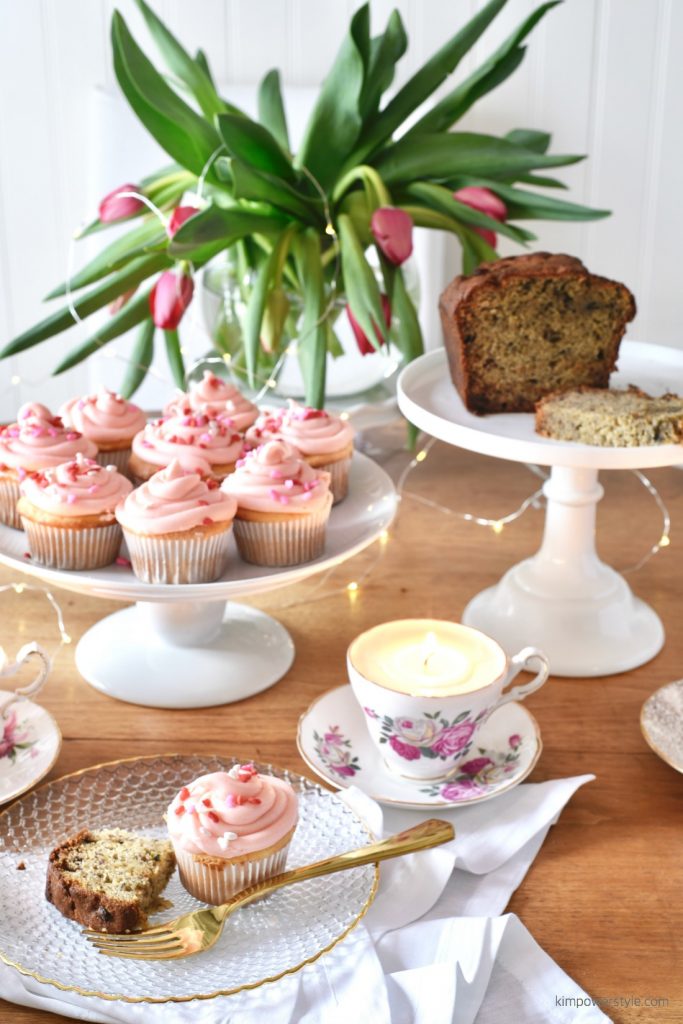
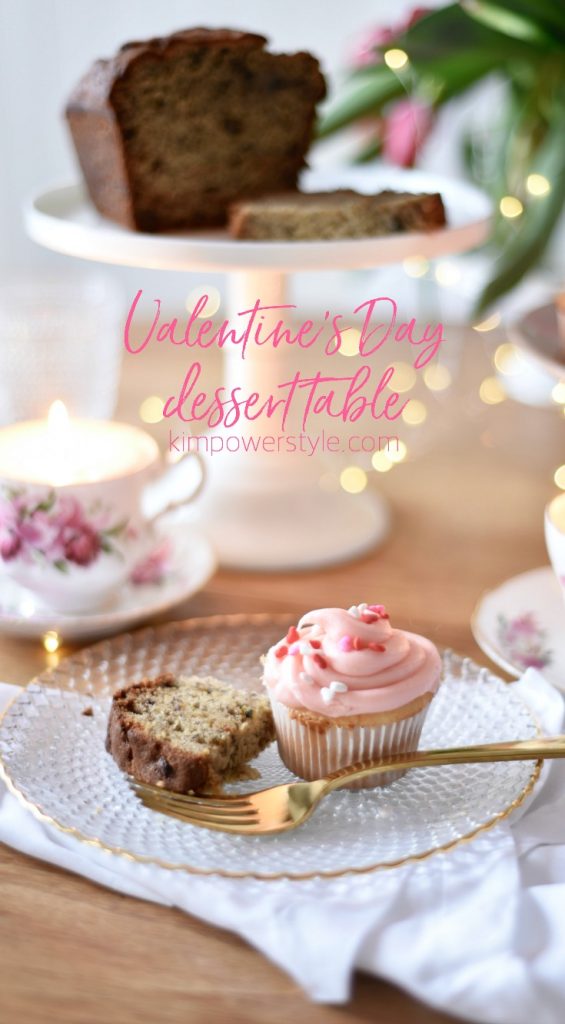
So I thought I’d share a little simple dessert table I put together. I did go ahead and make my favourite banana bread, simply because we had rotten bananas and it’s brown…which to my hubby reads..healthy..er! I also made some little vanilla cupcakes (from a box..I know!) with cream cheese frosting and sprinkled with some little candied hearts. I even managed to make some pom poms from dollar store tissue paper. I went all out for this!

Valentines Day dessert table

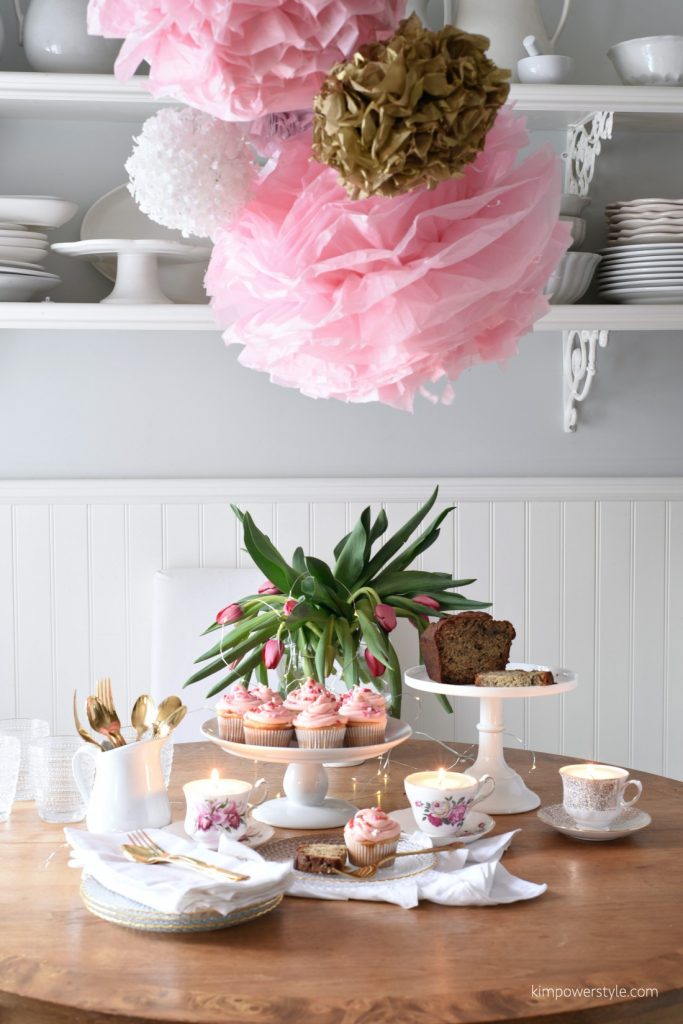
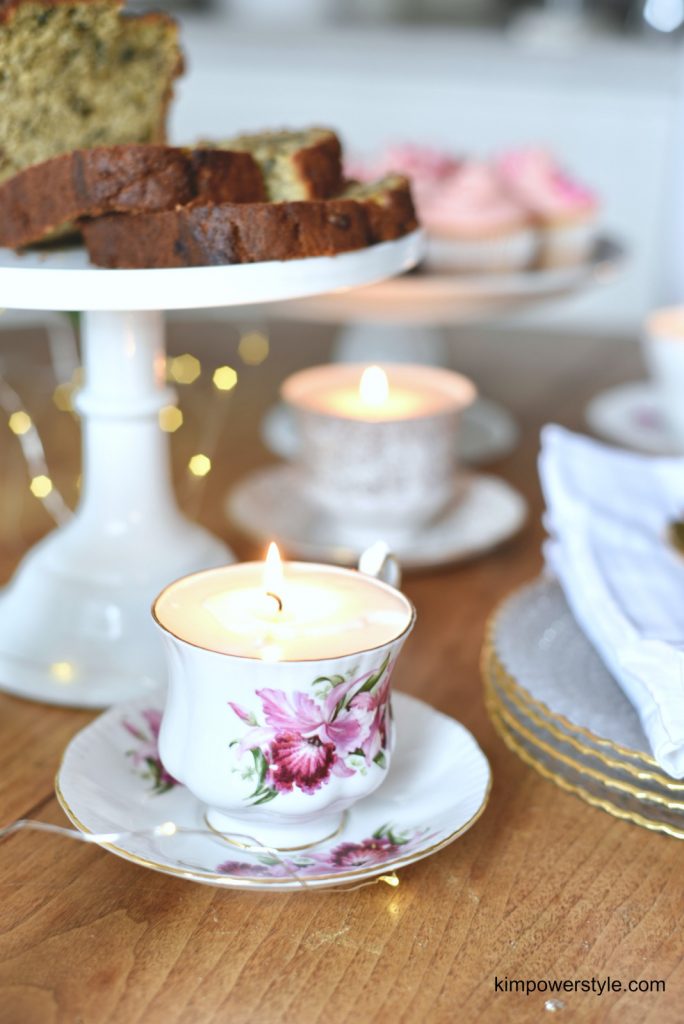
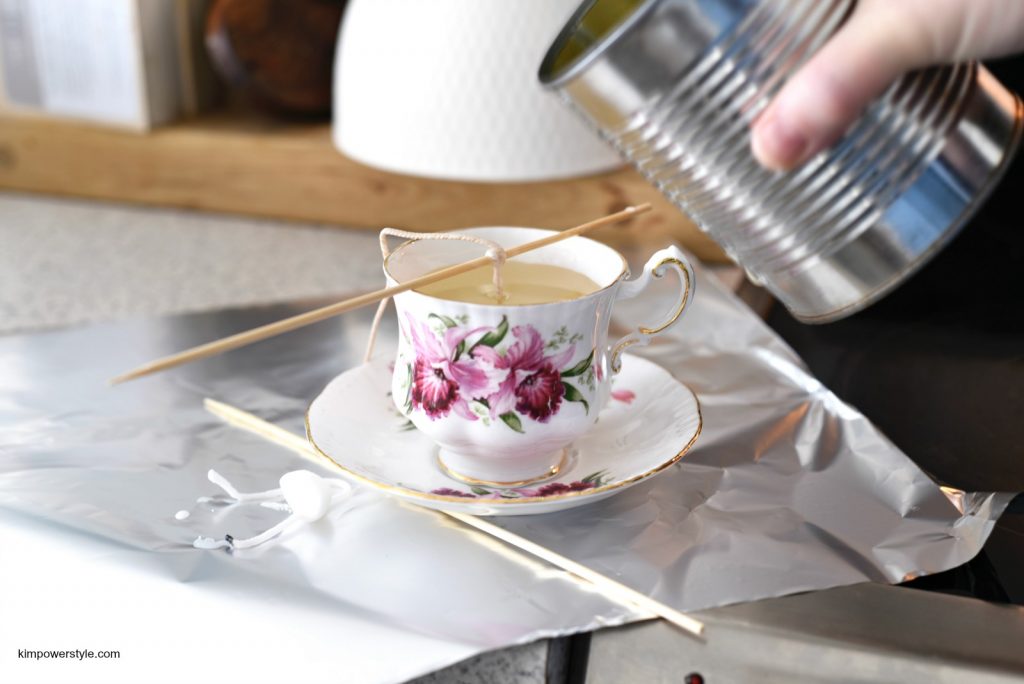
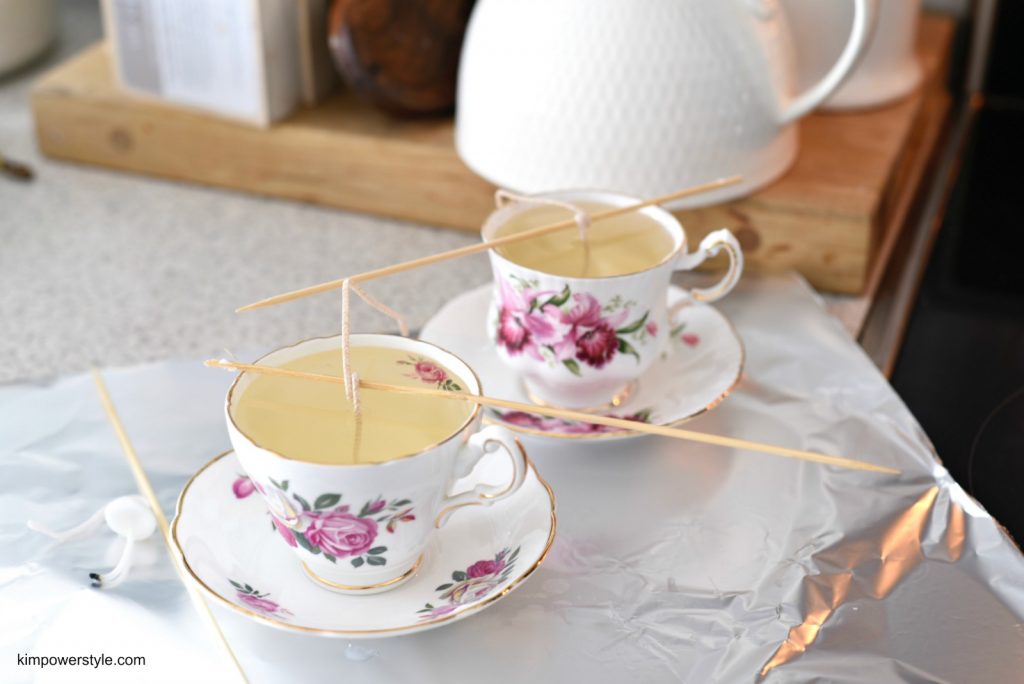
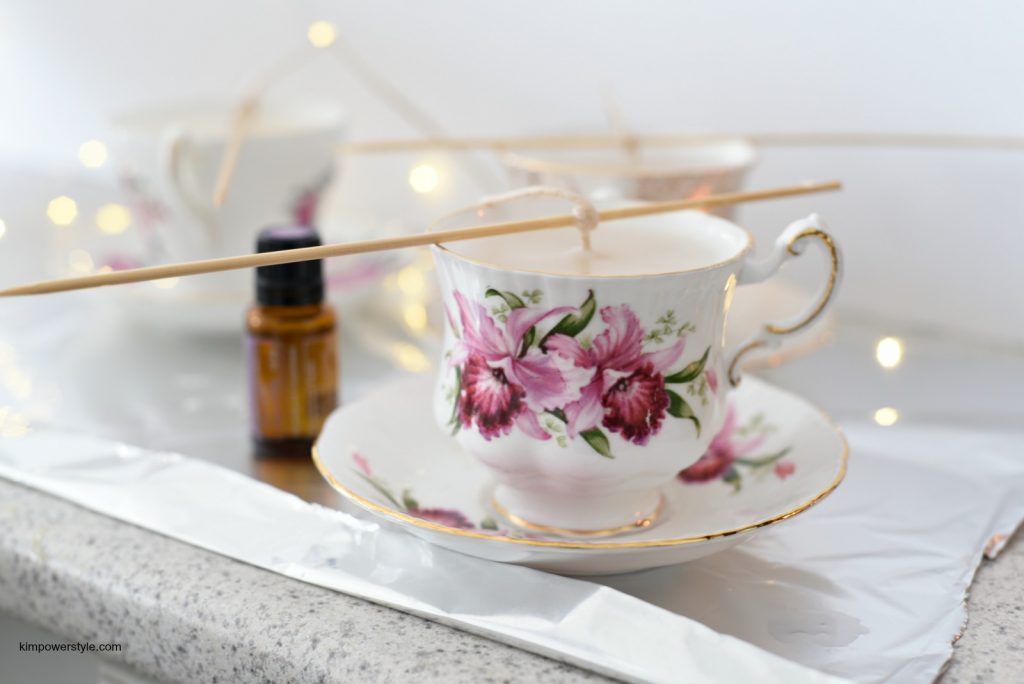
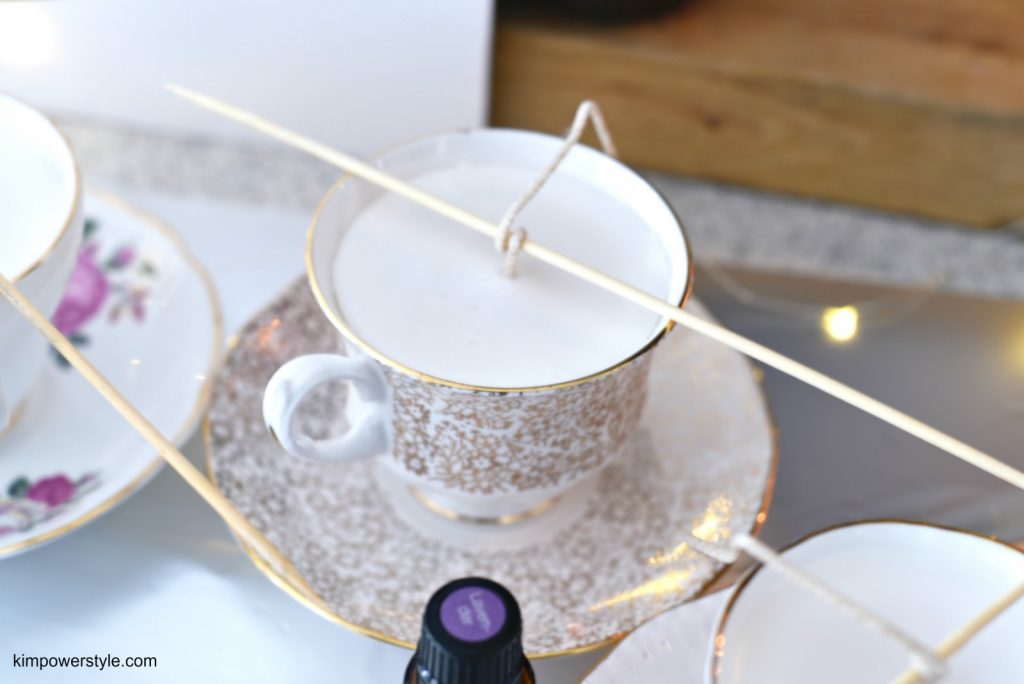
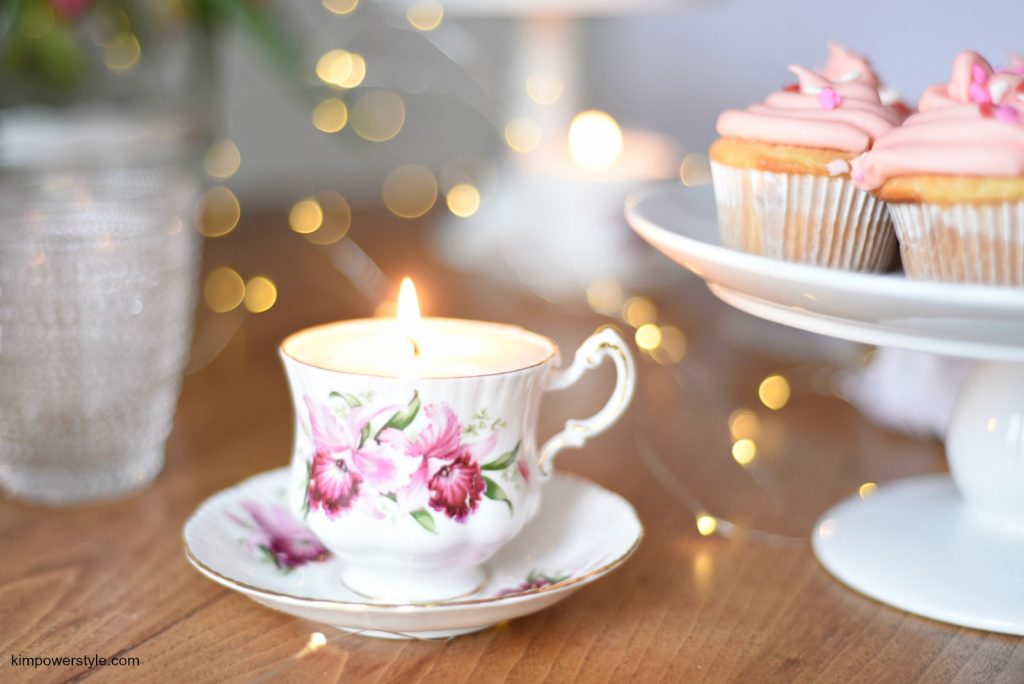
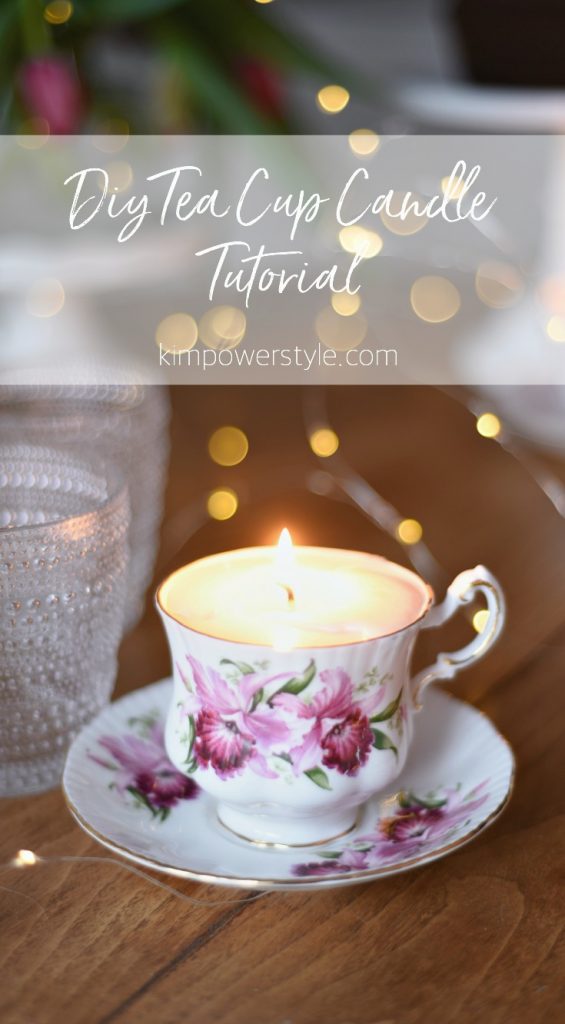
While I’m a creative at heart, I like to make things as simply and easily (aka, lazy) as possible so buffet style is the way to go. Laying down some dessert plates, cutlery and napkins for everyone to serve themselves works for me. I already had the little teacup candles made and adding some extra little fairy lights makes everything look more festive. Can I just say that the tulips were taking a nap while I was photographing this. The next day they were standing up straight!

Valentines Day dessert table

This was so simple to do. If you wanted to make it even easier, you could go to the bakery (which is what I tend to do)  and pick up a few of your favourite desserts,  put them on a pedestal or pretty plate and voila!

Valentines Day dessert table

I hope you got something out of this post, even if it was only permission to go to the bakery and buy your dessert…it is Valentine’s Day after all, who the heck wants to spend the day baking?  Thanks for dropping by my friends.

Filed Under: Uncategorised

DIY Tea Cup Candle Tutorial

12:07 am by kim 3 Comments

Tea cup candle tutorial

Hi everyone! Just sitting here wondering where the heck January went! I have to admit that the first few weeks of the year I had little energy and it was difficult to get back into the swing of things. However, February always energizes and reminds me that spring is indeed coming. It’s also my wedding anniversary month and the hubby and I will be celebrating our 30th this year! Not sure where those thirty years went either! Our anniversary is actually on Valentine’s Day, (makes it easy for the hubby to remember!) I thought that these little vintage tea cup candles would make a lovely little addition to a little Valentine’s Day desert table I made up for the occasion. I hope you’ll try them, they are super easy to do!

DIY Tea Cup Candle Tutorial

Materials:

  • Tea cups, you can use what you have at home or you can easily find them at a thrift store for a couple of dollars.
  • Wax, you can buy your own from a craft store, or do what I did and use melt down candles. I used an old candle from IKEA and it was super cheap.
  • Wax adhesive, you can find this at a craft store like Michael’s or you can find it here.
  • Candle wicks with metal bottom. Also can be found at your local craft store or here.
  • An empty can large enough to hold your candle and contain the wax.
  • A pot to place the can inside.
  • Wooden Skewers, I found mine at the dollar store.

Optional Materials:

  • Essential oils or wax candle scents. I don’t like to use scented candles for the kitchen or around food. I do love using them for other living spaces  though.
  • Crayons or wax colour melts. Yes! you can use wax crayons if you’re looking to tint your candles.

(Material list contains affiliate links for your convenience!)


Tea cup candle ingredients

Tea cup candle tutorial

I start off by putting a little bit of wax adhesive on the bottom of the metal end of the wick. These wicks come with the little metal plate and have a thin wax covering that makes them a little stiff so they’ll stay in place easier.

Tea cup candle tutorial

The metal end is then attached to the bottom of the inside of the tea cup. This helps it to stay in place when you pour in the wax. I then wrap the wick around my skewer to help hold it straight and in place.

Tea cup candle tutorial

In the meantime, I have my candle sitting inside the tin can. I have the tin can placed in a pot filled half way up with water and the temp set to medium. Once the candle is melted you can use the skewer to remove the old wick. If you wanted to tint your wax you can add a crayon or wax tint melts now. Stir with the skewer. This is also when you can add your scent if you’d like one.

Tea cup candle tutorial

With a bit of aluminum foil under the cup and saucer,  pour the melted wax into the cup until it’s as high as you’d like.

Tea cup candle tutorial

Tea cup candle tutorial

Once the wax is dry, you may notice that it has shrunk a bit. You can pour more melted wax to level it out again.

Tea cup candle tutorial

Tea cup candle tutorial

How cute are these? They can be used anywhere! I would use the scented ones on the bedside table or by the tub when you’re bathing. They’d make a great little gift as well.

Tea cup candle tutorial

Thanks for dropping by! I’d love to know if you tried these and how they turned out.

-Kim

Filed Under: diy, Tutorials

Primary Sidebar

Hi, I'm Kim Read More…

Instagram

Follow along on Instagram

Sign up and don't miss a post!

Recent Posts

  • Festive Bacon Wrapped Chestnut Holiday Appetizer
  • DIY Mantel Decorated for Christmas
  • Simple and Cozy Fall Home Tour
  • Simple Fall Tablescape

Archives

Footer

Copyright © 2025 · Foodie Pro Theme by Shay Bocks · Built on the Genesis Framework · Powered by WordPress