• Skip to primary navigation
  • Skip to main content
  • Skip to primary sidebar
  • Skip to footer

Kim Power Style

  • Home
  • Contact
  • About
  • Tutorials

Home decor

One Room Challenge Spring 2017 | Week 1 | Our Modern Coastal Farmhouse Office/Workspace

11:26 pm by kim 17 Comments

One Room Challenge Spring 2017 | Week 1

It’s time for another project! This is my first time to join in with Linda of Calling it home who hosts this biannual room makeover series called the One Room Challenge (ORC). Twenty featured design bloggers are chosen to participate as well as 200 plus guest Participants to make over a room in six weeks!  So much decor inspiration to check out on the ORC site….And so the madness begins…

One Room Challenge

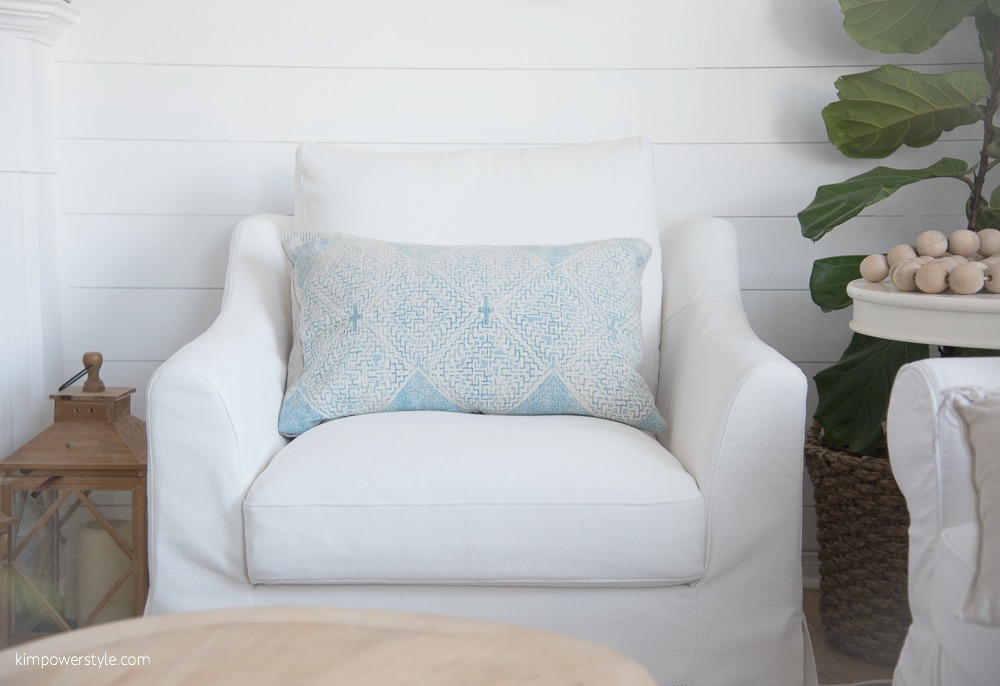
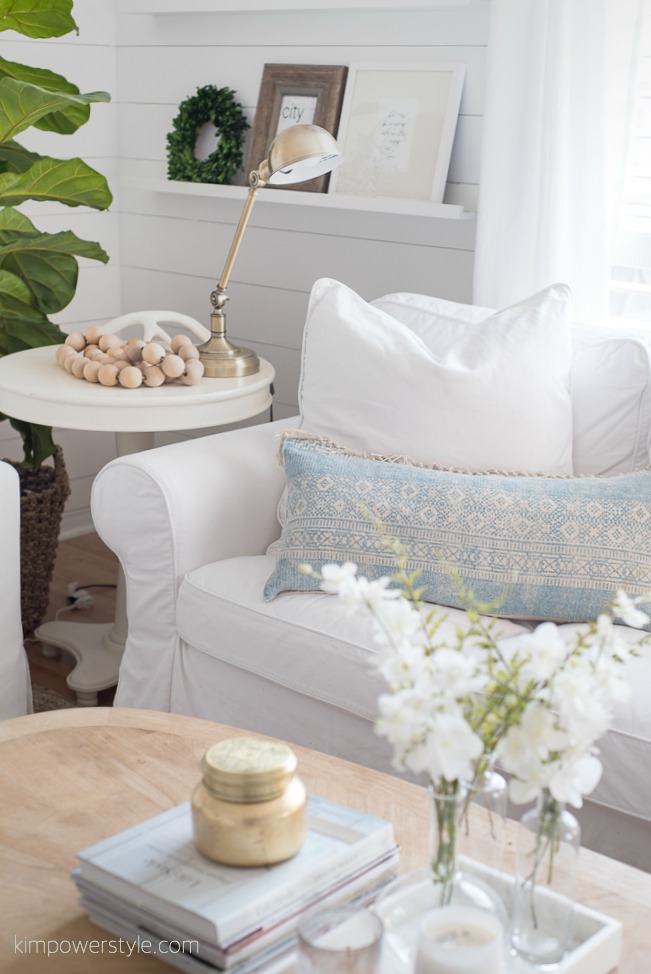
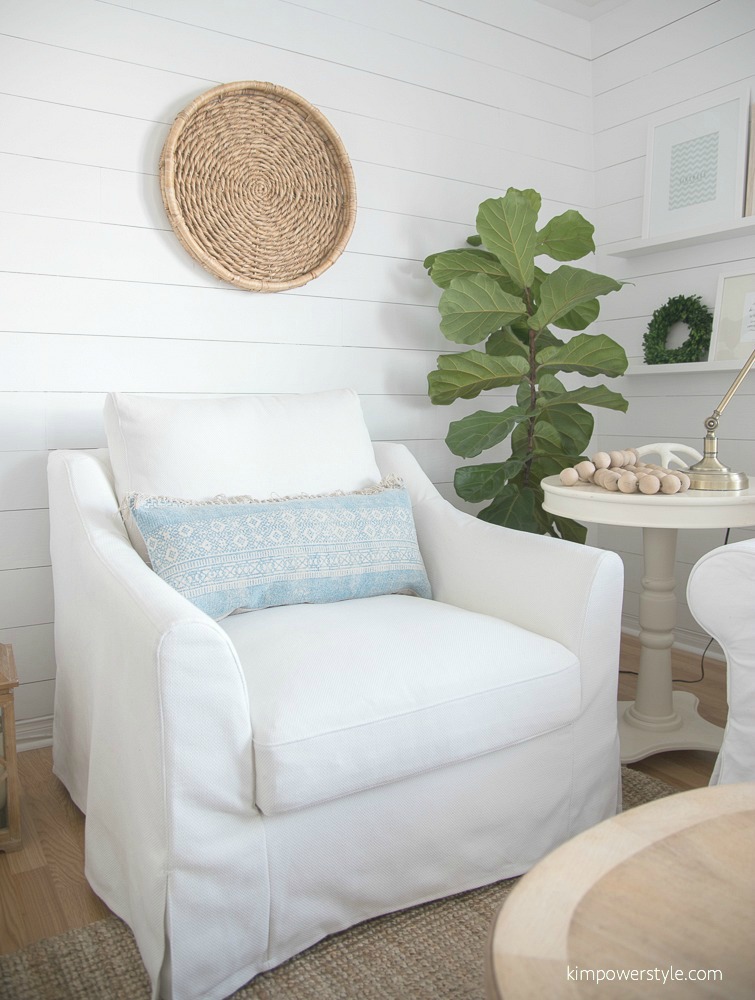
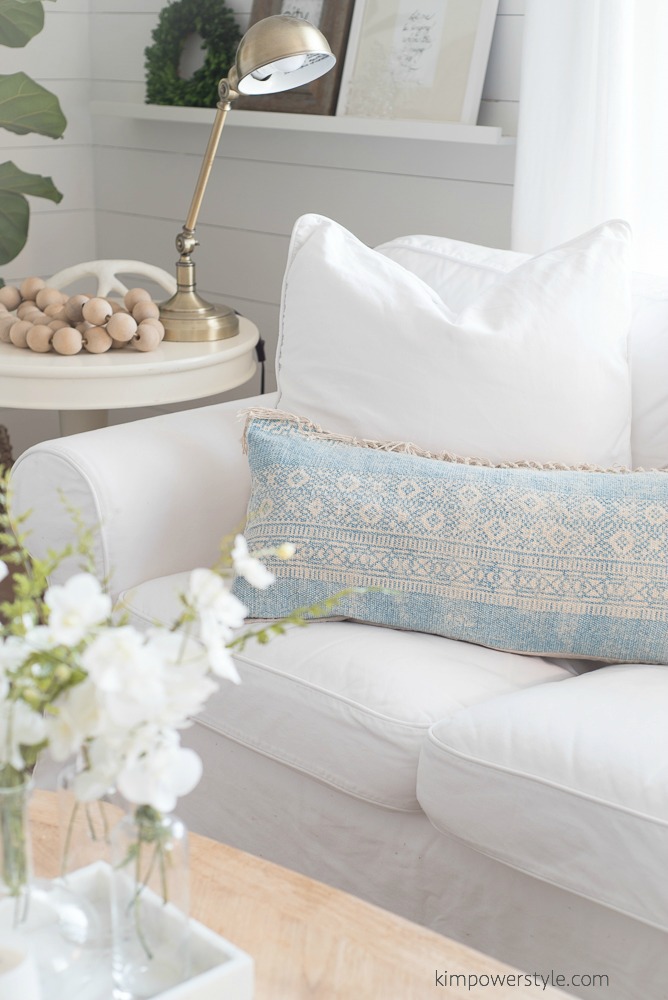
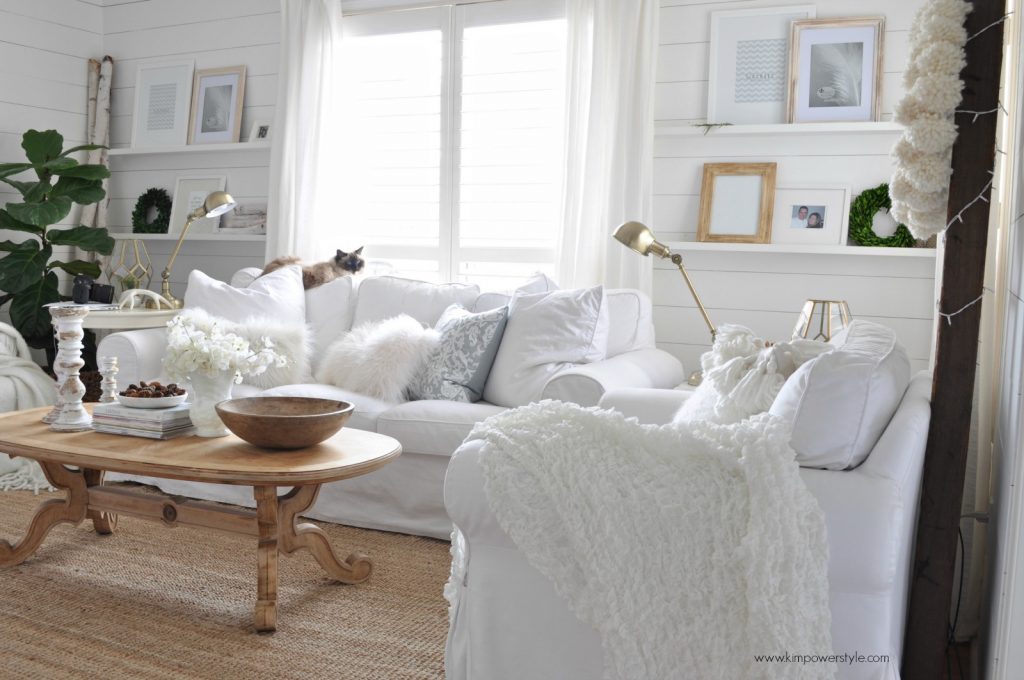
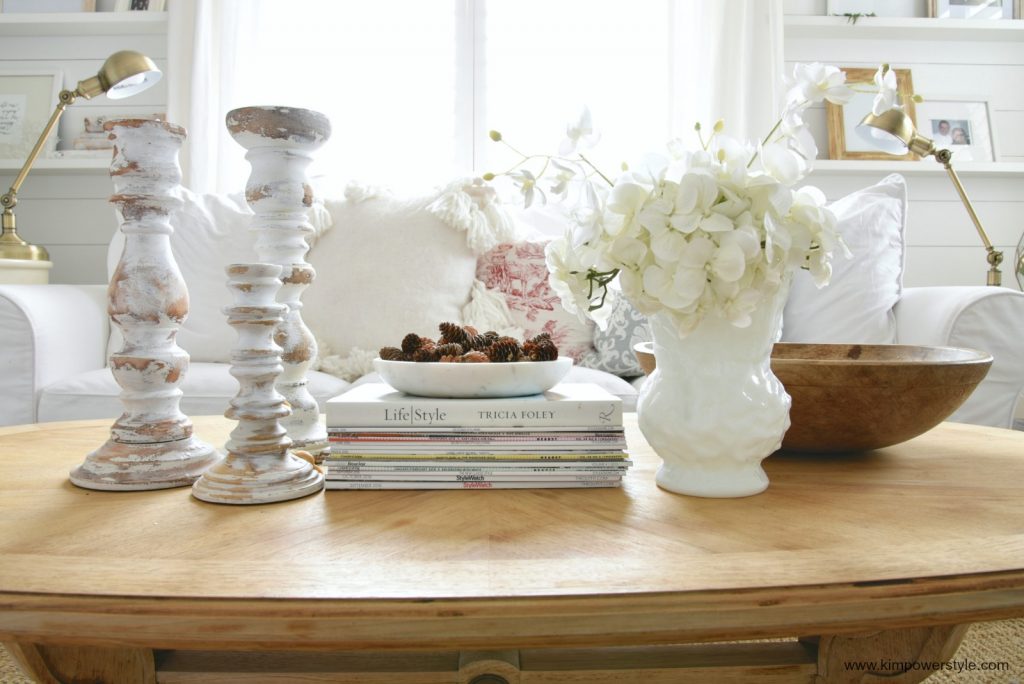
For this challenge, I’ve chosen my office/workroom to makeover. Some of you may remember a pic I posted on Instagram last spring of my office, it was light bright and pretty. (Although the pic is a little yellow, I took it with my iPhone!) But it has slowly turned into a place where my extra bits of everything go to die.

Spring office space

It was pretty and comfortable but lacked the proper design to make it a real workhorse of a workspace. I need this room to be both functional as an office, where all the home administration happens and also as a workroom, where I can sew, store fabrics, keep photography equipment and also use for blog product photos etc.

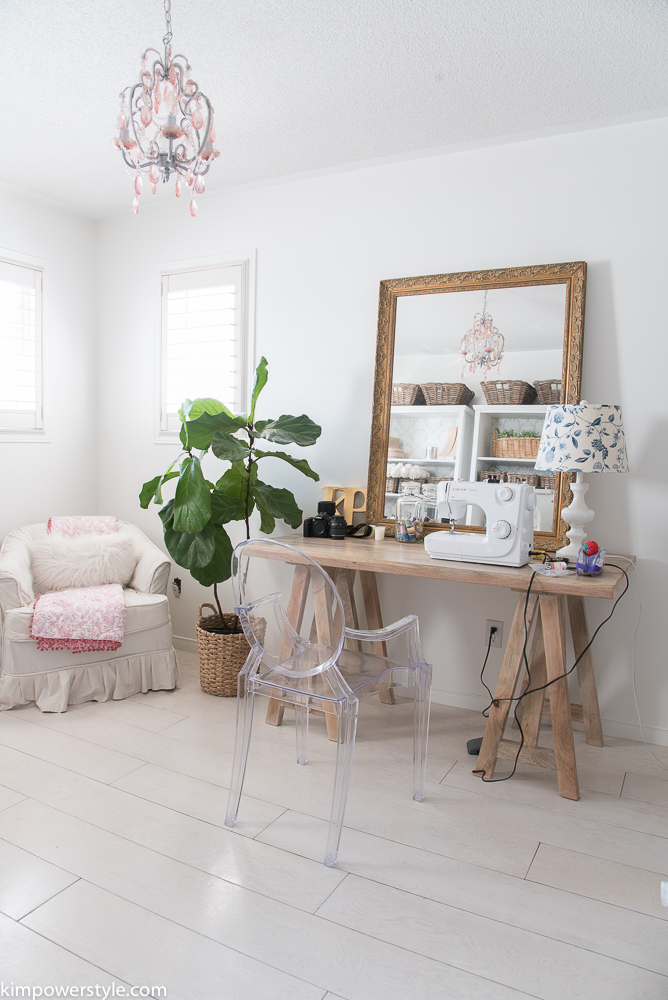
Now don’t judge… but this is what my darling little office has turned into!

BEFORE:

ORC Before Pic

BEFORE:

ORC Before Pic

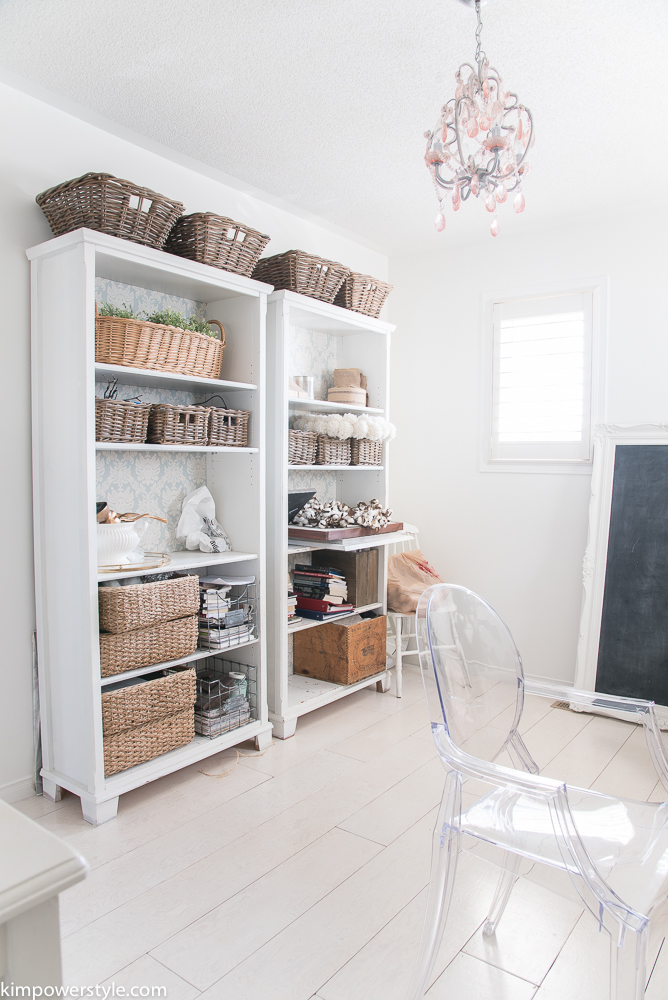
Where did my pretty little office go?  A combination of too much stuff and lack of proper functional storage.  I know that most of us have that one room that holds the overflow of our decor but I want that room to be back in my basement, underneath the stairs where it belongs! To be honest we had a magazine come in a and do a video interview and tour of our home, so this room became the “catch all” of all the extra bits we weren’t using. But it’s time to get this room ship shape!  So lets go with the plan.

Mood Board

So here is my Mood Board for my Modern Coastal Farmhouse Office/Workroom.. I know , it’s a mouthful!

Mood board for ORC 2017

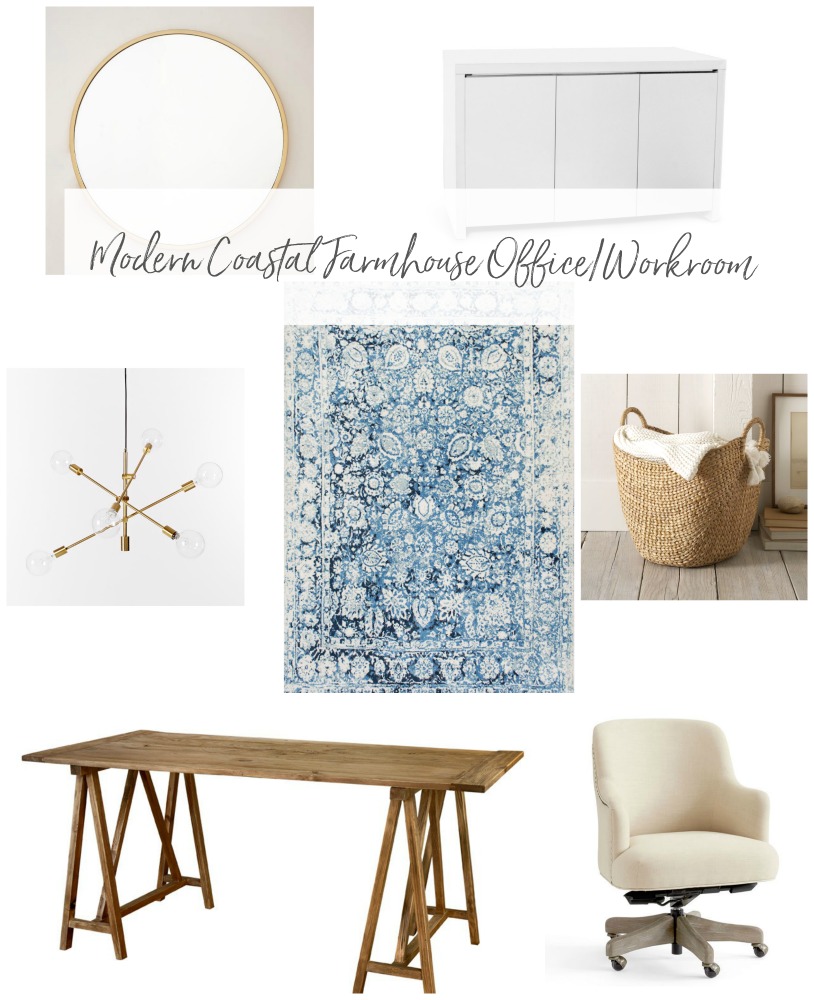
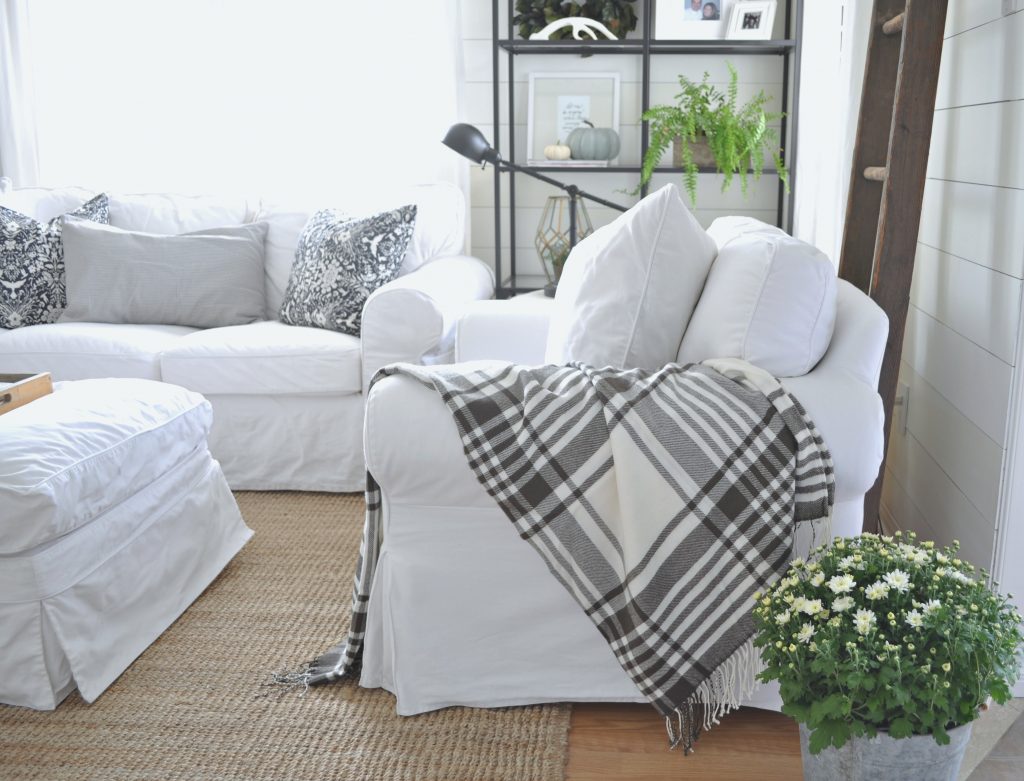
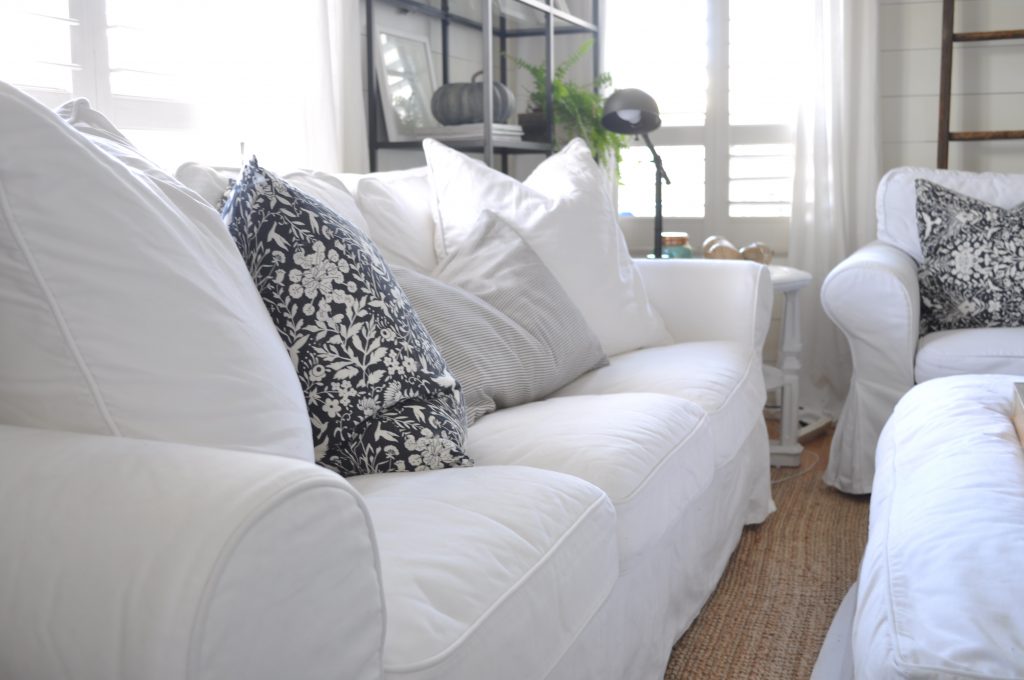
If you’ve been around my blog and Instagram for very long, you know this mood board  is very much in keeping with my decor style. I’m loving the white and wood with shots of blue and brass.

Plan of Action

  • Declutter everything that’s in the room, including the closet. Empty the room of everything.
  • Add some cosmetic changes to the walls that will be a surprise (because I still haven’t decided yet! lol)
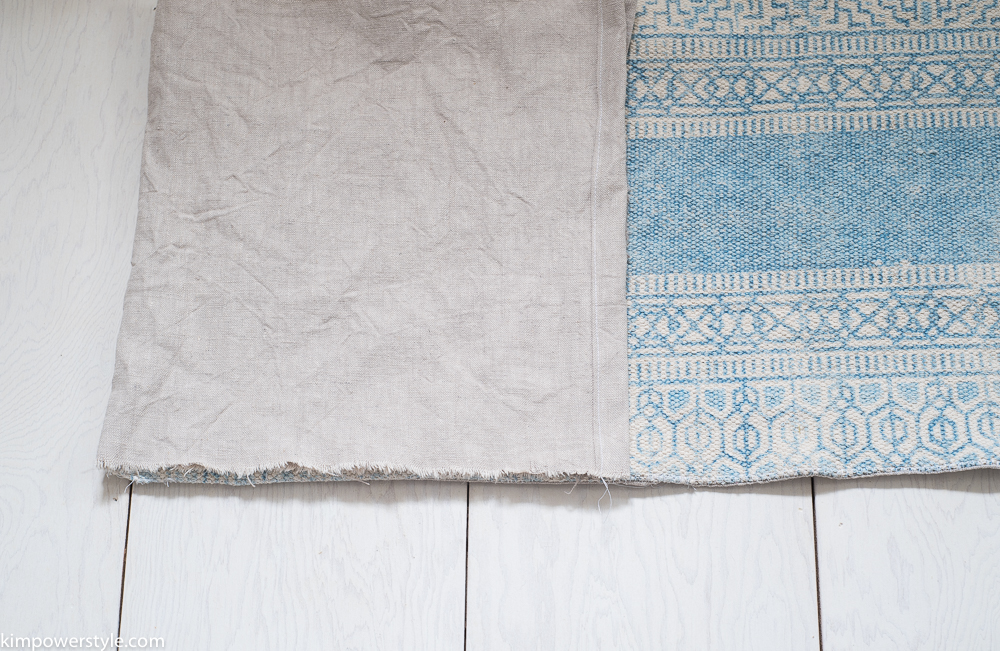
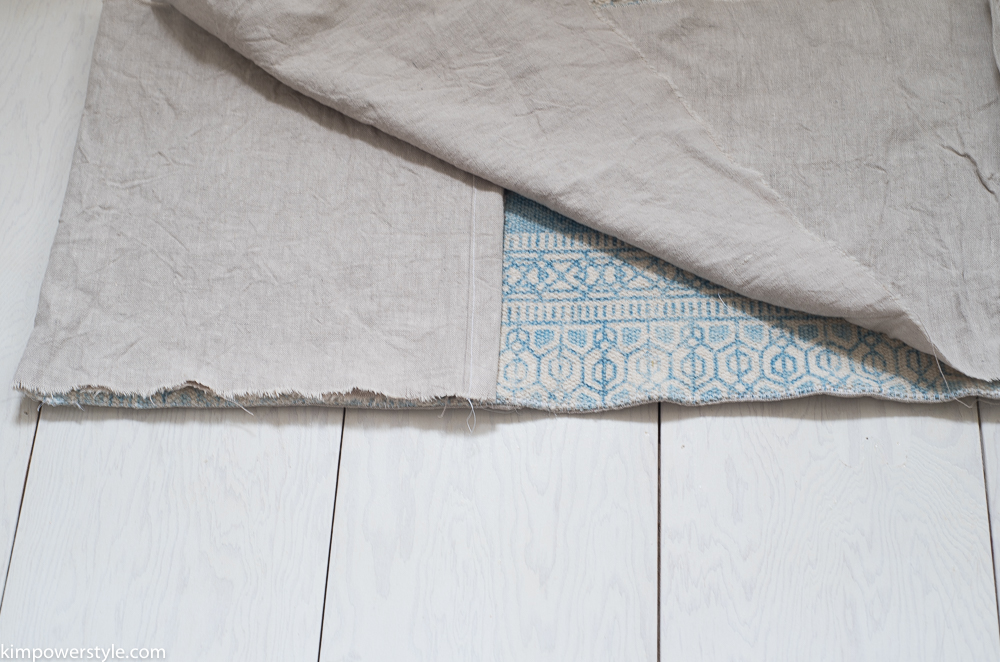
  • Add a rug that will anchor the room and add some colour and texture.
  • Find a good desk chair that  is not only pretty but enable me to work in comfort.
  • Change out the lighting. Although I love the little chandelier that’s there now, It’s too small. A hit of brass will add a more modern feel to the room.
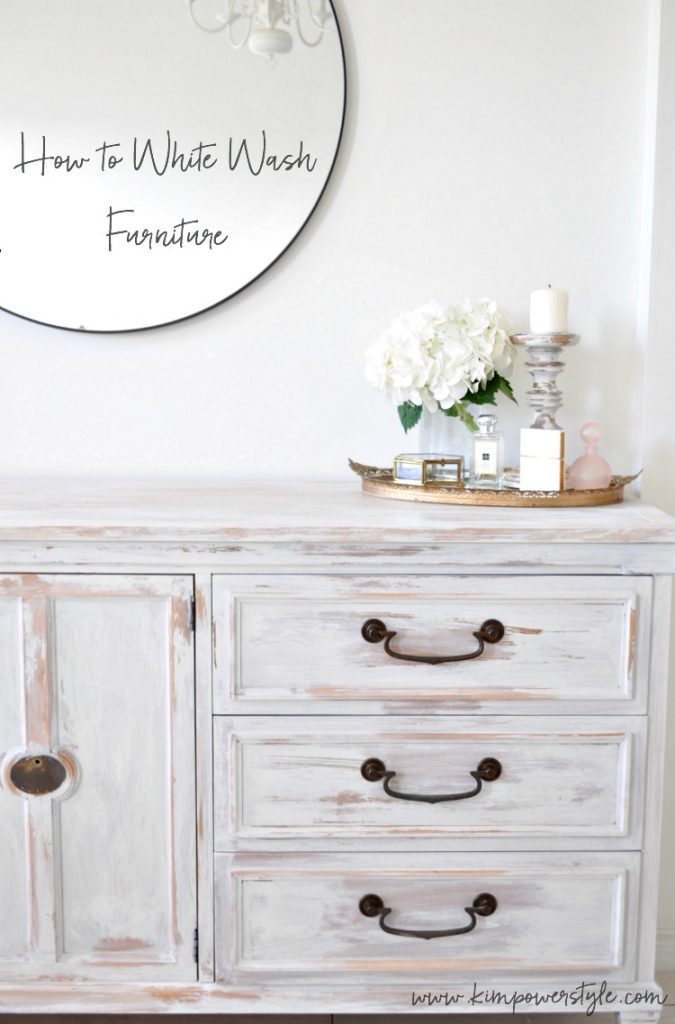
  • Change out the large mirror for a round one with an antique brass finish.
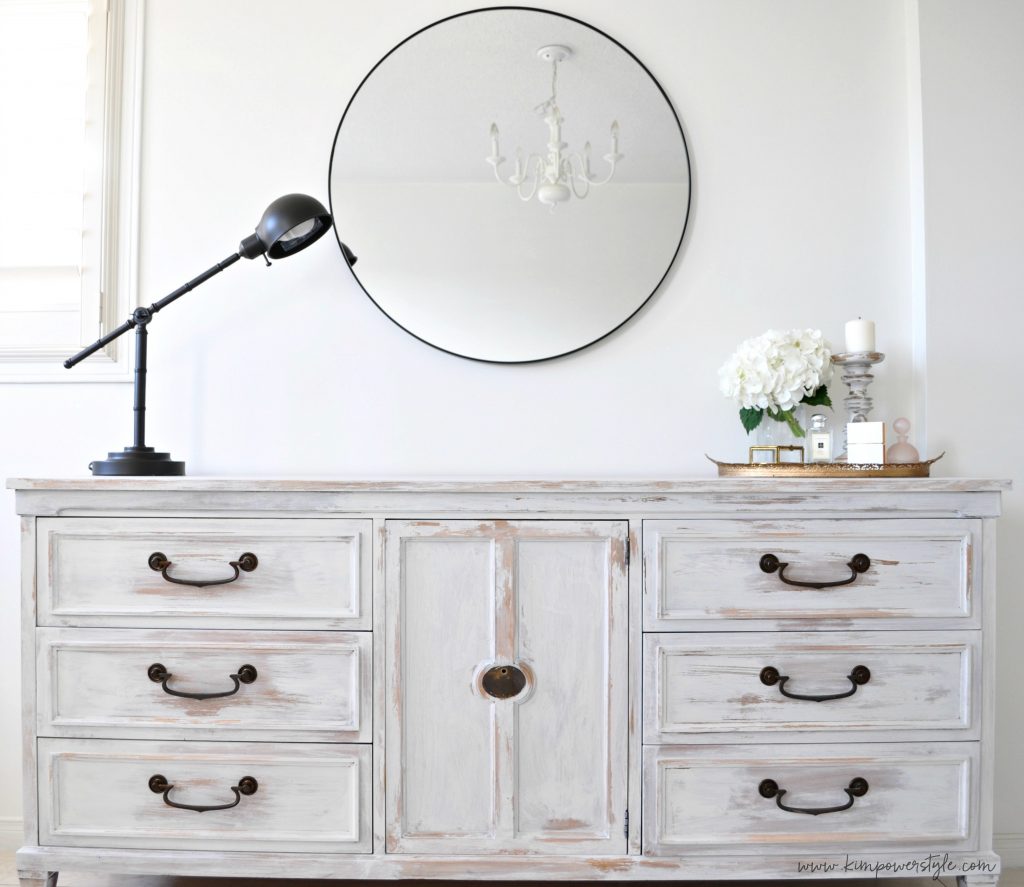
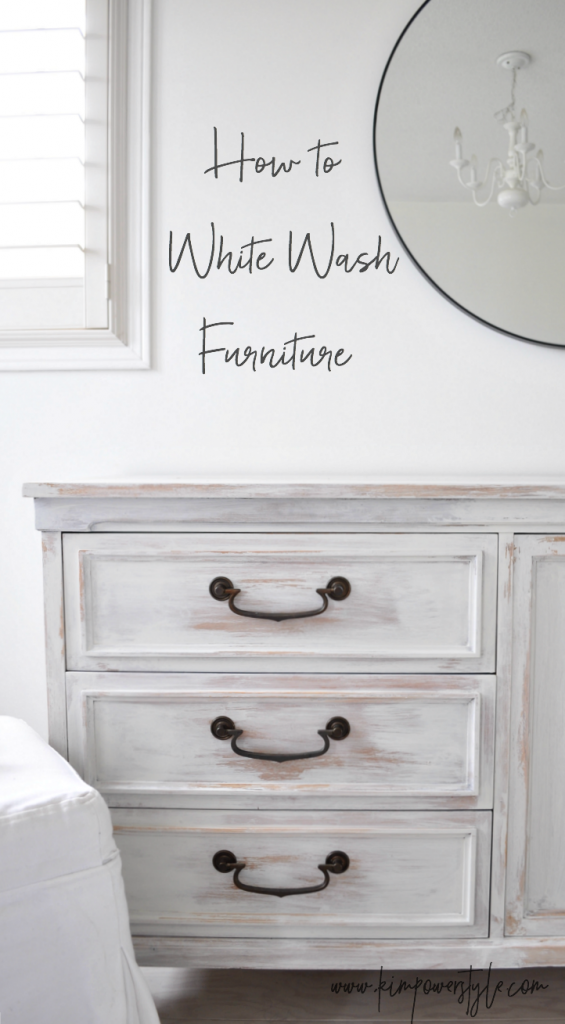
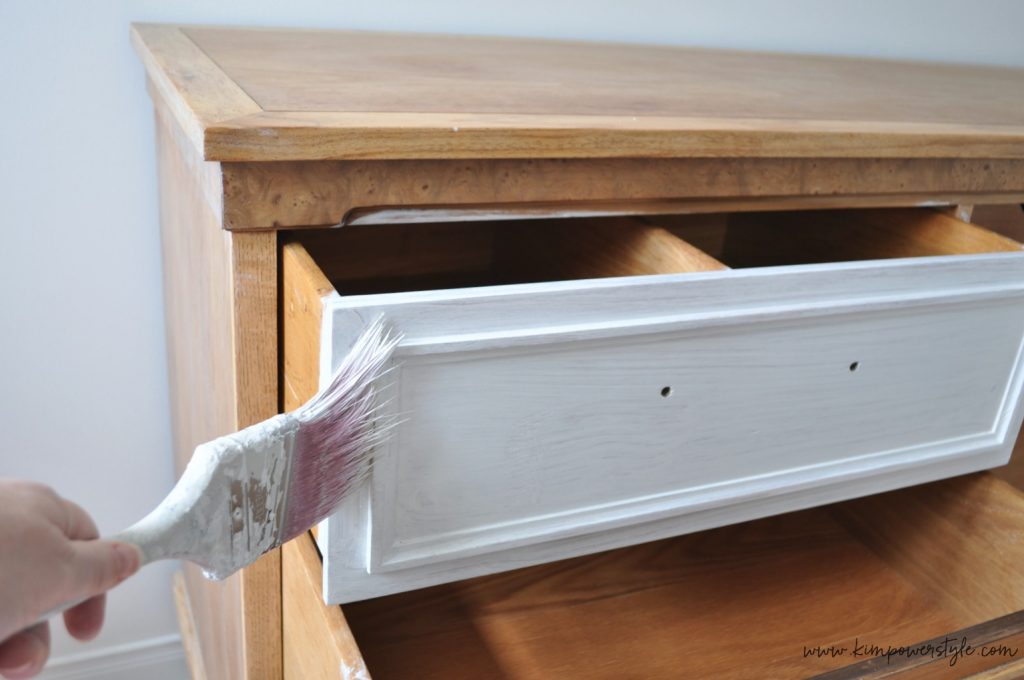
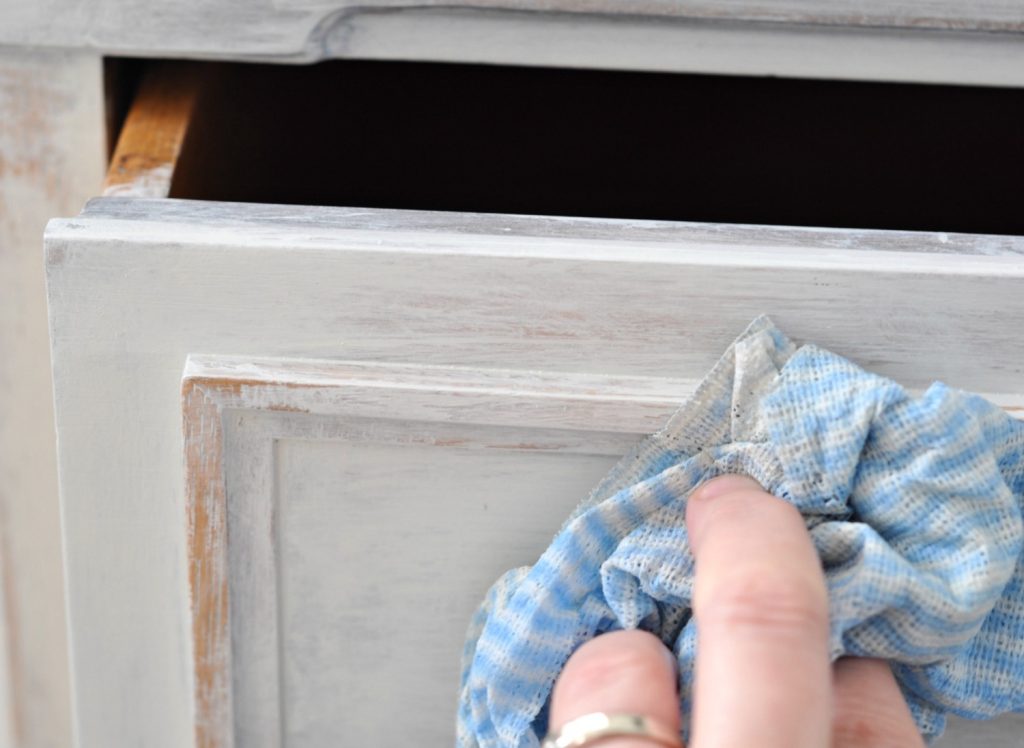
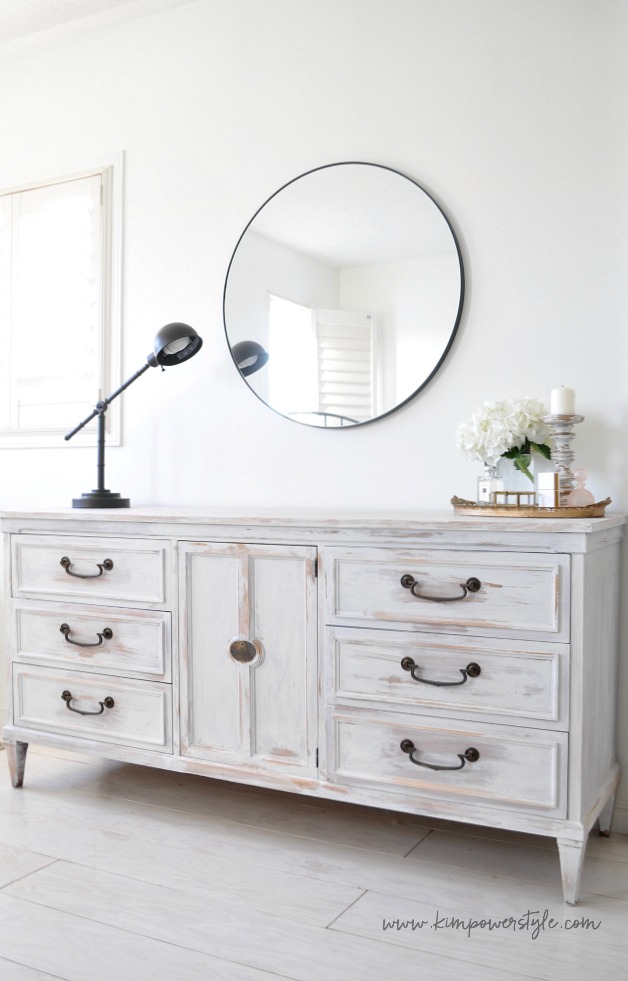
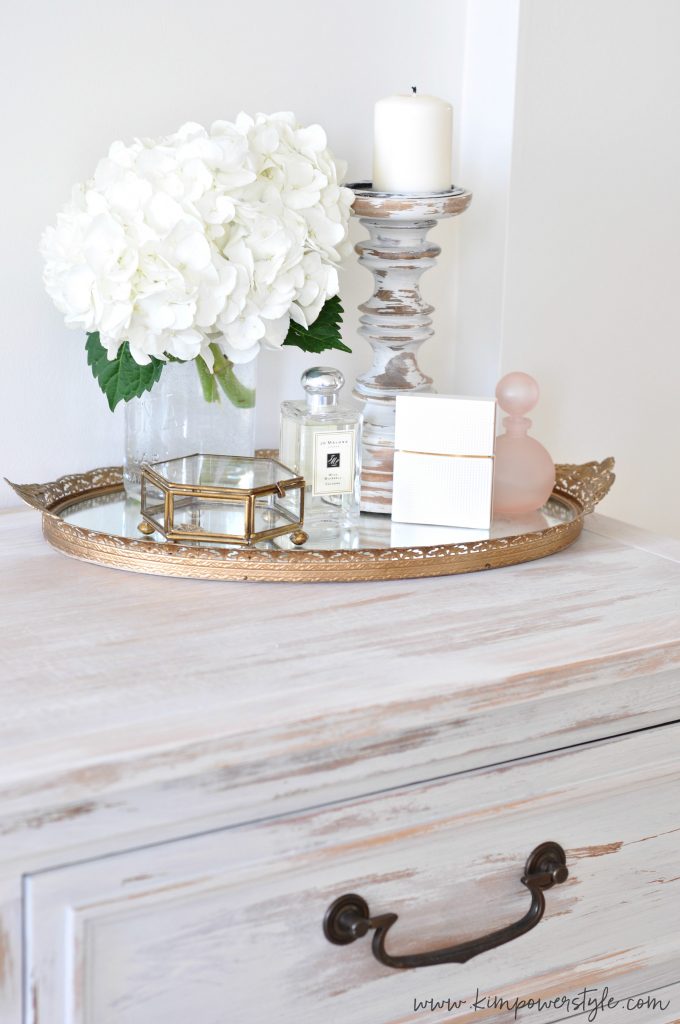
  • Find proper storage. I would like to add these sideboards so that the clutter will be behind the doors, making the room more streamlined.
  • Add some wicker baskets to help with storage and to add texture.

I’ve got so much to do, so lets get this party started! I hope you’ll drop by the blog next week to see the progress. You can also find me on Instagram and Pinterest.  I’ll need the encouragement by then!

Blessings,

Kim


Filed Under: diy, Home decor, Makeovers, spring

DIY Throw Rug Pillow Tutorial

6:00 am by kim 11 Comments

DIY Throw Rug Pillow Tutorial

I’m loving my DIY throw rug pillows so much that I thought I’d share with you all exactly how I did it. I found the rug at Homesense and it was love at first sight! I was thinking about using it as my kitchen rug but it was too darn pretty to be hidden away on the floor. I knew I wanted to see this pattern often. It was a 2.5’x3.5′ rug which would easily give me three different pillows of varying sizes if I added a complimentary fabric to the back. I’ll share with you how easy it was to put together in case you’d like to try it yourself! I used a simple envelope style, no zippers! I did a post years ago on how to make an envelope styled pillow called the “the 5 minute pillow” you can find that here.

DIY Throw rug into pillows

Turn your favourite throw rugs into pillows

Throw Rug Pillow Tutorial

Materials Needed:

  • Throw rug of your choice.
  • A complimentary fabric for the back of your pillow.
  • Sewing Machine.
  • Measuring Tape.
  • A good pair of sharp scissors.
  • Pins.
  • Thread.

Tutorial:

  1. Start by figuring out how you’d like to cut up your rug. My rug had lines and patterns that made it easy for me to divide it up. I ended up with three rectangles. The middle one being the larger. This tutorial will reference to the middle piece.
  2. Finish off your raw cut side. The rug will have two finished sides (meaning they’re already bound with a hem so no fraying) and 2 unfinished sides. If you have a serger, go ahead and serge the unfinished sides. If you have a regular sewing machine like me that’s ok, you can do a zig zag stitch on your unfinished sides, this is going to keep the ends from fraying which they will! I actually did a very wide and tight zig zag and went over it twice! The edge started to fray right away and I was able to salvage it.                            Throw rug made into a throw pillow
  3. Now you’re going to measure and cut your coordinating fabric. (This will be the back of your pillow and will have two overlapping pieces which work as the “envelope” to get your pillow insert in and out from)  For your first piece, measure the length of your rug minus two inches (because that piece will be sewn 2″ inches down from the opening end of your pillow) and add 1″ inch for a hem. Eg. if your rug piece is 10″x30″ than your first piece of fabric will be 10″x29″The width will be the same width as the rug. For the second, smaller piece of fabric, I usually will do an 9 inch flap plus allow for a 1″ hem, making it 9″ of fabric. I use this same measurement every time I make an envelope pillow, only the width will change according to how wide your pillow is). The width for both pieces of fabric will be the same.
  4. Next, sew a 1″ hem on one end of  each of the two fabric pieces.Diy throw rug into pillow
  5. Now you will take your shorter fabric piece first and lay it over your rug piece, right sides together with your hemmed edge facing towards the middle.DIY Throw rug Pillows
  6. Take the longer fabric piece and lay it over your rug piece, right sides together with the hemmed edge about 2″ down from the opening side edge (L side here). Your long piece should be laying over the rug and also most of the shorter piece. So in some places you will have three layers.DIY throw rug pillowsDIY throw rug pillows
  7. Pin around the perimeter paying close attention to pin down where the hems are. Now sew along the perimeter of the pillow about 1/2″ in.DIY throw rug pillows
  8. Remove your pins and turn your pillow rightside out. You’ll notice you have a good size pocket to place your insert into. Now take the small flap and turn it rightside out and fold it over the other end of your insert. Go inside and stretch out the corners. You’re done!DIY throw rug pillowsDIY throw rug pillowsDIY throw rug pillowsDIY throw rug pillows

I hope this was easy to understand and that your were able to make your own! Don’t hesitate to leave a comment and ask a question if your need to. I’m happy to help! Please subscribe if you’d like to receive these posts straight into your inbox.


Filed Under: diy, Home decor, pillows, Tutorials Tagged With: diy, Home decor, Pillows, tutorial

DIY Throw Rug Pillow

4:41 pm by kim 3 Comments

DIY Throw Rug Pillow

Have you seen those gorgeous pillows around? the ones that look like they’re made from an old vintage rug? Well I have and I love them, the price…not so much. When I saw this gorgeous throw rug at Homesense, I knew I wanted it for throw pillows! I loved the vintagey denim vibe it had going on and thought it would be great to add to the rest of the blue and white I use to decorate with in the spring.

DIY throw rug pillow

The rug was roughly 2.5’x3.5′ So I was able to get three pillows from one rug using a coordinating fabric for the back. I kept the lovely fringe from both ends to give the pillows some character. I paid $24.99 for the rug. I had the coordinating fabric and pillow inserts already so I was able to get three of these beauties for the price of the rug!

DIY Throw Rug Pillows

I had some leftover fabric from another project, a cotton/linen blend, and it works perfectly with the  colours in the rug. I used a simple envelope style enclosure so there were no zippers to work with.

DIY Throw Rug Pillows

DIY throw rug pillows

DIY Throw Rug Pillows

DIY Throw Rug Pillows

DIY Throw Rug Pillows

DIY Throw rug pillows

DIY throw rug pillows

I’m pretty excited about my new pillows! Thanks for dropping by today and sharing in my pillow joy! I’ll be sharing the tutorial for how to make these shortly. Also, stay tuned for a couple of spring tours coming up this month.

Filed Under: diy, Home decor, pillows Tagged With: diy, Pillows

DIY Wood Bead Garland

2:40 pm by kim 6 Comments

DIY Wood Bead Garland

Hello everyone! I wanted to share my latest thrift find with you and how I made my own wood bead garland. At least once a week I’ll frequent a few of my favourite spots for thrifting and every now and then I’ll find something that catches my eye. I’m pretty choosy about what I bring into the house so it has to be something worth putting up with the extra clutter for! When I saw a bag of these beads and realized they were wood, I was giving myself a high five. That is until I found more bags just like them, and then I was running through the store with all I could carry cradled in my arms to find a cart! Yep, I was in the “found junk I like” zone!

I’ve seen these wood bead garlands all around my favourite blogs and IG accounts and always wanted one but here in the north, they can be pretty pricy. So when I found these wood beads at such a reasonable price I knew just what to do with them.

Wooden craft beads

Beaded wooden garland

These beads are about 1.5 inches wide and I used a little over one bag to make a garland approximately five feet long. I simply strung them together using some jute twine and tied knots on either end to keep them in place. They can be made to any length depending upon the size, amount of  balls, where you’d like to display them and the type of impact you want to make. I’ve also seen them with tassels on the end, painted as well as mixed with other materials like felt balls. The sky’s the limit! I made mine pretty simply so that they could be displayed across a table as well as fill bowls and baskets.

Wooden bead garland as a coffee table accent.

I’m so thrilled with my wooden bead garland. It makes such a great coffee table accent and would add  amazing texture anywhere. Needless to say I’ve got a few orders to make some more!

I’m all for doing a great DIY…if it’s cheaper to do so! With some of the prices I’ve seen to buy these already made, I think this would be a great project to DIY. If you’d like to try and make your own wood bead garland you could check out your local craft stores for the beads, I’ve also provided a link for something similar here.

Beautiful wooden beaded garland makes a great coffee table accent.

Diy Wood Bead Garland

Thanks so much for stopping by and I hope you’ll share if your try this!

-Kim

Filed Under: diy, Home decor

Winter Whites in the Living Room

7:00 am by kim 14 Comments

Winter Whites in the living room

Happy New Year everyone! I hope you’ve all had a great time with family and friends over the holidays. I took the opportunity to spend a few days in my pj’s and loved every minute of it! It’s been difficult to get out of the party, sofa and netflix mode and back into the work mode though. I thought I’d share how I’ve transitioned from holiday decor to winter whites in the living room.

As much as I love decorating for Christmas, I love taking it all down and simplifying come the new new year. I managed to get my tree and most of the decor down on New Year’s Day, with just a few things left to do in the dining room and guest room. Sometimes it can be a little difficult to leave it all behind so I like to transition myself out of the holidays and I’ll keep a few wintery pieces around.

Winter whites in the living room.

I’ve kept the pom pom wreath up along with the preserved boxwood wreaths.

Winter whites in the living room

Bringing back my fiddle leaf fig adds a little green in the corner and the birch pieces look great as wintery white accents.

Winter whites in the living room

Winter whites in the living room

The addition of faux fur cushions and white wool throws make me feel like I’m in a wintery chalet. Especially when the candles are lit and the fire is going in the evenings!

Winter whites in the living room

Winter whites in the living room

 I think pinecones are great as wintery accents and I placed some tiny ones in a little marble bowl and I left the large sugarcones on the end tables. Although there’s a lot of white in the room, the different textures help add warmth and coziness to the space. Which really helps when you’re looking at another couple of months of cold, snow and ice!

Winter whites in the living room

Thanks so much for following along with me these past few months while I got this new blog up and running, I appreciate each one of you! I’m looking forward to sharing some new DIY’s and makeover projects with you all in the new year!

Blessings,

-Kim

Filed Under: Home decor

Canadian Bloggers Christmas Home Tour 2016

6:00 am by kim 28 Comments

A Festive and Cozy Christmas Tour

Welcome everybody and thank you for joining me and 28 other talented bloggers and friends for the Canadian Bloggers Christmas Tour! This is my second year being part of this great group of bloggers hosted by the lovely Christina from The Diy Mommy. This is also home tour number two of the season for me. If you missed last year’s tour, you can find that here, and if you’ve missed my recent Christmas tour you can find that here.

Our first stop is the master bedroom. My house is pretty small and my master is no exception, It fits my kingsize bed and my two sewing-machine-tables-turned-nightstands perfectly though.

Simple Christmas decor in the bedroom

I kept the Christmas decor in the bedroom simple, easy and cozy. A boxwood wreath, some winter themed bedding, a few little baubles and some natural decor items were all I added to give it a festive feel.

Simple and easy Christmas decor in the bedroom

Simple and easy Christmas decor in the bedroom

Simple and easy Christmas decor in the bedroom

Christmas decor in the bedroom

Simple and easy Christmas decor in the bedroom

Winter themed bedding

I found this winter themed bedding in October and knew I needed it for my Christmas decor. It will last until February!

Canadian Bloggers Home Tour 2016

Next stop is the living room with a view into the breakfast nook. My decor centered around the toile fabric on the cushions. I found this fabric years ago at a garage sale and have used it as curtains before. I think it looks great as cushion covers. The pink pointsettia fit right in, I loove the colour!

A simple and natural Christmas

Christmas time in the living room

A simple natural Christmas tree

The pom poms on this throw fit in with the felt pom pom garland on the mantel and in the breakfast nook perfectly.

Christmas Tour in the living room

Christmas time in the living room

Christmas in the living room

The mantel done up for Christmas

bowl of Christmas balls

Pom pom garland on the mantel

I love the colour and whimsy these little felt pom pom garlands add.

Christmas Tour 2016

Christmas Tour 2016

I made this little bunny years ago and he has a lot of sentimental value. He can be found under the tree every year.

Christmas in the living room

Gingerbread houses in the breakfast nook

From the living room you can see into my breakfast nook. I’ve decorated it with a few gingerbread houses.

Gingerbread houses in the breakfast nook

Christmas Tablescape in the breakfast nook

This is what it looked like for my last tour when it was decorated for Christmas brunch.

Christmas in the living room

This is what the tree looks like at night. It’s a cozy spot to sit in the evening by the light of the tree and with the fireplace going.

Christmas tree lit up at night

Christmas Tour 2016

Thanks so much for joining me! Please make sure to visit all of the 28 other beautiful home tours featured this week. You can find all of the links at the bottom of this post. I hope you can find some inspiration to help make your own home festive and cozy!

2016-canadian-bloggers-christmas-home-tour

Monday

northern style exposure
The Learner Observer
The Uncommon Law
Heather In Heels
Clean and Scentsible
THE SWEETEST DIGS

Tuesday

Amidst the Chaos
Brooklyn Berry Designs
lemon Thistle
Suburble
Life is a Party
PMQ for two

Wednesday

Love Create Celebrate
Satori Design for Living
A Pop of Pretty
So Much Better With Age
VinYet ETC
Woman in Real Life

Thursday

The DIY Mommy
Fresh Crush
Time With Thea
A Pretty Life
Home To Heather
Nalles House

Friday

This Little Estate
Craftberry Bush
The Happy Housie
Kimpowerstyle
Elliven Studio


I’ll be linking up to The Nester

Filed Under: Christmas, Home decor, Seasonal tours

Guest Room Makeover Week 4-The Slipcover

6:00 am by kim 4 Comments

Hello everyone! It’s been a crazy busy week here and I’ve been working on projects, preparing for the Christmas season. I realize that I said reveal week would be this week but I made a mistake! I had one more project to finish before the reveal. On December 1st I’ll be joining with some amazingly talented bloggers and sharing the first of  my two Christmas Home Tours. The guest room makeover will be revealed in the 1st home tour. So stay tuned, you don’t want to miss that!

Guest Room Makeover Week 4 – The Slipcover

Guest Room Makeover Week 4-The Slipcover

I found a wingback chair at a local thrift store for a few dollars a couple of months back. I had planned on trying my hand at painting it but changed my mind when I found this white denim fabric for 50% off. I love using denims for linen as they’re so durable and can  handle lots of traffic and washings. It took me a few days of marathon sewing, definitely not for the faint of heart,  but I finally finished it. This is my third time making a  slipcover and I think it’s my favourite one I’ve done. I’m loving the cute little frill around the bottom and how great it looks in this room! Slipcovers are amazing for covering a multitude of sins and they’re washable.

Guest Room Makeover Week 4 The Slipcover

What do you think? Do you have an old chair that has great bones but is in need of a makeover? Try your hand at a slipcover. If you’d like a tutorial, let me know in the comments below!

Thanks for joining me for this quick guest room makeover update!

You can follow along with the Guest Room makeover progress here:

Week 1 Whitewashing furniture

Week 2 The Jute Rug

Week 3 Tea Towel Bedskirt

And stay tuned for the final reveal…for real!

-Kim


Filed Under: diy, Home decor, Makeovers

The Guest Room makeover and White Washing Furniture

3:06 pm by kim 36 Comments

The Guest Room Makeover and White Washing the Dresser

Hello friends! I’ll be working on the guest room over the next few weeks leading up to the holidays. We’ll have all three of the girls and one son in law home for Christmas and I want to make it as comfortable as possible. It’s also a great excuse to spruce up a plain room! The first project I  started on was white washing the dresser and I couldn’t be happier with the results.

A garage sale find wooden dresser before the white wash.

I found the dresser a few summers back at a garage sale for next to nothing. It’s a solid piece that came with two nightstands as well. Unfortunately, I gave those away and have been kicking myself since. They would have looked great in the room, but they’re gone to a good home. The dresser was stained and varnished when I found it and I spent a couple of weeks removing it all… only to white wash it! I actually liked it in it’s raw wood state, but felt the piece needed a little character. White washing the piece to achieve a distressed worn look, would help it fit in with the modern farmhouse look I’m going for in the guest room.

The dresser white washed to achieve a distressed using leftover paint.

How to white wash furniture, a simple, easy tutorial.

How to White Wash furniture Tutorial

For those of you who have never tried this technique before, it is one of the easiest to do! The whole process cost me absolutely $0! Now if you’re somebody who doesn’t have any leftover paint kicking around it may cost you for the paint. The smallest size container will do! This technique is called white washing because you usually use a white, off/white paint colour. However, you can do this in any colour! White washing can also refer to the effect of washing over, with paint or stain, another colour or stain to tone down or add an effect to your piece. This tutorial however, will be a simple and easy white wash over wood.

You will simply need:

  1. Paint of your choice. (It’s better to use a flat finish but I’ve used satin and eggshell before too). Depending on the finish you’re looking for,  your paint can be mixed  1:1 with water.
  2. Paint brush.
  3. Cloth or rag (one that doesn’t leave behind any lint).
  4. Sandpaper (optional, if your decide you want to distress it a little more after it’s dried).

I wanted to achieve the effect of a painted piece where over time  it has lost it’s paint with wear and tear. You can white wash your piece more evenly so that it looks less distressed. It’s up to you! I also chose some leftover paint that was more greige than white. The dresser had a bit of orange in the wood that I thought the greige would tone down.

  • Start by adding your paint with the paint brush in sections (the effect will change depending on how dry or wet the paint is when you try to remove it with your cloth. So working in sections will help you obtain a more uniform look).
  • Depending on the look you want to achieve, you can then use a dampened cloth to remove some of the paint and or begin to “wash” your section with the cloth to remove any brush strokes. The more you wipe, the more paint you’ll remove. You’ll notice that you need to rinse your cloth out after each section to remove excess paint.
  • Sometimes you’ll think that you removed too much paint, (unless that’s the look you’re trying to achieve). No problem, simply add more paint with your brush.
  • The time you allow between applying the paint and wiping it off will also change the look. I let my paint dry for a few minutes after applying, This gave me more of a “sanded” look rather than “washed”.
  • Once you’ve finished your piece and are happy with it, you can apply a coat of poly to help protect the finish. A matte or satin finish would be better, but it’s up to you!
  • If you’re not happy with the look, you can sand it to remove more paint or you can add more paint again and start over. The sky’s the limit! You can check out the coffee table I white washed last Christmas with a slightly different look here.

white washing the dresser for guest room makeover.

White washing furniture tutorial. First project in guest room makeover.

White washed dresser with tutorial

White washed dresser tutorial.

White washed dresser. First project in the guest room makeover.

Thank you for stopping by! I hope this mini tutorial was helpful for you. If you do try out this technique, I’d love to hear how it worked out for you!

-Kim

Filed Under: diy, Home decor, Tutorials

Canadian Bloggers Fall Tour 2016

6:00 am by kim 41 Comments

Welcome to our Canadian Bloggers Fall Home tour! I’m so excited to join in with nineteen other Canadian bloggers from across Canada to share our homes and fall decor. Each day a new group of bloggers will be sharing. Visit each home tour by following the links on the days at the bottom of this post!

If you’ve just come from  visiting Jennifer of Rambling Renovators, welcome to my home!

I love fall for so many reasons and it’s my absolute favourite season, what’s not to love? Cooler sweater and boot weather, warm comfort food, the changing of the colour of the trees and pumpkins to name a few.

When embarking on fall decor I’m not averse to any colour, the sky’s the limit! Last year I used brown’s, and tans with a hint of orange, you can find last year’s home tour here. This year I was loving the colours of the charcoal and sage coloured pumpkins and thought I’d use more of a black/grey and white colour scheme.

Fall Home Tour 2016

dsc_0234

Fall Home Tour 2016

I started off with charcoal and sage pumpkins and then found this gorgeous black and white floral fabric and sewed together these cushion covers. I added the black and white ticking cushion covers to complement them. Having a neutral backdrop makes it easy to add any colour you like to your decor.

Fall Home Tour 2016

bookshelves

Fall Home Tour 2016

Fall Home Tour 2016

You’ll notice lots of pumpkins! I added a mixture of faux pumpkins in plastic, paper and velvet, as well as some real classic sage and white ones along with my favourite little white baby boos. They were my main staple in decorating this year and I left out my usual cotton stems and branches. Sometimes you need to mix it up a bit, but they may come out yet, my decorating changes like the weather and I’m adding and removing things all the time!

I love any kind of eucalyptus during the holidays and this seeded eucalyptus is used all over my home right now. The beautiful soft green is in keeping with the sage and charcoal I used this year. You may also notice a bit of birch here and there. I basically have some form of birch hanging around all year long. The beautiful white and texture of it goes with everything and adds more of that natural element I like to bring into my home.

Fall Home tour 2016

The mantel in my family room is full of pumpkins with sage faux greenery flanked by a couple of faux topiaries. My mantels change constantly and I’m mixing thing up all the time!

Fall Home Tour 2016

My living room looks out onto the breakfast nook. I have a large collection of vintage ironstone and I’ve placed some pitchers  and an arrangement of platters, bowls and cake stands on the shelves. I display them and use them all the time. The rest of my ironstone is in the dining room and displayed throughout the house. I’ve simply added a few pumpkins out there along with a bit of eucalyptus on the table and thats it for fall decor. I change up the curtains out there in the fall into whatever I’m using to decorate with in the season. These curtains are a charcoal grey and white with a floral design. Whenever I have curtains that aren’t lined I place a pair of white curtains behind them to make them more opaque and appear heavier, which makes them appear a little more substantial.

Fall Home Tour 2016

Fall Home Tour 2016

Fall Home Tour 2016

Fall Home Tour 2016

I decorated my dining table with the same coloured pumpkins that I have in the living room. I’ve added some brass candlesticks to add some warmth and who doesn’t love candles on your tablescape?  I had different coloured pumpkins on the mantel in here but later changed them out for all white. I told you I change my decor like the weather! I made this simple linen table runner last year and It’s my favourite, I’ve used nothing else since I made it!  My table is set for a hearty fall soup with a thick french loaf…which I couldn’t keep my hands off which is why a third of it is missing 🙂

Fall Home Tour 2016

Fall Home Tour 2016

Fall Home Tour 2016

Fall Home Tour 2016

Fall Home tour 2016

I couldn’t do a tablescape without adding a bit of fairlyights! As well as candlelight I love mixing in some delicate fairylights interwoven between branches and/or greenery. It just turns what may otherwise be natural and simple into something that’s festive and sparkly. No matter what you’ve set your table with they up the wow factor!

Fall Home Tour 2016

Fall Home Tour 2016

I switched up my mantel in the dining room and used some simple faux white pumpkins along with some baby boos on top of seeded eucalyptus with vases full of dried green hydrangeas. Simple and beautiful.

Fall Home Tour 2016

Thank you all for joining me and staying till the end! For more fall decor inspiration be sure to follow the links at the bottom of this post to join the other bloggers on this tour!


2016-canadian-bloggers-fall-home-tour

Monday

Northern Style Exposure
Clean and Scentsible
Amidst the Chaos
Heather In Heels

Tuesday

The Happy Housie
Satori Design for Living
Love Create Celebrate
A Pop of Pretty

Wednesday

PMQ for Two
Brooklyn Berry Designs
Rambling Renovators
Kim Power Style

Thursday

The DIY Mommy
Vin’yet Etc.
Home To Heather
Fresh Crush

Friday

Life is a Party
A Pretty Life
This Little Estate
Suburble

Filed Under: Fall, Home decor, Seasonal tours

How to Arrange a Simple Fall Centerpiece

8:49 pm by kim 4 Comments

How to Arrange a Simple Fall Centerpiece

fall-baby-boos-copy

I wanted to share a really quick and easy how-to to arrange a simple fall centrepiece using what you already have in your fridge, fruit bowl and yard. For many of us, creating a beautiful centrepiece can seem a little overwhelming, not to mention budget breaking, especially when we see all the lovely pics on pinterest and in magazines. But if we look closely at those arrangements, most of the time they’re simply a few items that are easily accessible as well as easily alternated for other items we may have on hand.

The easiest fall centrepiece made with simple ingredients.

Depending on your own style, choose a container of your choice. I love my vintage wood bowl for centrepieces, it’s so pretty you could throw a bag of onions in it and it would  look good! I also like this little galvanized metal trough for arranging smaller objects like fruits, pinecones etc. You could choose a basket or platter in any size that will fit on your table .A plank of wood down the centre of your table would look gorgeous!  The sky’s the limit for containers!

I decided to use these little white baby boos because they just scream fall to me and really fit into my neutral decor. You could also use seasonal fruits like pears and apples. The markets are full of all kinds of little pumpkins and gourds at this time of the season and they’re pretty cheap too.

Next you can pick out any kind of greenery or natural elements you can find right in your own yard. I had some baby’s breath, but could have also used some oak leaves and acorns Bub’s and I find on our daily walk.

I looove twinkle lights! Most of the time I keep them up all year long hanging on my ladder, around wreaths and in clear jars. They just add that little sparkle that makes everything look pretty and festive. So, if you have some little battery operated twinkle lights you can place a strand or two weaved around your display. If you are doing your arrangement on a platter or flat surface like a wood plank, you could place little tea lights in your display. You may want to use the faux ones though if your arrangement includes any kind of dried leaves or anything flammable. Remember, safety first!

Now you can start with your largest pieces first and arrange them in a way that looks attractive to you.  Add some of your greenery between your larger pieces and stop when you feel like it looks full. If you have some lights, add them now.

bow-of-boos

baby-boo-trough-3

tablescape

dsc_0086

Stop and look at your creation. You’ve just made a simple fall centerpiece! It probably took you only a few minutes to do and looks beautiful! Everyone will think you spent so much time on it and it’ll be a one of a kind piece, creatively made by you!

Blessings my friends,

Kim

Filed Under: diy, Fall, Home decor Tagged With: f, Fall

  • « Go to Previous Page
  • Go to page 1
  • Go to page 2
  • Go to page 3
  • Go to page 4
  • Go to Next Page »

Primary Sidebar

Hi, I'm Kim Read More…

Instagram

Follow along on Instagram

Sign up and don't miss a post!

Recent Posts

  • Festive Bacon Wrapped Chestnut Holiday Appetizer
  • DIY Mantel Decorated for Christmas
  • Simple and Cozy Fall Home Tour
  • Simple Fall Tablescape

Archives

Footer

Copyright © 2025 · Foodie Pro Theme by Shay Bocks · Built on the Genesis Framework · Powered by WordPress