• Skip to primary navigation
  • Skip to main content
  • Skip to primary sidebar
  • Skip to footer

Kim Power Style

  • Home
  • Contact
  • About
  • Tutorials

kim

One Room Challenge™ Spring 2017 | Week 5 | Our Modern Coastal Farmhouse Office

10:53 pm by kim 29 Comments

One Room Challenge | Week 5

Hello again everyone,  It’s hard to believe that it’s week 5 already and that next week is the final reveal! I’m not sure where the time has gone but this challenge has been fun, crazy and scary all at the same time.  This week we’ve been busy  trying to pull everything together for our Modern Coastal Farmhouse Office/Workroom  makeover so that we’ll be able  to style and photograph it on the weekend. If you’d like to get caught up from the previous four weeks:

Week 1: The Plan

Week 2: Board and Batten

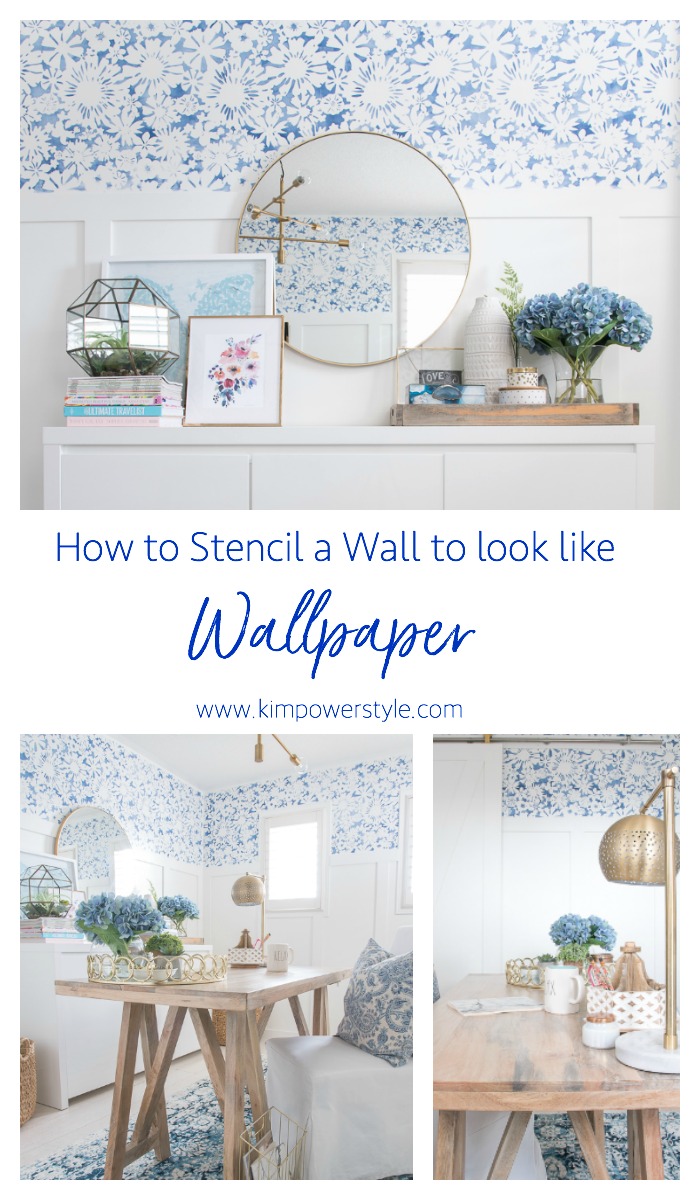
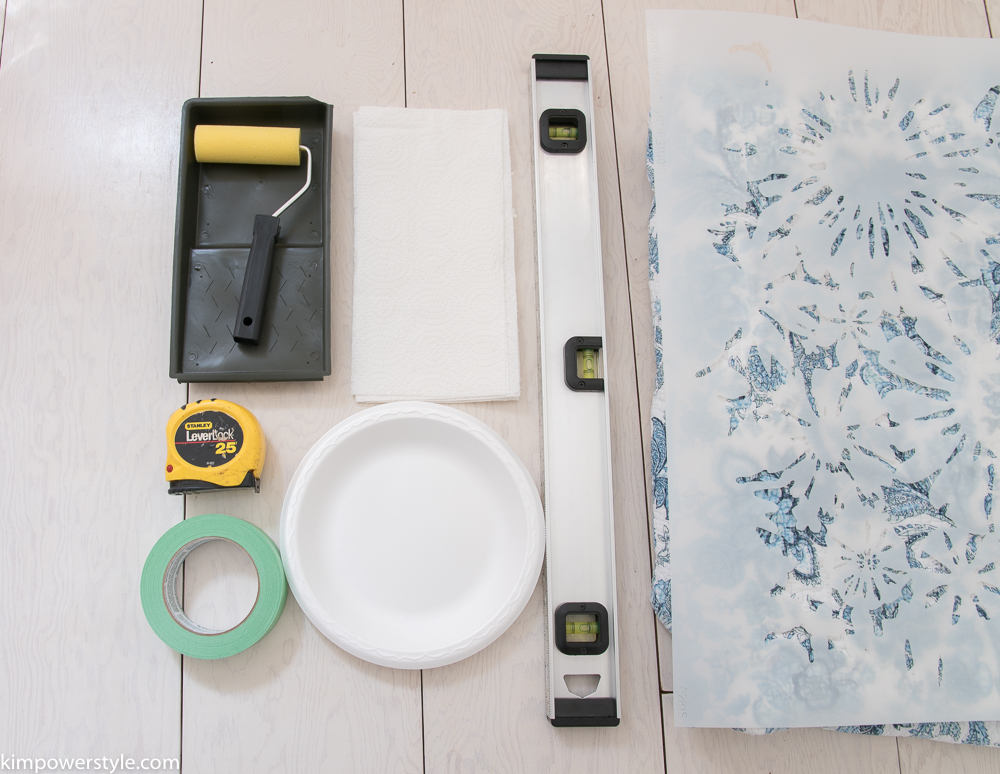
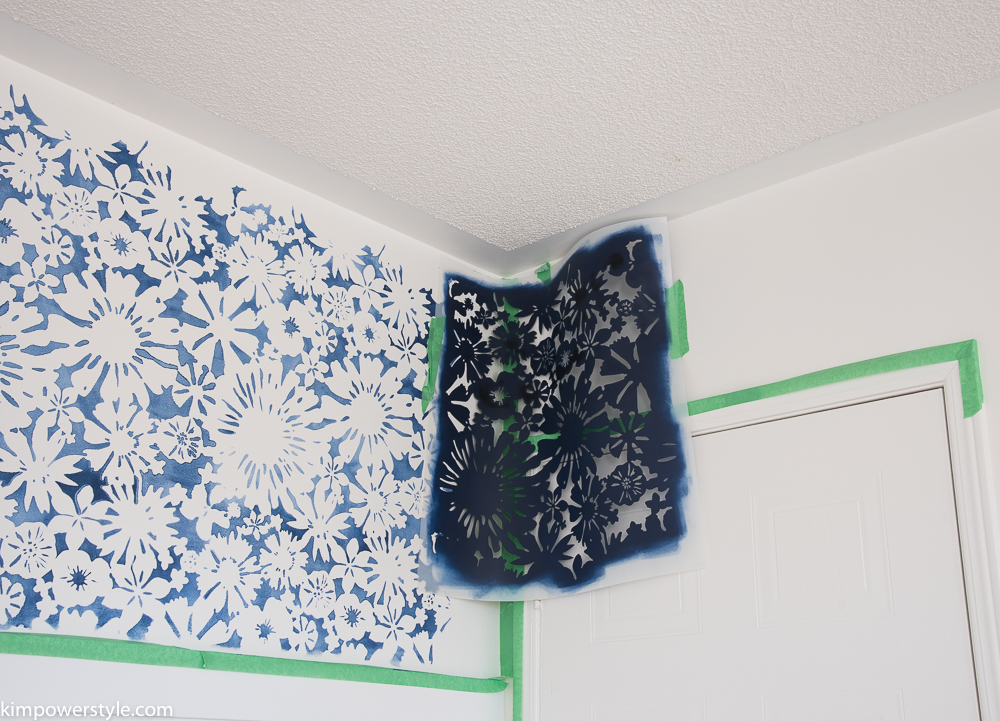
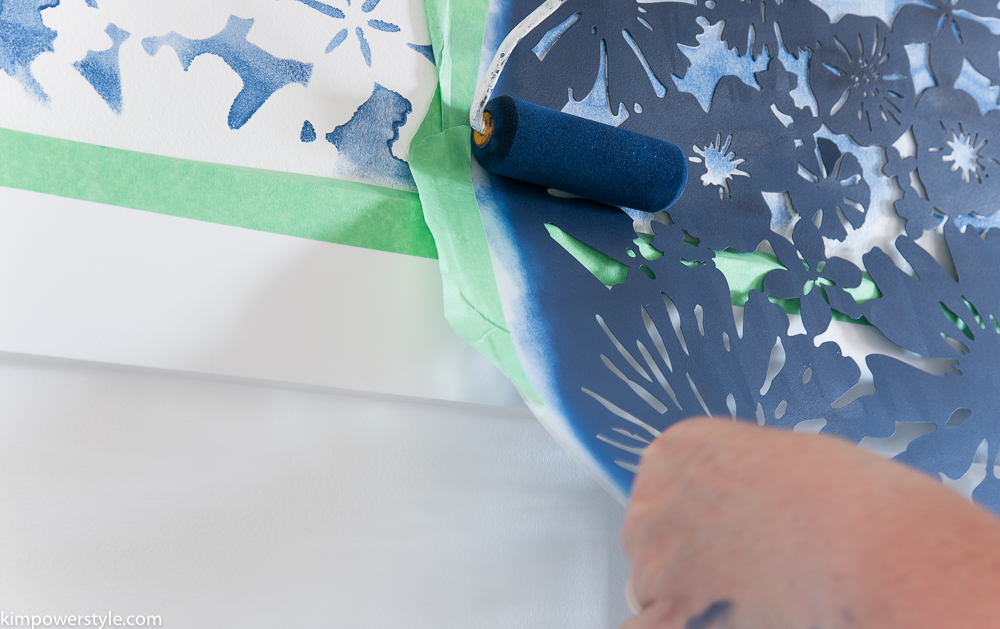
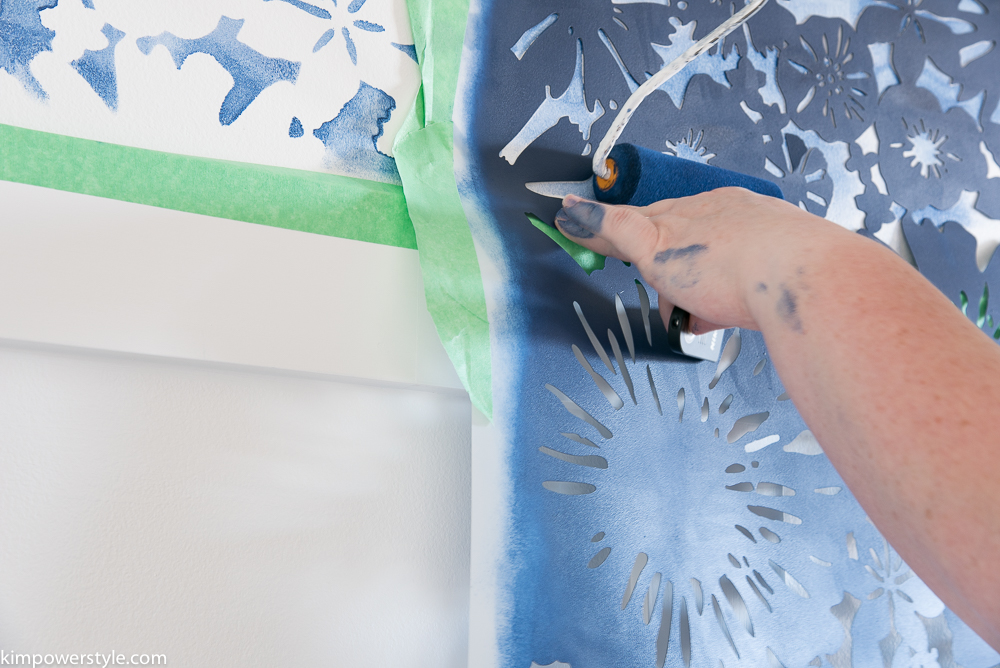
Week 3: Stencilling Tutorial

Week 4: The Barn Door

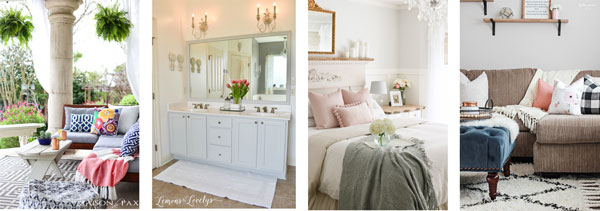
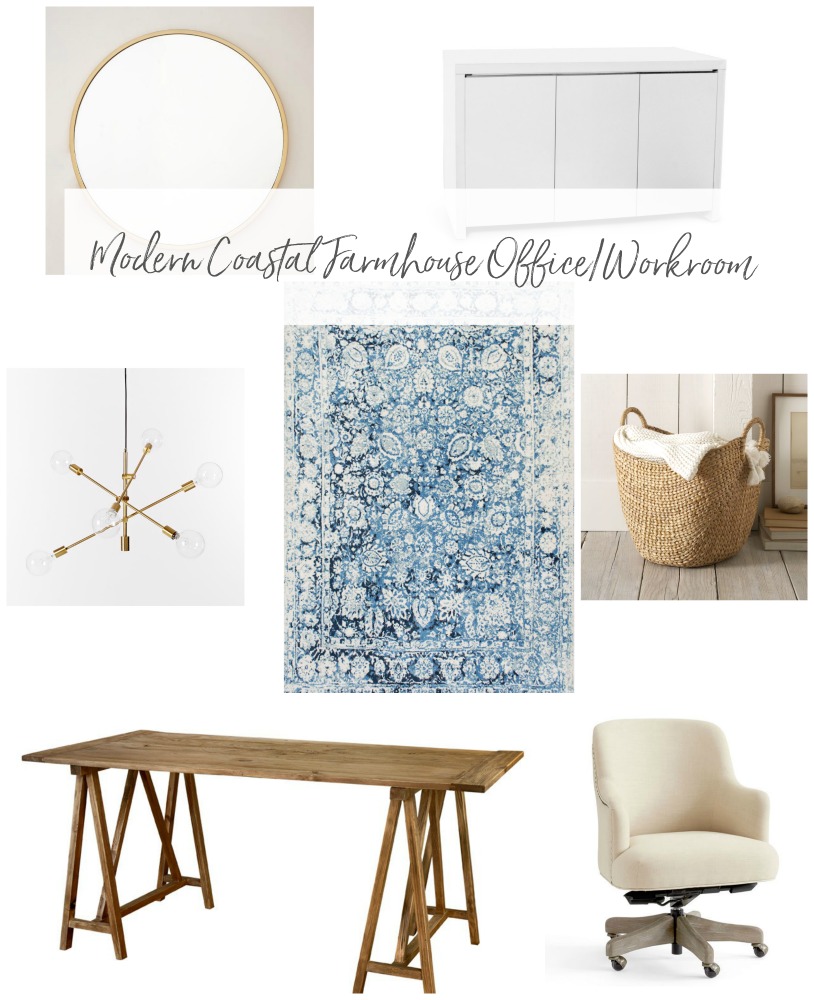
This was the mood board I had created and helped to guide me in my plans of the makeover:

Mood board for ORC 2017

This post contain affiliate links, all photography thoughts and opinions are my own.

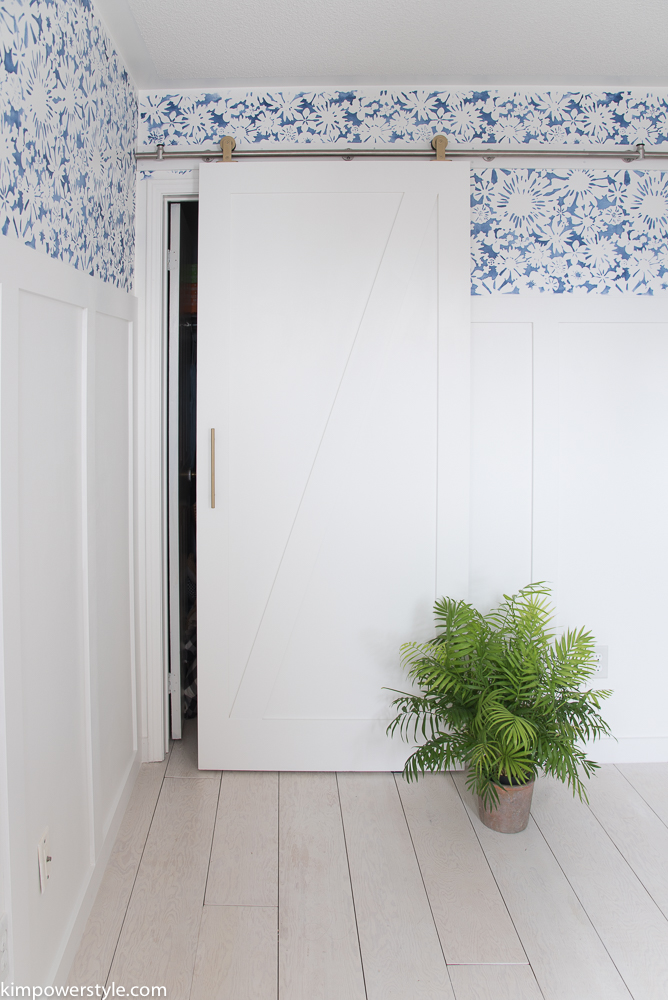
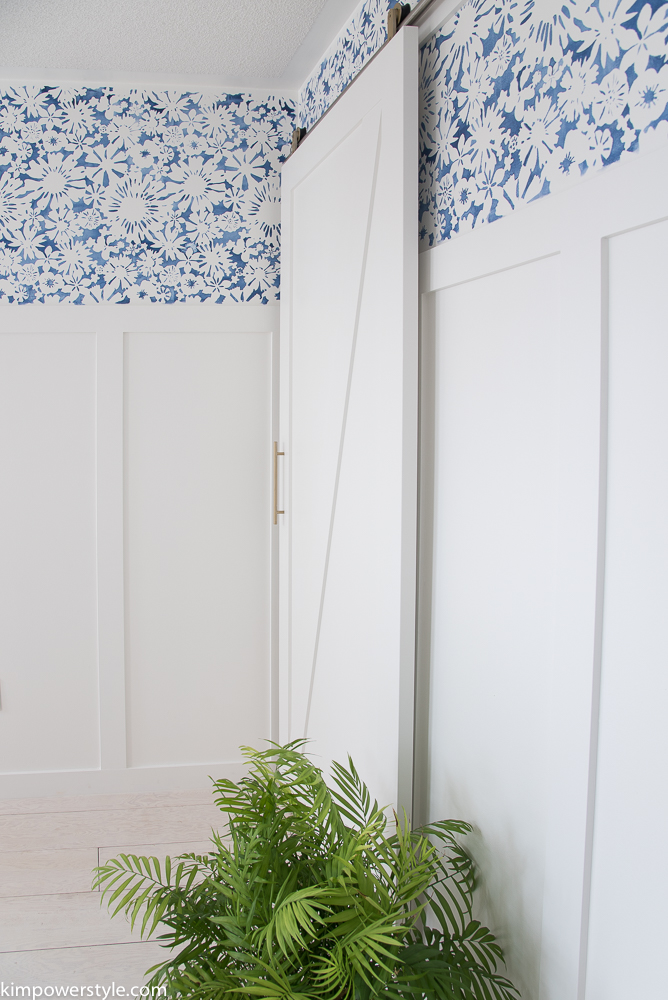
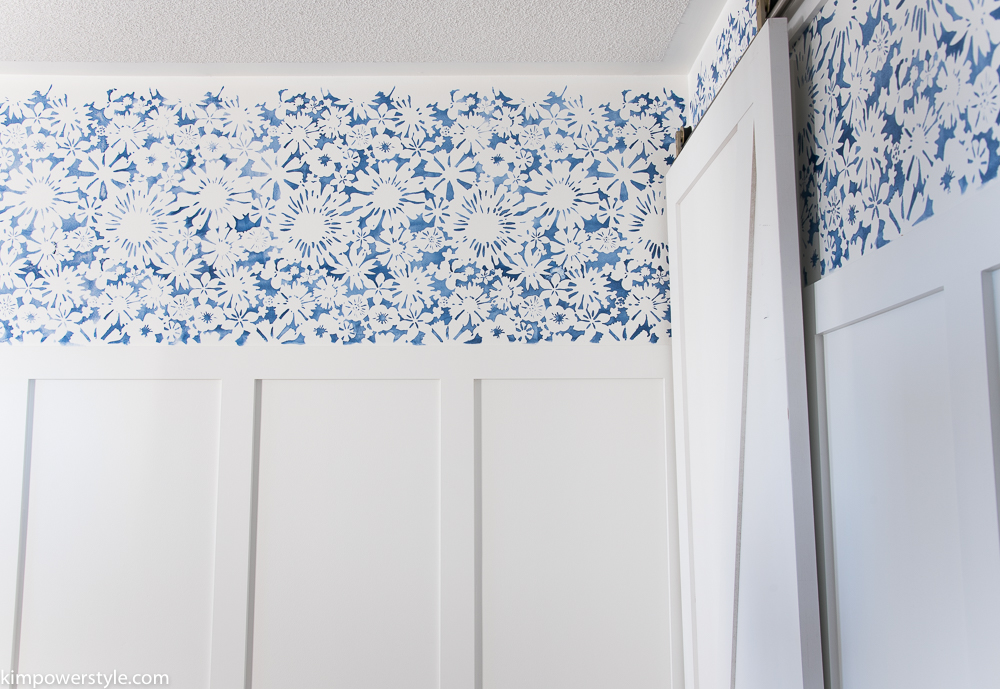
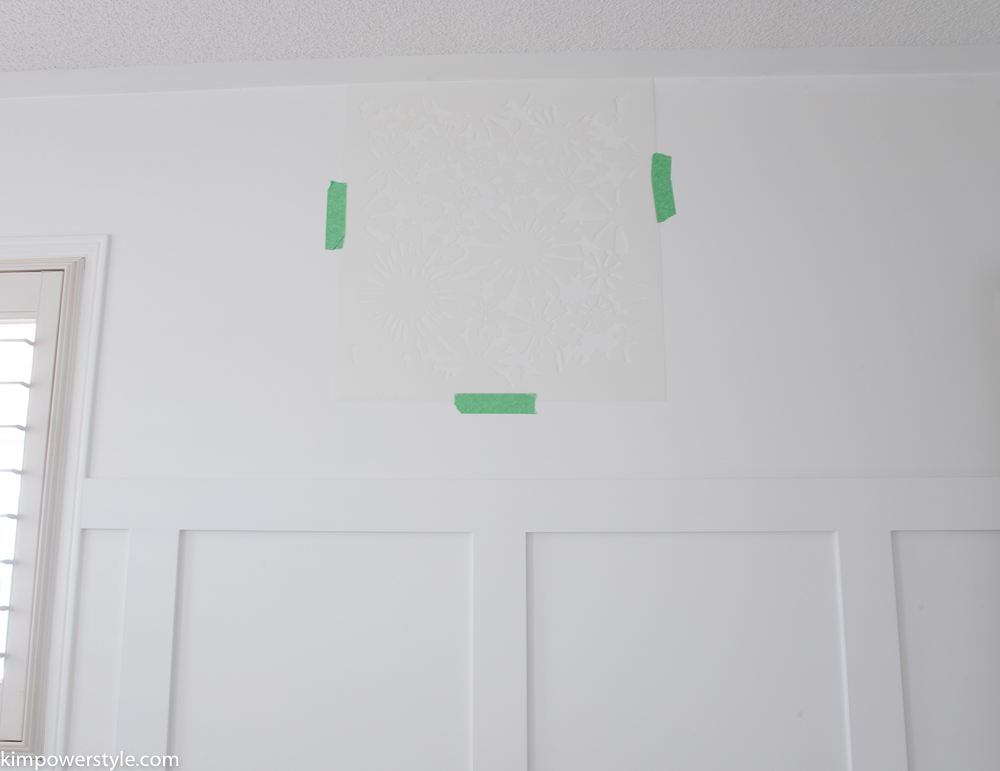
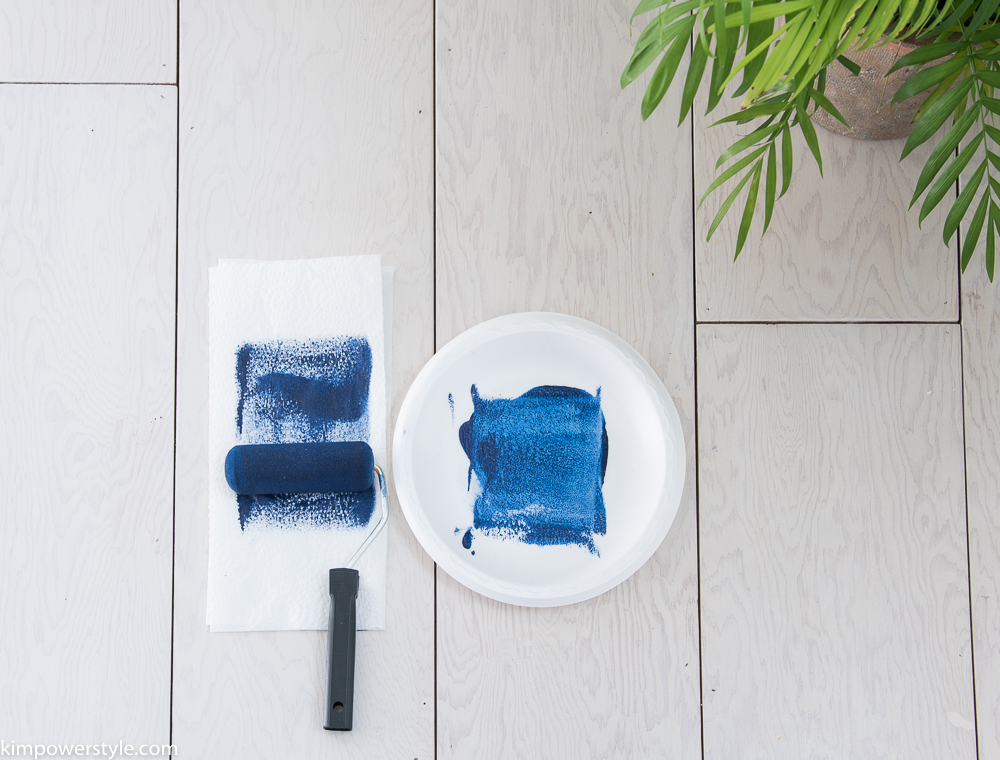
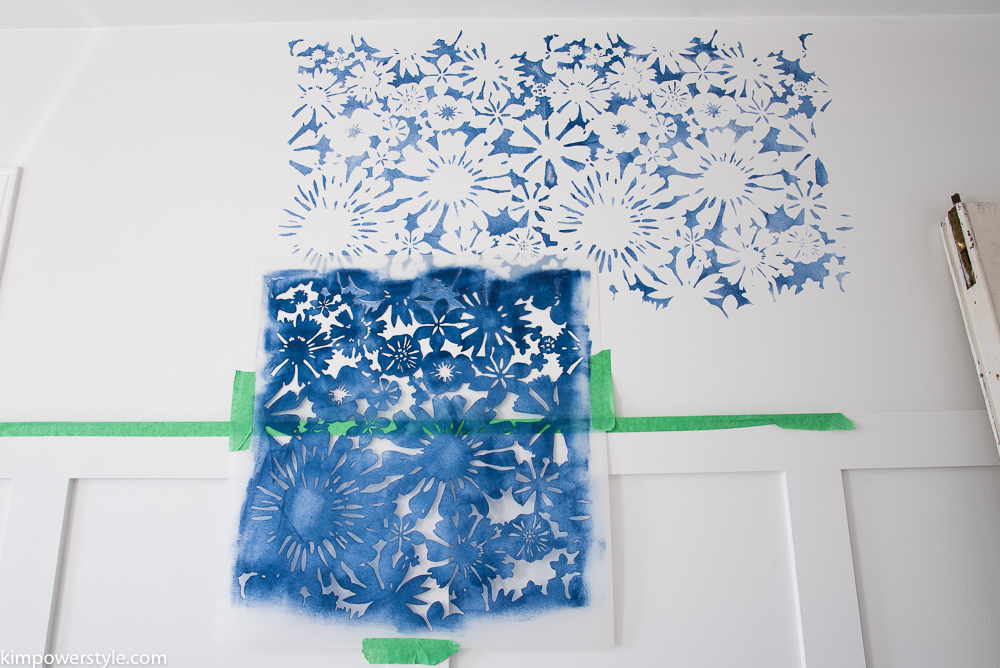
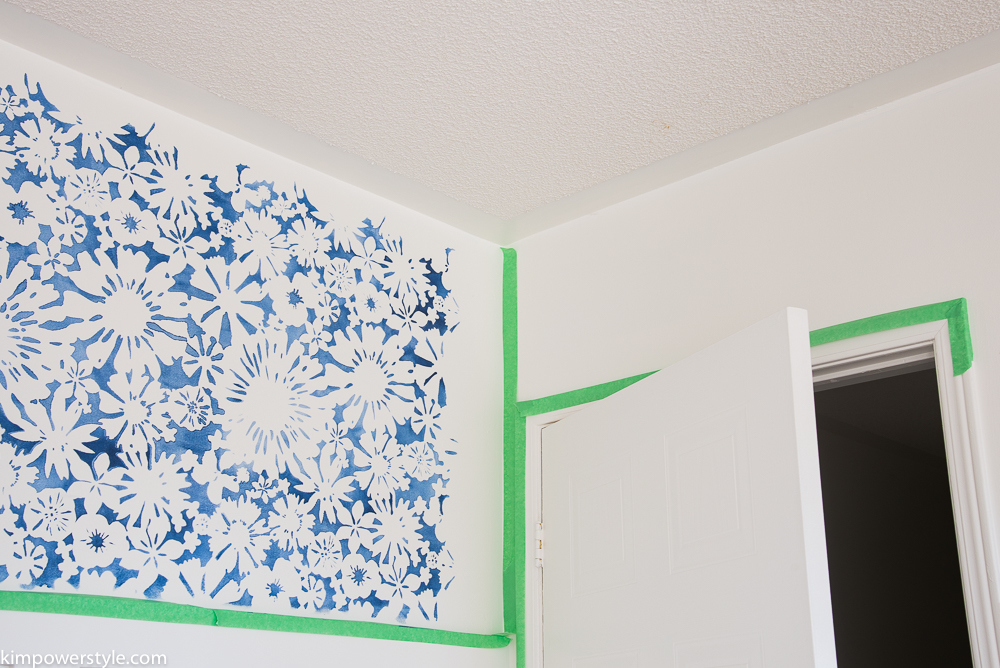
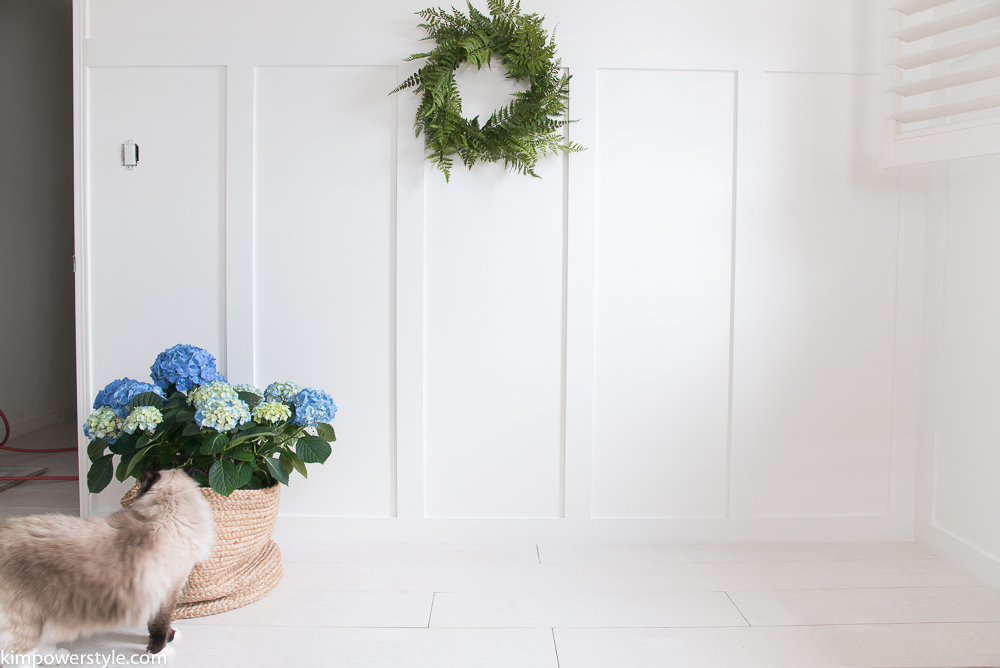
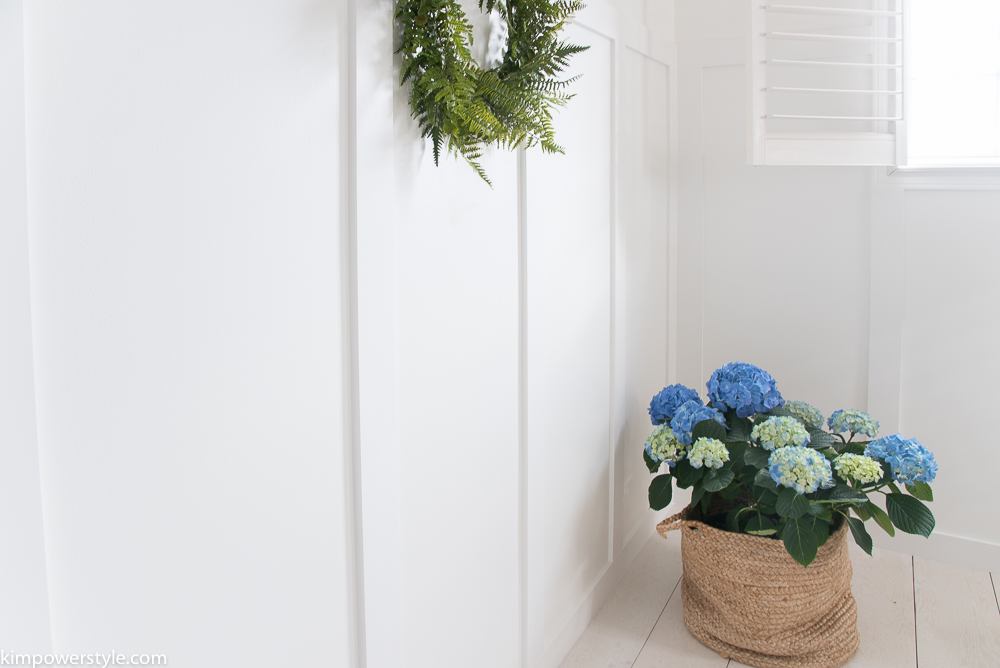
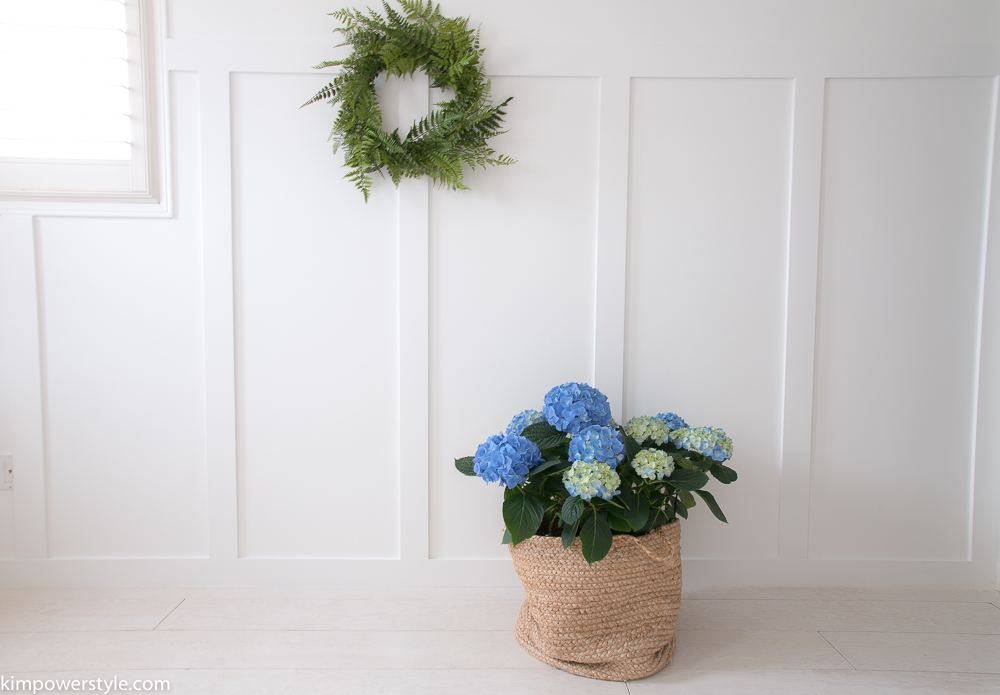
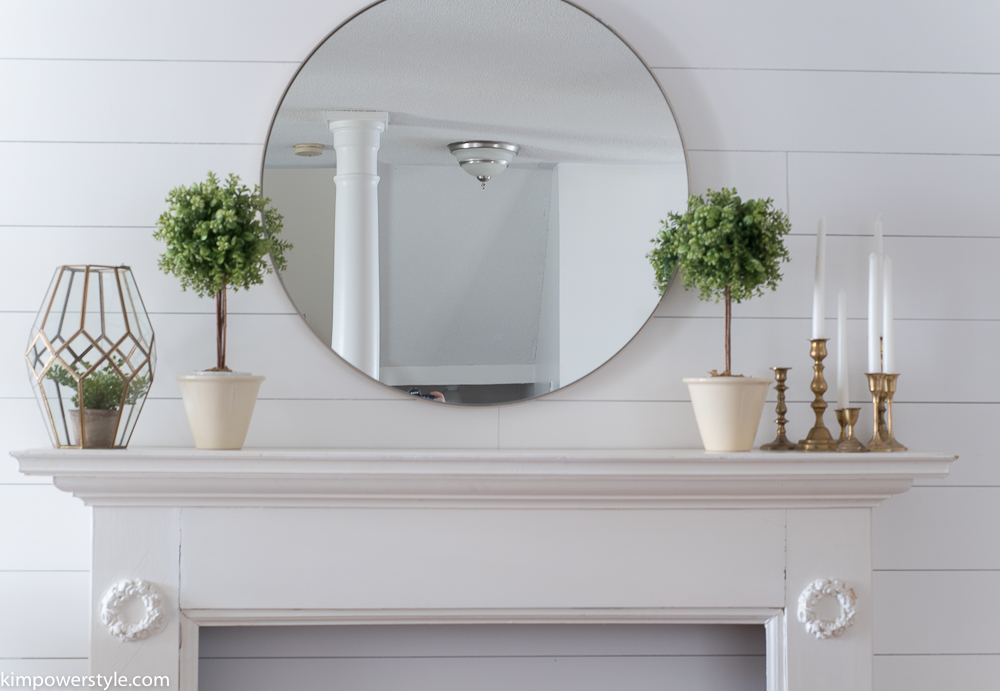
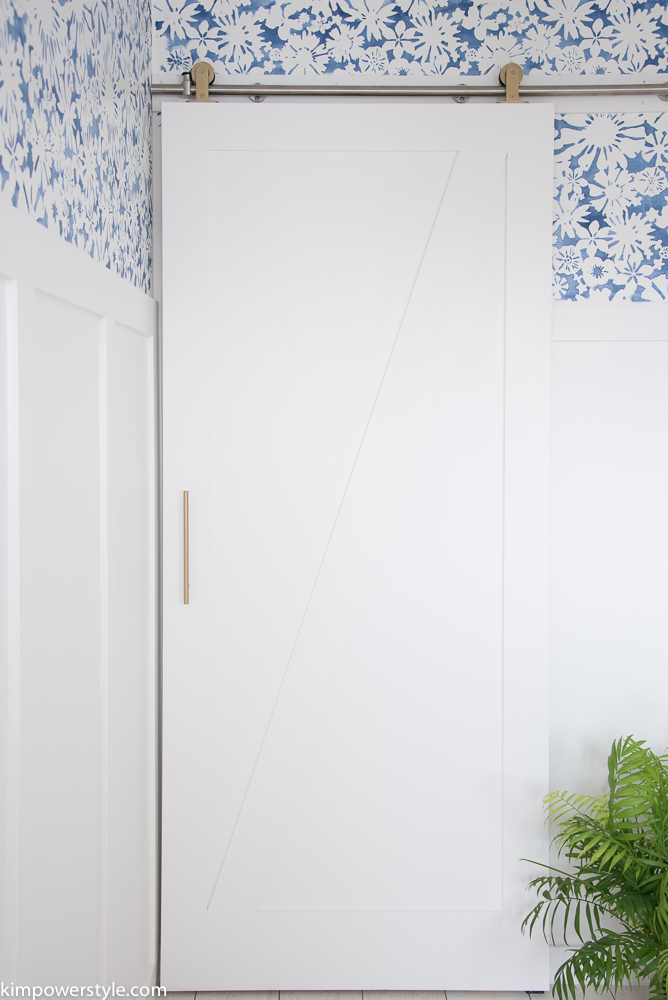
There have been some additions and changes to our plans since I first created this board so let’s get caught up !When I first created the board I didn’t have any idea what I was going to do with the walls. After some thought I decided to go ahead with board and batten and was so pleased with the results. You may just see a little more of that being put up in another room soon! We also stencilled  the upper part of the wall above the board and batten using a gorgeous stencil called the “Floral Fireworks allover stencil” fromRoyal Design Studios. I used  my favourite Fusion Mineral Paint in Liberty Blue. The lovely water colour effect  adds to the look and feel we were going for.

How to stencil a wall. One Room Challenge

(Week 2 and 3 saw us adding board and batten along with stencilling)

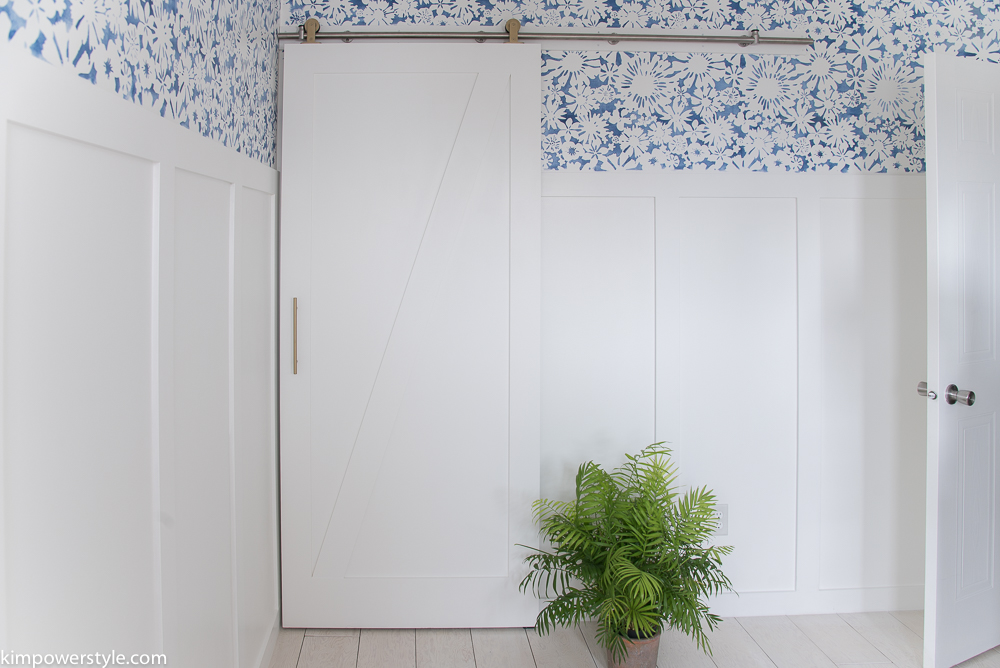
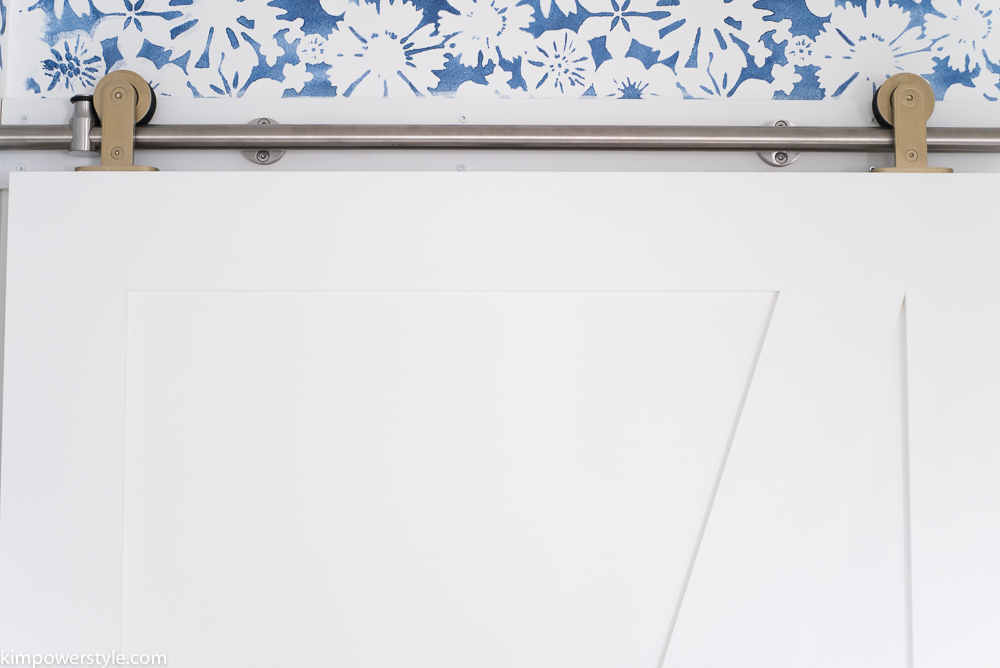
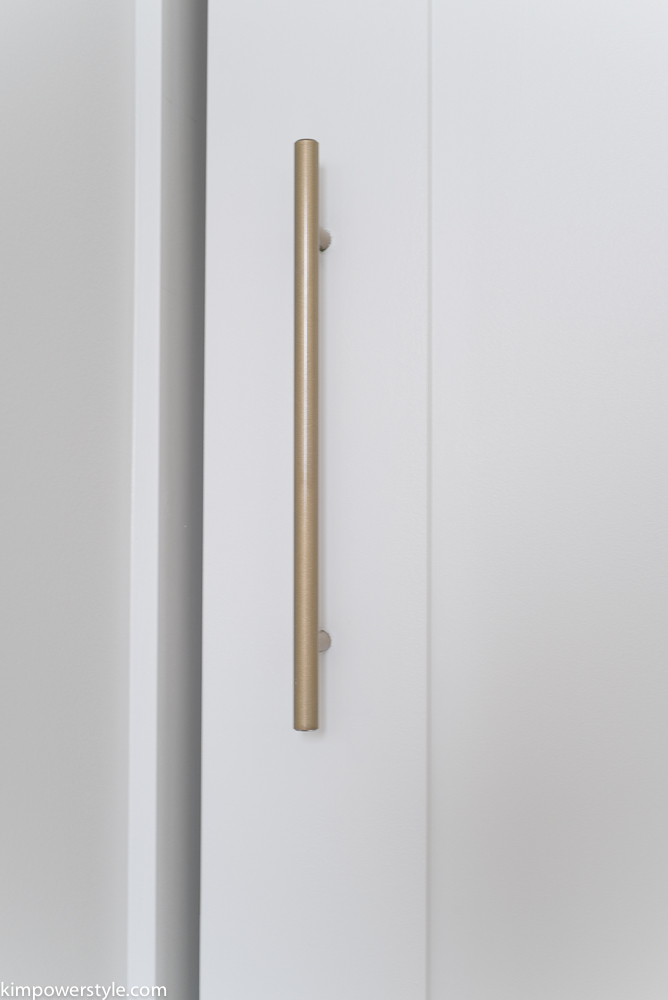
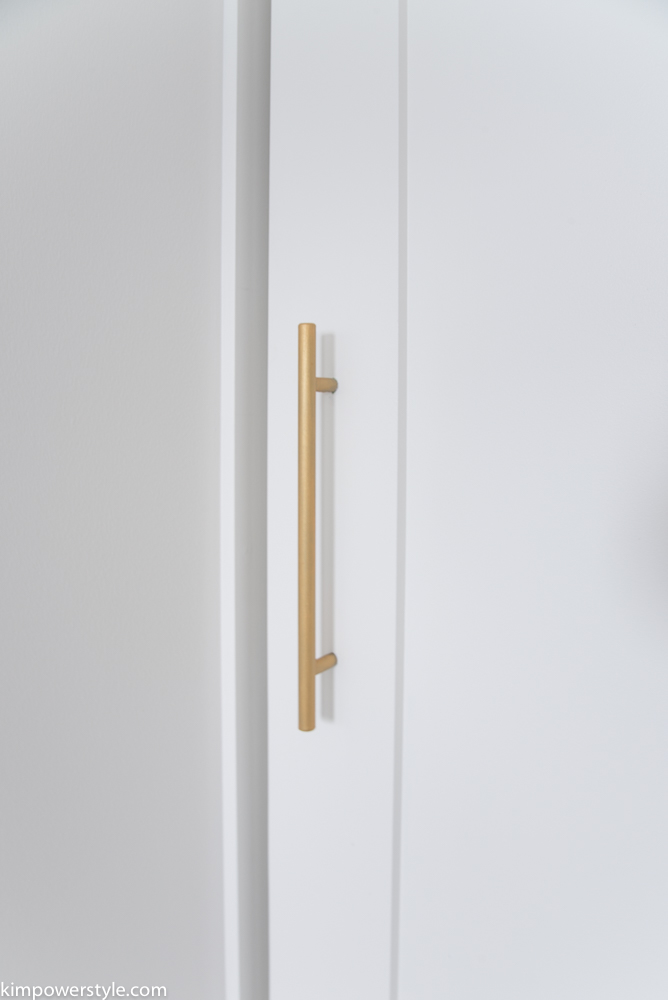
Another element we added to the room that was not on the mood board was the addition of our barn door. The barn door was added to help with the function of the closet as well as my dream to put one somewhere in my house! I simply love it! I had spray painted some of the hardware along with the handle to mimic the look of brass that would go along with the light fixture we were adding. It wasn’t brassy enough for me so I overlaid it with a couple of coats of Fusion Mineral Paint in Pale gold and it looks so much richer now and matches the brass light fixture perfectly.

A modern barn door with brass hardware

Brass painted barn door handle

(Week 4 had us adding a barn door)

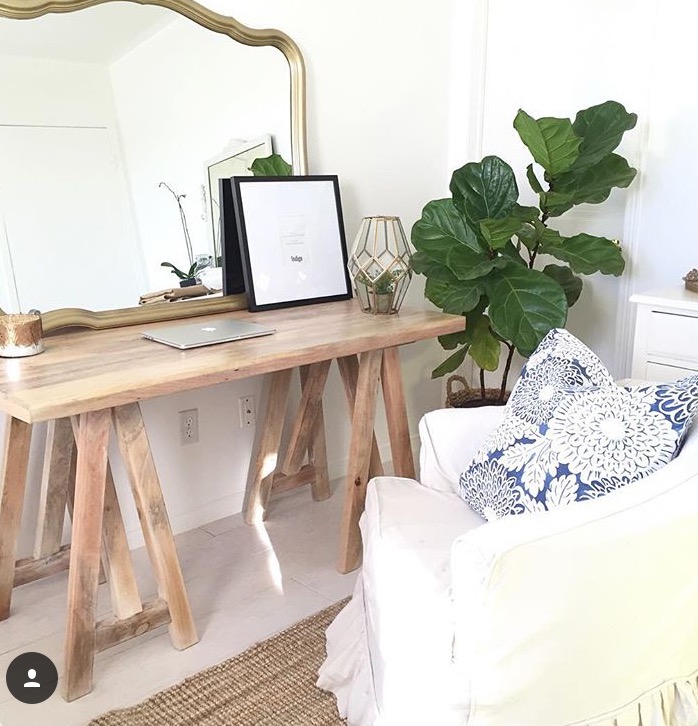
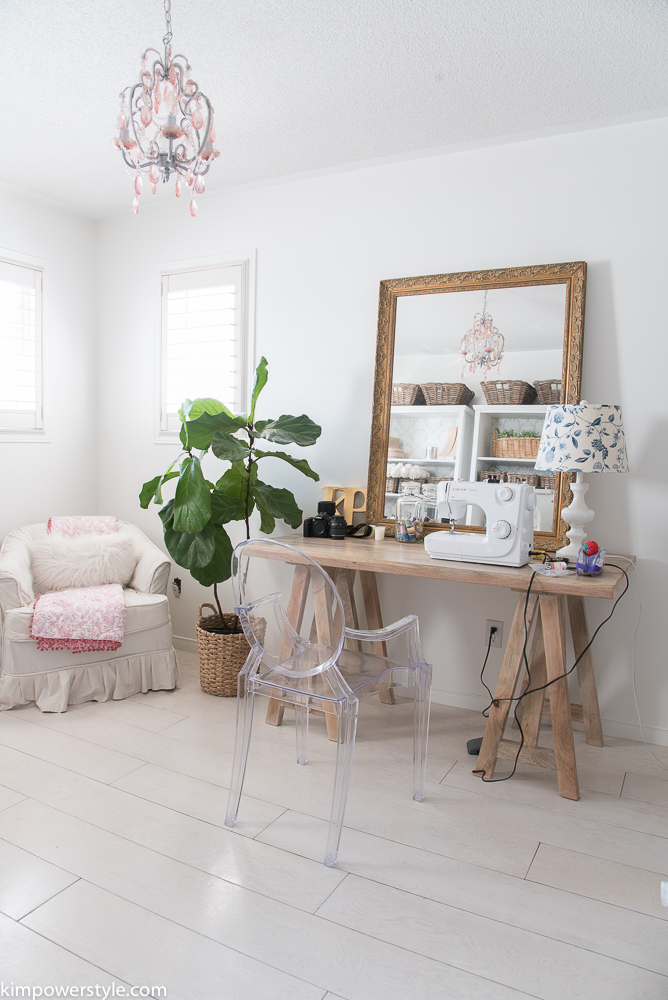
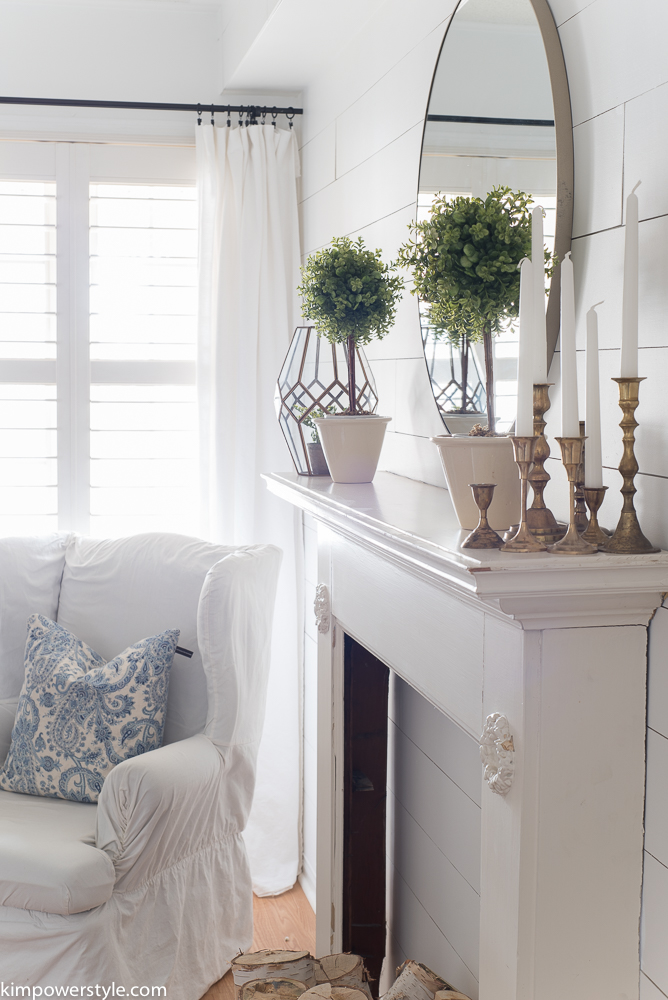
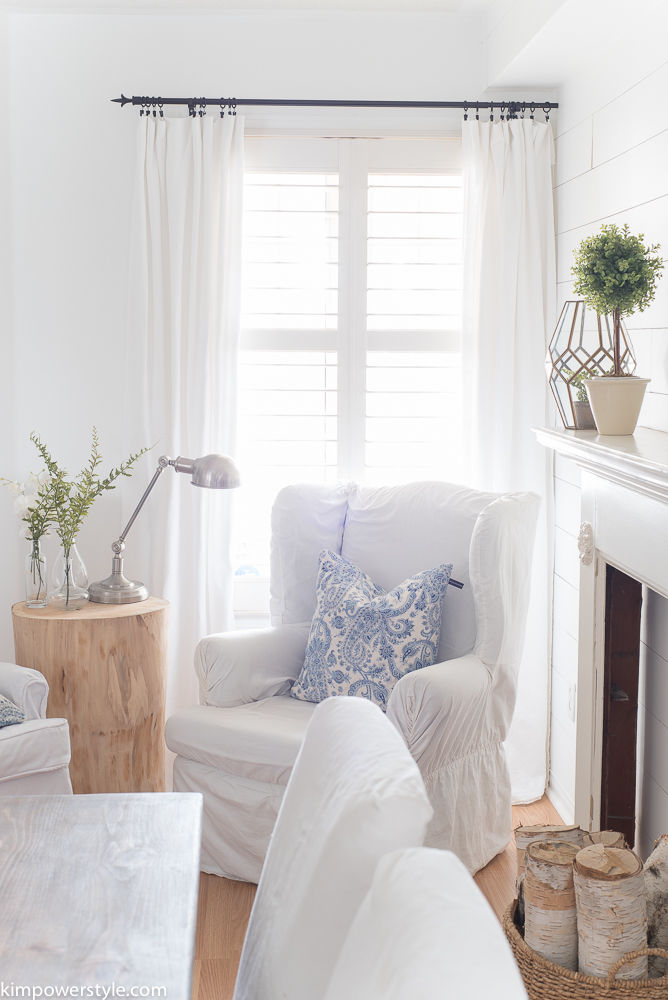
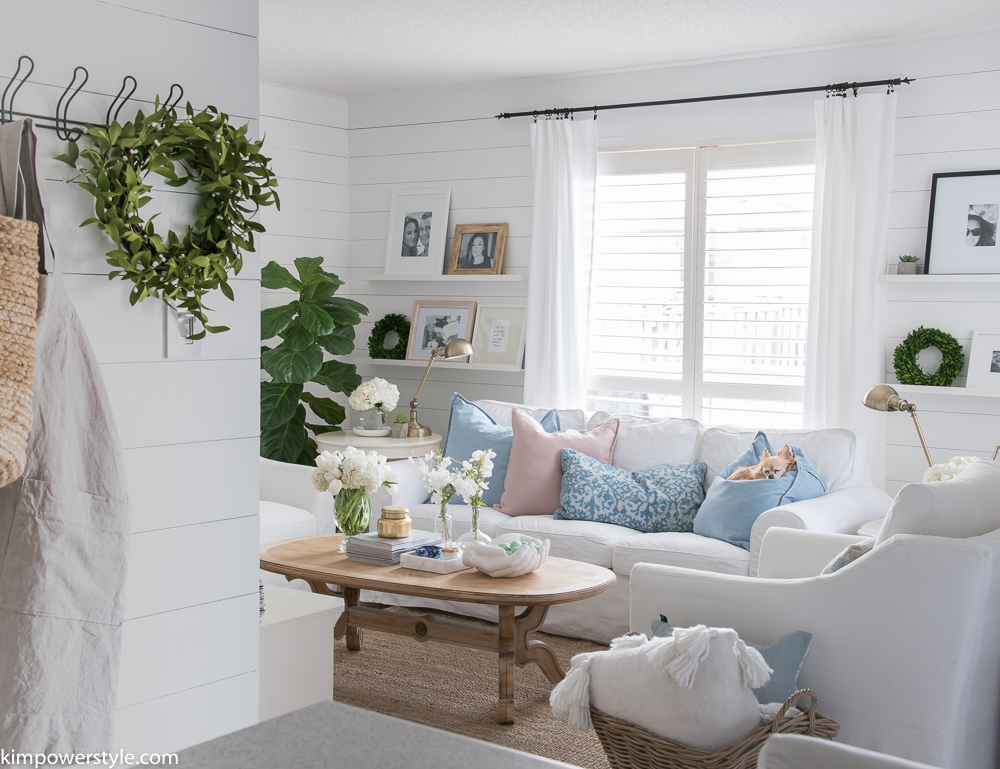
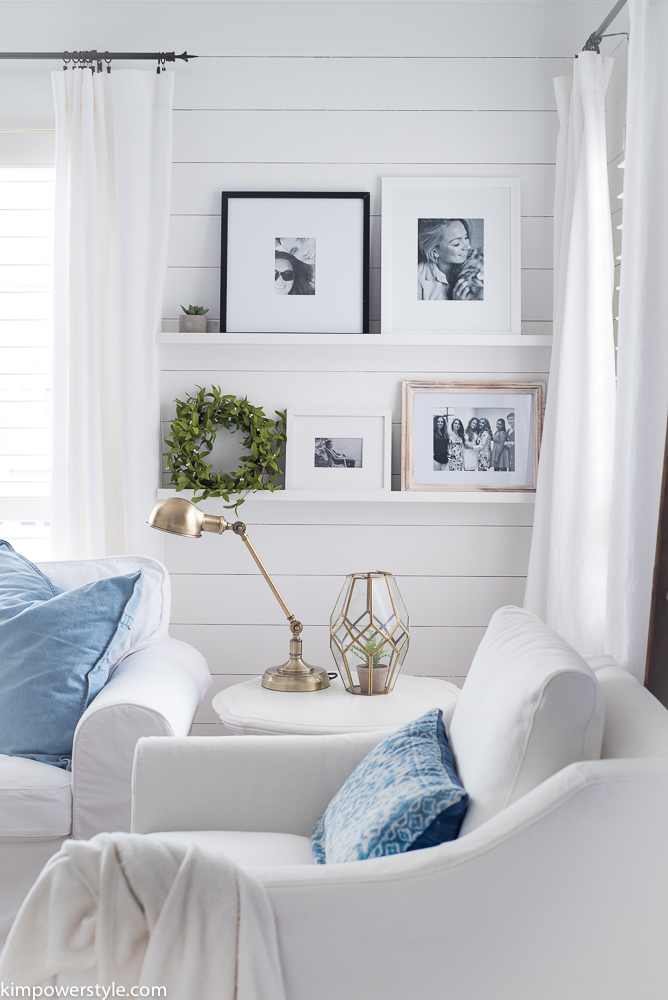
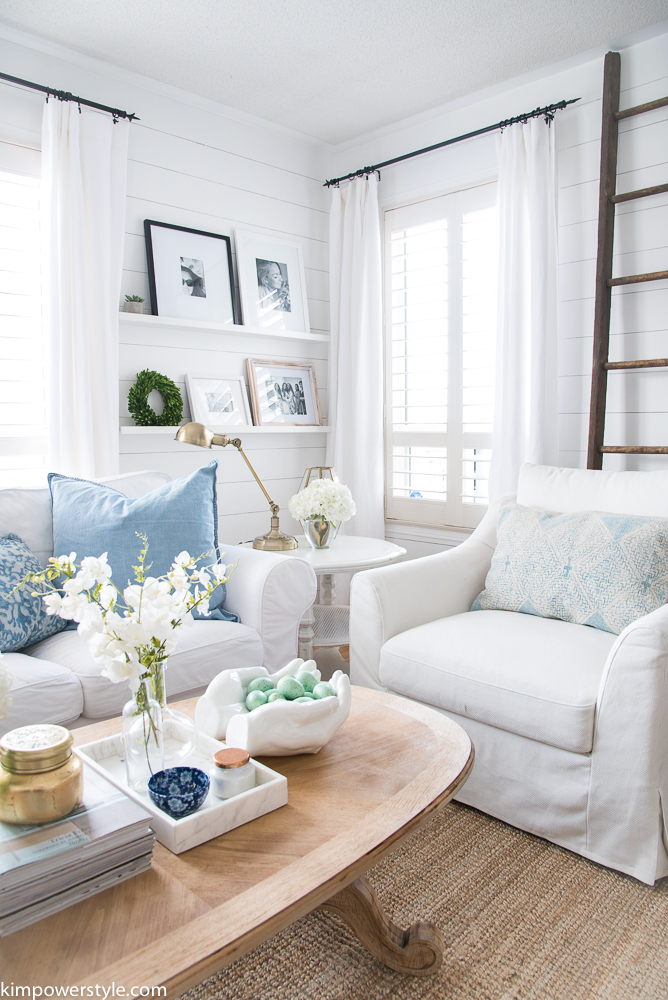
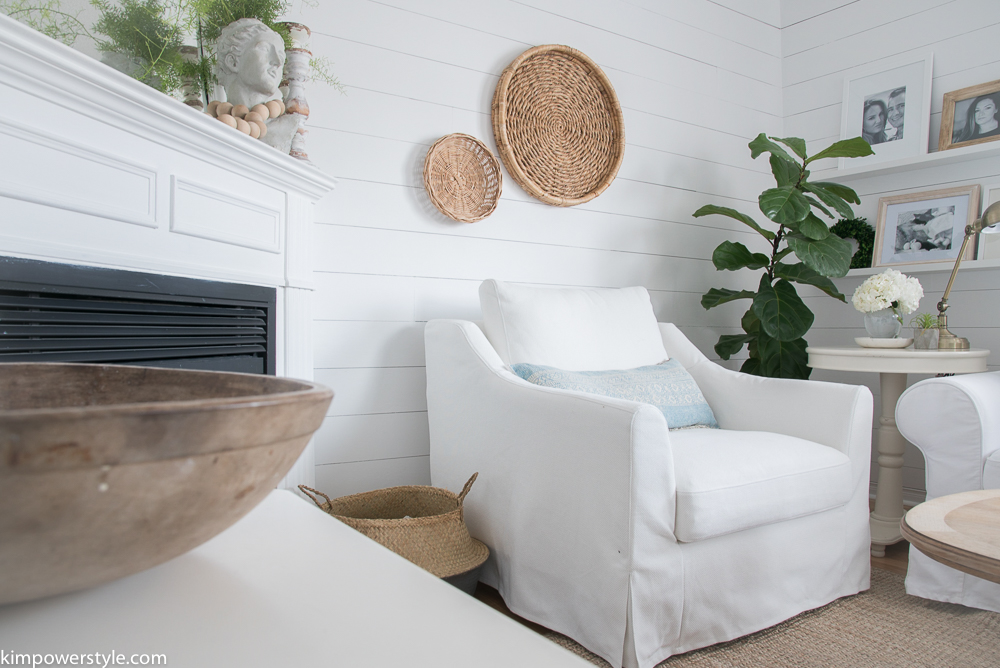
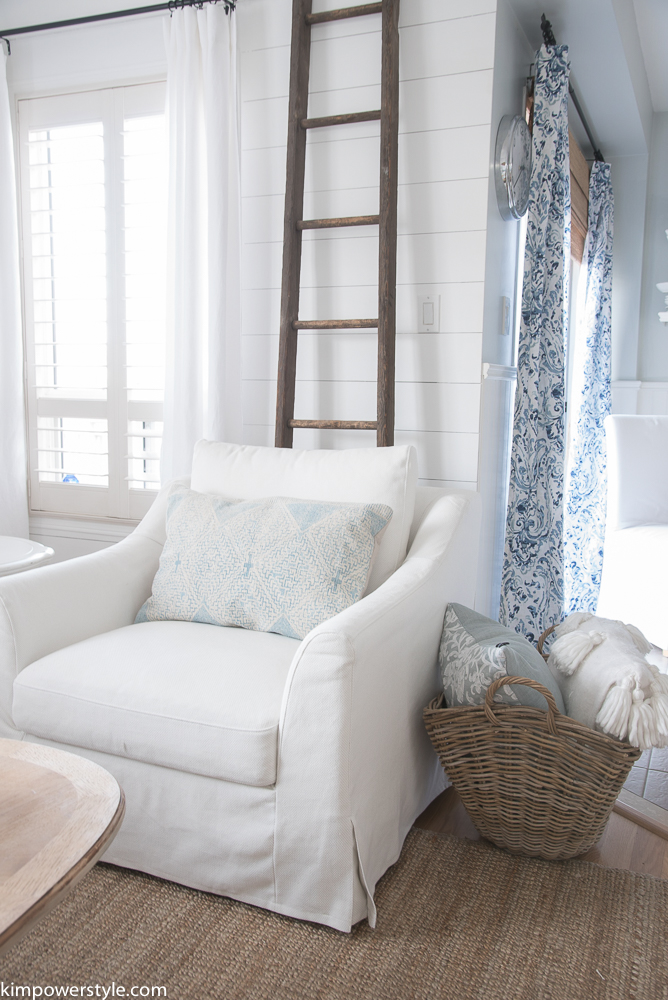
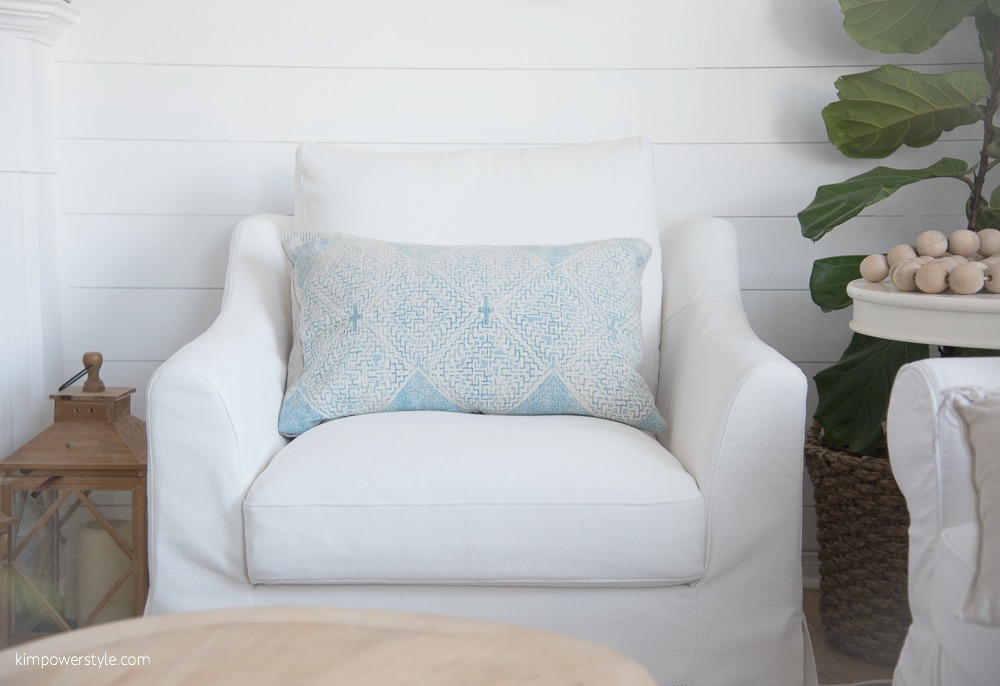
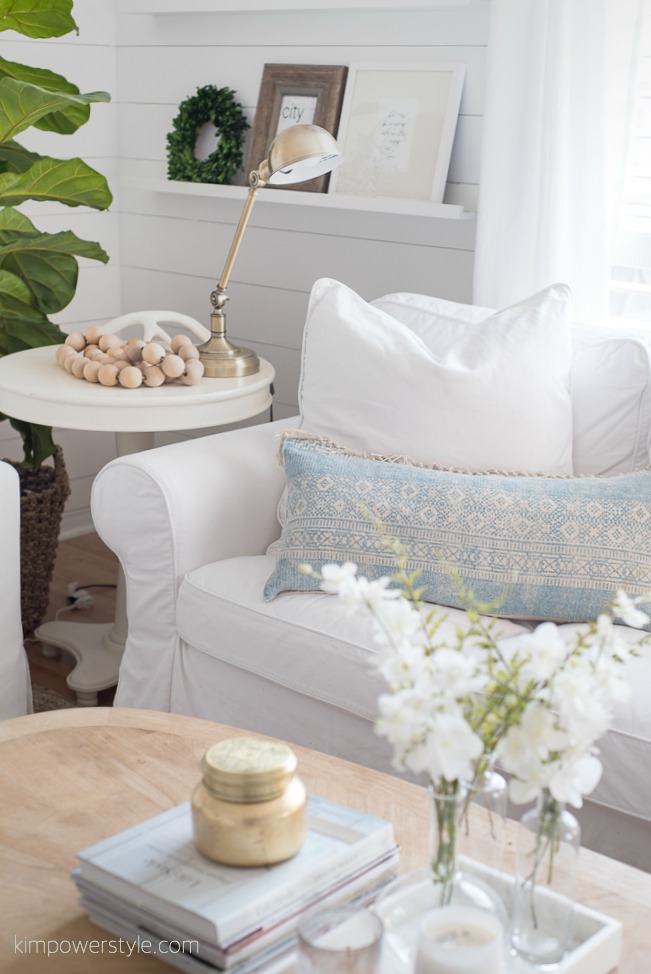
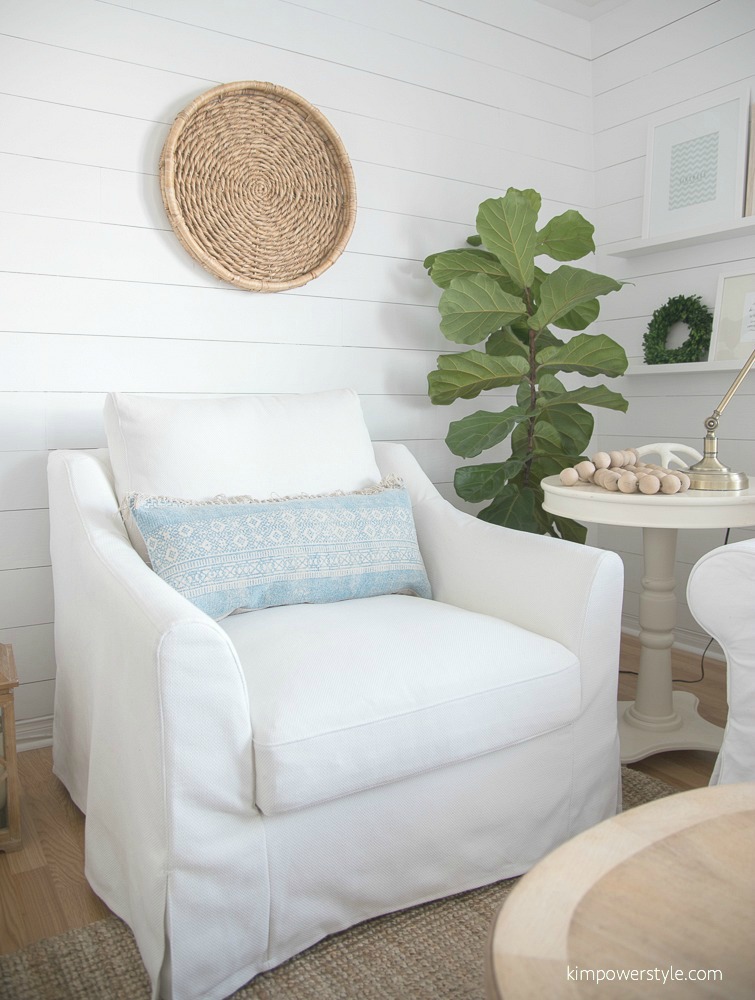
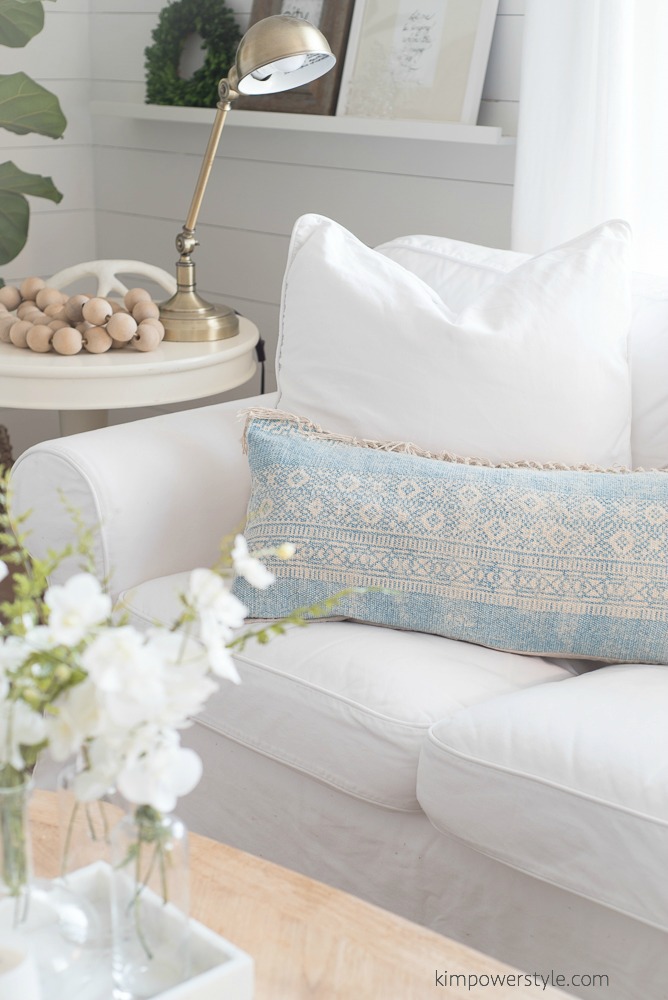
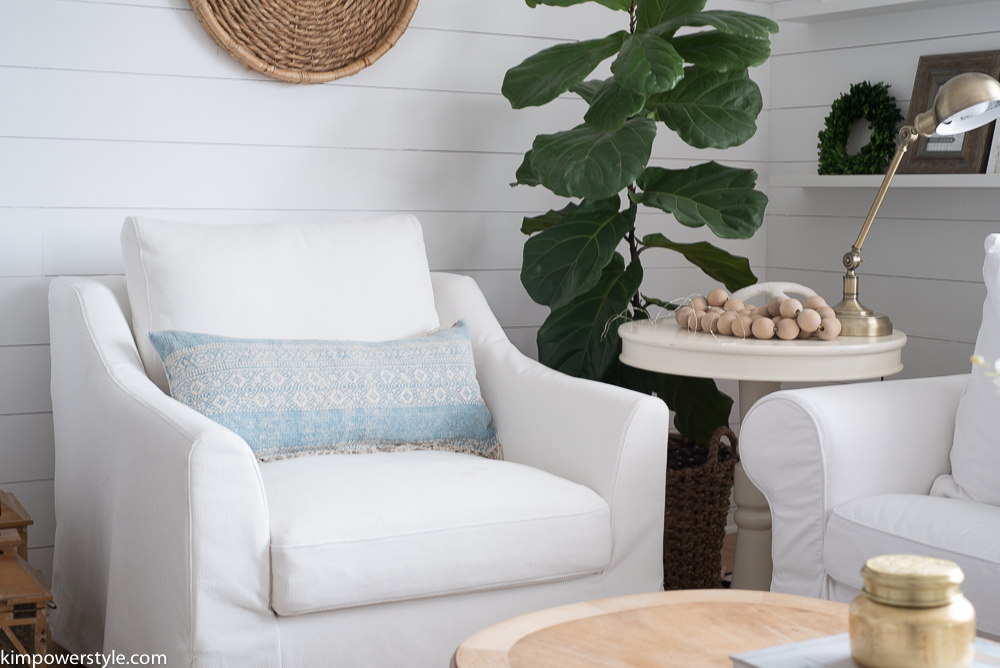
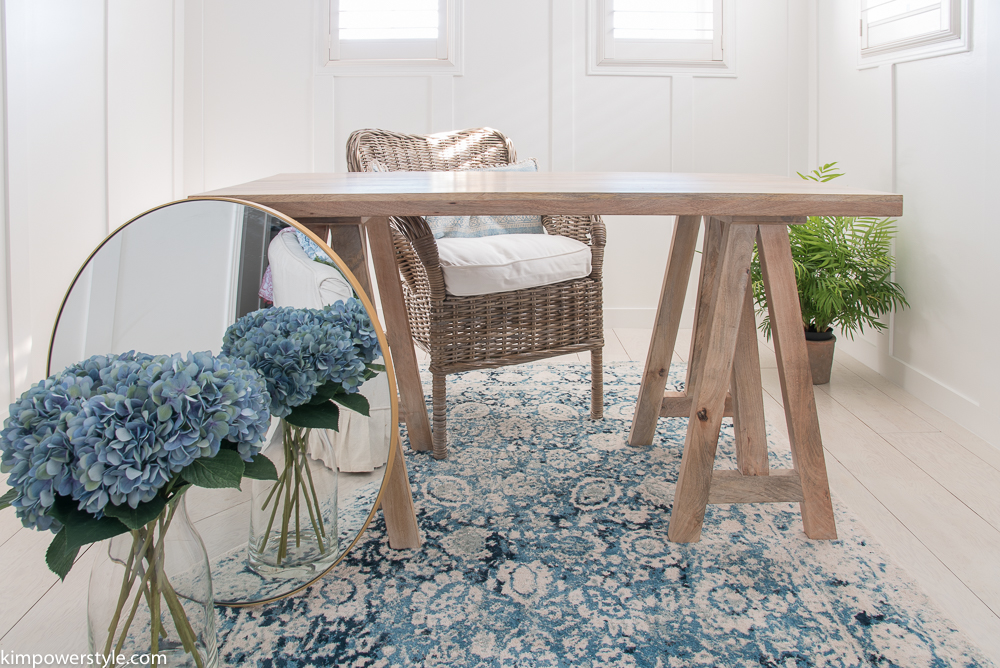
So this is where we are as of today! You’ll notice that we’ve changed the chair from the one in our mood board. I’m still not sure about this one either. I’d love an office chair with wheels on the bottom but have yet to find one that is pretty to look at and comfortable too. Stay tuned to see how that saga plays out!

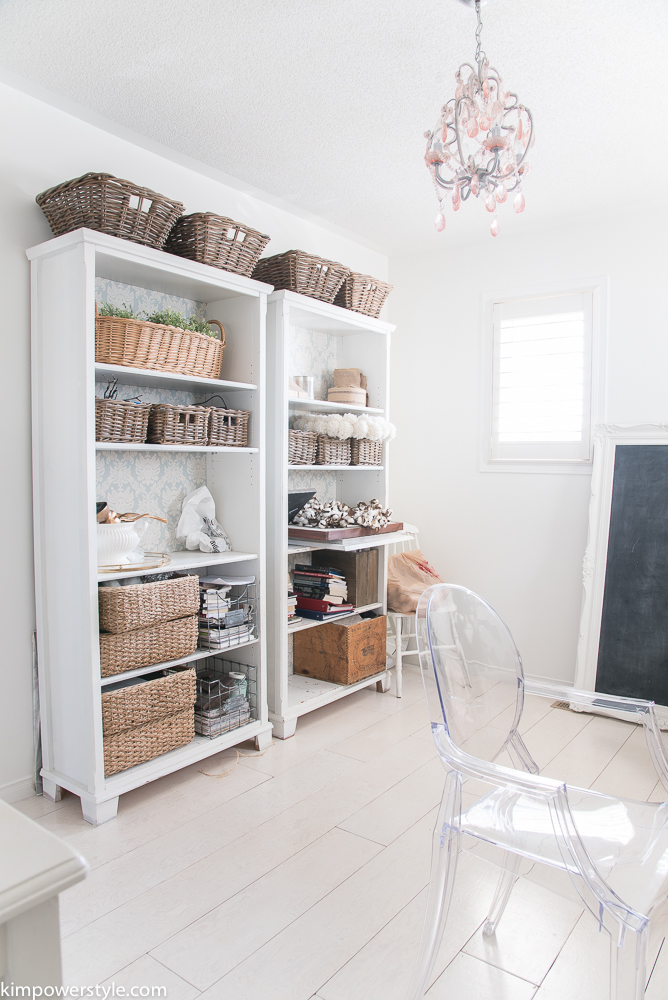
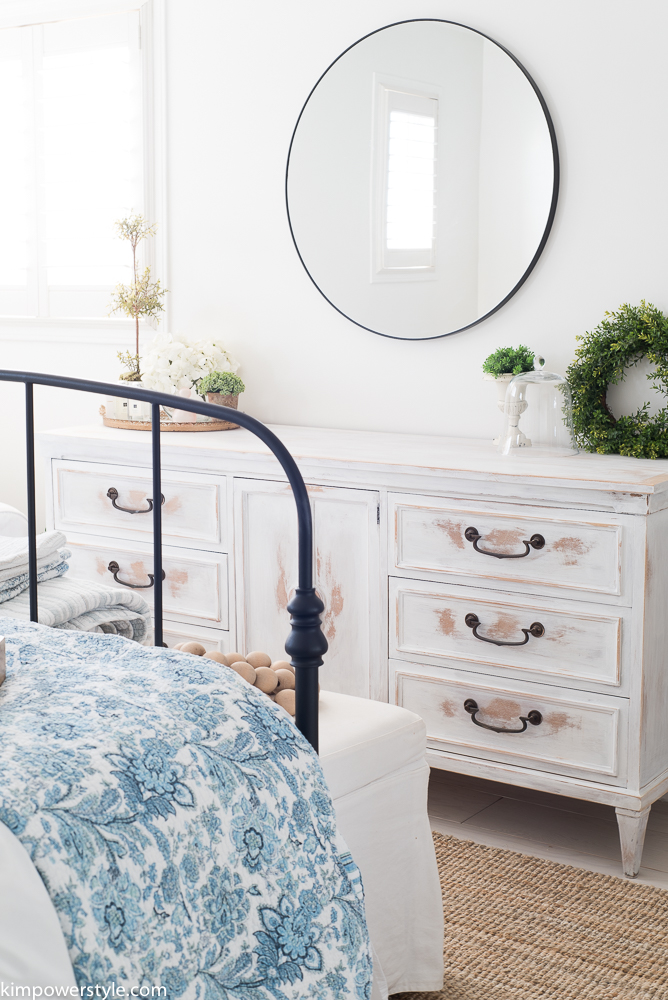
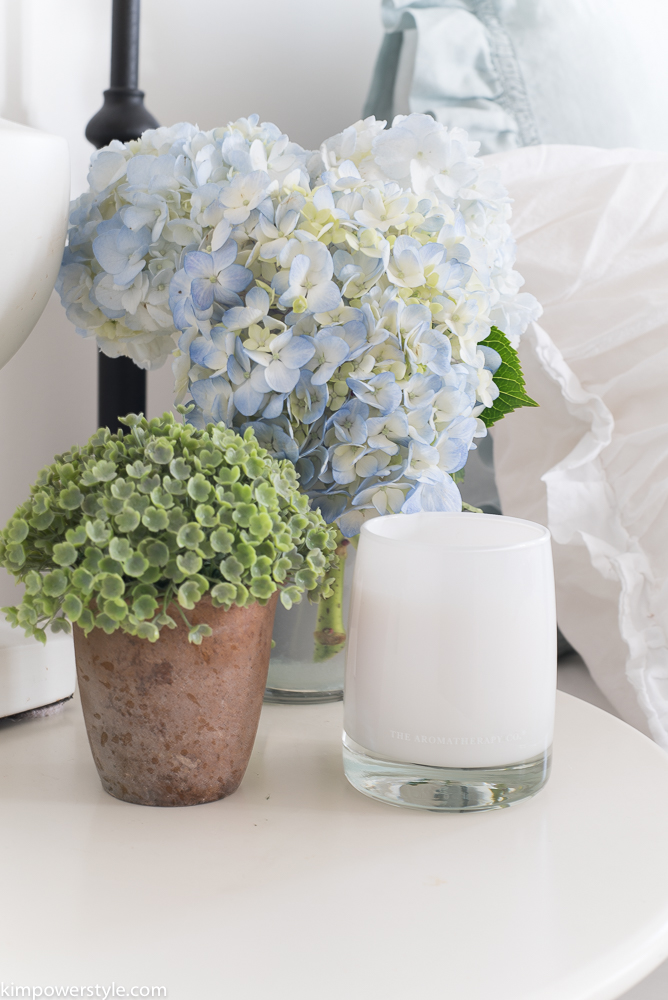
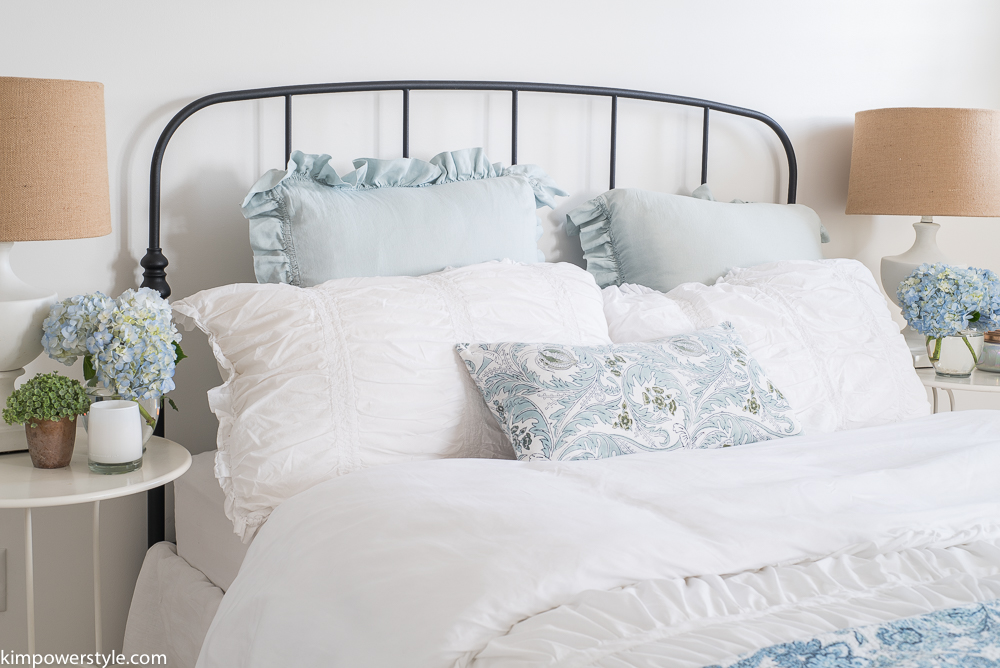
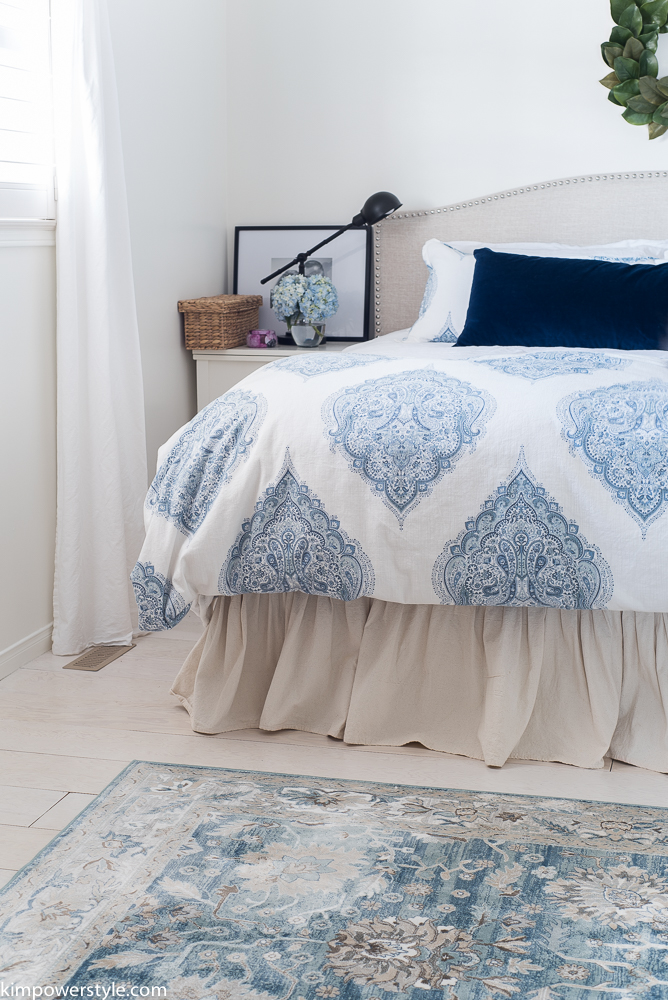
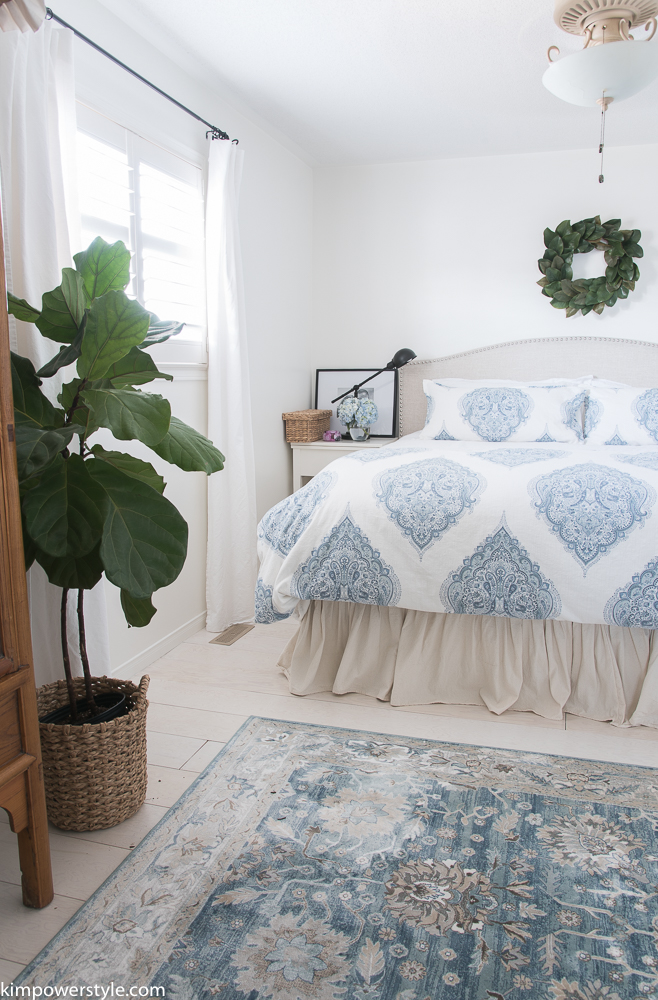
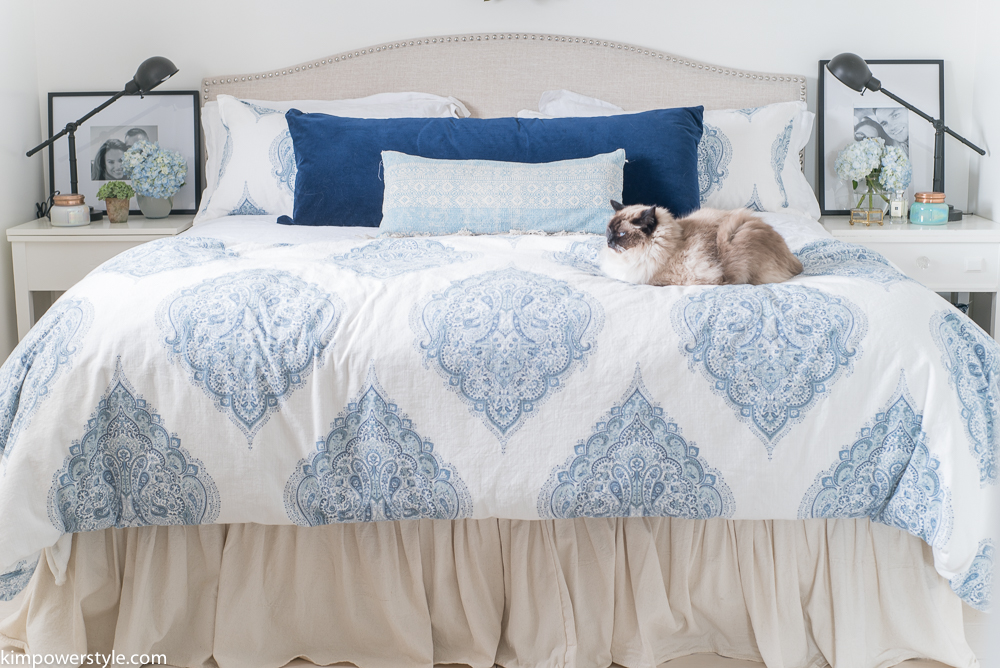
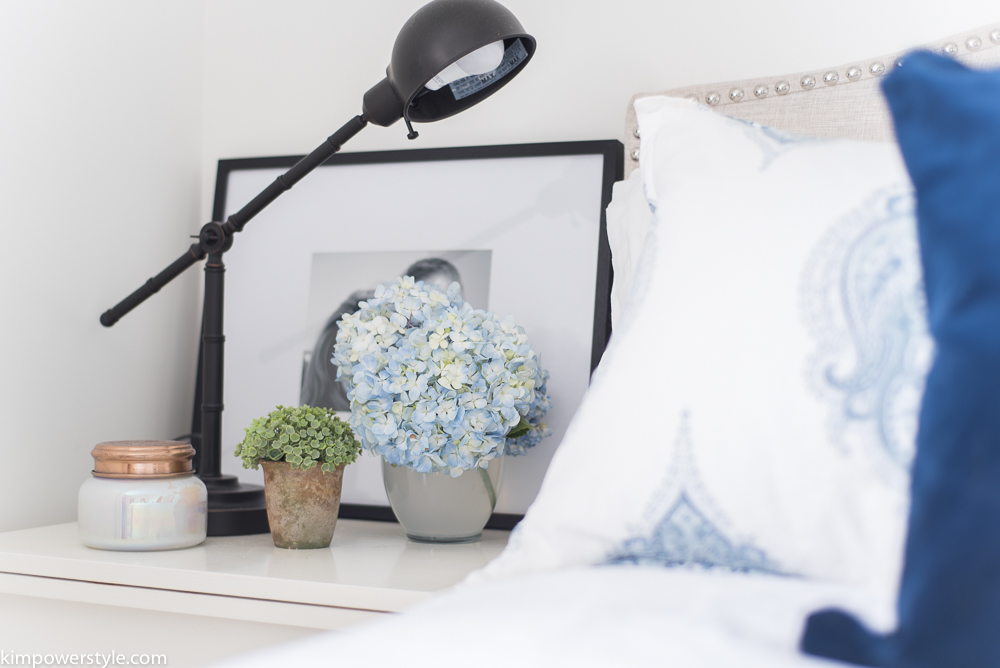
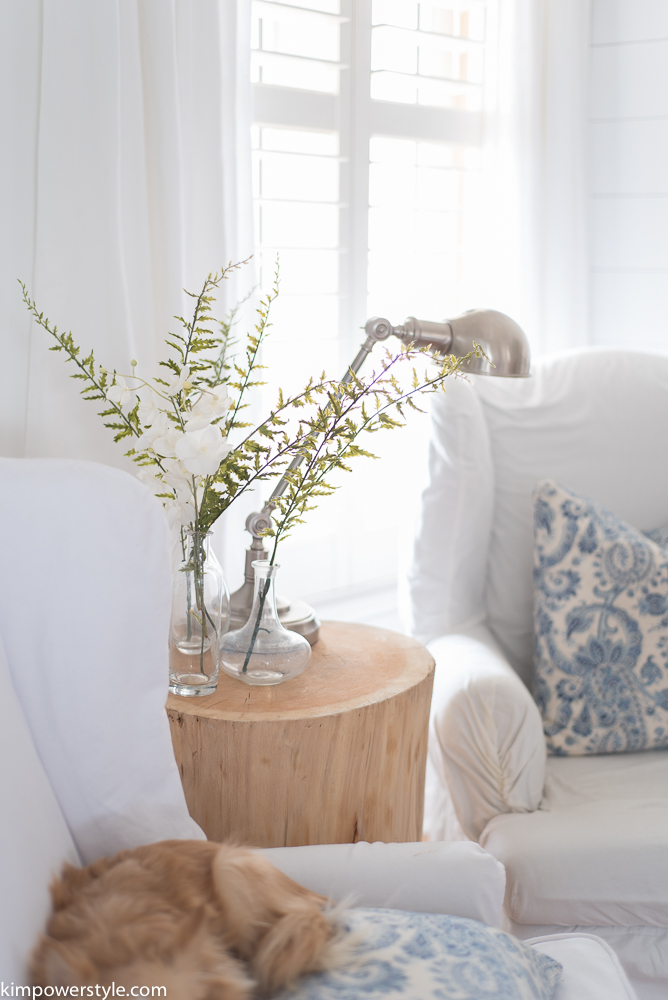
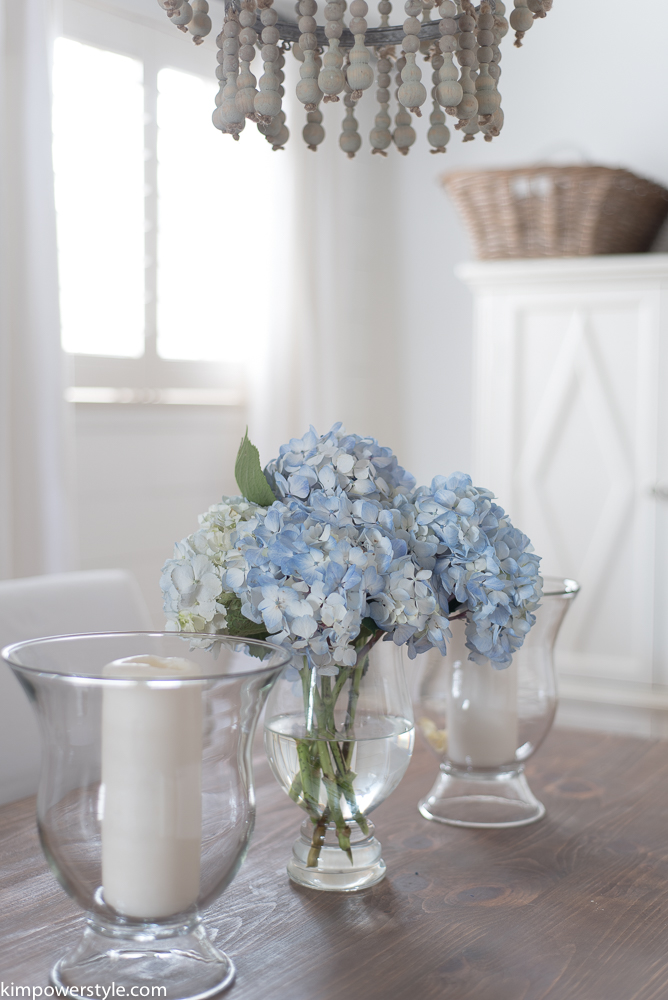
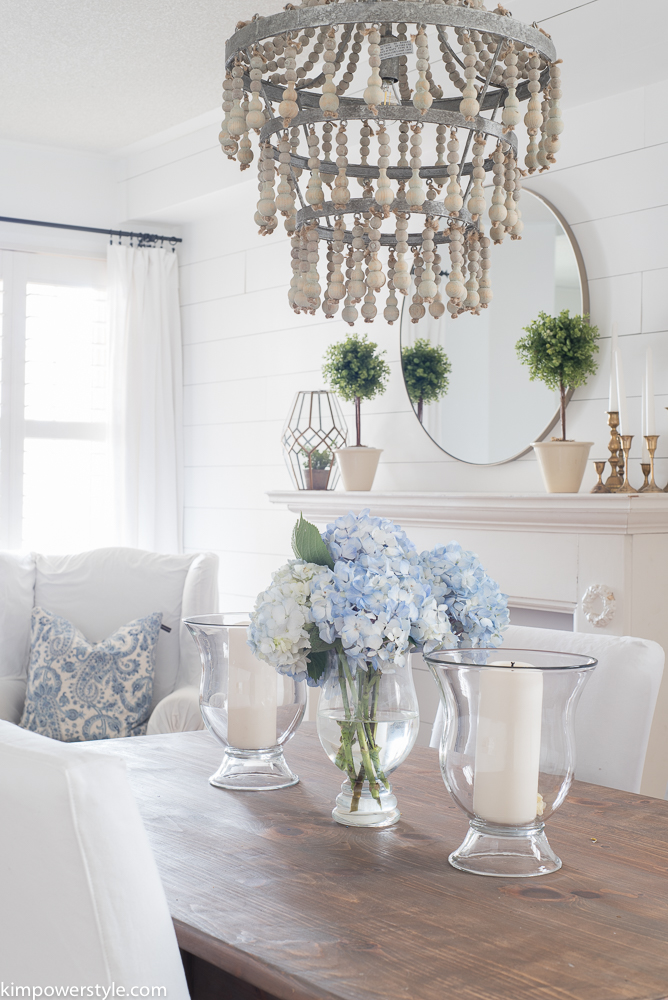
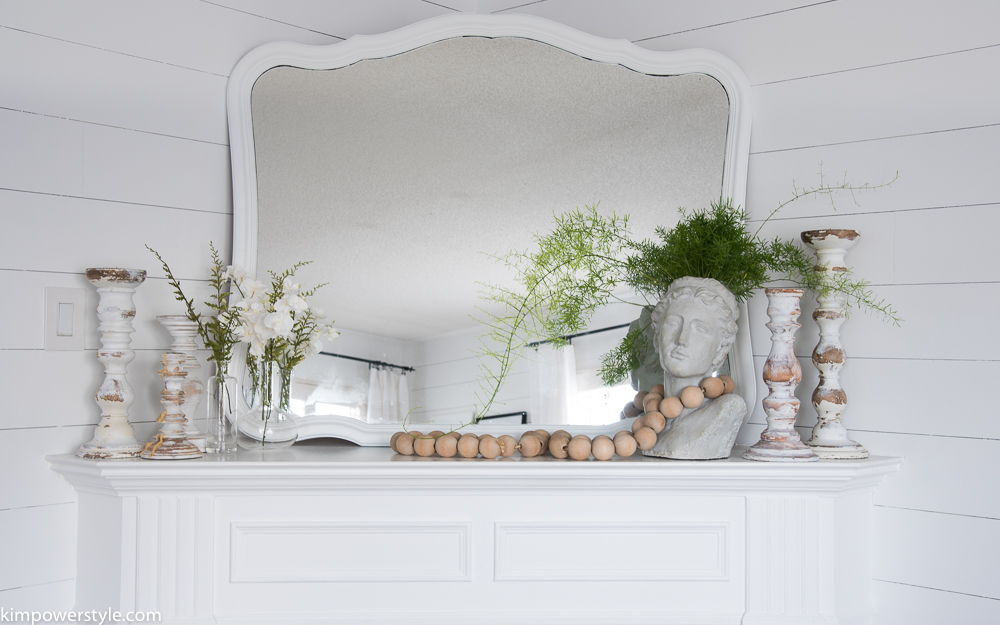
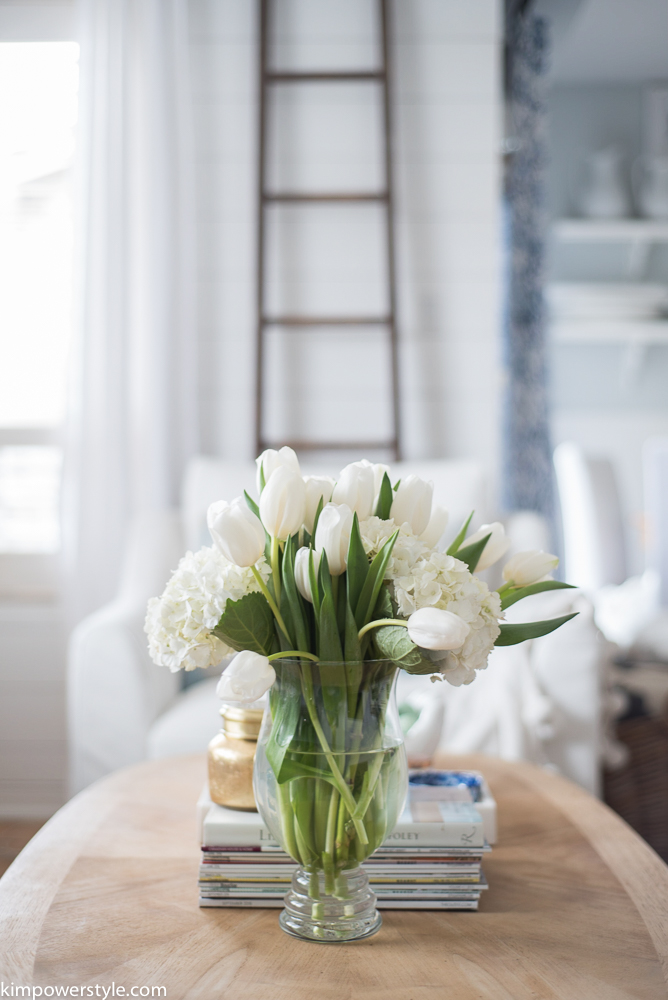
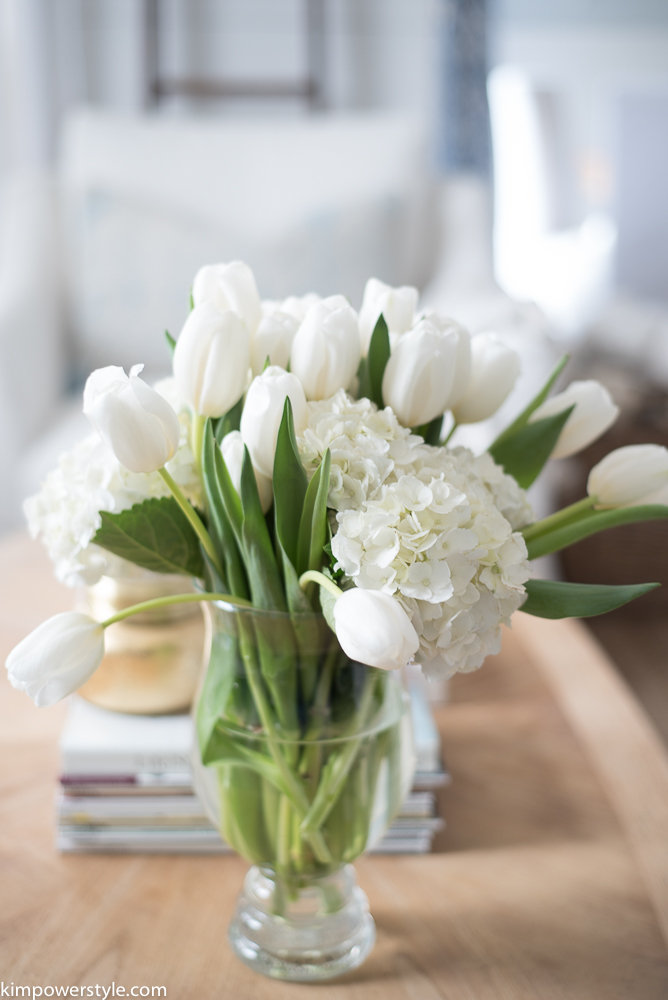
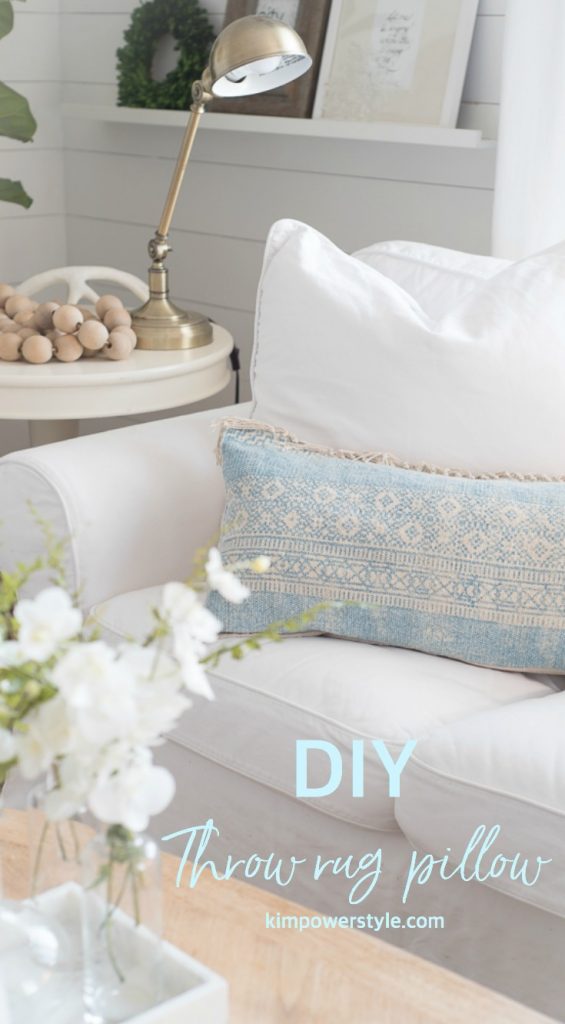
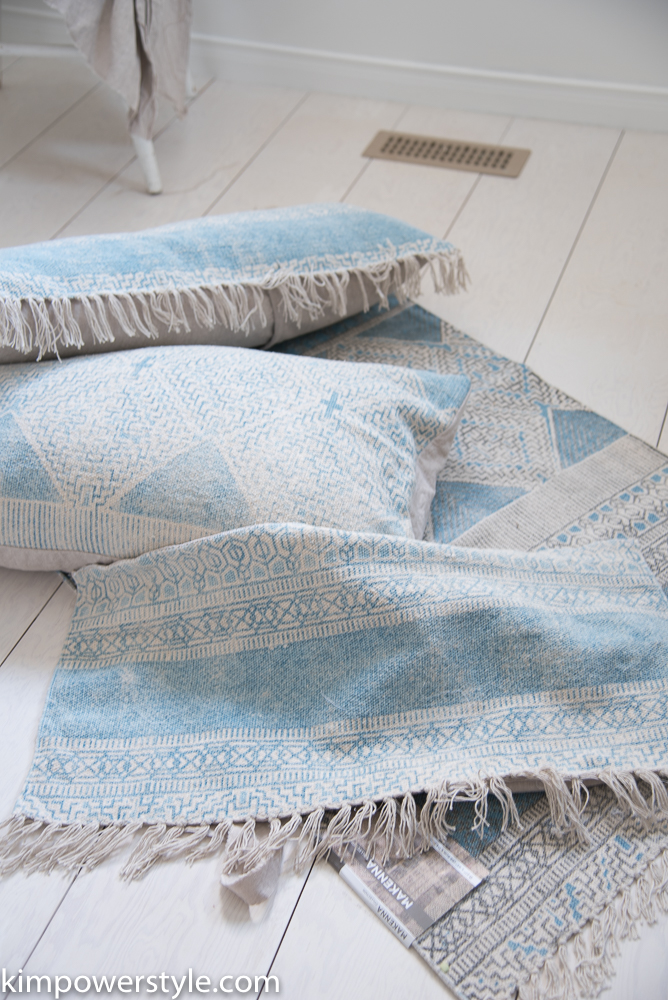
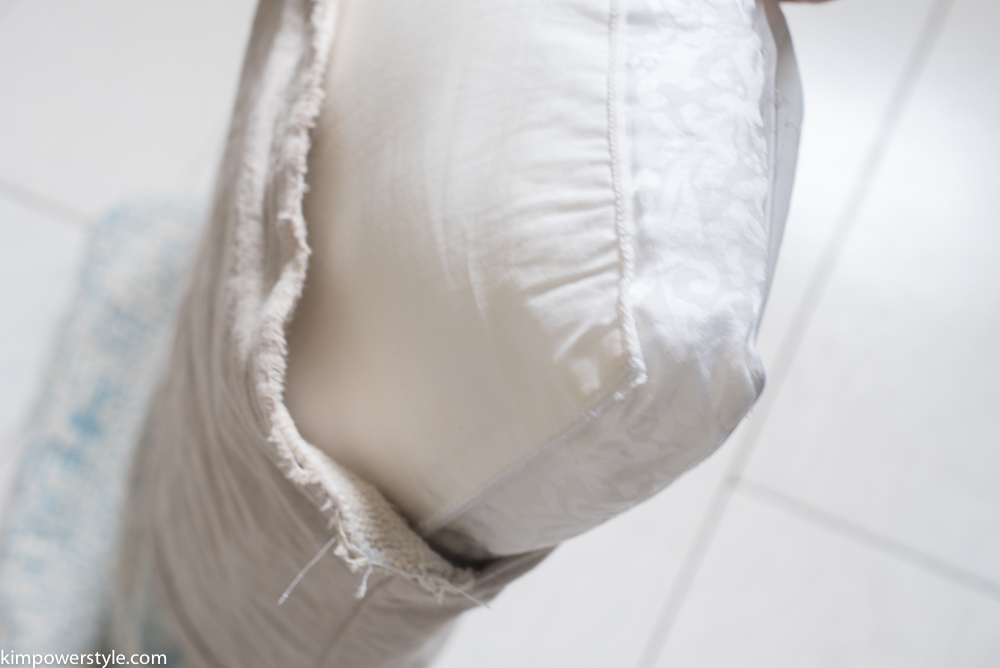
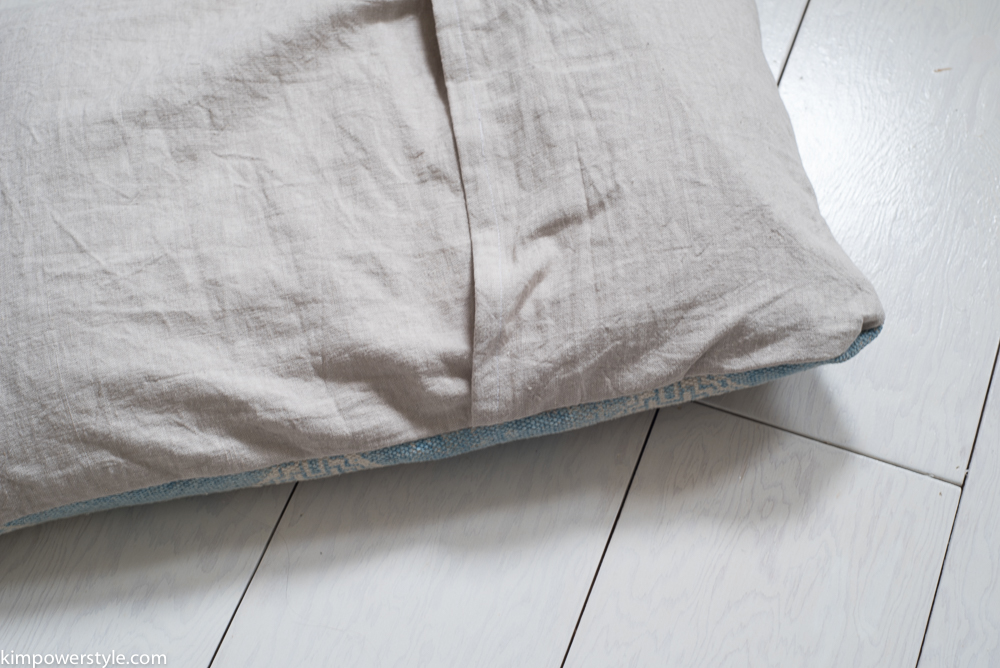
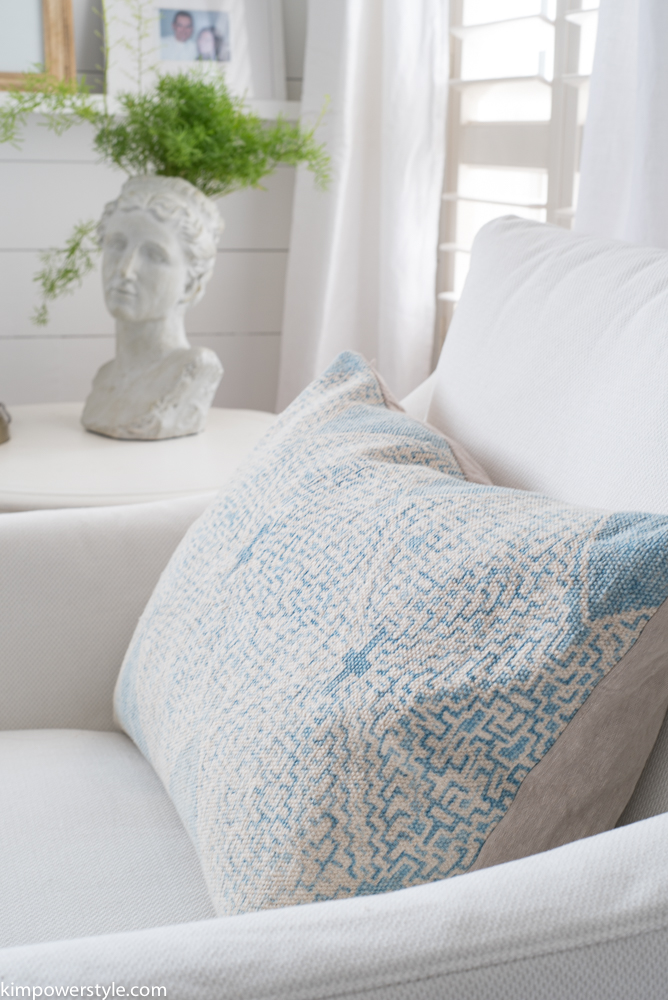
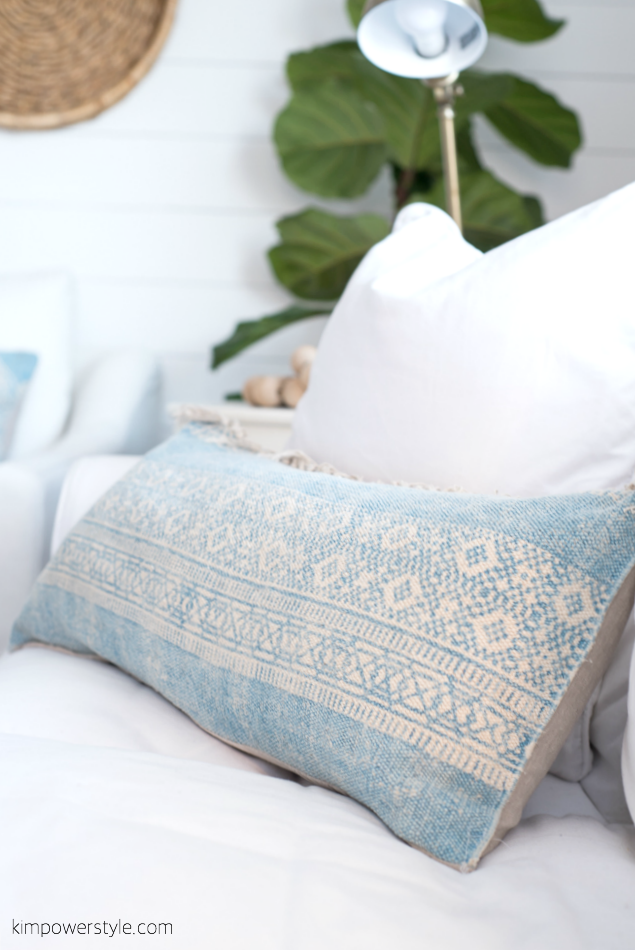
We have this gorgeous rug from rugsusa, desk, mirror, chair and pretty faux hydrangeas from Afloral in the room right now. My light fixture from Westelm came in on Monday and I am smitten with it! I’ll wait until next week to share that beauty! I’m still waiting for our sideboard storage unit that’s to be picked up from the store tomorrow (fingers crossed it’s arrived from another province, Ack!) I also have two deliveries scheduled for tomorrow which hold all the accessories for the room! Oh yes, I’m also waiting for delivery of a couple of cushions to add to the seating and hoping they’ll be here on time too…Phew!

I’ve learned a lot of what not to do here on my first challenge. The next time (If I survive this one) I’ll have a  better idea of how things should work! 🙂

One room challenge spring 2017 Modern Coastal Farmhouse Office

So that’s a rundown of where we started and where we are as of today. There is still so much to do but I’m excited to see all our plans come together and praying for sunny skies to photograph it all! Don’t forget to come back next week to see the final reveal. You may want to subscribe to get my posts sent directly to your inbox. You can also follow along on Instagram for more pictures and progress stories. Have a great week!

For more great design inspiration take a look at the designers and participants link up  here.

One Room Challenge

Filed Under: diy, Home decor, Makeovers, One Room Challenge™, spring

Barn Door | Week 4 | One Room Challenge™ Spring 2017

4:28 pm by kim 30 Comments

Modern Barn Door
One Room Challenge™ Week 4

One Room Challenge

Welcome to week 4 of the One Room Challenge™ hosted by Linda from Calling it Home, where designers and bloggers makeover a room in their home in 6 weeks. For those of you just tuning in, you can go back and follow the progress by reading Week 1, Week 2, and Week 3. This week I’ll be sharing this Modern Barn Door we’ve added to the space. We had planned on building our own door from plywood and molding, but when we factored in the time and cost, we decided that buying this ready-made door made more sense for us.

Modern Barn Door with brass hardware.

I had wanted a barn door for a really long time but I have a smaller home and a more open concept main floor. Meaning, there was no room anywhere for a barn door except in this room. When we were deciding on how to make this room more functional, we realized there was so much junk in our tiny walk in closet that we couldn’t even shut the closet door! However, we had to utilize as much floor space as possible in this closet, so a barn door was just what was needed! You can use all the floor space without having to worry about a door being swung open or shut. It was the  perfect solution and I got my dream of having a barn door!

If you remember my mood board, I had wanted this room to take on a Modern Coastal Farmhouse vibe:

Mood board for ORC 2017

So that meant along with some cozy pieces and texture, it would also have some clean lines and brass finishes. When we decided on the barn door, I wanted it to have the same aesthetic. Instead of going with the black hardware that I had always thought of having on a barn door, I chose this clean steel hardware. I had wanted hardware that incorporated  brass, but that was difficult to find, so I came up with my own solution.

A Modern Barndoor with touches of brass

The brass hardware is to tie in with the brass mirror and light fixture that are coming. I spray painted the two pieces that attach the door to the track, a soft gold using Rustoleum Metallic in Pure Gold before we hung the door.

A Modern Barn door with brass hardware.

I also found this clean lined and modern door handle from the Home Depot and spray painted it in the same finish. It really tied it all together. The door is painted Benjamin Moore’s “Simply White” along with the walls.

A modern barn door with brass hardware

Modern barn door with brass hardware

Our old door is still attached in there! Lol. The closet will be cleaned out and the old door removed this week. You may have noticed that I didn’t leave the space by the ceiling empty, but brought the stencil as close to the ceiling as possible. I didn’t mind it in the room at the time, but after seeing it on the blog last week, it looked too unfinished to me so I filled it in this week. I’m still loving that watercolour look!

A modern barn door with brass hardware

Thanks for stopping by to check out the progress. It’s hard to make these update posts exciting when you’re only showing little bits at a time, I know.  Stay tuned though, only one more progress post and then the final reveal! Don’t forget to follow along with the other participants here!

Blessings,

Kim

Filed Under: diy, Home decor, Makeovers, One Room Challenge™, spring

Wall Stencilling How-To | Week 3 | One Room Challenge Spring 2017

2:31 pm by kim 58 Comments

Wall Stencilling How-To

How to stencil a wall. One Room Challenge

One Room Challenge

Well it’s week 3 of the One Room Challenge and oh how the weeks have flown by! This week I’ve added some colour and pattern above the board and batten by using a stencil. I’ll share a little wall stencilling how-to but first let’s look at where we’re going. If you’re just tuning in now you can follow the progress by reading week 1 and week 2.

Here is the mood/inspiration board for the room:

Mood board for ORC 2017

If you notice, the board and batten as well as my stencil treatment above it aren’t on my mood board. I still hadn’t decided at the time what kind of a treatment to add. I knew that I wanted a modern coastal farmhouse look thats much in keeping with the rest of my home right now. Once I decided on the board and batten I knew I wanted to do something above it. Wallpaper can be pretty pricey even for a relatively small space so I decided on stencilling. There are so many gorgeous patterns out there now and when you add the colour factor, the possibilities are endless! I decided to go with Royal Design Studios Stencils for my stencil and chose the Floral Fireworks allover stencil 21″x 23″. I had the paint colour already and had been waiting for a chance to use it. I used the Fusion Mineral Paint in “Liberty Blue”.

How to Stencil a Wall to look like Wallpaper

How to stencil a wall. One Room Challenge

I have to say that I love the way it turned out! I’m still deciding on wether or not to finish the very top as I’m kind of liking the somewhat scalloped looking edge. I guess you’ll find out on the final reveal! 😉

Wall Stencilling How-To

Let’s start with what you’ll need:

How to stencil a wall. One Room Challenge

  • You’ll need a stencil of your choice
  • A small roller and/or a stencilling brush
  • Good quality painter’s tape
  • Lot’s of paper towel
  • A small paint tray or a styrofoam plate will do
  • A level
  • Measuring tape
  • Spray on adhesive for the back of your stencil (optional)

How to stencil a wall. One Room Challenge

1.Using your measuring tape, find the centre of the wall. Affix your stencil to the top and centre of your wall. Check to make sure that your stencil is level.

How to stencil a wall. One Room Challenge

2. Load up your roller/brush with paint , enough to cover the entire thing evenly.

3. Remove most of the paint by off loading it onto some paper towel. This is important as you don’t want excess paint to bleed underneath the stencil. Less is better when it comes to stencilling!

How to stencil a wall. One Room Challenge

4. Begin to roll out over your stencil. You can lift up the corner of the stencil to make sure you’re not applying too  much paint and bleeding through.

5. Move your stencil over to the the next position. Your stencil will have registration marks that will guide you to the correct placement. I found that the paint was dry enough to move onto the next placement without disturbing the previous paint.

How to stencil a wall. One Room Challenge

6. Once you come to a corner or edge. Apply your painters tape to protect the edge and the adjacent corner.

How to stencil a wall. One Room Challenge

7. Place the tape on the side of your stencil that you will be stencilling. In this case the left of the corner. Don’t tape the right side down as this will need to be flexible. (In the above pic. The right side is taped just to hold the stencil up while I photographed the pic, otherwise that side should not be taped)  Using your roller to paint into the corner by pressing into it.

How to stencil a wall. One Room Challenge

8. When doing edges and corners, you can use your roller to press into the corner/edge and  then use your fingers to press your stencil down into the corner/edge. You can continue to roll at this point or use a little stencil brush to get right into the edge. I just continued on with my roller.

How to stencil a wall. One Room Challenge

9. Continue to go around the room until you have finished. You may have to stop and clean the excess paint buildup from your stencil. I did this once and placed it in my bathtub to clean.

Royal Designs Studio has some great how-to videos and instructions on their site that I would encourage you to watch if you’re thinking of trying this out.

If you look at my walls there are lighter and darker areas. I actually love this as it gives the appearance of water colour. I also found that in places near the corners and edges where It seemed that I made some major “out of the lines” mistakes, the pattern was very forgiving. If there are areas that you feel you need to address, you can simply get a little brush and use the base colour to help clean up the lines. I thought I was going to have to do a lot of cleaning up of the lines but it seems to blend in and has just become part of the pattern.

How to stencil a wall. One Room Challenge

So here is a little peek into my Modern Coastal Farmhouse Office/Workroom. If you look to the right of the photo, you’ll see a peek of something else we’ve been working on! 🙂 Thanks so much for joining me on my first journey with the One Room Challenge and stay tuned for more projects on the way! You can follow along with others on their journey as well right here!

(This post was done in collaboration with Royal Design Studio Stencils, all photography, thoughts and opinions are my own.)


Filed Under: diy, Home decor, Makeovers, spring, Tutorials, Uncategorised

One Room Challenge Spring 2017 | Week 2 | Board and Batten

8:54 pm by kim 46 Comments

One Room Challenge | Week 2 | Board and Batten

One Room Challenge

Welcome to week 2 of the 6 week One Room Challenge hosted by Linda of Calling it Home! Well, the madness has begun and I’ve dragged the hubby into it as well and we tackled the walls in our little…wait for it, it’s a mouthful…Modern Coastal Farmhouse Office/Workroom. Lol. This is the mood board I created to steer me in the direction I want to go with in this room:

Mood board for ORC 2017

If you remember in Week 1, I wasn’t exactly sure what kind of treatment I was going to apply to the walls. I knew I wanted it to have a coastal farmhouse vibe but done in a modern way. I love shiplap and have used it in a few rooms on the main floor, but I wanted to try something different this time. After searching through my Pinterest pins and other sites,  I finally decided on board  and batten. I thought it would add character and charm to my little room and to be honest, it looked like it required less work than I was used to with shiplap!

ORC week 2|Board and batten

I think it turned out great! It seems to fit this room perfectly and I’m wondering why I didn’t do it before. It brings such character to this little 9×12 space. I think that Jack approves too! I’ve added a bit of greenery  to break up the white a bit so you have a better idea of how the space looks.

Below are the tools hubby and I used to complete the project:

Supplies for the board and batten, Spring ORC

(This post contains affiliate links, I only share products I know and love)

We used:

  • Pre-primed already cut MDF boards that were 3.5″ wide. We removed the old baseboards and used these as not only the boards but for baseboards too. We wanted a totally even and cohesive look with all the seams matching.
  • Nail gun with 2″ nails. we didn’t use PL glue on the boards, although you can if you’d like. We just nailed  every couple of feet and didn’t even worry about hitting studs as each piece is fairly lightweight on it’s own.
  • We used a level to make sure each board was straight, so important as your own eye can fool you! You can also use a laser level to level your top boards. We have one, but it was lost in the abyss that is our garage so we did without it.
  • Caulking, to caulk all the seams, I even do the bottom where the baseboards meet the floor. I think the attention to finishing details can make the difference between a “diy” and a “professional” look.
  • We used wood filler to fill in all the nail holes and the seams.
  • A sander to sand all the wood filler off. I love my B & D mouse sander. This fella has seen a lot of action!
  • Painter’s tape. I use this when I am painting the baseboards to avoid getting any paint on the floor.
  • Lastly, you’ll need the paint of your choice.

The only difficult part of this application was figuring out the math! Our walls were all different widths so the width between boards on one wall may be different than the widths between boards on another. We did the math calculations and stood the boards against the walls to test out what would look  best. Once you’ve figured out the spacing and marked where your boards will go, the project moves on fairly quickly. We placed and nailed the baseboards down first then we put up our vertical boards and left the top horizontal ones till the last. While my husband was nailing in the boards, I was right behind him applying the caulking and wood filler, so we were a quick efficient team. As with every project, always measure twice and cut once!


Spring 2017 One Room Challenge Board and Batten

Spring 2017 ORC Board and Batten

Spring 2017 ORC Board and Batten

Spring 2017 ORC Board and Batten

Spring 2017 ORC Board and Batten

Once again, I’m so happy with how this project turned out. If this is something you’ve been thinking about doing, I would say do it! It’s a small amount of work for a huge impact and would make a great weekend project. Thanks for joining me for week two, stay tuned for week 3 as it only gets better from here. We’ve got some great projects planned. You can follow along on Instagram too as I tend to share there first. To receive our blog posts as soon as they’re posted hit the subscribe button and they will be sent straight to your inbox! And don’t forget to go visit all the other participants too, you can find them here.

Blessings,

Kim

Filed Under: diy, Home decor, Makeovers, One Room Challenge™, spring, Tutorials Tagged With: Makeover, One Room Challenge

One Room Challenge Spring 2017 | Week 1 | Our Modern Coastal Farmhouse Office/Workspace

11:26 pm by kim 17 Comments

One Room Challenge Spring 2017 | Week 1

It’s time for another project! This is my first time to join in with Linda of Calling it home who hosts this biannual room makeover series called the One Room Challenge (ORC). Twenty featured design bloggers are chosen to participate as well as 200 plus guest Participants to make over a room in six weeks!  So much decor inspiration to check out on the ORC site….And so the madness begins…

One Room Challenge

For this challenge, I’ve chosen my office/workroom to makeover. Some of you may remember a pic I posted on Instagram last spring of my office, it was light bright and pretty. (Although the pic is a little yellow, I took it with my iPhone!) But it has slowly turned into a place where my extra bits of everything go to die.

Spring office space

It was pretty and comfortable but lacked the proper design to make it a real workhorse of a workspace. I need this room to be both functional as an office, where all the home administration happens and also as a workroom, where I can sew, store fabrics, keep photography equipment and also use for blog product photos etc.

Now don’t judge… but this is what my darling little office has turned into!

BEFORE:

ORC Before Pic

BEFORE:

ORC Before Pic

Where did my pretty little office go?  A combination of too much stuff and lack of proper functional storage.  I know that most of us have that one room that holds the overflow of our decor but I want that room to be back in my basement, underneath the stairs where it belongs! To be honest we had a magazine come in a and do a video interview and tour of our home, so this room became the “catch all” of all the extra bits we weren’t using. But it’s time to get this room ship shape!  So lets go with the plan.

Mood Board

So here is my Mood Board for my Modern Coastal Farmhouse Office/Workroom.. I know , it’s a mouthful!

Mood board for ORC 2017

If you’ve been around my blog and Instagram for very long, you know this mood board  is very much in keeping with my decor style. I’m loving the white and wood with shots of blue and brass.

Plan of Action

  • Declutter everything that’s in the room, including the closet. Empty the room of everything.
  • Add some cosmetic changes to the walls that will be a surprise (because I still haven’t decided yet! lol)
  • Add a rug that will anchor the room and add some colour and texture.
  • Find a good desk chair that  is not only pretty but enable me to work in comfort.
  • Change out the lighting. Although I love the little chandelier that’s there now, It’s too small. A hit of brass will add a more modern feel to the room.
  • Change out the large mirror for a round one with an antique brass finish.
  • Find proper storage. I would like to add these sideboards so that the clutter will be behind the doors, making the room more streamlined.
  • Add some wicker baskets to help with storage and to add texture.

I’ve got so much to do, so lets get this party started! I hope you’ll drop by the blog next week to see the progress. You can also find me on Instagram and Pinterest.  I’ll need the encouragement by then!

Blessings,

Kim


Filed Under: diy, Home decor, Makeovers, spring

Three Simple Steps to a Spring Brunch Buffet

6:00 am by kim 8 Comments

Three Simple Steps to a Spring Brunch Buffet

Welcome everyone! This week I’m joining eleven other bloggers for our “Year of Feasting” blog hop. This is our first season to share together and  I’m showing an easy, three simple steps to a brunch buffet. Special thanks to Giant Tiger for sponsoring this post!

Now that my daughters are older and all out on their own, its rare to have us all together at the same time unless it’s a holiday.  Their schedules aligned this last weekend and they were all able to come home for a visit! Celebrations like this rare event usually centre around food! We almost always have a brunch buffet. Everyone helps out by cooking and or cleaning and its a great time to feast on foods that we don’t normally have everyday. The only difficult part of putting on a buffet is food preparation. But if you’ve got friends and/or family, it’s great if everyone pitches in by helping to cook or by bringing a dish. Here are three simple steps to prepare a brunch buffet.

Three simple steps to a Spring brunch buffet

Step 1

Prepare a centerpiece

I love a buffet because it’s so casual and less formal than a sit down meal. I don’t feel like I have to be as spot on with my tablescaping, aka lazy! I still like to have a centerpiece of some sort and I will use whatever I have on hand. This old vintage toolbox was in the garage and I pulled it out because I thought it would look great packed with little spring plant pots I found at Giant Tiger. To simplify, you could place a vase with fresh or faux flowers, branches from outside, etc.

Three simple steps to a Spring brunch buffet

Because the box is so deep I added some little cups to bring up the height.

Three simple steps to a Spring brunch buffet

Then I just laid a piece of plywood over the cups so that my plant pots would be higher and make more of an impact.

Three simple steps to a Spring brunch buffet

I filled up my toolbox and added a couple of white faux flowers I had too. It filled out beautifully and the bulbs will continue to grow and blossom. Such a simple and beautiful spring centrepiece.

Spring Brunch

Step 2

Lay out your dishes.

I love white dishes and have them in abundance. I find it makes table arranging so much easier too. You don’t have to worry about  piecing different dishes together, everything just automatically fits. I pulled out a piece for each food item. I like finding dishes of different shapes and heights as this adds some visual interest…I later used my “open hands” ceramic piece as a dish for the berries! Some lovely gold coloured silverware in a an old milk glass vase, some plates and white napkins,  a few candles and you’re done. To make things easier you can always use disposable dish ware if  you really want to simplify things.

Three simple steps to a Spring brunch buffet

I found these pretty little cushions at Giant Tiger and they go well with all the blue and white I have going on. They make the nook feel even more inviting.

Spring Brunch

Spring Brunch Buffet

Step 3

Fill up those dishes with food

This is the exciting part! You already have your dishes ready for each corresponding type of food so just fill and display! I loved this cake stand for our banana protein pancakes along with the little jug for syrup.

Spring Brunch

Spring Brunch

The  crock pot on the counter is the perfect thing for keeping baked beans warming!

Spring brunch buffet

This is also the hard part as everyone waits around for you to take some photos of the food! Lol. Which they didn’t wait for long!

Spring Brunch

Spring Brunch

Spring Brunch

Spring Brunch Buffet

I hope you enjoyed this post, thanks so much for stopping by. Please continue on and see what my friends have cooked up too!

Blessings,

Kim

year-of-feasting-spring-collage

THE DIY MOMMY – LIFE IS A PARTY – VINYETE ETC.

PERSONALLY ANDREA – KIM POWER STYLE – THE LEARNER OBSERVER

WOMAN IN REAL LIFE – FLOURISH AND KNOT – LOVE CREATE CELEBRATE

AMIDST THE CHAOS – PMQ FOR TWO – THE DREAM HOUSE PROJECT


Filed Under: Uncategorised

Spring Home Tour | Part 2

5:00 am by kim 33 Comments

Spring Home Tour

Hello again everyone and welcome to my Spring Home Tour Part 2! This week I’ve joined up with 20 Canadian bloggers for the Canadian Bloggers Spring Home Tour hosted by Shannon at AKA Design and Christina at The DIY Mommy For those of you who are new around here, my name is Kim and I’m so excited to share a little more of my home with you all!

Spring Home Tour 2017

In my previous Spring Home Tour Part 1, I shared My living room and  the breakfast nook. This week I’ll be sharing the dining room, the guest room and the Master bedroom. I try to make this as simple as possible and start with a good spring cleaning. Then I change out the winter throw pillows and bedding for some fresh spring ones. Mostly using  pieces that I already have. A few little fresh and faux flowers and  greens and my home is ready for spring!  So let’s begin the tour,  grab a cup of something comfy, sit back and enjoy!

Guest room

Spring home tour 2017

In the guest room I changed out the winter bedding and added some spring bedding  I’ve had for years in beautiful shades of blue and sage. I used the same colours for the throw pillows as well. A few fresh and faux flowers and greenery and everything looks bright, fresh and ready for spring!

Spring home tour 2017

Spring home tour 2017

The guest room is the sunniest and  brightest one in the house and a favourite of Jack who loves to lay in here. He also loves to follow me around so If I’m taking pics, he’s sure to be in them! This room is used mostly by my daughter and Son in law when they come to visit so it’s nice to keep it warm and welcoming.

Spring home tour 2017

Spring home tour 2017

I’ve white washed this dresser and then sanded it down, which I may do again. 🙂 I have a tutorial for that here.

Spring home tour 2017

Spring home tour 2017

Spring home tour 2017

Sources

Bed: Craigslist find. Originally IKEA | Sidetables: IKEA | Bedding: Homesense, Pottery Barn | Armchair: IKEA ektorp|Dresser: Garage Sale|Rug:  IKEA

Master Bedroom

Spring Home Tour

In the master, I changed out the bedding from winter to spring, added some fresh flowers and the green magnolia wreath. It’s nice to have faux florals and greens, unless you’re able to keep up with fresh ones…which I’m not! Lol. I made the blue velvet pillow and the little one in front of it was made out of a throw rug. I have a tutorial for that here. The rug is from my daughter and I thought it would look great in here. It goes so well with the blues in the bedding.

Spring Home Tour


Spring Tour 2017

Spring Tour 2017

Spring Tour 2017

Sources

Headboard: Homesense | Bedside tables: Thrift finds | Bedding: Homesense | Lumbar Pillows: By me | Rug: Homesense

Dining Room

Spring Tour 2017

In the dining room I did some spring cleaning and removed a lot of extra dishes etc. I changed out the curtains for one’s that I already had. Replacing the white fur throw pillows for these blue and white linen  ones makes such a difference! I’ve had these linen pillows for years and they’re my favourite! For the mantel I placed a couple of topiaries with some vintage brass candle holders I’ve been collecting and a brass terrarium. Some gorgeous hydrangeas and a few little faux fern stems to add some freshness and greenery.

Spring Tour 2017

Spring Tour 2017

Spring Tour 2017

Spring Tour 2017

Spring Tour 2017

Spring Tour 2017

Spring Tour 2017

Spring Tour 2017

Sources

Armoires: Pier 1 Imports | Table: Thrift find | Dining Chairs: IKEA | Wing back Chairs: Thrift finds |Light Fixture: Homesense

Thanks so much for joining me again for another Spring Tour, I hope you were able to find some inspiration for your own home, and please continue on the tour for more! All the links are below.

Blessings!

Kim

 Canadian Bloggers Spring Home Tour Collage 2017

MONDAY

AKA DESIGN – LIFE IS A PARTY – LEMON THISTLE – CLEAN AND SENSIBLE

TUESDAY

BROOKLYN BERRY DESIGNS – AMIDST THE CHAOS – THE HAPPY HOUSIE – PMQ FOR TWO – ELLIVEN STUDIO

WEDNESDAY

SATORI DESIGN FOR LIVING – SUBURBLE – SO MUCH BETTER WITH AGE – POP OF PRETTY – THIS LITTLE ESTATE

THURSDAY

THE DIY MOMMY – A PRETTY LIFE IN THE SUBURBS – WOMEN IN REAL LIFE – KIM POWER STYLE – THE LEARNER OBSERVER

FRIDAY

THE CREEKLINE HOUSE – LOVE CREATE CELEBRATE

Filed Under: Seasonal tours, spring Tagged With: Spring, spring tour

Simple Spring Home Tour 2017 | Part 1

5:00 am by kim 43 Comments

Simple Spring Home Tour 2017

Joyful Spring Home Tour

 Thanks so much for joining along with me and fifteen other bloggers as we share our homes for the Joyful Spring Home Tour.  If you’re coming from Haley at the  The MountainView Cottage welcome, Isn’t that bedroom gorgeous? You can find links to all the bloggers at the bottom of this post where you’ll find tons of  inspiration for your own homes. So grab a cup of something comforting, settle in for my simple spring home tour and enjoy.

Simple Spring Home Tour 2017

I’ll be sharing my living room and breakfast nook this week for Part 1 of the tour and the following week I’ll be sharing Part 2. I called it the simple spring home tour because changing out your decor for spring doesn’t have to be difficult or expensive. I simply changed out my winter throw pillows for some more springlike colours and textures. Then I added some fresh and faux flowers as well as some greenery! It really can be that simple and easy.

You may find the odd pet hanging around but they come with the home!

Spring Home Tour 2017

The shiplap off the kitchen here is new and I love it. I added these little coat hooks and it’s a great place to hang your apron..and any odd wreaths you may want to hang up too! The wreaths  bring a great hit of green to the space making it feel fresh and springlike.

Spring Home Tour 2017

The coffee table was a thrift find and I stripped it down of all its old varnish to reveal this beauty! I think it’s a one of a kind piece and it’s added such warmth to the living room. I’ve layered it up with a few pieces as well as fresh and faux flowers. Nothing says spring like tulips and hydrangeas!

Spring Home Tour 2017

My home is pretty white and neutral so it makes it quite easy to change things up. Trading out the winter pillows for these beautiful blues and adding the flowers and greenery is all it’s taken to spruce this room up for spring.

Spring Home Tour 2017

Spring Home Tour 2017

Spring Home Tour 2017

I kept it pretty simple but added a little whimsy to my mantel this year in the form of this bust. She has a hollow place in the top of her head where you can place plants. She now has a lovely asparagus fern for hair! I just call her “my lady”. With the addition of these wooden bead “pearls” I’d say she looks pretty striking! Plants always make a space fresher.

Spring Home Tour 2017

The gorgeous pillow on the chair was made by me from a throw rug, you can find the tutorial here. I love the colour blue and come spring you’ll find it all throughout my home. It makes me think I live in a coastal cottage by the sea. The lake is actually down the street, so I’m not that far off… a girl can dream right?

Spring Home Tour 2017

Spring Home Tour 2017

Spring Home Tour

Spring Home Tour 2017

Spring Home Tour 2017

Spring Home Tour 2017

Spring Home Tour 2017

Spring Home Tour 2017

Spring Home Tour 2017

This is our little breakfast nook. Other than changing out the curtains to spring/summer ones, the only changes I made in here were to add these tulips. Once the tulips are gone, I’ll add a plant or some faux greenery to keep it looking fresh. All pretty simple touches that make a big impact

Spring Home Tour 2017

Spring Home Tour 2017

Spring Home Tour 2017

Spring Home Tour 2017

Thanks so much for dropping by! Don’t forget to join me again next week for Part 2 of my spring home tour.. be sure to subscribe and it will be sent directly to your inbox!

Please follow the links below to continue on with this tour, there is so much more to see!


Tour Schedule

Monday March 13

Monday

Maison de Pax | Lemons to Lovelys | TIDBITS | Belle Amour Blog

Tuesday March 14

Tuesday

The Mountain View Cottage | Kim Power Style | Meaningful Spaces | My Vintage Porch

Wednesday March 15

Wednesday

The Porch Light Cottage | White Lane Decor | Delightfully Noted

March 16

Thursday

JorDecor | Farmhouse On Boone | A House With Books

Filed Under: Seasonal tours Tagged With: home tour, Spring

DIY Throw Rug Pillow Tutorial

6:00 am by kim 11 Comments

DIY Throw Rug Pillow Tutorial

I’m loving my DIY throw rug pillows so much that I thought I’d share with you all exactly how I did it. I found the rug at Homesense and it was love at first sight! I was thinking about using it as my kitchen rug but it was too darn pretty to be hidden away on the floor. I knew I wanted to see this pattern often. It was a 2.5’x3.5′ rug which would easily give me three different pillows of varying sizes if I added a complimentary fabric to the back. I’ll share with you how easy it was to put together in case you’d like to try it yourself! I used a simple envelope style, no zippers! I did a post years ago on how to make an envelope styled pillow called the “the 5 minute pillow” you can find that here.

DIY Throw rug into pillows

Turn your favourite throw rugs into pillows

Throw Rug Pillow Tutorial

Materials Needed:

  • Throw rug of your choice.
  • A complimentary fabric for the back of your pillow.
  • Sewing Machine.
  • Measuring Tape.
  • A good pair of sharp scissors.
  • Pins.
  • Thread.

Tutorial:

  1. Start by figuring out how you’d like to cut up your rug. My rug had lines and patterns that made it easy for me to divide it up. I ended up with three rectangles. The middle one being the larger. This tutorial will reference to the middle piece.
  2. Finish off your raw cut side. The rug will have two finished sides (meaning they’re already bound with a hem so no fraying) and 2 unfinished sides. If you have a serger, go ahead and serge the unfinished sides. If you have a regular sewing machine like me that’s ok, you can do a zig zag stitch on your unfinished sides, this is going to keep the ends from fraying which they will! I actually did a very wide and tight zig zag and went over it twice! The edge started to fray right away and I was able to salvage it.                            Throw rug made into a throw pillow
  3. Now you’re going to measure and cut your coordinating fabric. (This will be the back of your pillow and will have two overlapping pieces which work as the “envelope” to get your pillow insert in and out from)  For your first piece, measure the length of your rug minus two inches (because that piece will be sewn 2″ inches down from the opening end of your pillow) and add 1″ inch for a hem. Eg. if your rug piece is 10″x30″ than your first piece of fabric will be 10″x29″The width will be the same width as the rug. For the second, smaller piece of fabric, I usually will do an 9 inch flap plus allow for a 1″ hem, making it 9″ of fabric. I use this same measurement every time I make an envelope pillow, only the width will change according to how wide your pillow is). The width for both pieces of fabric will be the same.
  4. Next, sew a 1″ hem on one end of  each of the two fabric pieces.Diy throw rug into pillow
  5. Now you will take your shorter fabric piece first and lay it over your rug piece, right sides together with your hemmed edge facing towards the middle.DIY Throw rug Pillows
  6. Take the longer fabric piece and lay it over your rug piece, right sides together with the hemmed edge about 2″ down from the opening side edge (L side here). Your long piece should be laying over the rug and also most of the shorter piece. So in some places you will have three layers.DIY throw rug pillowsDIY throw rug pillows
  7. Pin around the perimeter paying close attention to pin down where the hems are. Now sew along the perimeter of the pillow about 1/2″ in.DIY throw rug pillows
  8. Remove your pins and turn your pillow rightside out. You’ll notice you have a good size pocket to place your insert into. Now take the small flap and turn it rightside out and fold it over the other end of your insert. Go inside and stretch out the corners. You’re done!DIY throw rug pillowsDIY throw rug pillowsDIY throw rug pillowsDIY throw rug pillows

I hope this was easy to understand and that your were able to make your own! Don’t hesitate to leave a comment and ask a question if your need to. I’m happy to help! Please subscribe if you’d like to receive these posts straight into your inbox.


Filed Under: diy, Home decor, pillows, Tutorials Tagged With: diy, Home decor, Pillows, tutorial

DIY Throw Rug Pillow

4:41 pm by kim 3 Comments

DIY Throw Rug Pillow

Have you seen those gorgeous pillows around? the ones that look like they’re made from an old vintage rug? Well I have and I love them, the price…not so much. When I saw this gorgeous throw rug at Homesense, I knew I wanted it for throw pillows! I loved the vintagey denim vibe it had going on and thought it would be great to add to the rest of the blue and white I use to decorate with in the spring.

DIY throw rug pillow

The rug was roughly 2.5’x3.5′ So I was able to get three pillows from one rug using a coordinating fabric for the back. I kept the lovely fringe from both ends to give the pillows some character. I paid $24.99 for the rug. I had the coordinating fabric and pillow inserts already so I was able to get three of these beauties for the price of the rug!

DIY Throw Rug Pillows

I had some leftover fabric from another project, a cotton/linen blend, and it works perfectly with the  colours in the rug. I used a simple envelope style enclosure so there were no zippers to work with.

DIY Throw Rug Pillows

DIY throw rug pillows

DIY Throw Rug Pillows

DIY Throw Rug Pillows

DIY Throw Rug Pillows

DIY Throw rug pillows

DIY throw rug pillows

I’m pretty excited about my new pillows! Thanks for dropping by today and sharing in my pillow joy! I’ll be sharing the tutorial for how to make these shortly. Also, stay tuned for a couple of spring tours coming up this month.

Filed Under: diy, Home decor, pillows Tagged With: diy, Pillows

  • « Go to Previous Page
  • Go to page 1
  • Interim pages omitted …
  • Go to page 3
  • Go to page 4
  • Go to page 5
  • Go to page 6
  • Go to page 7
  • Interim pages omitted …
  • Go to page 16
  • Go to Next Page »

Primary Sidebar

Hi, I'm Kim Read More…

Instagram

Follow along on Instagram

Sign up and don't miss a post!

Recent Posts

  • Festive Bacon Wrapped Chestnut Holiday Appetizer
  • DIY Mantel Decorated for Christmas
  • Simple and Cozy Fall Home Tour
  • Simple Fall Tablescape

Archives

Footer

Copyright © 2025 · Foodie Pro Theme by Shay Bocks · Built on the Genesis Framework · Powered by WordPress